1.针对元素截图后,只需要这张图片的部分内容。
2.需要裁剪
3.需要自己写一个库文件,当做自定义库文件来导入
4.实现
def resize_img(self,img1):
#打开指定的图片文件
image1 = Image.open(img1)
#获取图片的高和宽
(width,height) = image1.size
#重点来了,这里的宽取整张图片的3/4
w = image1.size[0]/4.0*3.0
#高维持不变,如果要变,根据自己需求来
h=image1.size[1]
#设置要裁剪的图片的左上角坐标(x,y)和右下角坐标(x+w, y+h)
x = 0
y = 0
region = image1.crop((x, y, x+w, y+h))
#保存到当前目录下,且名称为“车流量实际图.png”
region.save("./车流量实际图.png")
5.之前在网上找的一个是缩小图片的代码
#改变图片大小def resize_img(img_path): try: img = Image.open(img_path) (width,height) = img.size new_width = 200 new_height = height * new_width / width out = img.resize((new_width,new_height),Image.ANTIALIAS) ext = os.path.splitext(img_path)[1] new_file_name = '%s%s' %('small',ext) out.save(new_file_name,quality=95) except Exception,e: print e6.使用5这个代码,报错,提示需要的是int参数,但实际传入的是float参数
7.在robot中没有指明代码位置,拿到pycharm中调试
8.调试显示的是:
out = img.resize((new_width,new_height),Image.ANTIALIAS),这个里面的参数不对9.修改代码后成功:
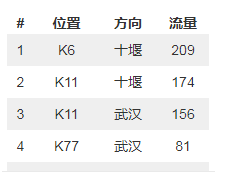
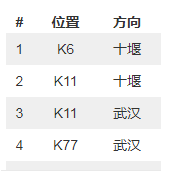
def resize_img(img_path): try: img = Image.open(img_path) (width,height) = img.size new_width = 200 new_height = int(height * new_width / width) out = img.resize((new_width,new_height),Image.ANTIALIAS) ext = os.path.splitext(img_path)[1] new_file_name = '%s%s' %('small',ext) out.save(new_file_name,quality=95) except Exception,e: print e10.放一下截图前和截图后的效果