nexus3安装 - CentOS7环境
使用nexus3管理docker镜像,配合rancher进行部署。
docker volume create --name nexus-data //数据目录

docker volume create --name sonatype //安装目录
docker volume create

docker volume inspect

docker volume ls

docker volume prune

docker volume rm
docker run -d -p 8081:8081 -p 8085:8085 -p 8086:8086 -p 8087:8087 -p 8088:8088 --name nexus -v nexus-data:/nexus-data -v sonatype:/opt/sonatype sonatype/nexus3

(其中8081是http默认访问端口,8085是后续要建的docker私库端口,8086是后续要建的docker代理端口,8087是后续要建的docker组端口,8088是配置的ssl/https地址)
登录配置
使用浏览器访问
http://服务器ip:8081(例:http://192.168.122.199:8081/)
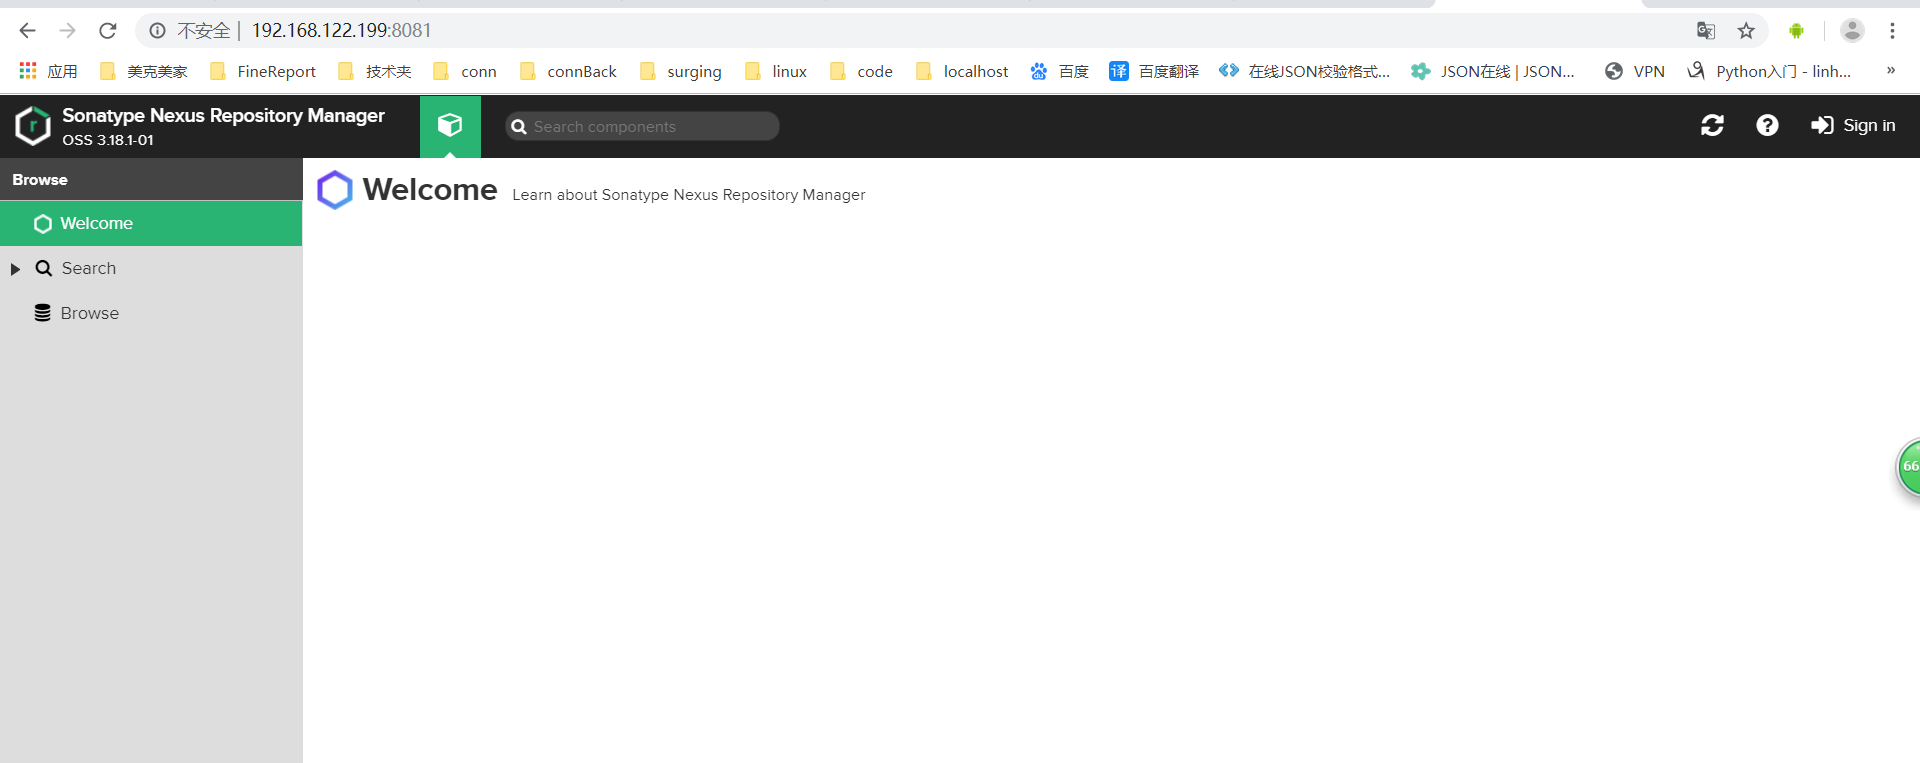
点击右上角登录
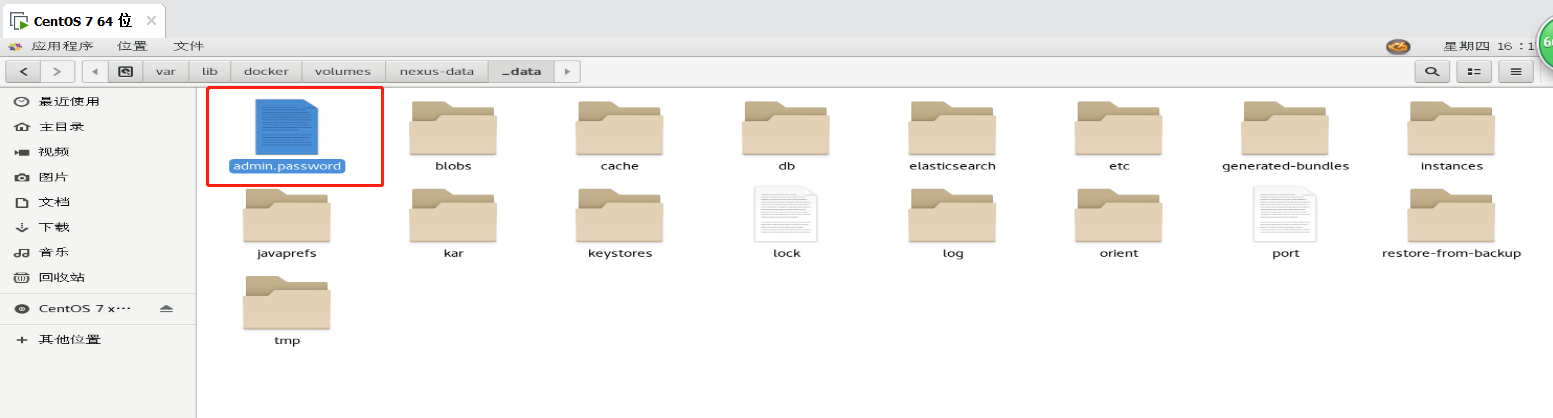
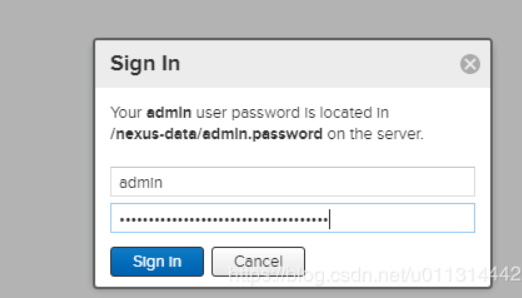
账号:admin
密码:存放在 /var/lib/docker/volumes/nexus-data/_data/admin-password 中
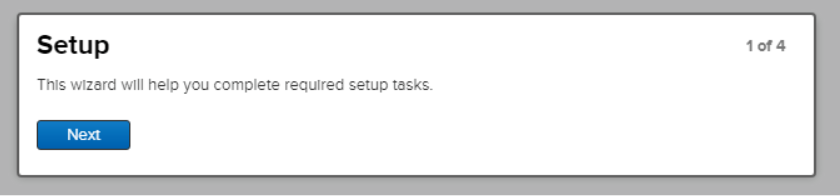
修改密码为:123456
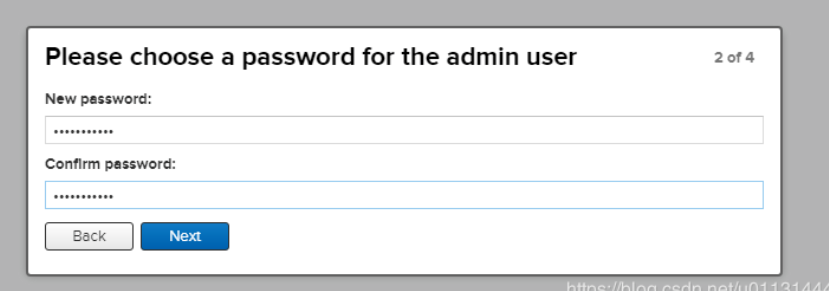
修改密码后,把新密码记录下来(password.txt)
[root@localhost ~]# cd /var/lib/docker/volumes/nexus-data/_data
[root@localhost _data]# touch password.txt
安装完成。
配置docker仓库
Repository–>Blob Stores–>Create blob store


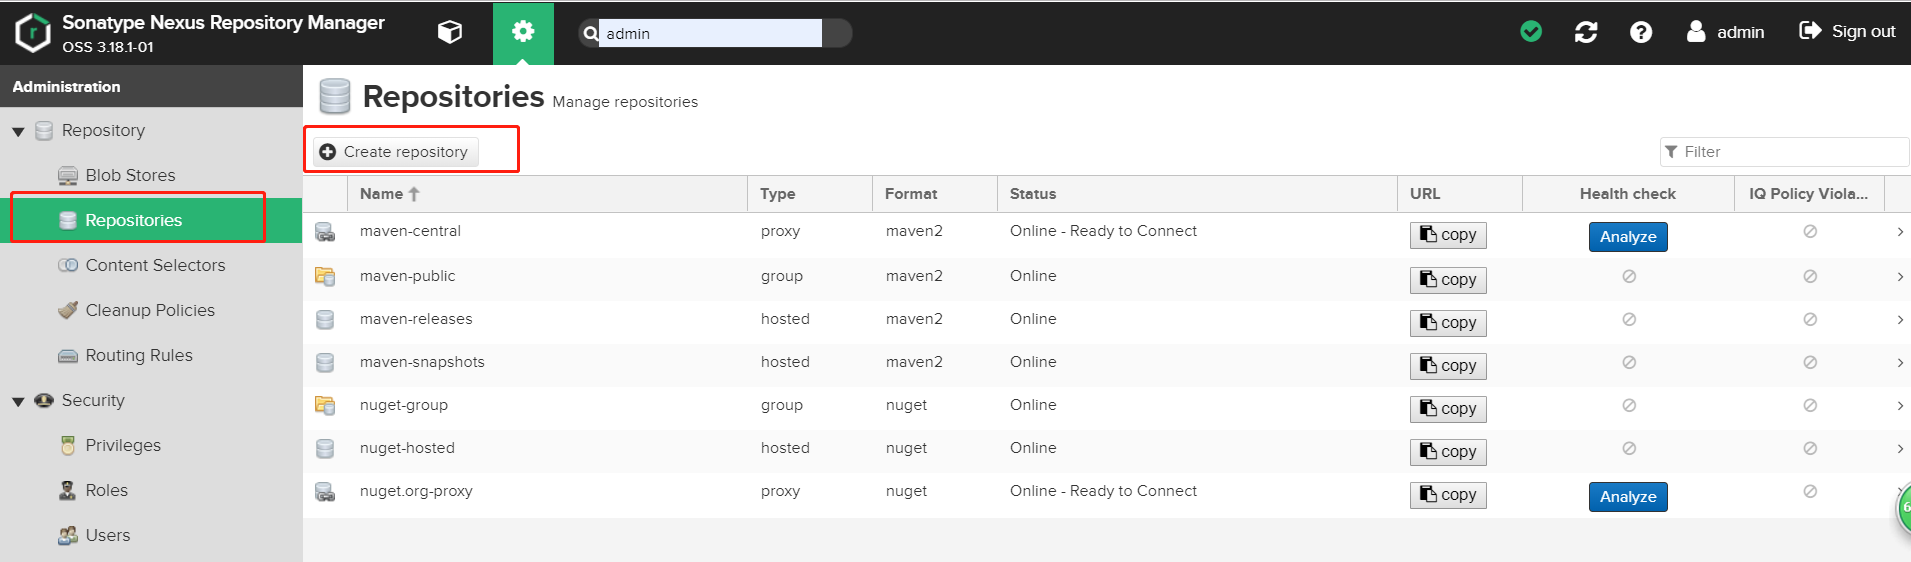
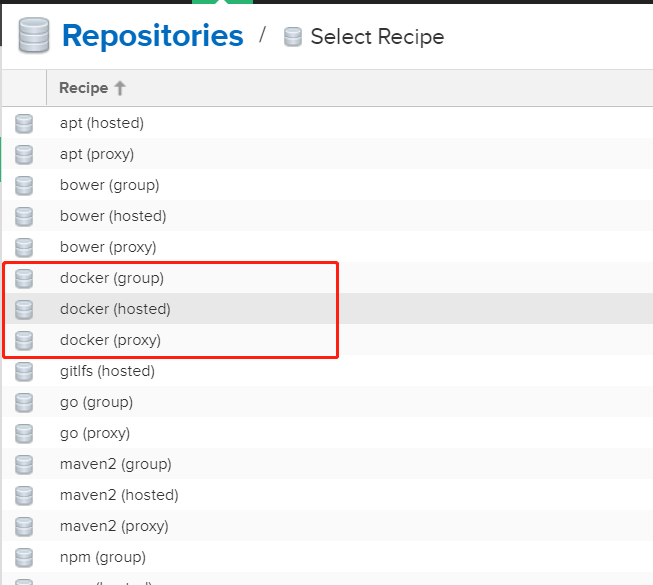
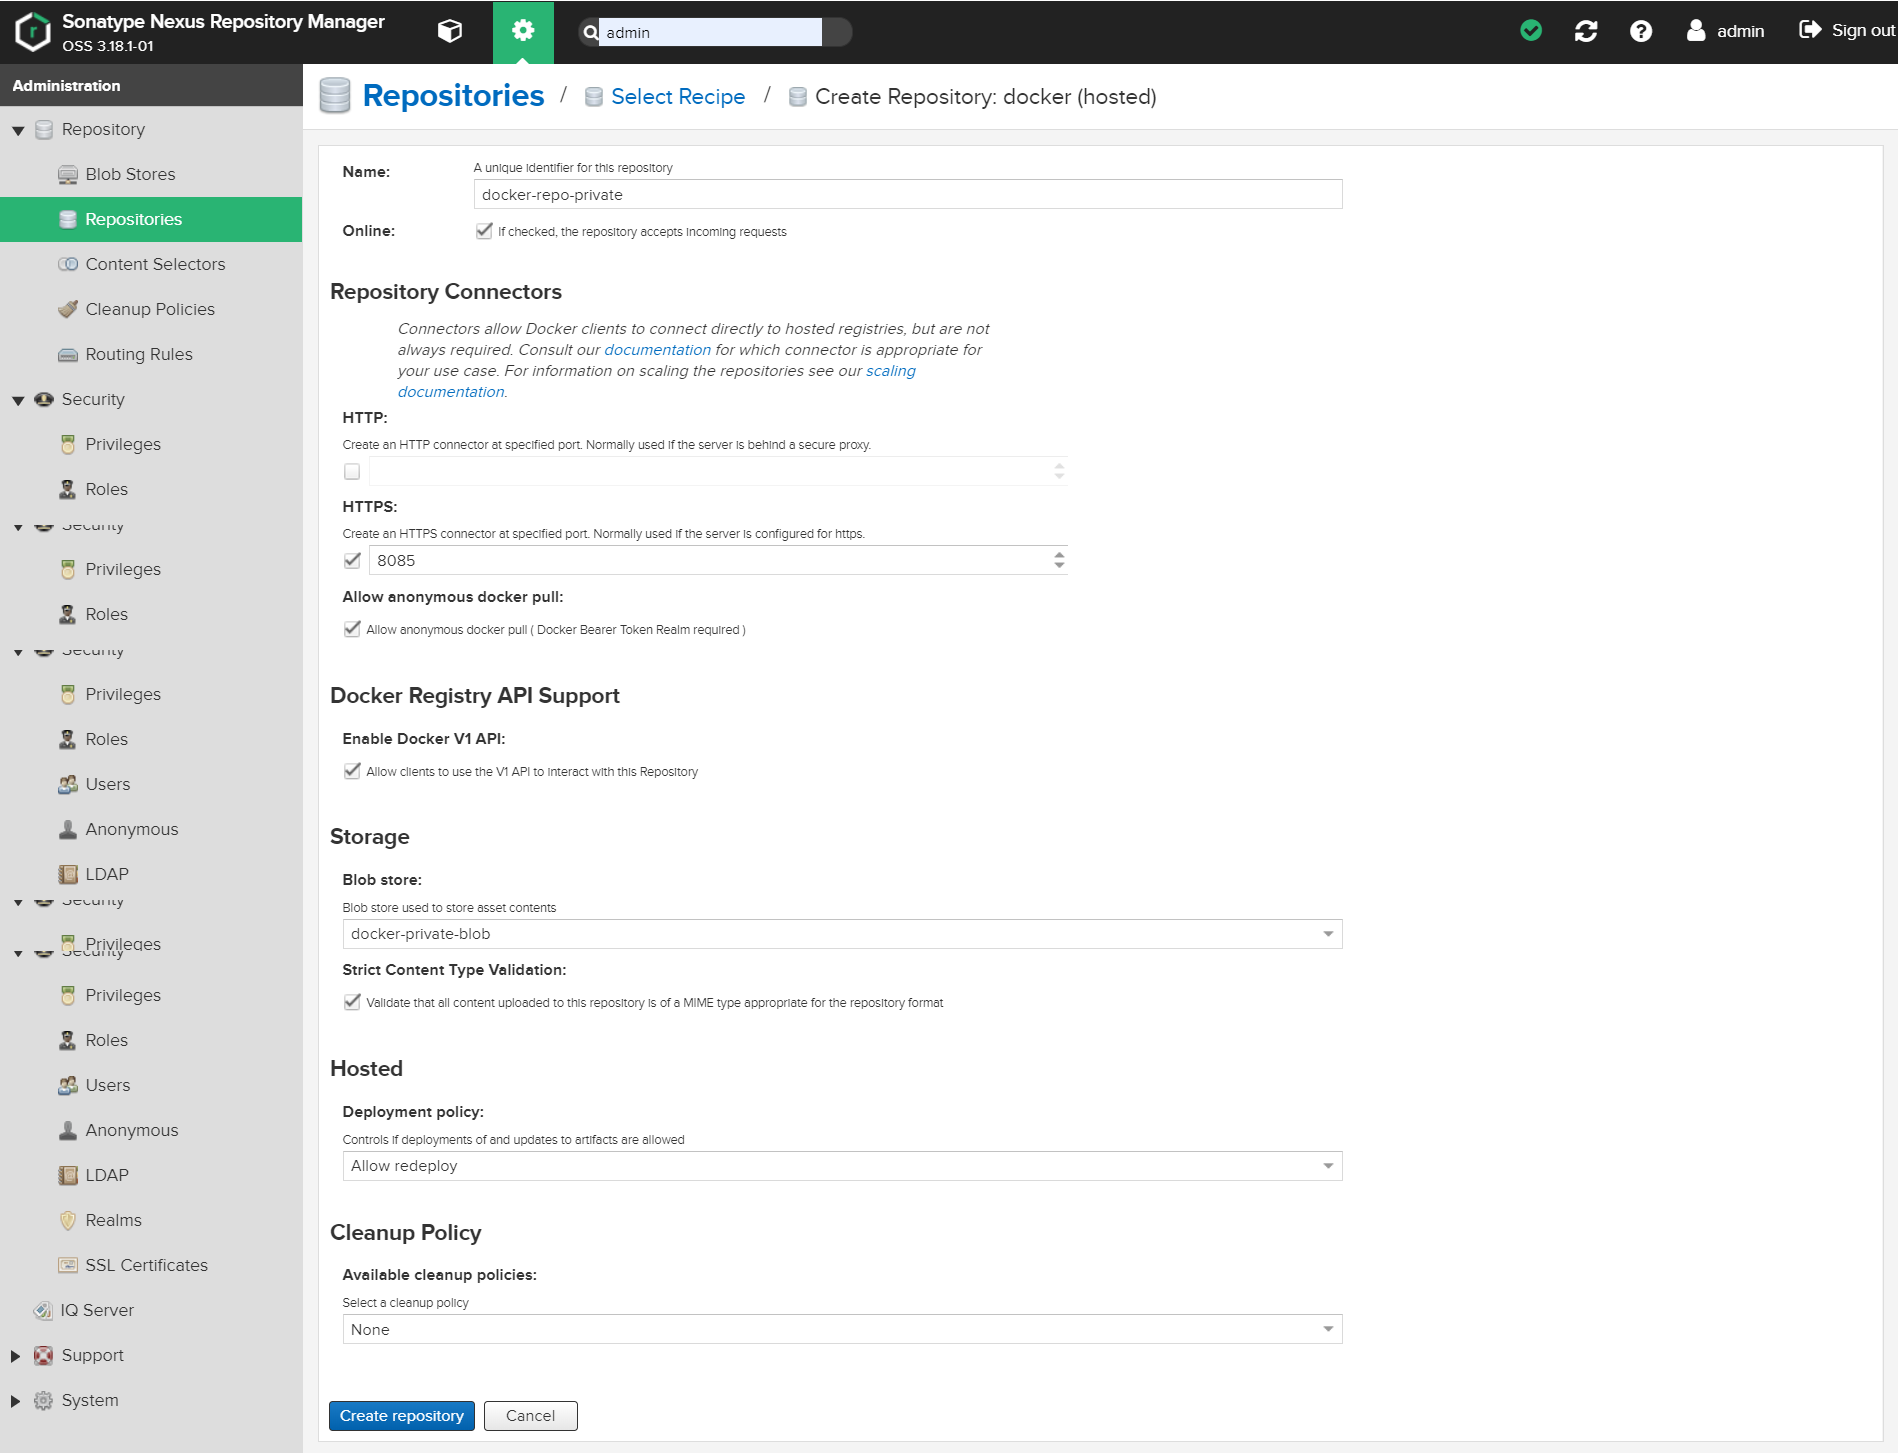
创建 docker(hosted) 类型的 仓库 docker-repo-private
创建 docker(proxy) 类型的 仓库 docker-repo-proxy

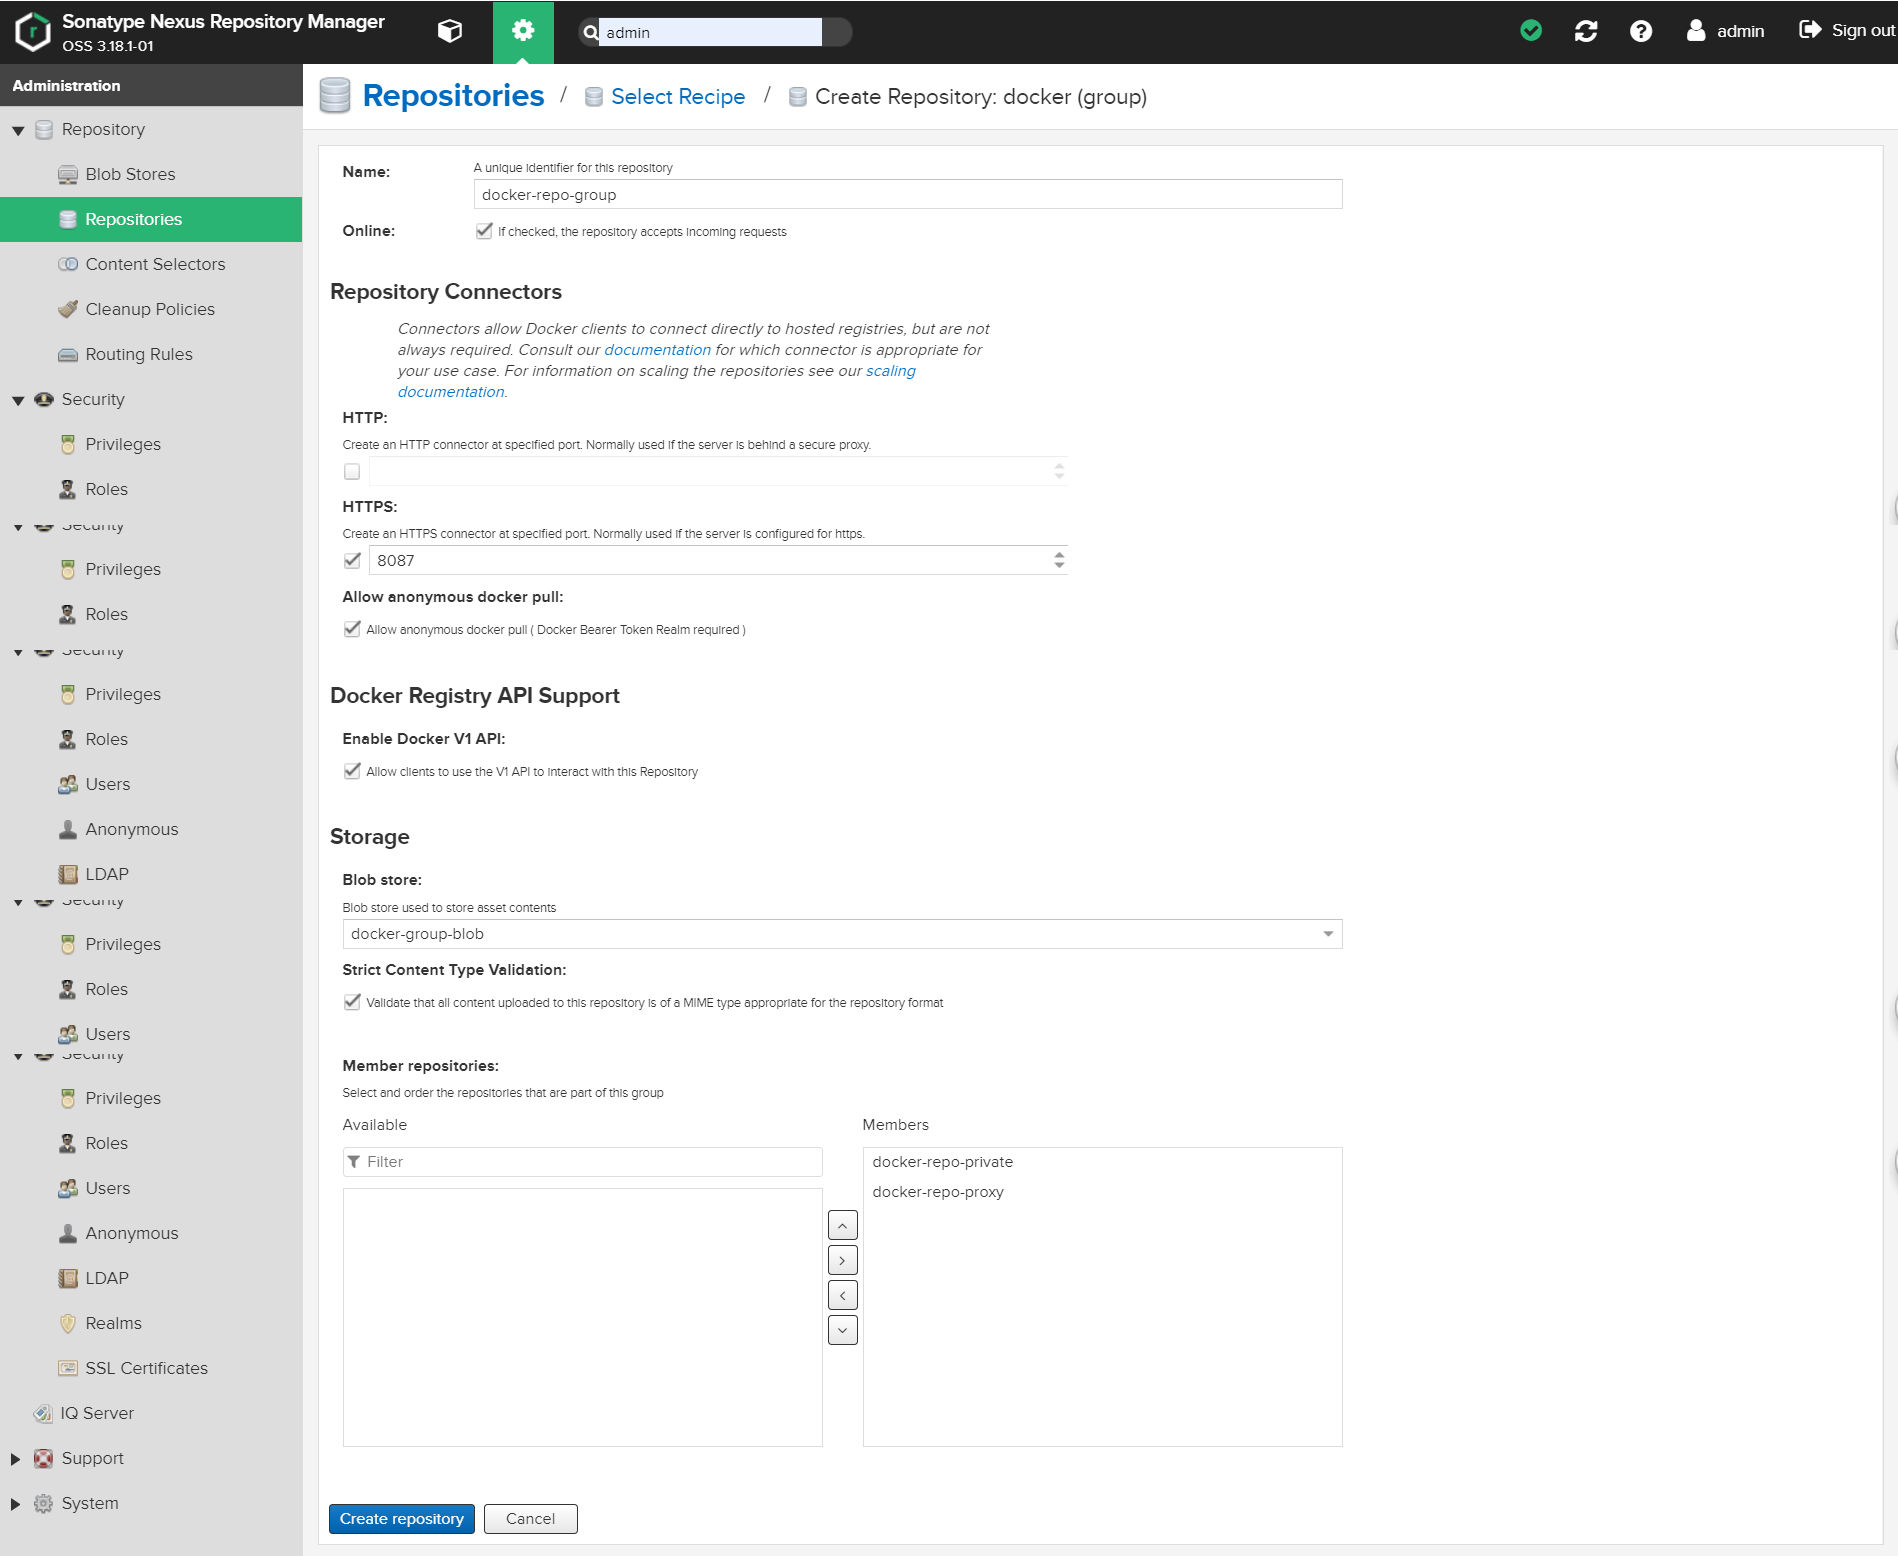
创建 docker(group) 类型的 仓库 docker-repo-group
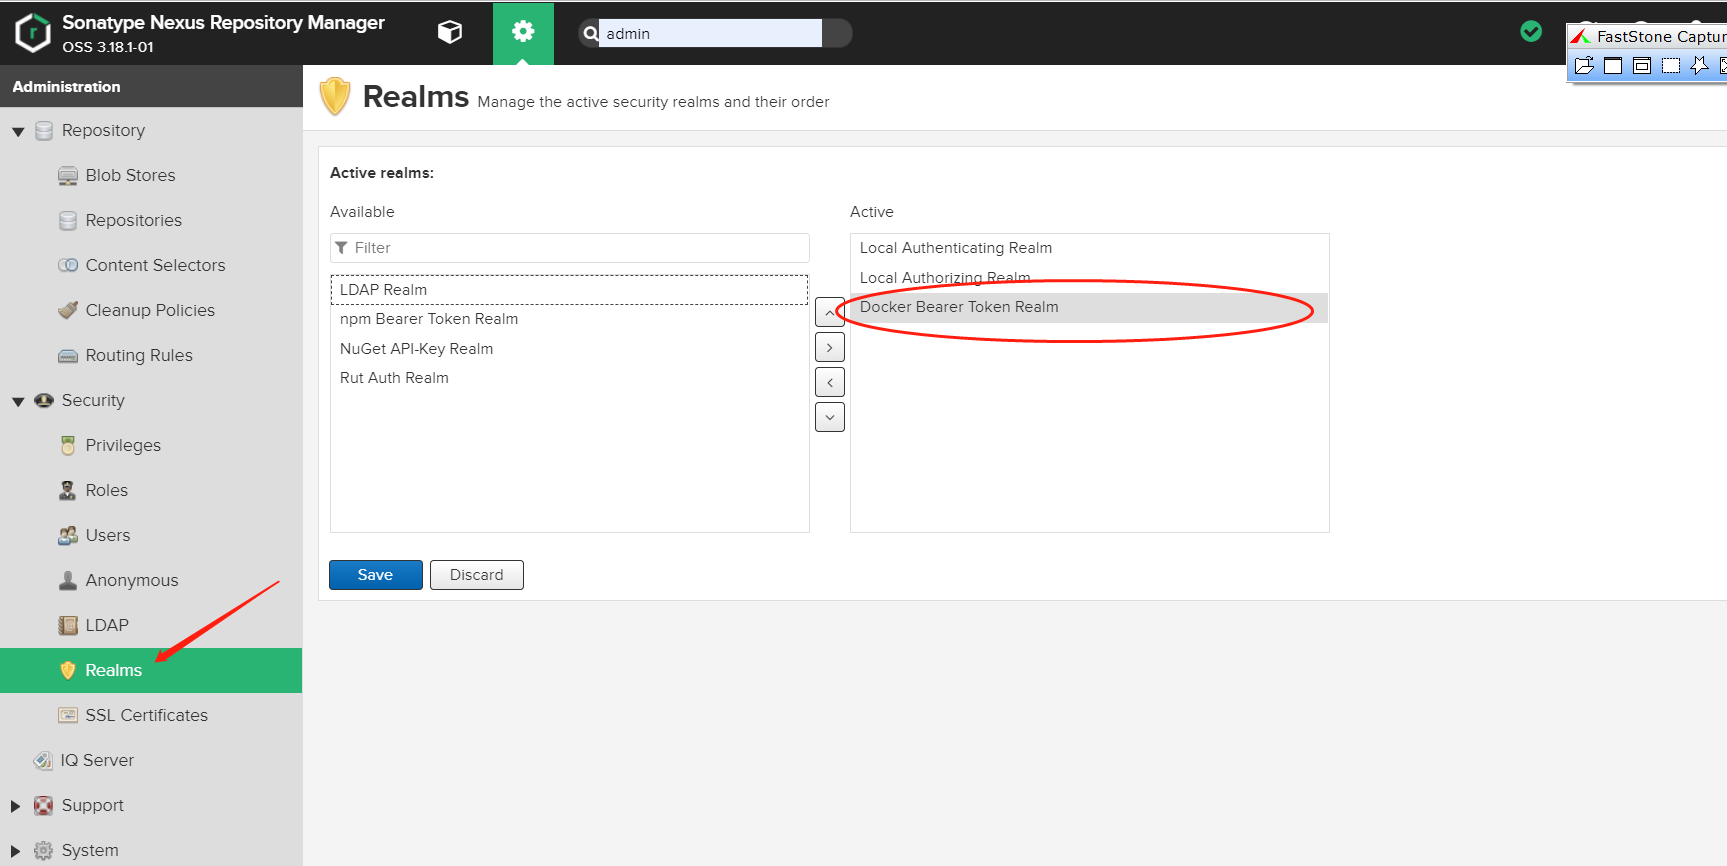
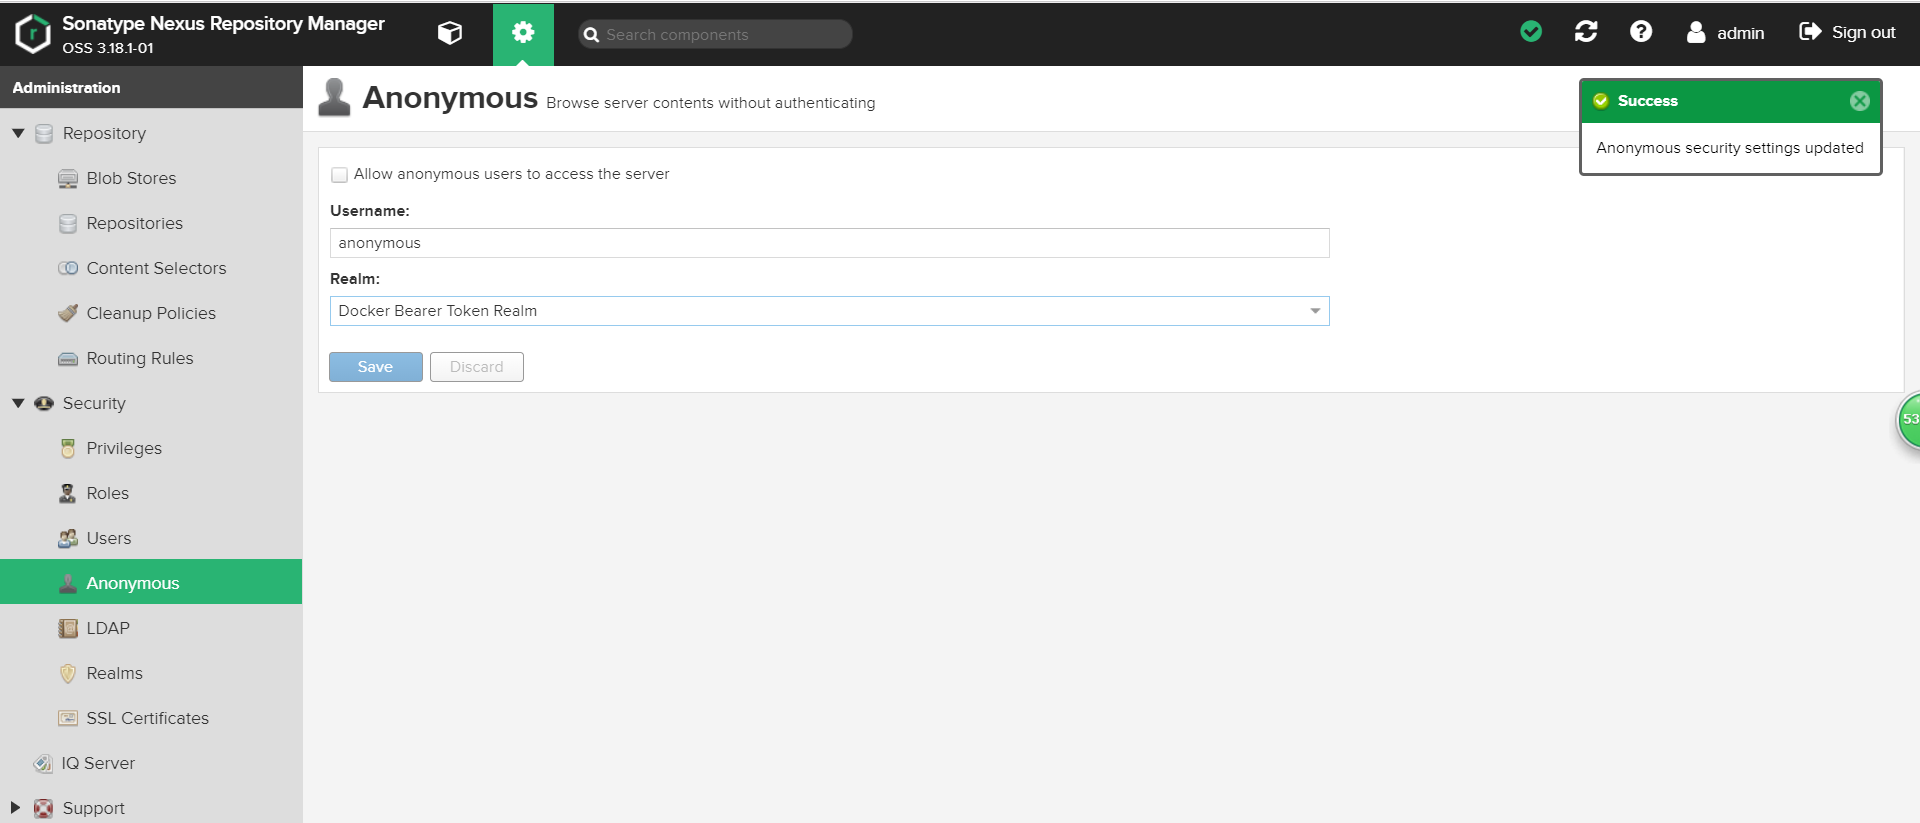
Docker Bearer Token Realm 添加进来,否则https 会出现401未授权
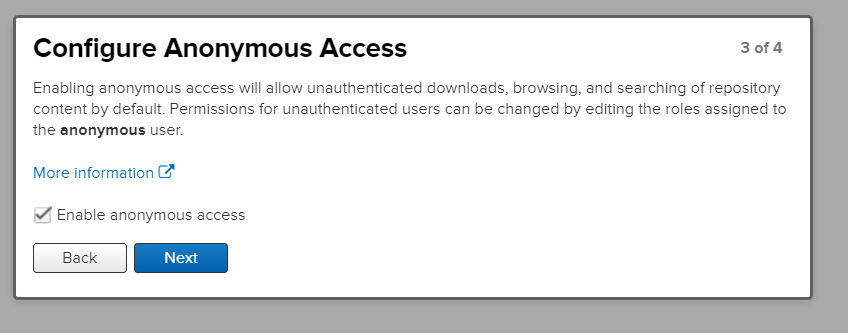
如果允许设置通过匿名的方式拉取镜像的话,这需要在Realms主页激活Docker Bearer Token Reamlm并对匿名方式进行设置,允许通过匿名方式访问服务器。
1、在安装目录(sonatype) 下的 etc/ssl/下生成自签名证书并导出。
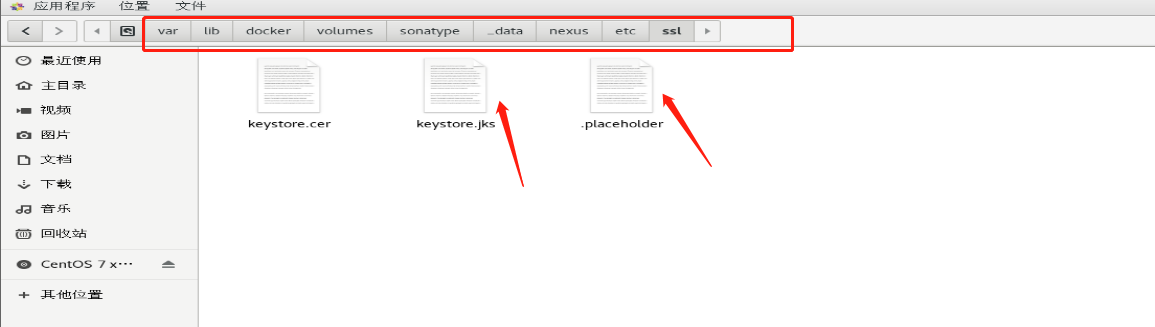
进入目录:
[root@localhost var]# cd /var/lib/docker/volumes/sonatype/_data/nexus/etc/ssl
格式:keytool -genkeypair -keystore keystore.jks -storepass password -keypass password -alias jetty -keyalg RSA -keysize 2048 -validity 5000 -dname "CN=*.{NEXUS_DOMAIN}, OU=Example, O=Sonatype, L=Unspecified, ST=Unspecified, C=US" -ext "SAN=DNS:{NEXUS_DOMAIN},IP:{NEXUS_IP}" -ext "BC=ca:true"
例: keytool -genkeypair -keystore keystore.jks -storepass password -keypass password -alias jetty -keyalg RSA -keysize 2048 -validity 5000 -dname "CN=*.mestest.cn, OU=Example, O=Sonatype, L=Unspecified, ST=Unspecified, C=US" -ext "SAN=DNS:mestest.cn,IP:192.168.122.199" -ext "BC=ca:true"
问题:
如出现问题:keytool 错误: java.lang.Exception: 未生成密钥对, 别名 <jetty> 已经存在
解决方案:删除目录下的 keystore.jks 和 keystore.cer 文件,重新执行命令即可。
[root@localhost ~]#
[root@localhost ~]#
[root@localhost ~]# keytool -genkeypair -keystore keystore.jks -storepass password -keypass password -alias jetty -keyalg RSA -keysize 2048 -validity 5000 -dname "CN=*.mestest.cn, OU=Example, O=Sonatype, L=Unspecified, ST=Unspecified, C=US" -ext "SAN=DNS:mestest.cn,IP:192.168.122.199" -ext "BC=ca:true"

Warning:
JKS 密钥库使用专用格式。建议使用 "keytool -importkeystore -srckeystore keystore.jks -destkeystore keystore.jks -deststoretype pkcs12" 迁移到行业标准格式 PKCS12。
[root@localhost ~]#
[root@localhost ~]#
执行以下命令,生成 keystore.cer
keytool -export -alias jetty -keystore keystore.jks -file keystore.cer -storepass password
[root@localhost ~]#
[root@localhost ~]#
[root@localhost ~]# keytool -export -alias jetty -keystore keystore.jks -file keystore.cer -storepass password
存储在文件 <keystore.cer> 中的证书

Warning:
JKS 密钥库使用专用格式。建议使用 "keytool -importkeystore -srckeystore keystore.jks -destkeystore keystore.jks -deststoretype pkcs12" 迁移到行业标准格式 PKCS12。
[root@localhost ~]#
[root@localhost ~]#
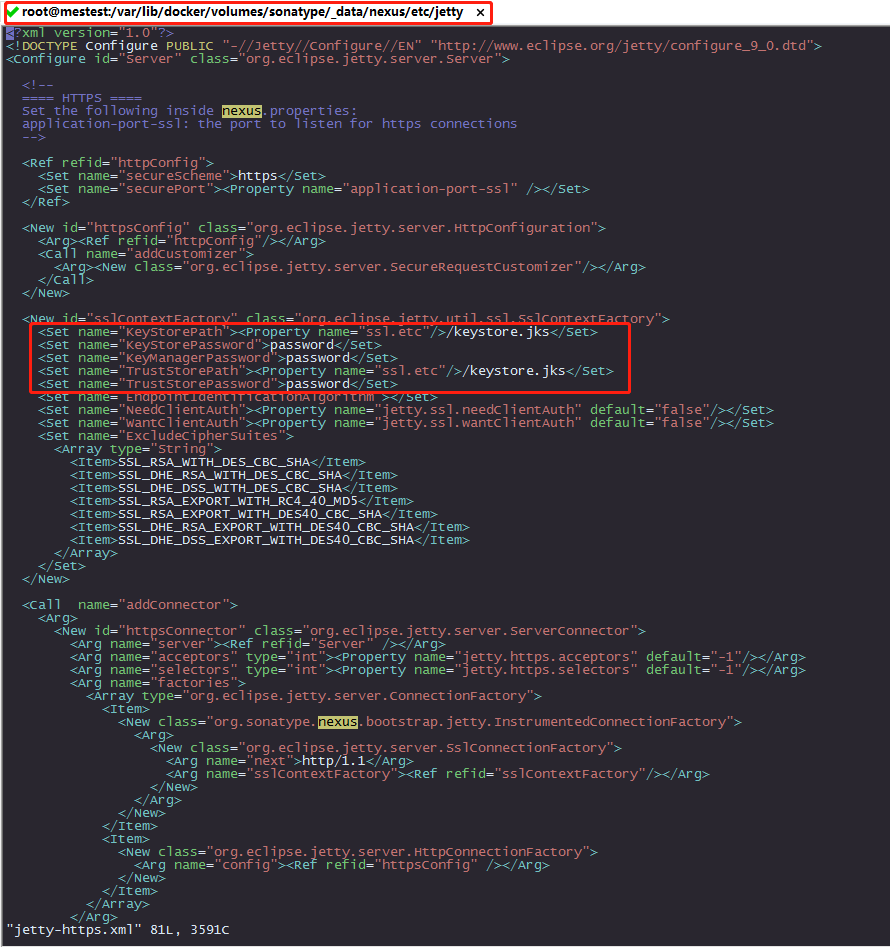
[root@localhost ~]# cd /var/lib/docker/volumes/nexus-data/_data/etc
[root@localhost etc]# vim nexus.properties
# Jetty section
# application-port=8081
# application-host=0.0.0.0nexus-args=${jetty.etc}/jetty.xml,${jetty.etc}/jetty-http.xml,${jetty.etc}/jetty-https.xml,${jetty.etc}/jetty-requestlog.xml
# nexus-context-path=/${NEXUS_CONTEXT}

# Nexus section
# nexus-edition=nexus-pro-edition
# nexus-features=
#  nexus-pro-feature
# nexus.clustered=false
application-port-ssl=8088

配置hosts文件,如不配置直接使用IP也可以。
CentOS7服务器的hosts文件位置:/etc/hosts。
写入配置:
192.168.122.199 mestest.cn
[root@localhost etc]#
[root@localhost etc]# vim /etc/hosts
127.0.0.1 localhost localhost.localdomain localhost4 localhost4.localdomain4
::1 localhost localhost.localdomain localhost6 localhost6.localdomain6
192.168.122.199 mestest.cn
~
~
https://mestest.cn:8088 登录(如果提示输入账号密码:admin/123456)
https://192.168.122.199:8088 登录
浏览器提示不安全,导出之前的证书安装即可
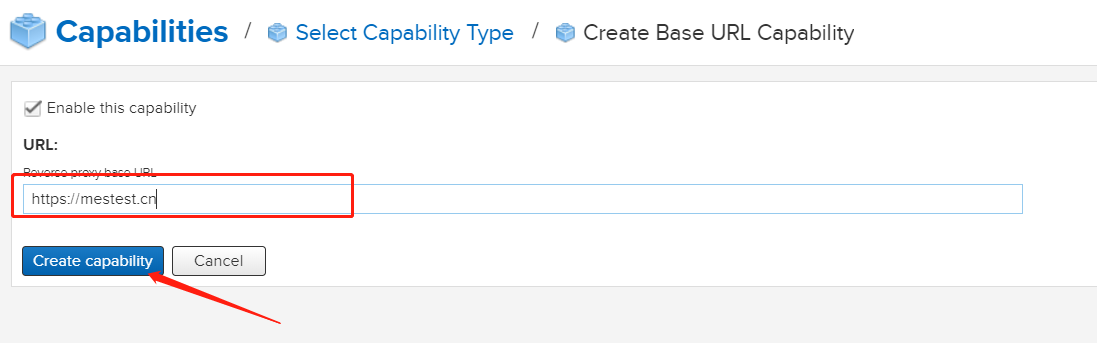
在nexus 管理界面 配置Base URL 为https 形式


1. 全局添加证书
打印证书: keytool -printcert -sslserver
如果有root权限,系统级别全局添加证书,
2.
将之前导出的证书复制到各个docker客户端 /etc/pki/ca-trust/source/anchors/ (centos)
update-ca-trust extract
如果没有 ca-certificates 包的话 可先安装yum install ca-certificates,再启用update-ca-trust enable。
2、配置docker
vim /etc/docker/daemon.json
添加如下内容
{"insecure-registries":["192.168.95.128:8082"]}
systemctl daemon-reload
systemctl restart docker
3、基本操作
docker login 192.168.122.199:8085
输入用户名和密码 如果显示Login Successed证明成功登录。
[root@localhost docker]# docker login 192.168.122.199:8085
Username: admin
Password:
WARNING! Your password will be stored unencrypted in /root/.docker/config.json.
Configure a credential helper to remove this warning. See
https://docs.docker.com/engine/reference/commandline/login/#credentials-store

Login Succeeded
设置容器开机启动:
docker update --restart=always nexus
引用:https://www.jianshu.com/p/ba054bc4f76a
引用:https://cloud.tencent.com/developer/article/1478468
引用:https://www.cnblogs.com/jihongjun/p/8968901.html
引用:http://10.5.30.94:8090/pages/viewpage.action?pageId=9339121
引用:http://10.5.30.94:8090/pages/viewpage.action?pageId=11501778#Docker%E9%83%A8%E7%BD%B2Nexus3%E6%90%AD%E5%BB%BAdocker%E7%A7%81%E5%BA%93%E5%B9%B6%E5%AE%9E%E7%8E%B0%E4%BB%A3%E7%90%86-%E5%9B%9B%E3%80%81%E9%85%8D%E7%BD%AEhttps