今天下载了《JavaEE开发的颠覆者SpringBoot实战》这本书,发现Spring还有好多遗漏的部分,算是又恶补了一下,今天主要是学习下SpringBoot的配置。
一、基本配置
1.定制Banner
(1).在src/main/resource下新建banner.txt
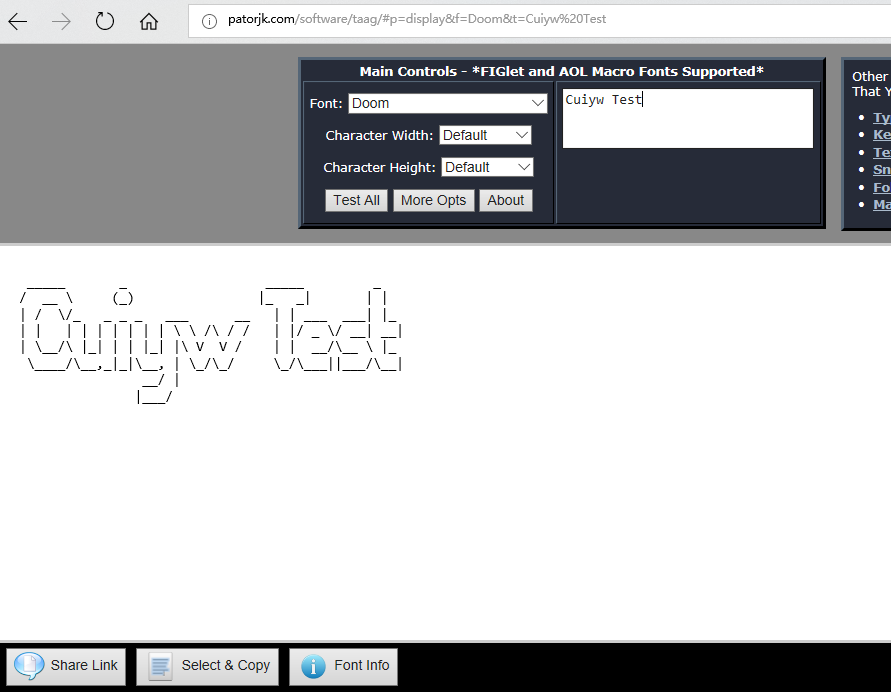
(2).打开http://patorjk.com/software/taag,输入要显示的文字,选择想要的样式,拷贝到banner.txt中,再次启动时就会发现banner已变。


(3)关闭banner
可以修改main,设置设置banner mode为OFF关闭banner。

package com.example.demo;

import org.springframework.boot.Banner;
import org.springframework.boot.SpringApplication;
import org.springframework.boot.autoconfigure.SpringBootApplication;

@SpringBootApplication
public class CuiywTestApplication {

    public static void main(String[] args) {
        //SpringApplication.run(CuiywTestApplication.class, args);
        SpringApplication app=new SpringApplication(CuiywTestApplication.class);
        app.setBannerMode(Banner.Mode.OFF);
        app.run(args);

    }
}
2.springboot配置文件
SpringBoot使用application.properties作为全局的配置文件,对一些默认配置的值进行修改。它不仅支持properties类型的文件还支持yml类型的文件.
server.port=8081
server.servlet.context-path=/cywtest
这里修改了启动的默认端口8080和默认context-path:/。看它启动日志也可以看出来发生了变化.

3.使用xml配置
虽然SpringBoot不提倡使用xml配置,但有时候也还是需要用的,这里我们在src/main/java下创建com.example.cywtest包,在包下创建一个@service HelloService,由于SpringBoot默认扫描的是CuiywTestApplication main方法对应的包以及子包,不会扫到com.example.cywtest包,我们在helloController注入一个该服务,然后启动,发现会报错,找不到该类。

***************************
APPLICATION FAILED TO START
***************************

Description:

Field helloService in com.example.demo.helloController required a bean of type 'com.example.cywtest.HelloService' that could not be found.


Action:

Consider defining a bean of type 'com.example.cywtest.HelloService' in your configuration.
(1).创建application-bean.xml

<?xml version="1.0" encoding="UTF-8"?>
<beans xmlns="http://www.springframework.org/schema/beans"
       xmlns:xsi="http://www.w3.org/2001/XMLSchema-instance"
       xsi:schemaLocation="http://www.springframework.org/schema/beans http://www.springframework.org/schema/beans/spring-beans.xsd">

    <!--
        自定义配置bean
    -->
    <bean id="helloService" class="com.example.cywtest.HelloService">
    </bean>

</beans>
(2).在main方法对应的包下创建配置文件引入bean,以便让SpringBoot能扫描到

package com.example.demo;

import org.springframework.context.annotation.Configuration;
import org.springframework.context.annotation.ImportResource;

@Configuration
@ImportResource(locations = {"application-bean.xml"})
public class ConfigClass {

}
这样再启动就不会报错了。
HelloService:这个类不在CuiywTestApplication对应的包下,SpringBoot默认扫描不到。

package com.example.cywtest;

import org.springframework.stereotype.Service;

@Service
public class HelloService {
      public HelloService(){
            System.out.println("使用XML进行配置的Service");
        }
}
ConfigClass:这里引入了application-bean.xml

package com.example.demo;

import org.springframework.context.annotation.Configuration;
import org.springframework.context.annotation.ImportResource;

@Configuration
@ImportResource(locations = {"application-bean.xml"})
public class ConfigClass {

}
helloController: 这里注入了HelloService.

package com.example.demo;

import org.springframework.beans.factory.annotation.Autowired;
import org.springframework.stereotype.Controller;
import org.springframework.web.bind.annotation.RequestMapping;
import org.springframework.web.bind.annotation.ResponseBody;
import org.springframework.web.bind.annotation.RestController;

import com.example.cywtest.HelloService;

@RestController
//@Controller
//@ResponseBody
@RequestMapping("/sbs")
public class helloController {
    @Autowired
    HelloService helloService;
    @RequestMapping("/hello")
    public String Hello(){

        return "Hello World";
    }
}
这样通过上面的方法引入之后就能让SpringBoot扫描到了,再次启动也不会报错了。

二、外部配置
1.常规属性配置
在SpringBoot中只需在application.properties中定义,使用@Value注入即可。
Test.Name=cuiyw

package com.example.demo;

import org.springframework.beans.factory.annotation.Autowired;
import org.springframework.beans.factory.annotation.Value;
import org.springframework.stereotype.Controller;
import org.springframework.web.bind.annotation.RequestMapping;
import org.springframework.web.bind.annotation.ResponseBody;
import org.springframework.web.bind.annotation.RestController;

import com.example.cywtest.HelloService;

@RestController
//@Controller
//@ResponseBody
@RequestMapping("/sbs")
public class helloController {
    @Autowired
    HelloService helloService;
    @Value("${Test.Name}")
    private String Name;
    @RequestMapping("/hello")
    public String Hello(){

        return "Hello World,"+Name;
    }
}

2.基于properties类型安全的配置
SpringBoot提供了类型安全的配置方式,通过@ConfigurationProperties将Properties属性和一个Bean及其属性关联,从而实现类型安全的配置。
(1).在src/main/resource下建了一个test.properties的属性文件
person.Name=cyw
person.Age=18
(2).在com.example.demo包下创建了PersonSetting的类用来与test属性文件进行关联。

package com.example.demo;

import org.springframework.boot.context.properties.ConfigurationProperties;
import org.springframework.context.annotation.PropertySource;
import org.springframework.stereotype.Component;

@Component
@PropertySource(value = "classpath:/test.properties")
@ConfigurationProperties(prefix="person")
public class PersonSetting {
    private String name;
    private Long age;
    public String getName() {
        return name;
    }
    public void setName(String name) {
        this.name = name;
    }
    public Long getAge() {
        return age;
    }
    public void setAge(Long age) {
        this.age = age;
    }

}
(3).在helloController注入PersonSetting

package com.example.demo;

import org.springframework.beans.factory.annotation.Autowired;
import org.springframework.beans.factory.annotation.Value;
import org.springframework.stereotype.Controller;
import org.springframework.web.bind.annotation.RequestMapping;
import org.springframework.web.bind.annotation.ResponseBody;
import org.springframework.web.bind.annotation.RestController;

import com.example.cywtest.HelloService;

@RestController
//@Controller
//@ResponseBody
@RequestMapping("/sbs")
public class helloController {
    @Autowired
    HelloService helloService;
    @Value("${Test.Name}")
    private String Name;

    @Autowired
    PersonSetting personSetting;

    @RequestMapping("/hello")
    public String Hello(){

        return "Hello World,"+Name+"Person Name:"+personSetting.getName();
    }
}
(4).启动,在浏览器输入http://localhost:8081/cywtest/sbs/hello,可以看到获取到了属性文件中的name值。

三、Profile配置
在开发中可能会部署多个环境,每个环境部署的配置可能不一样.我们可以使用application.properties进行多个环境的配置,通过application-{profile}.properties来控制加载哪个环境的配置,将于环境无关的属性,放置到application.properties文件里面,通过spring.profiles.active=profiles的值,加载不同环境的配置,如果不指定,则默认加载application.properties的配置,不会加载带有profile的配置 。
(1).创建application-dev.properties开发和application-prod.properties生产属性文件,分别指定不同的port和context-path。
server.port=8082
server.servlet.context-path=/devtest
server.port=8083
server.servlet.context-path=/prodtest
(2)在application.properties设置环境 ,这里设置的是dev环境,那启动的端口就是8082.
spring.profiles.active=dev

四、小结
今天算是学了几个简单的配置,其实还有好多配置,比如日志等,这个一篇博客也写不完,在以后的博客中学习。
