在安装前先卸载mysql
rpm -qa|grep -i mysql
mysql80-community-release-el7-1.noarch
mysql-community-server-8.0.11-1.el7.x86_64
mysql-community-common-8.0.11-1.el7.x86_64
mysql-community-libs-8.0.11-1.el7.x86_64
mysql-community-client-8.0.11-1.el7.x86_64
yum remove mysql xxxxx #上面列表出现的依次卸载
[root@localhost /]# find / -name mysql 查找出文件依次删除
/var/lib/mysql
/var/lib/mysql/mysql
/usr/lib64/mysql
/usr/share/mysql
[root@localhost /]# rm -rf /var/lib/mysql
[root@localhost /]# rm -rf /var/lib/mysql/mysql
[root@localhost /]# rm -rf /usr/lib64/mysql
[root@localhost /]# rm -rf /usr/share/mysql
[root@localhost /]# rm -rf /etc/my.cnf
安装
1.直接自行下载,这里我用的是8.0.24版本
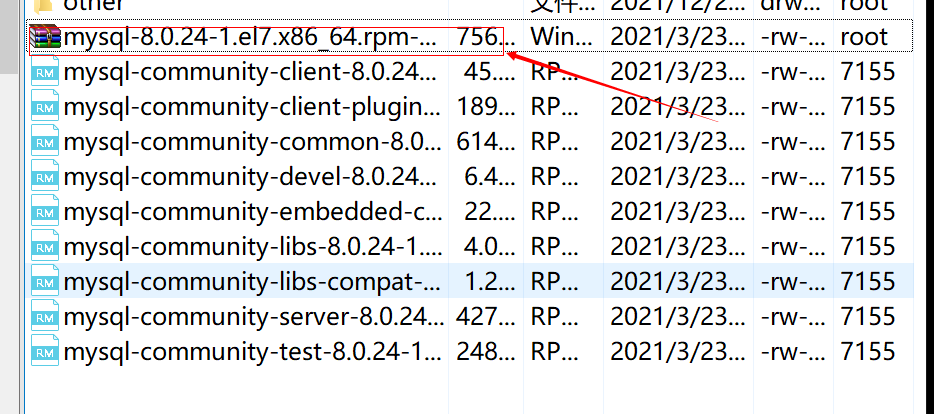
#官网下载列表第一个RPM Bundle Mar 23, 2021 756.8M
wget https://cdn.mysql.com/archives/mysql-8.0/mysql-8.0.24-1.el7.x86_64.rpm-bundle.tar
2.解压
#下载完成后 执行解压
tar -xvf mysql-8.0.24-1.el7.x86_64.rpm-bundle.tar #解压出现几个.rpm
3.安装
yum localinstall *.rpm #执行过程中会自动处理依赖关系 之后会出现y/n 选择y就行了
Dependency Updated:
e2fsprogs.x86_64 0:1.42.9-19.el7 e2fsprogs-libs.x86_64 0:1.42.9-19.el7 krb5-libs.x86_64 0:1.15.1-50.el7
libcom_err.x86_64 0:1.42.9-19.el7 libselinux.x86_64 0:2.5-15.el7 libselinux-python.x86_64 0:2.5-15.el7
libselinux-utils.x86_64 0:2.5-15.el7 libss.x86_64 0:1.42.9-19.el7 openssl.x86_64 1:1.0.2k-22.el7_9
openssl-libs.x86_64 1:1.0.2k-22.el7_9 zlib.x86_64 0:1.2.7-19.el7_9
Complete!
#显示到这里就说明安装完毕了!
4.修改原始密码
1.先打开服务,若要远程连接需要关闭防火墙,我用的阿里云服务器所以没有防火墙,但需要在阿里的控制台打开3306端口
[root@dlb home]# systemctl start mysqld #开启服务
[root@dlb home]# systemctl status firewalld #查看防火墙状态
● firewalld.service - firewalld - dynamic firewall daemon
   Loaded: loaded (/usr/lib/systemd/system/firewalld.service; disabled; vendor preset: enabled)
   Active: inactive (dead) #这个就显示关闭状态
     Docs: man:firewalld(1)
systemctl disable firewalld #关闭防火墙
2.查看原始密码并修改
[root@dlb home]# cat /var/log/mysqld.log | grep "A temporary password" 查看默认账号和密码
2021-11-02T02:56:29.652914Z 6 [Note] [MY-010454] [Server] A temporary password is generated for root@localhost: sk89ZLuhLX!
[root@dlb home]# mysql_secure_installation #修改密码
Securing the MySQL server deployment.
Enter password for user root:       #输入原始密码:sk89ZLuhLX!
The existing password for the user account root has expired. Please set a new password.
New password:     #密码英文大写+小写+符号+数字 不然不通过,应该是密码要求
以上的参考知乎 https://zhuanlan.zhihu.com/p/377577365
百度一天都是安装的mysql5.X的,脑壳疼!没想到知乎上还有
5.本地连接服务器数据库
上面的四个步骤安装完成后,发现在xshell中测试能用账号root,密码123456连接。但是在本地就无法连接
需要开启远程连接权限,重新设置一个账号密码
mysql> create user 'admin'@'%' identified by '123456'; #1
Query OK, 0 rows affected (0.00 sec)

mysql> grant all privileges on *.* to 'admin'@'%';  #2
Query OK, 0 rows affected (0.00 sec)

mysql> flush privileges;                          #3
Query OK, 0 rows affected (0.00 sec)

mysql> exit
输入用户名admin 密码:123456 ,发现本地Navicat连接提示让你升级客户端!!! 是不是需要重启服务?
[root@dlb home]# systemctl restart mysqld 重启服务
重启也不行!!!
6.修改连接加密方式
此时admin账号的加密方式 解析不了
mysql> select host,user,plugin from user;
+-----------+------------------+-----------------------+
| host      | user             | plugin                |
+-----------+------------------+-----------------------+
| %         | admin            | caching_sha2_password |
| localhost | mysql.infoschema | caching_sha2_password |
| localhost | mysql.session    | caching_sha2_password |
| localhost | mysql.sys        | caching_sha2_password |
| localhost | root             | caching_sha2_password |
+-----------+------------------+-----------------------+
#发现caching_sha2_password 这个不行的 ,修改!
修改加密方式
mysql> alter user 'admin'@'%' identified with mysql_native_password by '123456';
Query OK, 0 rows affected (0.01 sec)
mysql> select host,user,plugin from user;  #再次查询 发现已经更改了
+-----------+------------------+-----------------------+
| host      | user             | plugin                |
+-----------+------------------+-----------------------+
| %         | admin            | mysql_native_password |
| localhost | mysql.infoschema | caching_sha2_password |
| localhost | mysql.session    | caching_sha2_password |
| localhost | mysql.sys        | caching_sha2_password |
| localhost | root             | caching_sha2_password |
+-----------+------------------+-----------------------+
5 rows in set (0.00 sec)
7.root账号开启远程连接
mysql8的root开启远程连接不一样
mysql> use mysql;
Reading table information for completion of table and column names
You can turn off this feature to get a quicker startup with -A

Database changed
mysql> update user set host = '%' where user = 'root' and host='localhost';
Query OK, 0 rows affected (0.00 sec)
Rows matched: 0  Changed: 0  Warnings: 0


mysql> grant all on *.* to 'root'@'%';
Query OK, 0 rows affected (0.01 sec)

mysql> flush privileges;
Query OK, 0 rows affected (0.00 sec)
mysql> select host,user,plugin from user;
+-----------+------------------+-----------------------+
| host | user | plugin |
+-----------+------------------+-----------------------+
| % | admin | mysql_native_password |
| % | root | caching_sha2_password |
| localhost | mysql.infoschema | caching_sha2_password |
| localhost | mysql.session | caching_sha2_password |
| localhost | mysql.sys | caching_sha2_password |
+-----------+------------------+-----------------------+
5 rows in set (0.00 sec)
