Prerequisites:
- An AWS account
- AWS CLI installed on your client. If not, refer to the official AWS instructions to install/update AWS CLI (version 2) based on your underlying OS.
- [Optional] AWS root user's access keys configured in your CLI tool
Topics Covered:
- Using the AWS console, create a new IAM user with Programmatic administrator access. We will delete this user programmatically at the end of the exercise.
- Using the CLI tool, create a bucket, upload a file to it, and then delete the bucket
- Using the CLI tool, delete an IAM user
Step 1. Create a new IAM user
Let's create a new IAM user who would be allowed to interact with services in your AWS account as an administrator. The AWS allows us to choose if the new user should be granted a Programmatic access, or AWS web console access. The permissions to a user are granted in form of Policies, which are JSON documents. The AWS web console provides a pre-created list of policies to choose from.
- Navigate to the IAM console, and access the IAM Users service. Start the Add user wizard, as shown below.
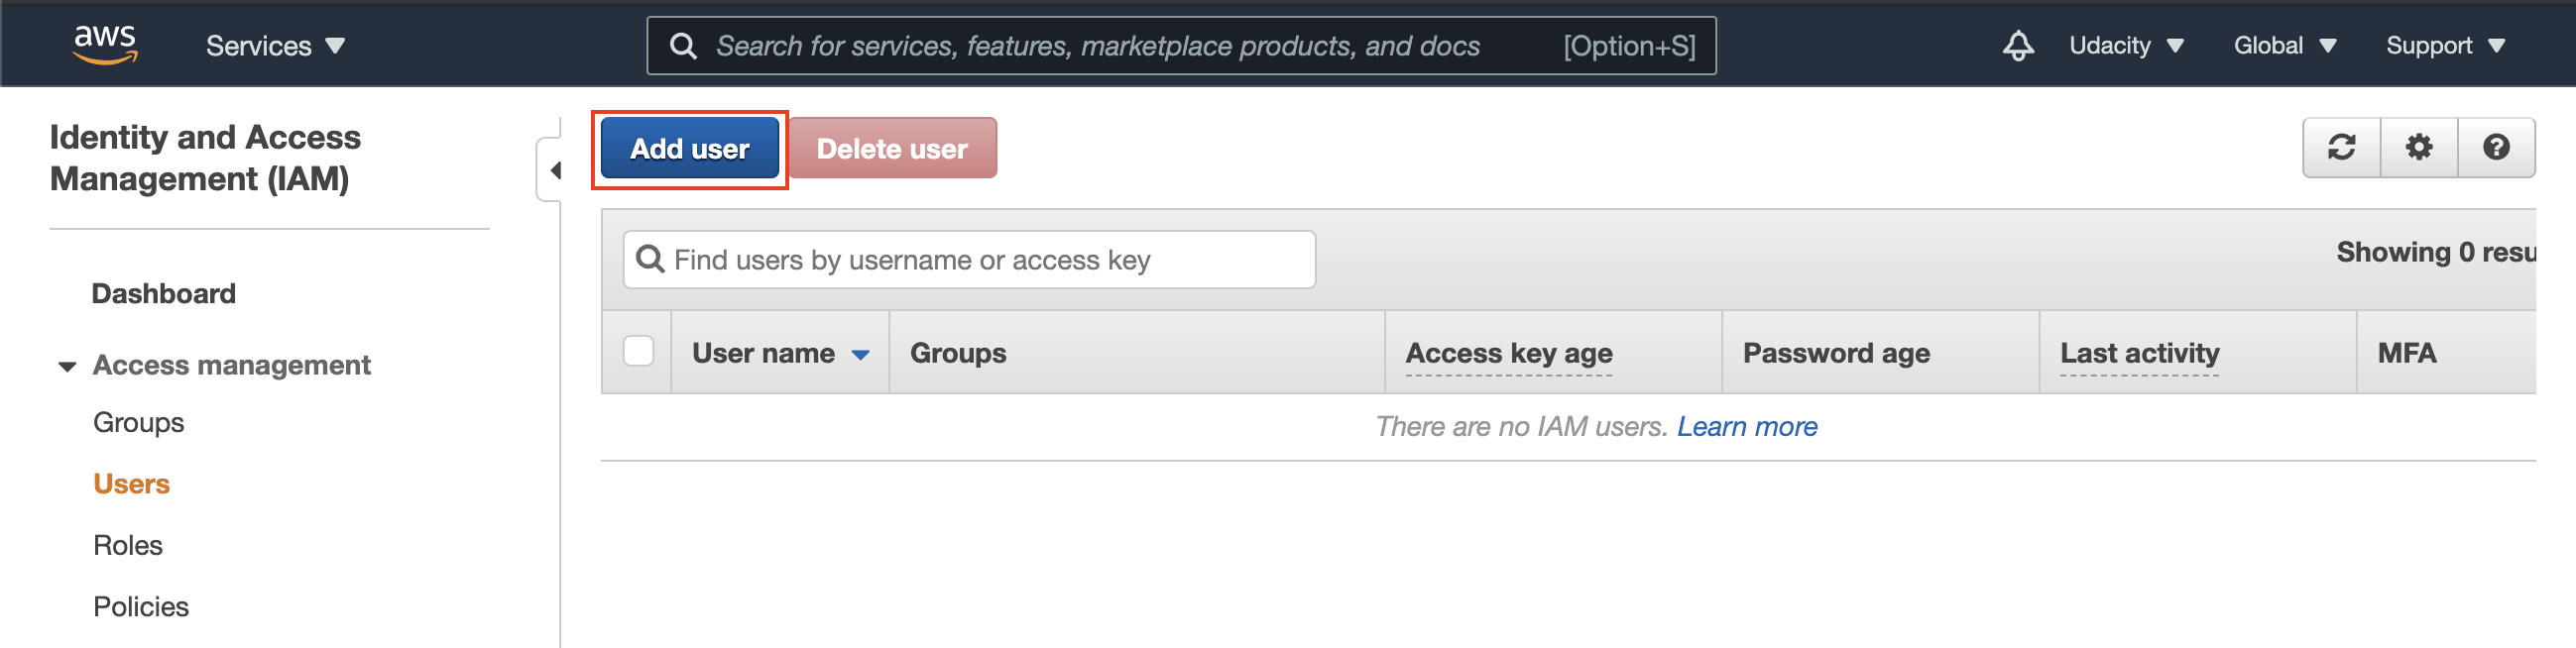
Launch the Add user wizard
- Set the user details, such as the name, and access type as Programmatic access only.
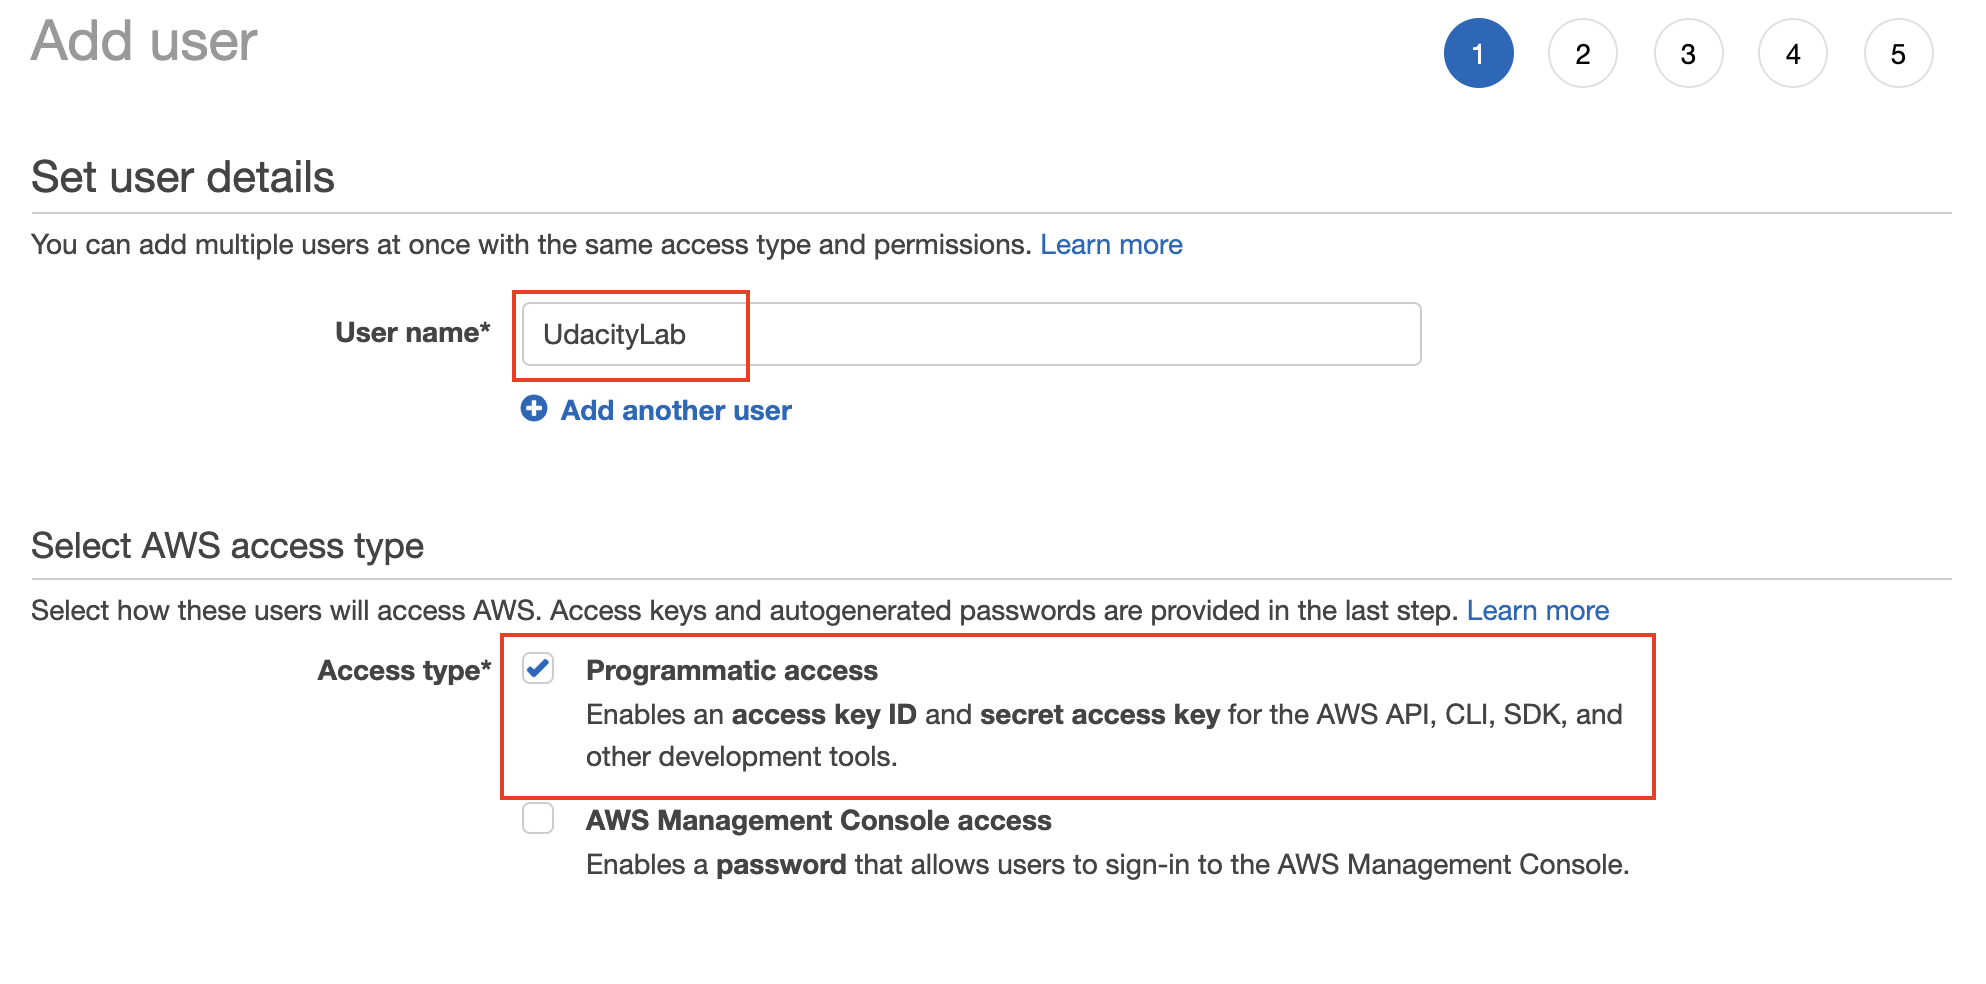
Set the user name, and type (mode) of access
- Set the permissions to the new user by attaching the AWS Managed AdministratorAccess policy from the list of existing policies.
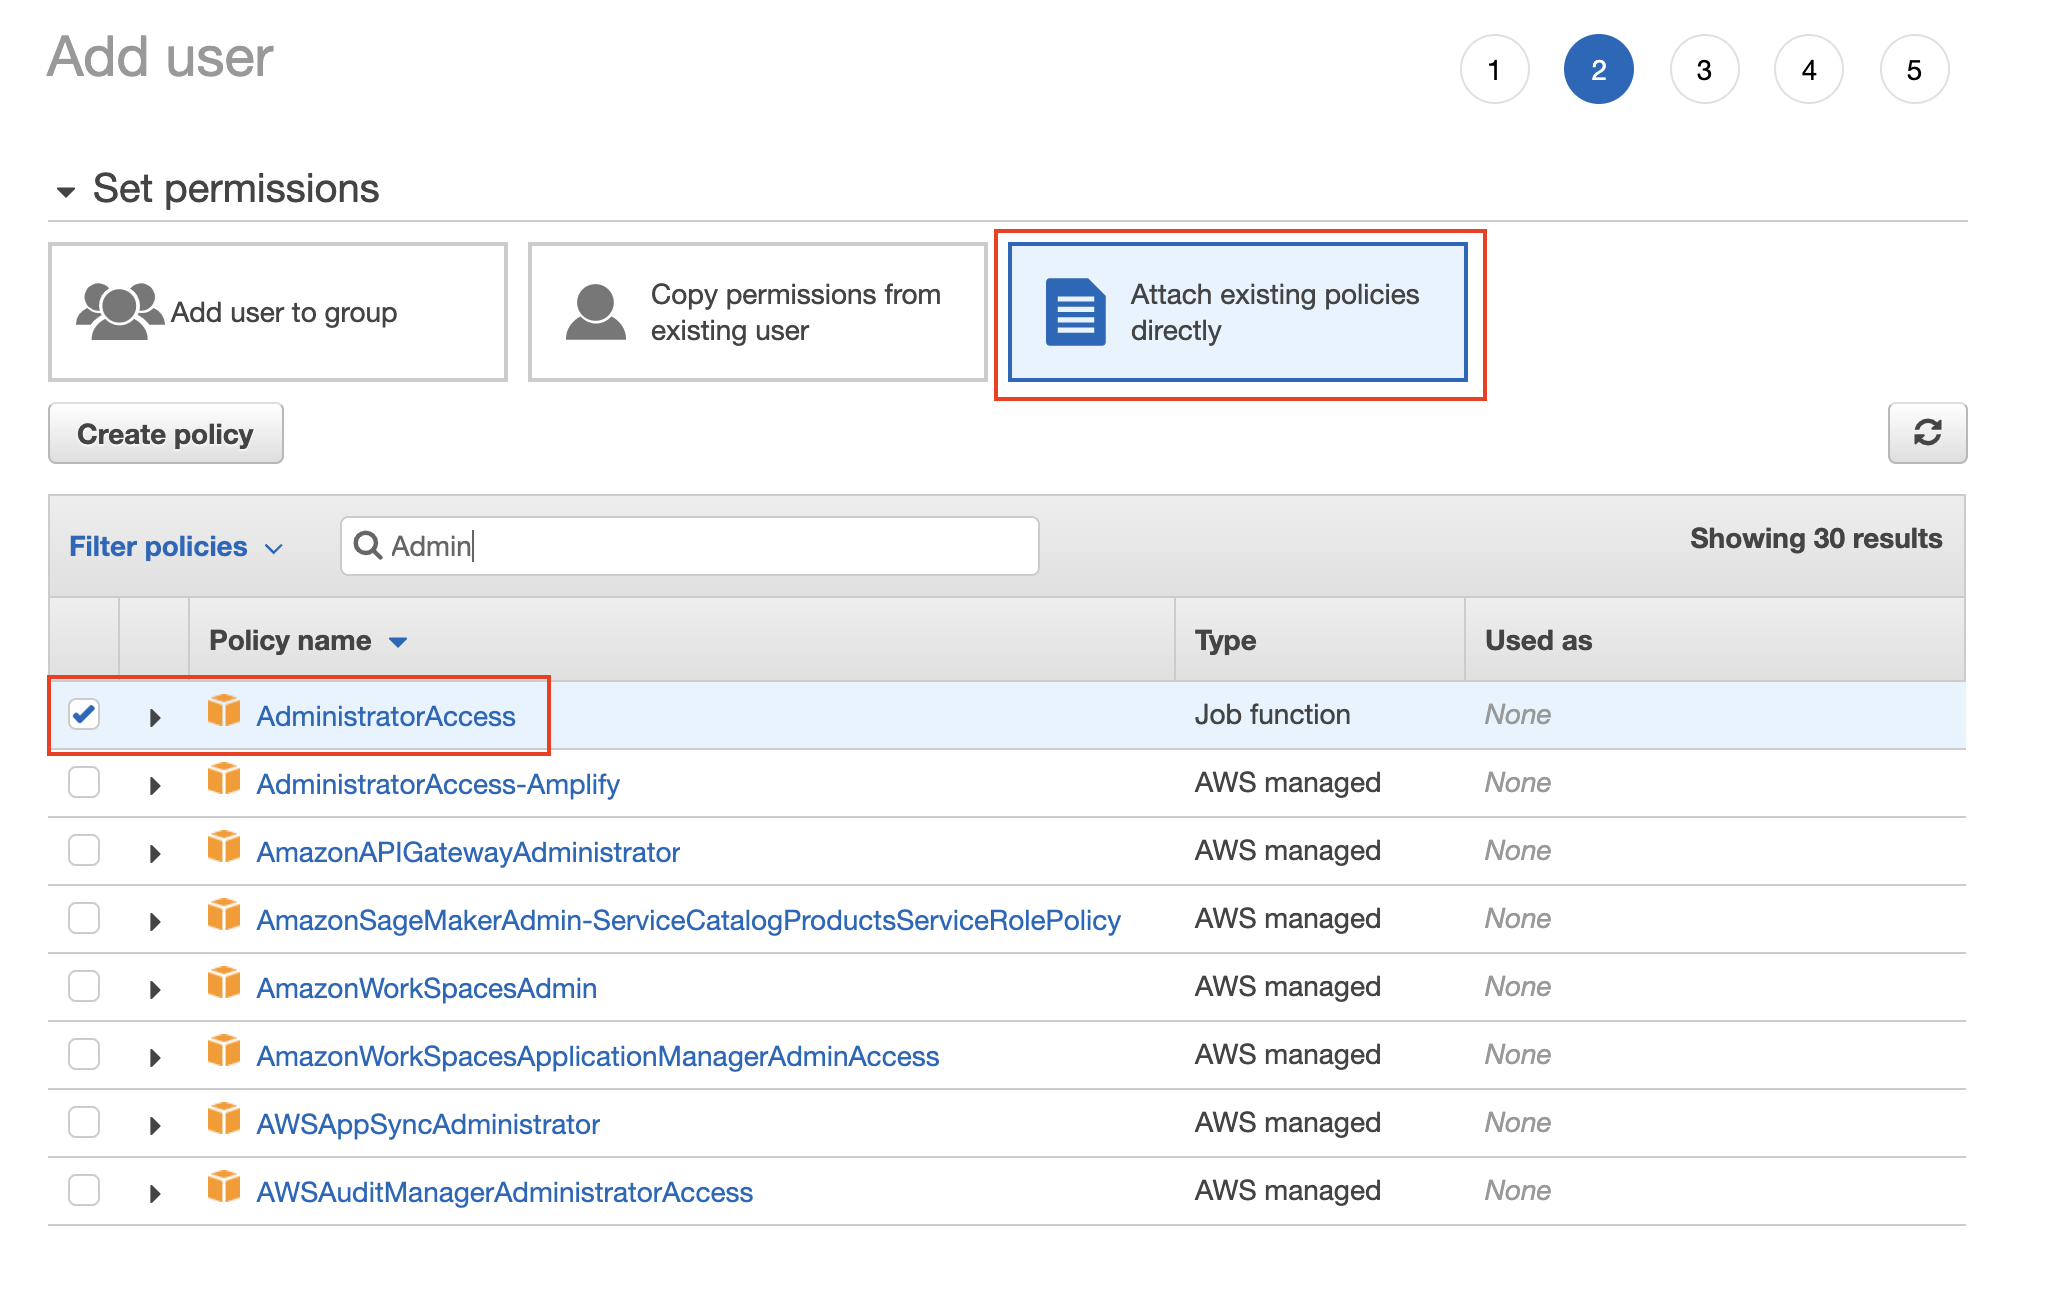
Attach the AdministratorAccess policy from the list of pre-created policies
- Provide tags [optional], review the details of the new user, and finally create the new user.
- Download the Access key file (.csv) that contains two items: an access key ID, and a secret. Don’t skip this step as this will be your only opportunity to download the Access key file.
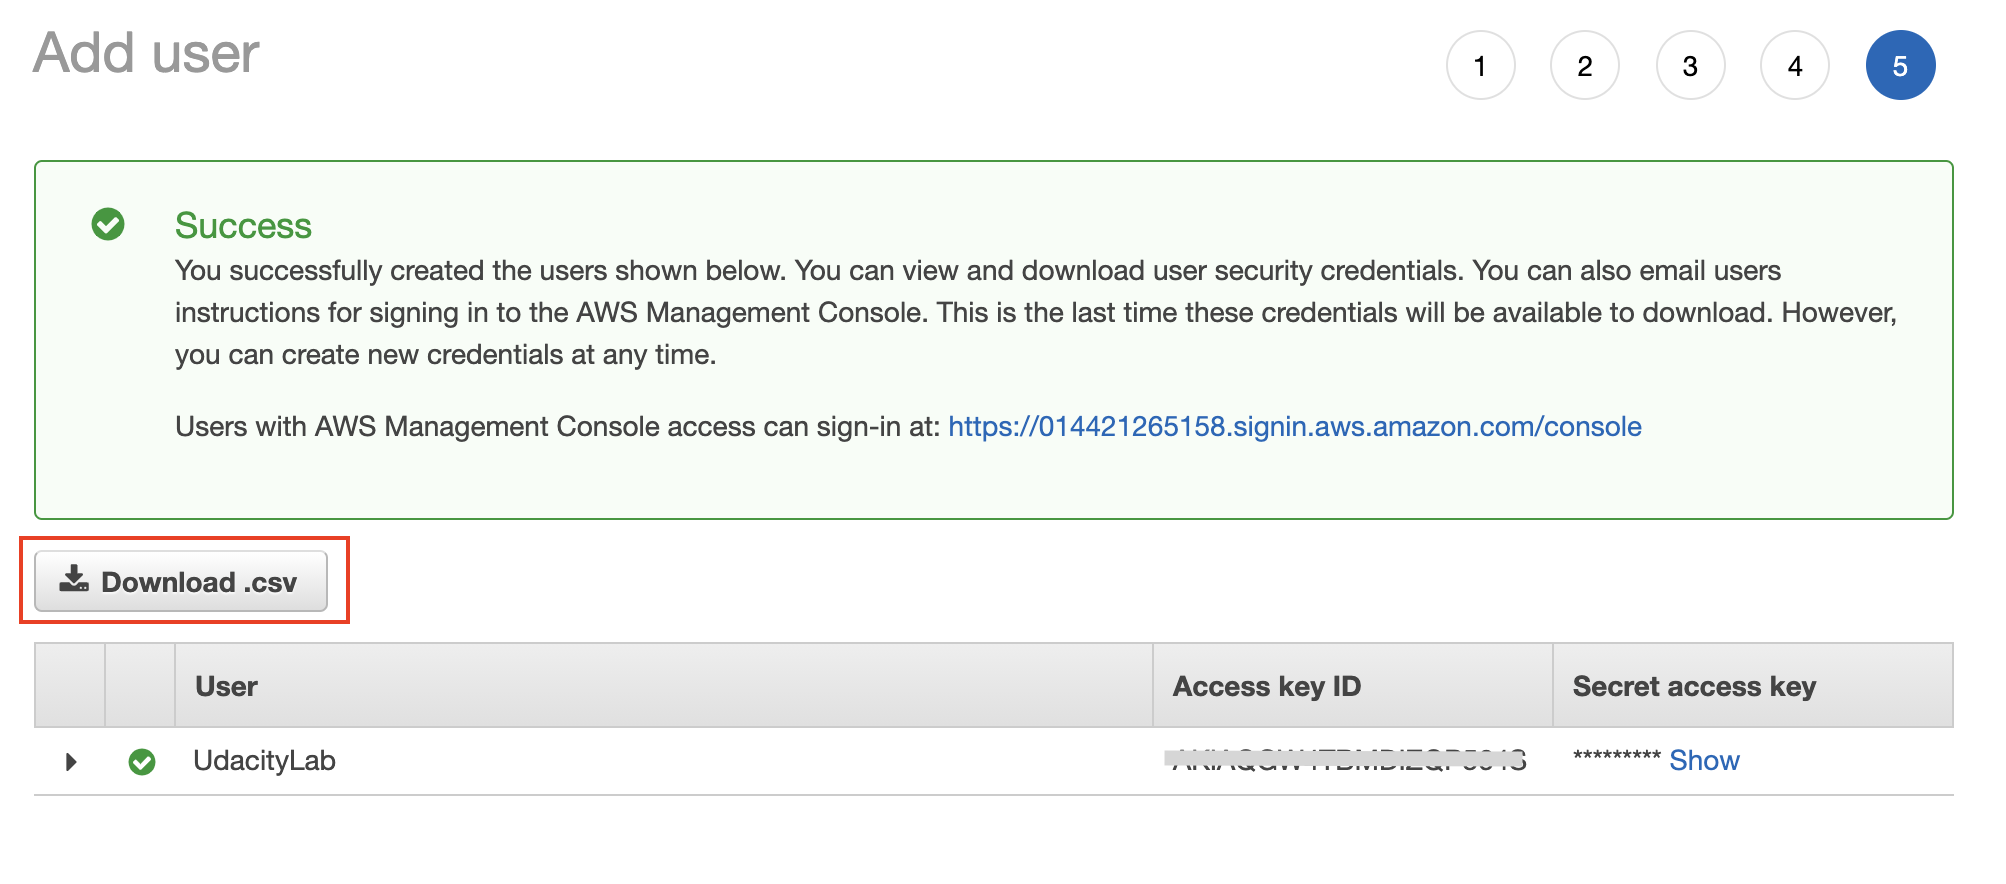
After a user is created successfully, download the access key file (.csv) containing the access key ID and a secret
Step 2. Configure a new profile in the AWS CLI
-
Now, to allow the newly created user to interact with the AWS services via CLI, configure the access key in your CLI tool. Let's create a new profile
UdacityLab, and associate the newly created access key to it. You can use the following commands:# Navigate back to your home folder cd # Set the UdacityLab profile credentials in the "credentials" and "config" file aws configure --profile UdacityLabIt will prompt you to enter the following four values:
- AWS Access Key ID - Paste the value from the downloaded access key file
- AWS Secret Access Key - Paste the value from the downloaded access key file
- Default region name - Enter your preferred region name, such as us-east-2
- Default output format - It can accept either a json, yaml, text, or a table. Enter json for this exercise.
-
You can review the current configuration as:
# Check the configuration
aws configure list
#View the content of the credentials and configuration file
cat ~/.aws/credentials
cat ~/.aws/config
If you haven't configured any profile ever, you can set the environment variables as well.
# Let the system know that your sensitive information is residing in the .aws folder
export AWS_CONFIG_FILE=~/.aws/config
export AWS_SHARED_CREDENTIALS_FILE=~/.aws/credentials
Note - You can create multiple profiles, and use a specific one in any aws command using the
--profile <profile-name>option.
Step 3. Interact with S3 service
-
Create a public bucket with name
my-033212455158-bucketin the us-east-1 region, using the newly createdUdacityLabprofile.aws s3api create-bucket --bucket my-033212455158-bucket --acl public-read-write --region us-east-1 --profile UdacityLabIn the command above,
--bucketoption specifies the bucket name of your choice. It must be unique across all AWS accounts.--profileoption specifies the profile whose credentials will be verified for authorization before accessing the S3 service. This option is OPTIONAL. If skipped, the aws CLI will use the default profile stored in your system.--acloption specifies the accessibility level--regionspecifies the AWS region where you want to create this bucket
Reference - aws s3api create-bucket command
-
Upload a file to your bucket. The command below uploads a file names
Sample.html, however, you can choose any file from your local system.aws s3api put-object --bucket my-033212455158-bucket --key Sample.html --body Sample.html --profile UdacityLabIn the command above,
--keyoption specifies the name you want to assign to your object in the bucket--bodyoption specifies the file name (complete path) to upload from your local system
Reference aws s3api put-object
- Verify the S3 bucket by going to the AWS web console.
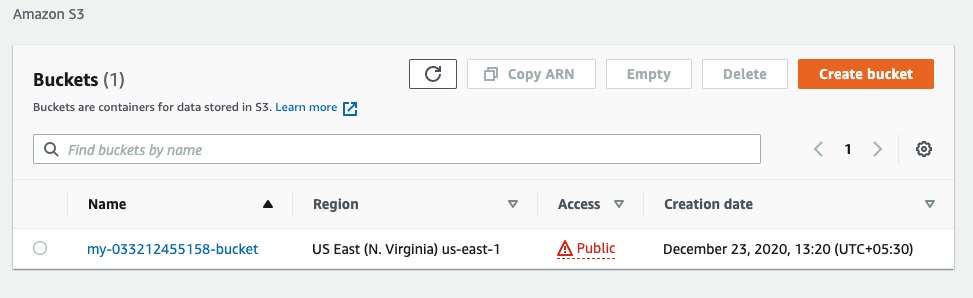
A public bucket created using the CLI
- Delete the bucket and its content. A bucket can only be deleted if it is empty. Therefore, first delete the
Sample.html, and then delete the bucket, as follows:
Reference - aws s3api commandsaws s3api delete-object --bucket my-033212455158-bucket --key Sample.html aws s3api delete-bucket --bucket my-033212455158-bucket --profile UdacityLab
- Navigate back to the S3 dashboard (AWS web console), and verify if the bucket has been deleted successfully.
Step 4. [Optional] Delete the newly created UdacityLab IAM user
Remember, you created the UdacityLab IAM user using the AWS web console. However, you can delete the newly created UdacityLab IAM user from your CLI tool as well.
Note - We are assuming that your AWS root user access key is set in the
defaultprofile using the commandaws configure --profile default. Use thecat ~/.aws/credentialscommand to list all the credentials set locally.
- View the list of all users (other than the root user) in your AWS account.
aws iam list-users
-
A user can only be deleted only after deleting the attached user policies, and access key. The commands below are executed using the
defaultprofile, therefore we have not used the--profileoption.# List the policies attached to the UdacityLab user aws iam list-attached-user-policies --user-name UdacityLab # A policy can be detached using its ARN, a unique identifier aws iam detach-user-policy --user-name UdacityLab --policy-arn arn:aws:iam::aws:policy/AdministratorAccess # List the access key for UdacityLab user aws iam list-access-keys --user-name UdacityLab # An access key can be deleted using its access key id aws iam delete-access-key --user-name UdacityLab --access-key-id AKIAQGW4TBMDIZQP564S # Delete the user aws iam delete-user --user-name UdacityLabReference - aws iam commands
- Navigate back to the IAM console, and access the IAM Users service to verify if the user has been successfully deleted.