Some basic exmaple on Doc: https://material.angular.io/cdk/overlay/overview
<!-- This button triggers the overlay and is it's origin -->
<button (click)="isOpen = !isOpen" type="button" cdkOverlayOrigin #trigger="cdkOverlayOrigin">
  {{isOpen ? "Close" : "Open"}}
</button>

<!-- This template displays the overlay content and is connected to the button -->
<ng-template
  cdkConnectedOverlay
  [cdkConnectedOverlayOrigin]="trigger"
  [cdkConnectedOverlayOpen]="isOpen"
>
  <ul class="example-list">
    <li>Item 1</li>
    <li>Item 2</li>
    <li>Item 3</li>
  </ul>
</ng-template>
Positioning
[cdkConnectedOverlayPositions]="positions"
import {
  Component,
  OnInit,
  ChangeDetectionStrategy,
  ViewChild,
  ElementRef,
} from '@angular/core';
import { FocusMonitor } from '@angular/cdk/a11y';
import {
  CdkConnectedOverlay,
  ConnectedPosition,
  ScrollStrategyOptions,
  ScrollStrategy,
} from '@angular/cdk/overlay';
import { OverlayReference } from '@angular/cdk/overlay/overlay-reference';
...

@Component({
...
})
export class DropDownSearchComponent implements OnInit {

  positions: ConnectedPosition[] = [
    {
      originX: 'center',
      originY: 'bottom',
      overlayX: 'center',
      overlayY: 'top',
      offsetY: -21,
    },
    {
      originX: 'center',
      originY: 'top',
      overlayX: 'center',
      overlayY: 'bottom',
      panelClass: 'no-enogh-space-at-bottom',
    },
  ];

}
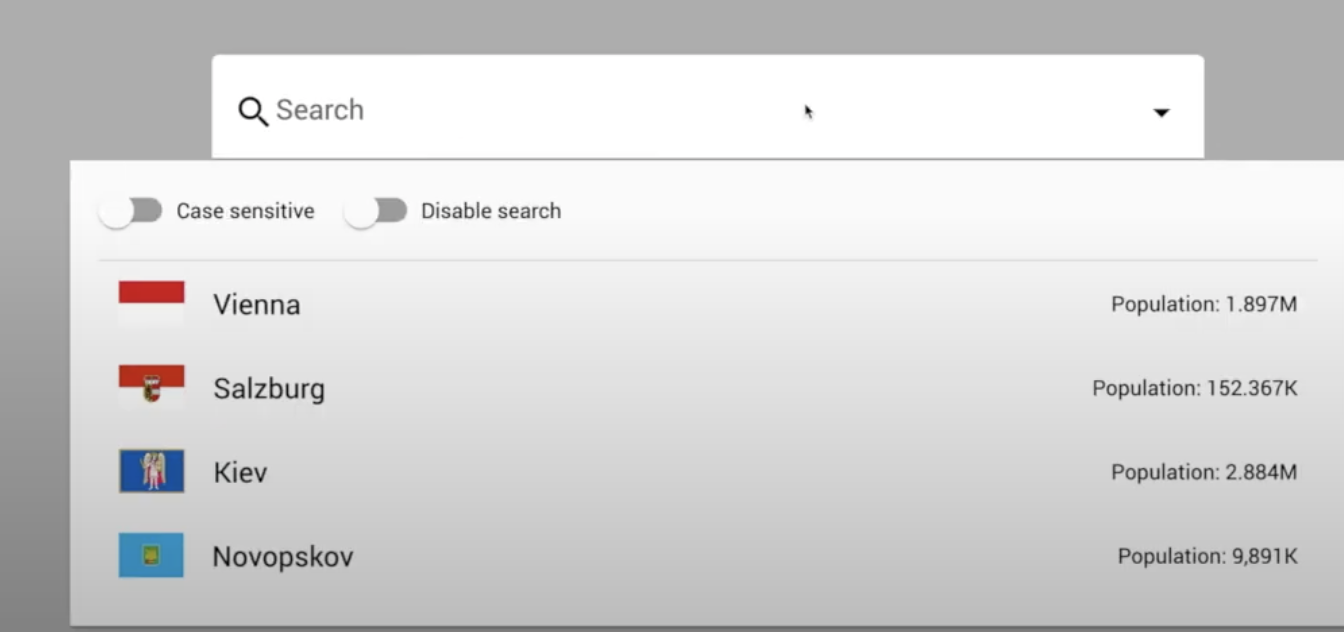
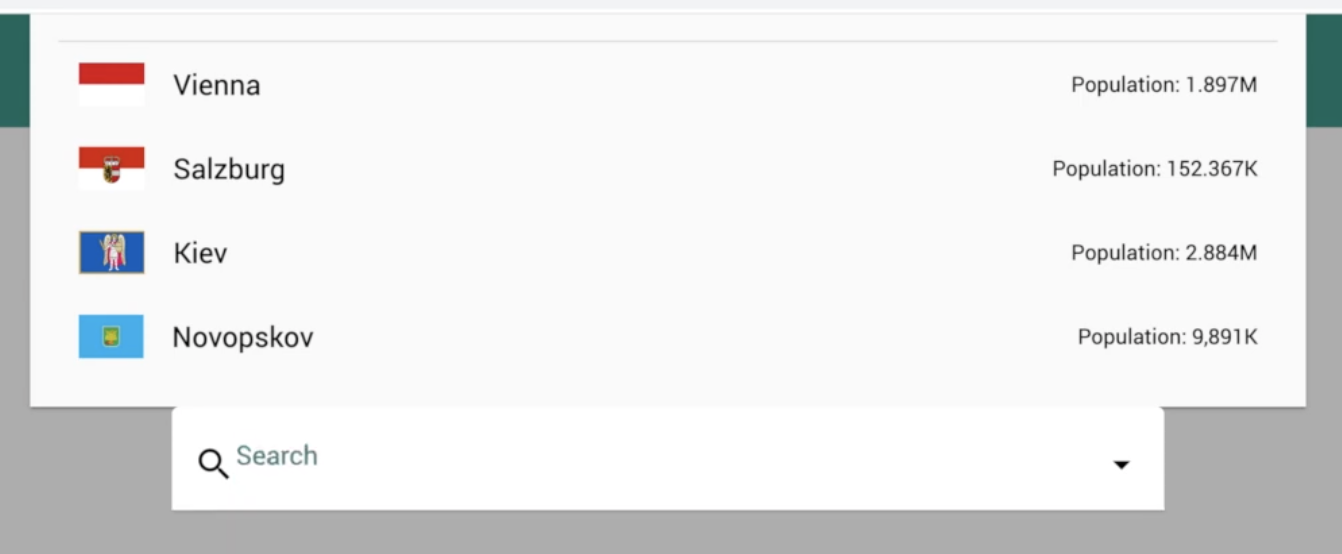
We have defined two Postions:
1. Center aligned. Overlay stay bottom

2. Center aligned. Overlay stay on top, if not enough space at bottom

Basiclly it will go though each position in array, apply it if previous position has not enough space for showing.
Creating Overlay and define position
import {
  ConnectedPosition,
  Overlay,
  OverlayPositionBuilder,
} from '@angular/cdk/overlay';
import { ComponentPortal } from '@angular/cdk/portal';

@Component({
...
})
export class AppComponent implements OnInit {

  @ViewChild(DropDownSearchComponent, { read: ElementRef, static: true })
  dropdown;

createDialog() {
    const overlayRef = this.overly.create({
      hasBackdrop: true,
      positionStrategy: this.positionBuilder
        .global()
        .centerHorizontally()
        .centerVertically(),
      // .flexibleConnectedTo(this.dropdown)
      // .withPositions([
      //   {
      //     // here, top-left of the overlay is connected to bottom-left of the origin;
      //     // of course, you can change this object or generate it dynamically;
      //     // moreover, you can specify multiple objects in this array for CDK to find the most suitable option
      //     originX: 'center',
      //     originY: 'bottom',
      //     overlayX: 'center',
      //     overlayY: 'top',
      //   } as ConnectedPosition,
      // ])
      // .withPush(false),
    });
    const dialogPortal = new ComponentPortal(DialogComponent);
    overlayRef.attach(dialogPortal);
    overlayRef.backdropClick().subscribe(() => overlayRef.detach());
  }
}
you can have
1. global position: for example center the overlay
2. flex position: attach to one origin
Scolling
[cdkConnectedOverlayScrollStrategy]="scrollStrategy"
import {
  CdkConnectedOverlay,
  ConnectedPosition,
  ScrollStrategyOptions,
  ScrollStrategy,
} from '@angular/cdk/overlay';

@Component({
...
})
export class DropDownSearchComponent implements OnInit {

  scrollStrategy: ScrollStrategy;

  constructor(
    private focusMonitor: FocusMonitor,
    private scrollStrategies: ScrollStrategyOptions
  ) {}

    // this.scrollStrategy = new ConfirmScrollStrategy(this.inputEl);
    // this.scrollStrategy = this.scrollStrategies.none()
    // this.scrollStrategy = this.scrollStrategies.block();
    // this.scrollStrategy = this.scrollStrategies.close({
    //   threshold: 50,
    // });
    this.scrollStrategy = this.scrollStrategies.reposition();
..
}

class ConfirmScrollStrategy implements ScrollStrategy {
  _overlay: OverlayReference;

  constructor(private inputRef: ElementRef) {}

  attach(overlayRef: OverlayReference) {
    this._overlay = overlayRef;
  }

  enable() {
    document.addEventListener('scroll', this.scrollListener);
  }

  disable() {
    document.removeEventListener('scroll', this.scrollListener);
  }

  private scrollListener = () => {
    if (confirm('The overlay will be closed. Procced?')) {
      this._overlay.detach();
      this.inputRef.nativeElement.blur();
      return;
    }
    this._overlay.updatePosition();
  };
}
There are 4 built-in srolling types:
1. none: Overlay stay where it was, no matter how you scroll your app
2. block: App cannot scroll at all
3. close: close the overlay once over the threhold
4. reposition: follow the origin when srcolling
You can also build a custom scrolling type as the one ´ConfirmScrollStrategy´.
Misc
Breakpoint
import { BreakpointObserver, Breakpoints } from '@angular/cdk/layout';
..

  constructor(
    ..
    private breakpointObserver: BreakpointObserver
  ) {}

  ngOnInit(): void {
    if (this.breakpointObserver.isMatched('(max- 600px)')) {
      console.info('The screen width is less than 600px');
    }
    this.isWideScreen$ = this.breakpointObserver
      .observe([Breakpoints.HandsetLandscape])
      .pipe(map(({ matches }) => matches));
  }
focusMonitor
import { FocusMonitor } from '@angular/cdk/a11y';

  constructor(
    private focusMonitor: FocusMonitor,

  ) {}

    this.isPanelVisible$ = this.focusMonitor.monitor(this.inputEl).pipe()

}
Listen to keyboard event for Overlay
 @ViewChild(CdkConnectedOverlay, { static: true })
  private connectedOverlay: CdkConnectedOverlay;

 const onEscClick$ = this.connectedOverlay.overlayKeydown.pipe(
      filter(({ keyCode }) => {
        return keyCode === ESCAPE;
      })
    );
More directives
<ng-template
  cdkConnectedOverlay
  cdkConnectedOverlayHasBackdrop
  cdkConnectedOverlayBackdropClass="cdk-overlay-transparent-backdrop"
  [cdkConnectedOverlayScrollStrategy]="scrollStrategy"
  [cdkConnectedOverlayOrigin]="originOverlay"
  [cdkConnectedOverlayOpen]="showPanel$ | async"
  [cdkConnectedOverlayPositions]="positions"
>
Code:
https://github.com/DMezhenskyi/angular-cdk-lessons
videos: