在index.html文件里的内容是
- <!DOCTYPE html>
- <html>
- <head>
- <meta charset="utf-8">
- <meta name="viewport" content="initial-scale=1, maximum-scale=1, user-scalable=no, width=device-width">
- <title></title>
- <link href="lib/ionic/css/ionic.css" rel="stylesheet">
- <link href="css/style.css" rel="stylesheet">
- <!-- IF using Sass (run gulp sass first), then uncomment below and remove the CSS includes above
- <link href="css/ionic.app.css" rel="stylesheet">
- -->
- <!-- ionic/angularjs js -->
- <script src="lib/ionic/js/ionic.bundle.js"></script>
- <!-- cordova script (this will be a 404 during development) -->
- <script src="cordova.js"></script>
- <!-- your app's js -->
- <script src="js/app.js"></script>
- <script src="js/controllers.js"></script>
- <script src="js/services.js"></script>
- </head>
- <body ng-app="starter">
- <!--
- The nav bar that will be updated as we navigate between views.
- -->
- <ion-nav-bar class="bar-stable">
- <ion-nav-back-button>
- </ion-nav-back-button>
- </ion-nav-bar>
- <!--
- The views will be rendered in the <ion-nav-view> directive below
- Templates are in the /templates folder (but you could also
- have templates inline in this html file if you'd like).
- -->
- <ion-nav-view></ion-nav-view>
- </body>
- </html>
在 controller.js 文件的代码:
angular.module('starter.controllers', [])
.controller('LogonCtrl',function($scope,$state){
    $scope.back = function(){
        $state.go('carousel');
    }
});
在app.js文件的代码:
- angular.module('starter', ['ionic', 'starter.controllers', 'starter.services'])
- .run(function($ionicPlatform) {
- $ionicPlatform.ready(function() {
- if (window.cordova && window.cordova.plugins && window.cordova.plugins.Keyboard) {
- cordova.plugins.Keyboard.hideKeyboardAccessoryBar(true);
- cordova.plugins.Keyboard.disableScroll(true);
- }
- if (window.StatusBar) {
- StatusBar.styleLightContent();
- }
- });
- })
- .config(function($stateProvider, $urlRouterProvider) {
- $stateProvider
- .state('logon',{
- url:'/logon',
- templateUrl:'templates/logon.html',
- controller:'LogonCtrl'
- });
- // if none of the above states are matched, use this as the fallback
- $urlRouterProvider.otherwise('/logon');
- });
在这里,我新建了一个空白html文件,定义名称为logon.html
第一种是placeholder(占位符)模拟输入,当用户输入时,占位符将会隐藏
在logon.html里的代码如下:
- <ion-view title="登陆页面">
- <ion-content>
- <div class="list">
- <label class="item item-input">
- <input type="text" placeholder="First Name">
- </label>
- <label class="item item-input">
- <input type="text" placeholder="Last Name">
- </label>
- <label class="item item-input">
- <input type="text" placeholder="password">
- </label>
- </div>
- <button class="button button-full">登陆</button>
- </ion-content>
- </ion-view>
接下来,第二个是内联标签,使用输入标签将标签放在输入元素的左边,当用户输入内容时标签不隐藏
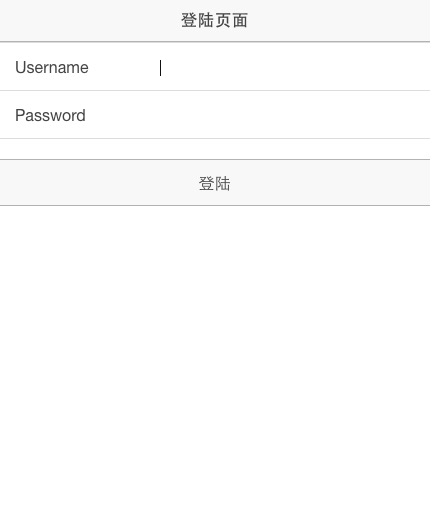
在logon.html里的代码:
- <ion-view title="登陆页面">
- <ion-content>
- <div class="list">
- <label class="item item-input">
- <span class="input-label">Username</span>
- <input type="text">
- </label>
- <label class="item item-input">
- <span class="input-label">Password</span>
- <input type="password">
- </label>
- </div>
- <button class="button button-full">登陆</button>
- </ion-content>
- </ion-view>
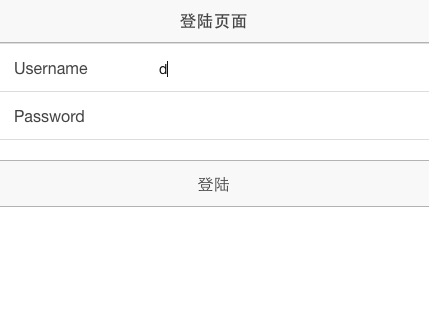
第三个是堆叠标签,既使用占位符标签,也使用内联标签,当然,主要是它自身的堆叠效果(stacked)
在logon.html里的代码如下:
- <ion-view title="登陆页面">
- <ion-content>
- <div class="list">
- <label class="item item-input item-stacked-label">
- <span class="input-label">Username</span>
- <input type="text" placeholder="Mary">
- </label>
- <label class="item item-input item-stacked-label">
- <span class="input-label">Password</span>
- <input type="password"placeholder="Password">
- </label>
- </div>
- <button class="button button-full">登陆</button>
- </ion-content>
- </ion-view>
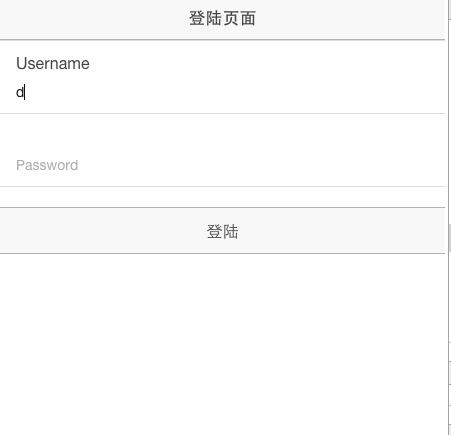 在logon.html里的代码如下:
- <ion-view title="登陆页面">
- <ion-content>
- <div class="list">
- <label class="item item-input item-floating-label">
- <span class="input-label">Username</span>
- <input type="text" placeholder="Username">
- </label>
- <label class="item item-input item-floating-label">
- <span class="input-label">Password</span>
- <input type="password" placeholder="Password">
- </label>
- </div>
- <button class="button button-full">登陆</button>
- </ion-content>
- </ion-view>
第五种 插图的形式
在logon.html里的代码如下:
- <ion-view title="登陆页面">
- <ion-content>
- <div class="list list-inset">
- <label class="item item-input">
- <input type="text"placeholder="Username">
- </label>
- <label class="item item-input">
- <input type="password" placeholder="Password">
- </label>
- </div>
- <button class="button button-full">登陆</button>
- </ion-content>
- </ion-view>
第六种 插入输入
在logon.html里的代码如下:
- <ion-view title="登陆页面">
- <ion-content>
- <div class="list">
- <div class="item-input-inset">
- <label class="item-input-wrapper">
- <input type="text"placeholder="Username">
- </label>
- </div>
- <div class="item-input-inset">
- <label class="item-input-wrapper">
- <input type="password" placeholder="Password">
- </label>
- </div>
- </div>
- <button class="button button-full">登陆</button>
- </ion-content>
- </ion-view>
第七种 输入图标
在logon.html里的代码如下:
- <ion-view title="登陆页面">
- <ion-content>
- <div class="list list-inset">
- <label class="item item-input">
- <i class="icon ion-person"></i>
- <input type="text" placeholder="Username">
- </label>
- <label class="item item-input">
- <i class="icon ion-locked"></i>
- <input type="password"placeholder="Password">
- </label>
- </div>
- <button class="button button-full">登陆</button>
- </ion-content>
- </ion-view>
第八种
代码:
- <ion-view>
- <div class="bar bar-header">
- <div class="title">登陆</div>
- </div>
- <ion-view>
- <ion-content style="margin-top: 40px">
- <div class="list item-input-inset">
- <h4>Username:</h4>
- <label class="item item-input">
- <input type="text">
- </label>
- </div>
- <div class="list item-input-inset">
- <h4>Password:</h4>
- <label class="item item-input">
- <input type="tel">
- </label>
- </div>
- <div class="list item-input-inset">
- <h4>Email:</h4>
- <label class="item item-input">
- <input type="email">
- </label>
- </div>
- </ion-content>
- </ion-view>
- </ion-view>
