Django 小实例S1 简易学生选课管理系统 第8节——CSS样式优化
点击查看教程总目录
作者自我介绍:b站小UP主,时常直播编程+红警三,python1对1辅导老师。
前面的几节下来,用户模块基本功能已经完成了,但是网页的样式十分简陋。
所以这里需要对样式进行美化。
前端网页美化样式,需要使用CSS,没听过CSS的推荐阅读下
CSS 简介
CSS 语法
首先,需要在项目的static文件夹下,新建文件夹css用于存放css文件。
同时需要修改下设置,把这个css文件夹放到STATICFILES_DIRS中,使得 Django也会在那里查找静态文件。
即在SSCMS/settings.py末尾添加如下代码
STATICFILES_DIRS = [
   os.path.join(BASE_DIR, "static"),
]
1 优化登录页样式
先为登录页面添加样式,在css文件夹下新建login.css如下
body {
    margin: 0;
}

.main-container {
    position: absolute;
     100%;
    height:100%;
    background: #4a2c964d;
    background: linear-gradient(rgba(230, 100, 101, 0.2), rgba(145, 152, 229, 0.3)),
        linear-gradient(#9198e560, #4a2c9880);
}

.main-header {
    height: 45%;
    text-align: center;
    font-size: 40px;
    color: #4a2c98;
}

.main-header .main-title {
    font-size: 50px;
    margin-top: 5%;
}

.main-header .welcome-message {
    font-size: 26px;
    margin-top: 60px;
    color: #ff5722;
}

.login-container {
    height: 40%;
     400px;
    margin: 0 auto;
    background: #eee;
    border-radius: 10px;
    box-shadow: 0 0 15px 2px rgba(0, 0, 0, .33);
    overflow: hidden;
}

.login-container .login-kind {
    padding-top: 10%;
    font-size: 30px
}

.login-container .login-kind a {
    text-decoration: none;
    background: #4a2c98;
    color: #eeeeee;
    padding: 10px;
    text-align: center;
    display: block;
    50%;
    margin: 0 auto;
    border-radius: 10px;
}


/* for login detail page  */
.login-kind-title {
    height: auto;
    padding: 2%;
    text-align: center;
    color: #4d2f99;
     96%;
    font-size: 22px;
    display: block;
    background: #ccc;
    overflow: hidden
}


.login-container .form p,
.login-container .form .submit-button {
    widht: 90%;
    padding-top: 4%;
    margin: 0 auto;
    display: flex;
    align-items: center;
    justify-content: center;
    font-family: "Roboto", "Lucida Grande", "DejaVu Sans", "Bitstream Vera Sans",
        Verdana, Arial, sans-serif;

}


.login-container .form p label {
    padding-right: 10px;
     80px;
}

.login-container .form p input {
    clear: both;
    padding: 8px;
     60%;
    -webkit-box-sizing: border-box;
    -moz-box-sizing: border-box;
    box-sizing: border-box;
    border: 1px solid #ccc;
    border-radius: 4px;
}

.login-container .form .submit-button,
.login-container .return-button {
    margin: 5px auto 0;
    padding-top: 20px;
}

.submit-button input,
.submit-button a {
    border: none;
    text-decoration: none;
    font-size: 18px;
    background: #4a2c98;
    color: #eeeeee;
    padding: 5px 0;
    text-align: center;
    display: block;
     30%;
    margin: 5px 10px;
    border-radius: 10px
}

.return-button a{
    border: none;
    text-decoration: none;
    font-size: 18px;
    background: #cccccc;
    color: #4a2c98;
    padding: 5px 0;
    text-align: center;
    display: block;
     30%;
    margin: 0 auto;
    border-radius: 10px;
}
并在templates/user/background.html的第8行和第九行之间,
即</title>之后、</head>之前,添加一行如下代码
<link href="{% static 'css/login.css' %}" rel="stylesheet">
即可导入css文件。
注意:要使用{% static 'css/login.css' %}语法,必须在模板文件中先使用语句{% load static %},这个之前就已经写在templates/user/background.html中了,所以不需要再写一遍。
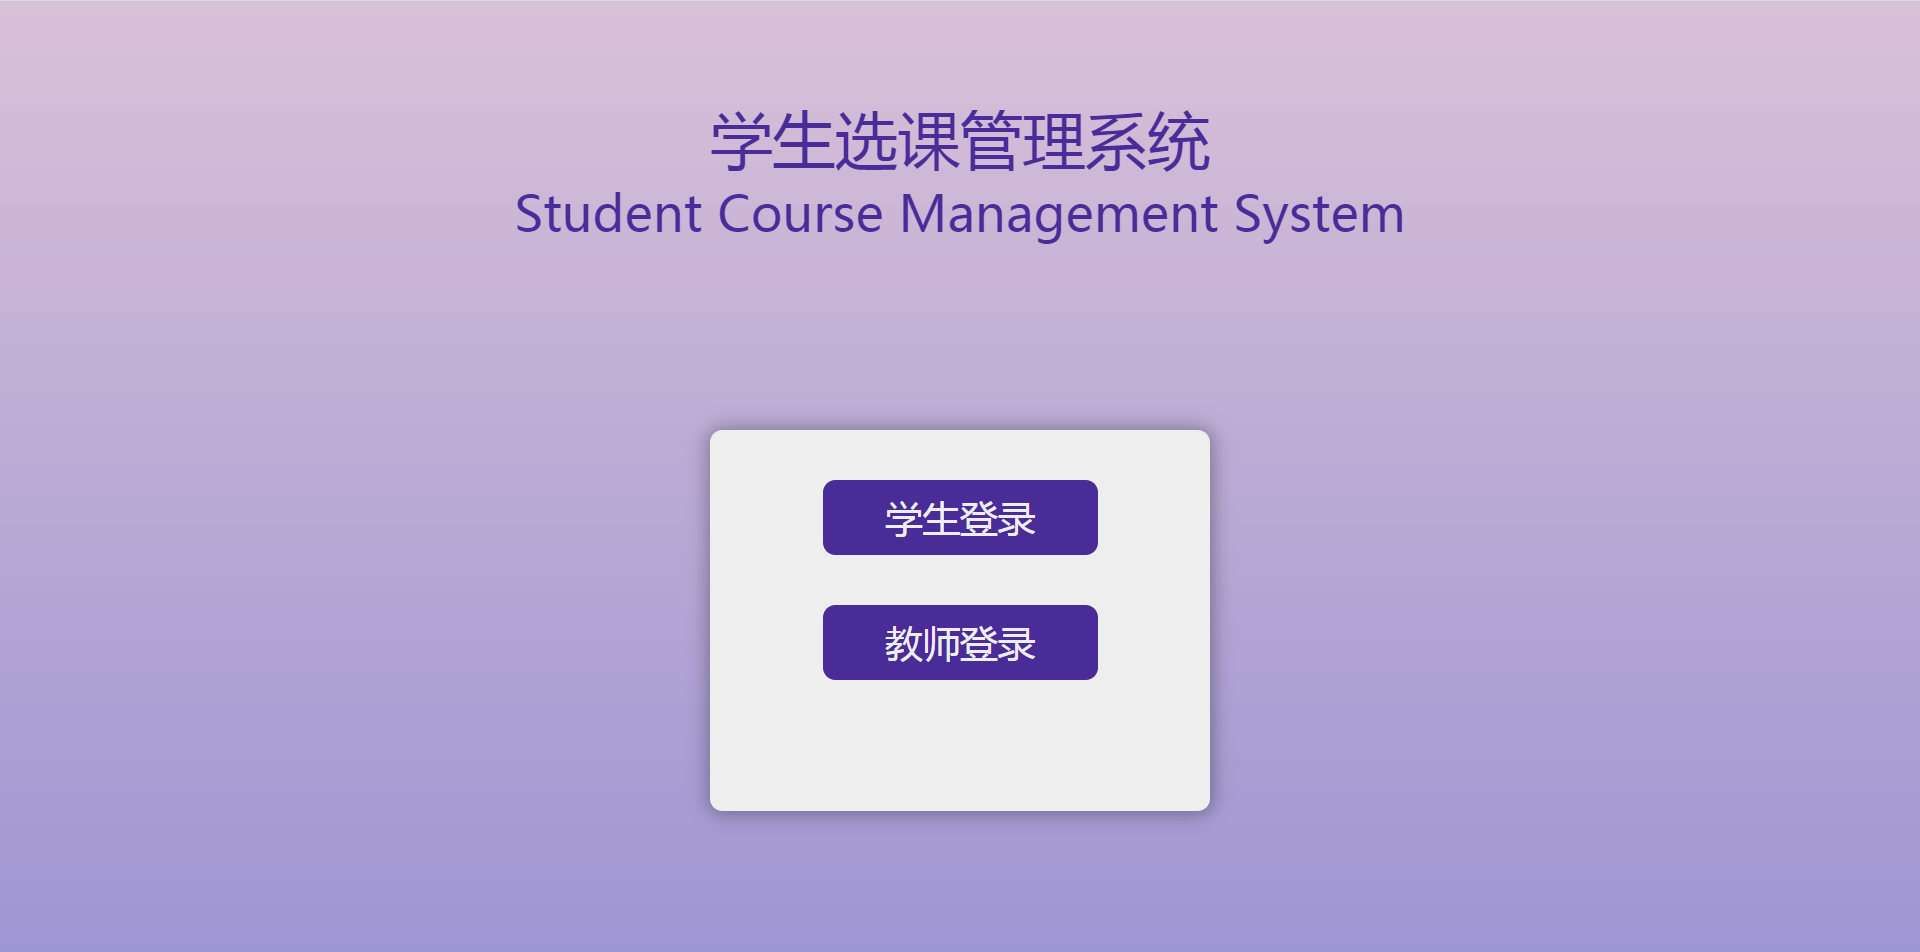
运行项目,此时登录主页效果如下图
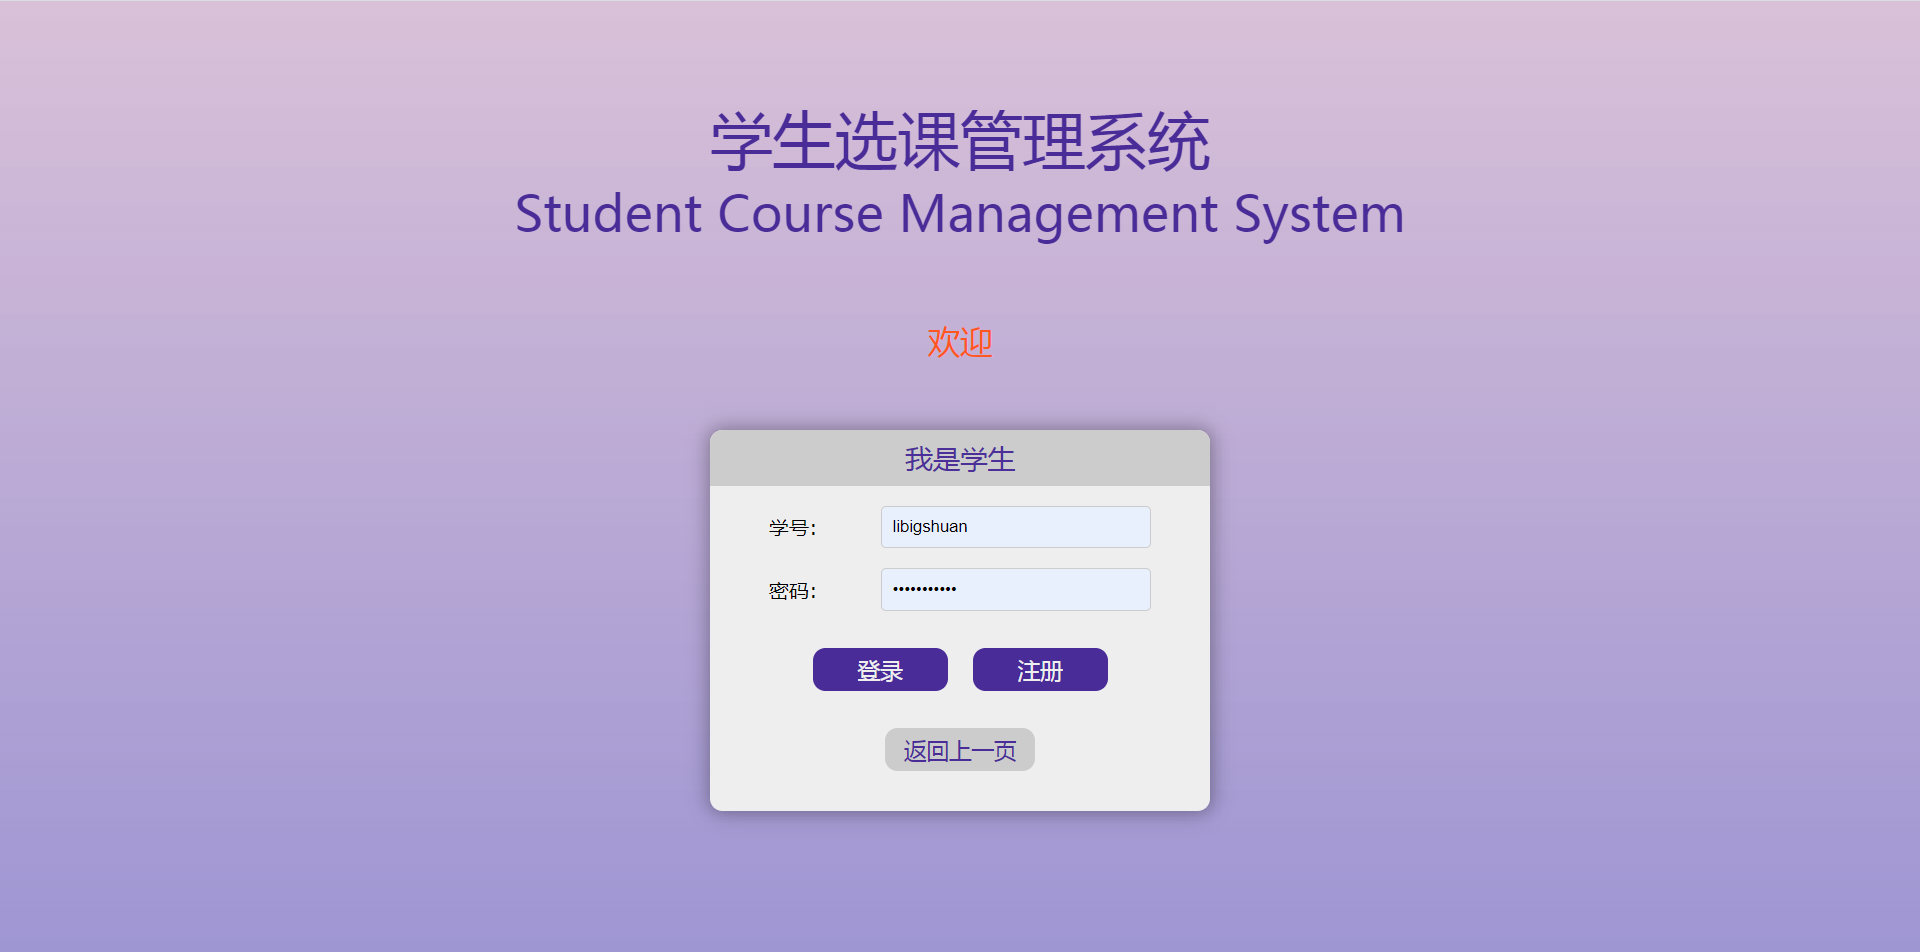
学生登录详情页效果如下图
2 优化注册页面样式
注册页面和用户信息修改页面,核心内容都是表单,且基本相似。
所以注册页面的样式也可以给用户信息修改页面的样式一起设置
新建static/css/register.css如下
.register-container {
    height: 40%;
     500px;
    margin: 100px auto;
    background: #eee;
    border-radius: 10px;
    box-shadow: 0 0 15px 2px rgba(0, 0, 0, 0.33);
    overflow: hidden;
}


.register-container .register-title {
    height: auto;
    padding: 2%;
    justify-content: center;
    text-align: center;
    color: #ccc;
     96%;
    font-size: 22px;
    display: block;
    background: #4d2f99;
    overflow: hidden;
}

.register-container .form p {
     90%;
    padding-top: 15px;
    margin: 0 auto;
    display: flex;
    align-items: center;
    justify-content: center;
    font-family: "Roboto", "Lucida Grande", "DejaVu Sans", "Bitstream Vera Sans",
        Verdana, Arial, sans-serif;
    word-break: break-all;
    flex-flow: wrap;
}

.register-container .form p label {
    padding-right: 10px;
     80px;
}


.register-container .form p input,
.register-container .form p select {
    clear: both;
    padding: 8px;
     60%;
    -webkit-box-sizing: border-box;
    -moz-box-sizing: border-box;
    box-sizing: border-box;
    border: 1px solid #ccc;
    border-radius: 4px;
}

.register-container .form p span.helptext {
    color: slategrey;
}

.register-container .form p .submit-button {
    border: none;
    text-decoration: none;
    font-size: 18px;
    background: #4a2c98;
    color: #eeeeee;
    padding: 5px 0;
    text-align: center;
    display: block;
     30%;
    margin: 0 10px 30px;
    border-radius: 10px;
}

.register-container .return-button {
    padding-left: 20px;
    padding-bottom: 10px;
}
在templates/user/register.html和templates/user/update.html中,
head标签之前(即<head>之前),添加下面一行代码导入static。
{% load static %}
head标签内部最后(即</head>之前),添加下面一行代码。
<link href="{% static 'css/register.css' %}" rel="stylesheet">
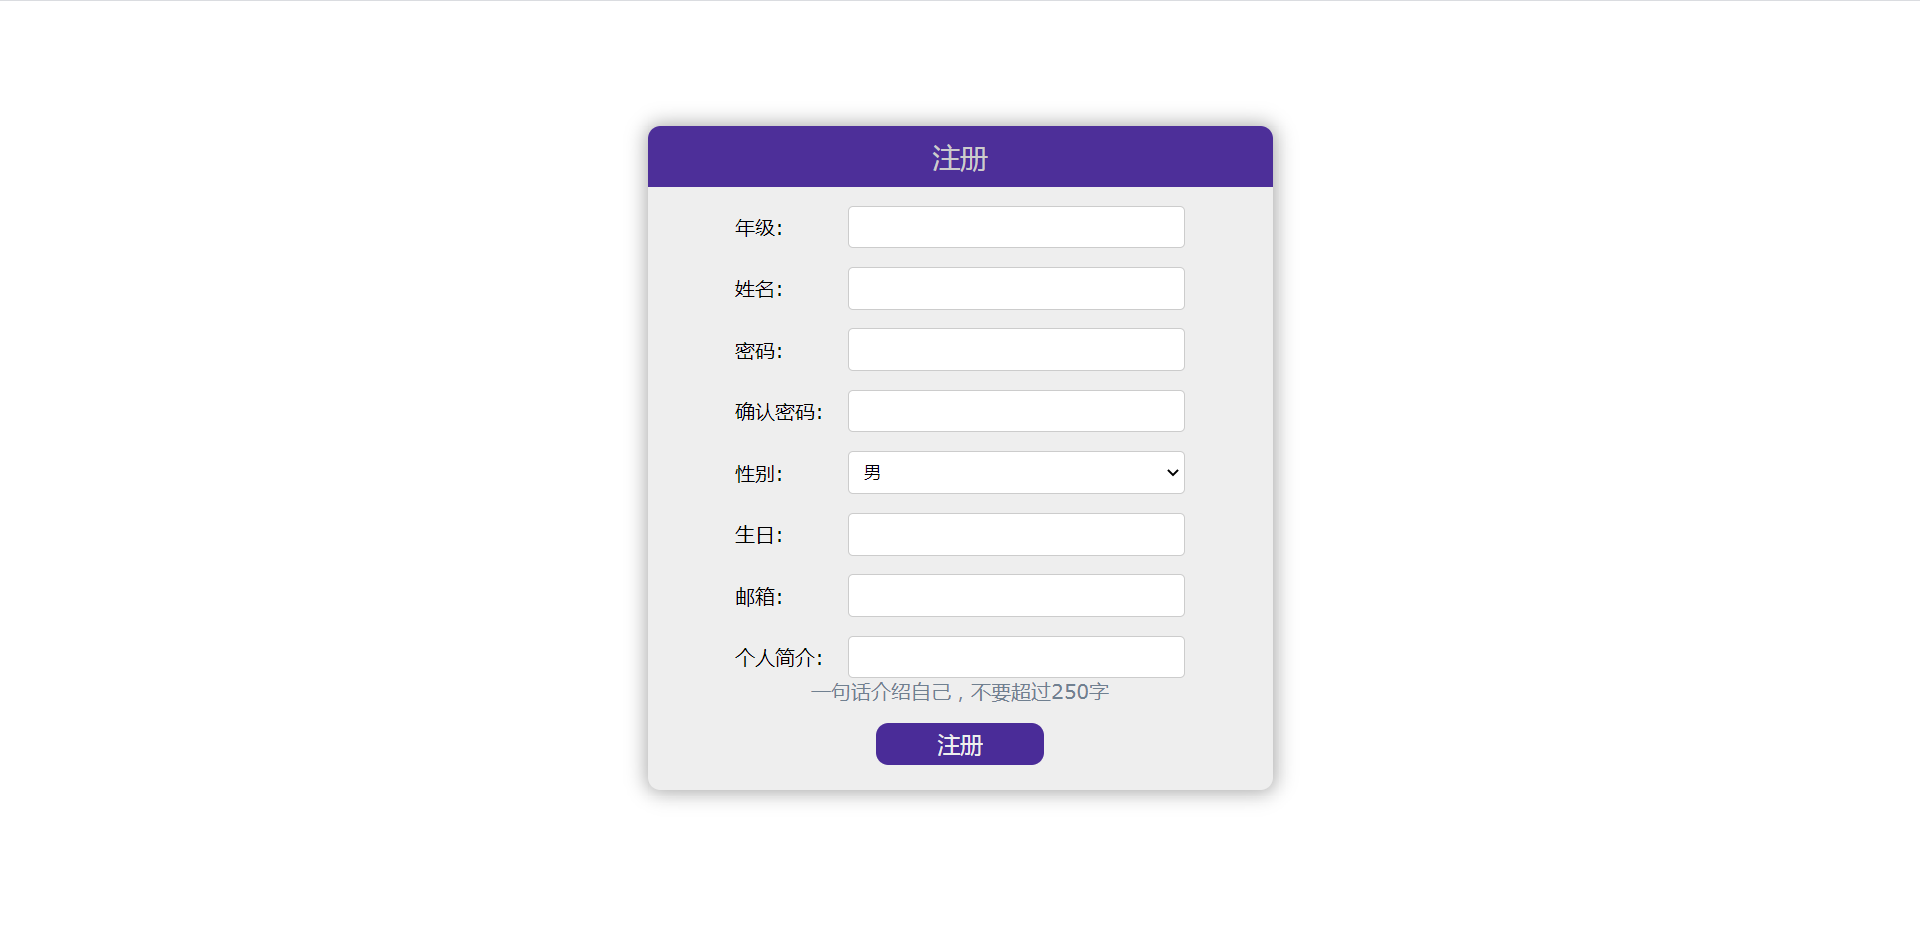
运行项目,此时注册页面效果如下图
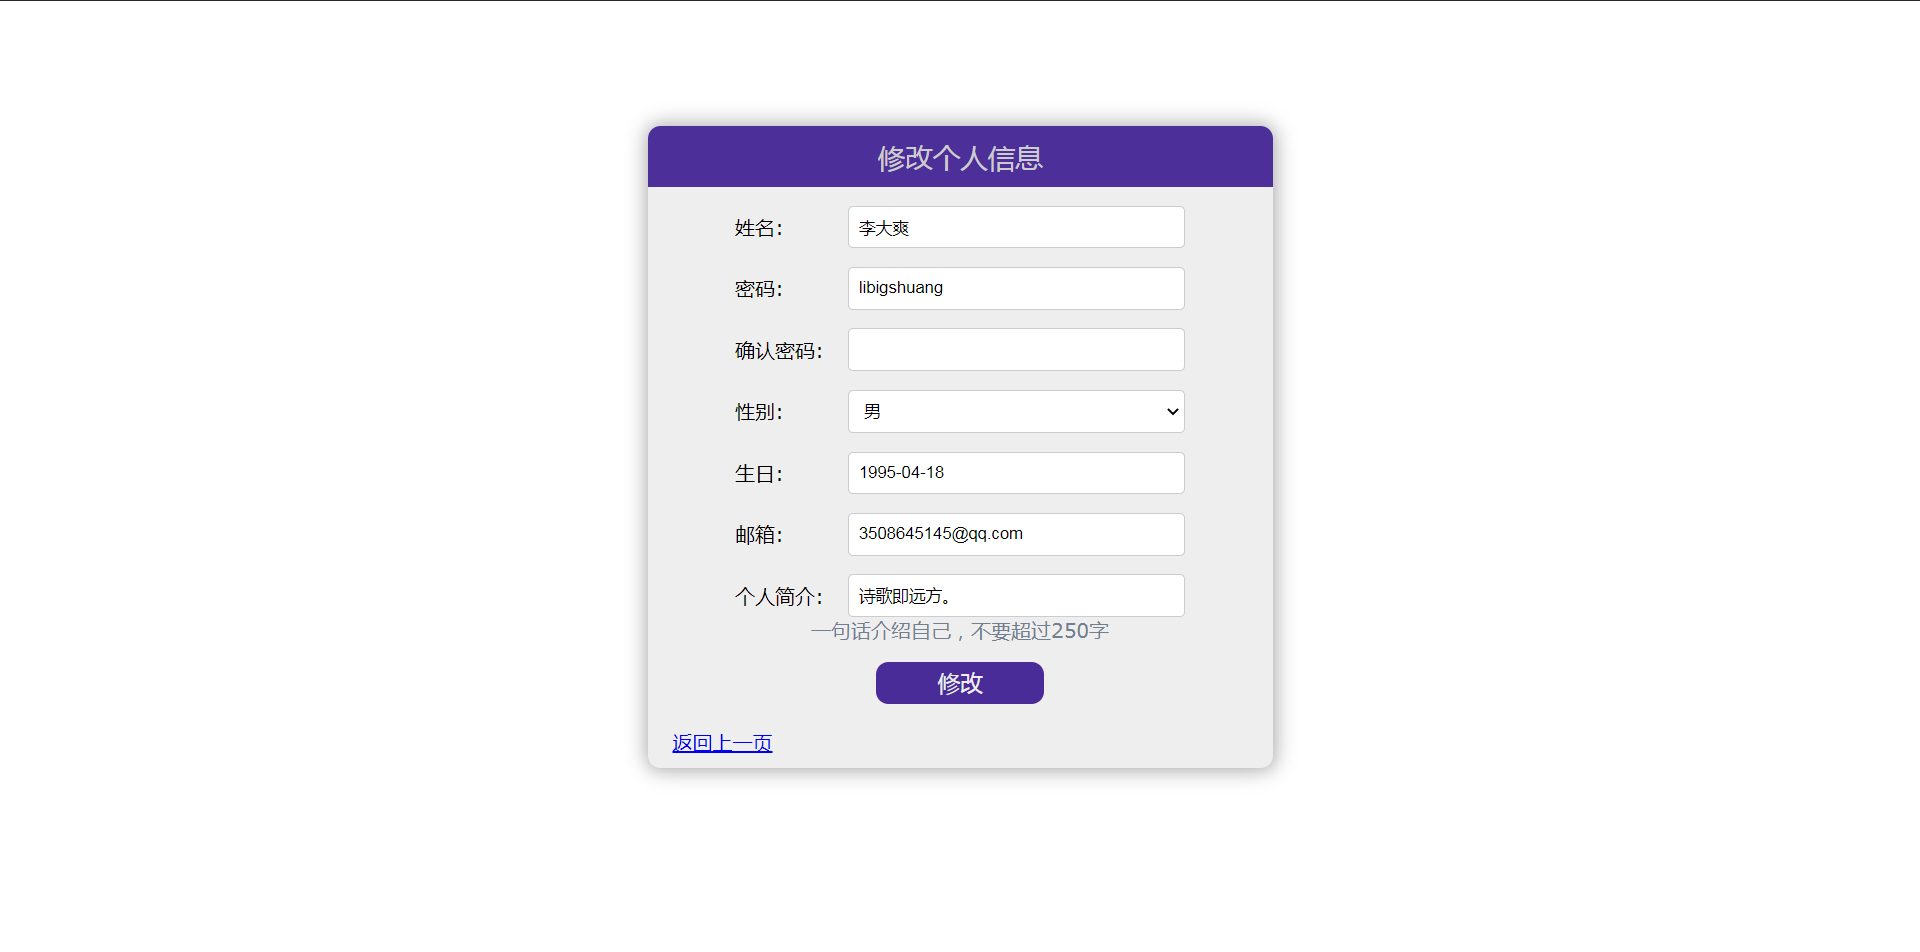
用户信息修改页面效果如下图
3 - 修改主页样式
修改登录后的主页样式,即未来的课程主页的样式
添加static/css/nav.css如下
body,p {
    margin: 0;
    padding: 0;
}

html, body {
    height: 100%;
     100%;
}

body {
    background: #ccc;
}

.nav {
    background: #4a2c98;
     100%;
}

.nav a {
    color: #ccc;
    text-decoration: unset;
}

.nav .nav-title,
.nav .name-logo,
.nav .log-out  {
    display: inline-block;
    margin: 5px;
}

.nav p {
    display: inline-block;
    float: left;
    padding-left: 10px;
}

.nav .nav-title {
    font-size: 24px;
    line-height: 26px;
    height: 26px;
    vertical-align: top;
}


.nav p.main-title {
    margin-right: 10px;
}

.nav p.sub-title {
    border-left: 3px solid #cccccc;
}

.nav .name-logo,
.nav .log-out  {
    float: right;
    margin: 8px 5px 0;
    vertical-align: top;
}

.nav .name-logo .user-name {
    background: #ccc;
    border-radius: 50%;
     24px;
    height: 24px;

    text-align: center;
    line-height: 24px;
    font-size: 16px;
    font-weight: bold;
}

.nav .name-logo .user-name a {
    color: #4a2c98;
}

.nav .log-out a {
    margin: 5px;
    background: #ccc;
    color: #4a2c98;
    border-radius: 5px;
    text-decoration: none;
    padding: 0 5px;
}
在templates/course/nav.html中,
head标签内部最后(即</head>之前),添加下面一行代码。
<link href="{% static 'css/nav.css' %}" rel="stylesheet">
运行项目,此时登录成功后主页效果如下

4 小结
到这里,用户模块就算彻底完成了,同时也额外完成了课程模块的主页,因为这个和用户主页是同一个页面。
未来将完成课程模块。