使用Vega画图
前段时间发现插件 Markdown Preview Enhanced 更新了 Vega 的画图方式,然后稍微研究了一下,发现还算是挺好用的,所以在此做个记录
介绍
插件 Markdown Preview Enhanced 支持Vega和Vega-lite
前者的设置使用相对后者来说更加复杂
但是如果不想深入研究的话,两者使用起来并没有什么区别
下面以最简单,最常见的柱形图(Bar)为例,演示如何使用Vega-lite画图
直球
首先打开 Vega-lite

打开 Examples 列表
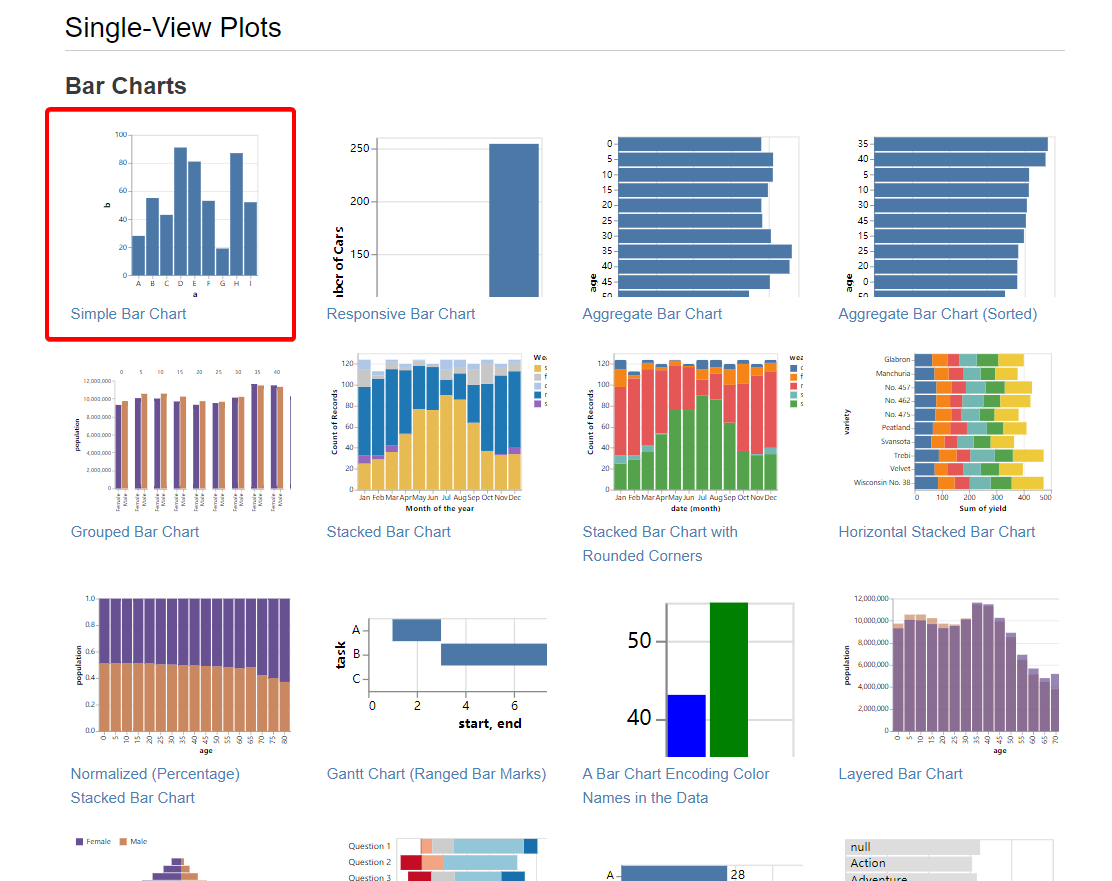
里面有很多模板,在这儿我使用最基础的Bar Chart
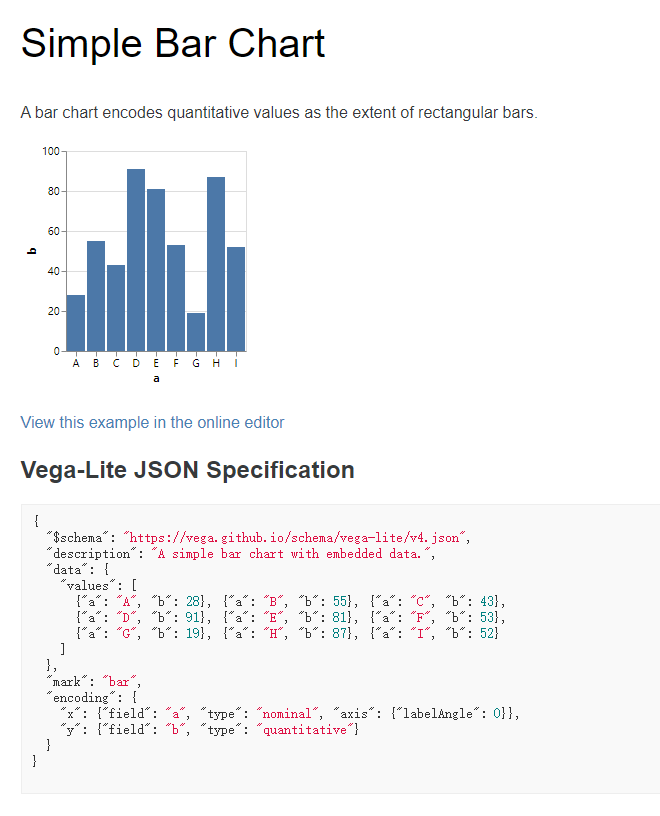
直接复制网站上提供的json(我自己加了个width),贴到```vega-lite 块中(如下code)
    ```vega-lite
    {
    "$schema": "https://vega.github.io/schema/vega-lite/v4.json",
    "description": "A simple bar chart with embedded data.",
    "width": 500,
    "data": {
        "values": [
        {"a": "A", "b": 28}, {"a": "B", "b": 55}, {"a": "C", "b": 43},
        {"a": "D", "b": 91}, {"a": "E", "b": 81}, {"a": "F", "b": 53},
        {"a": "G", "b": 19}, {"a": "H", "b": 87}, {"a": "I", "b": 52}
        ]
    },
    "mark": "bar",
    "encoding": {
        "x": {"field": "a", "type": "nominal", "axis": {"labelAngle": 0}},
        "y": {"field": "b", "type": "quantitative"}
    }
    }
    ```
即可生成基础 Bar Chart
{
"$schema": "https://vega.github.io/schema/vega-lite/v4.json",
"description": "A simple bar chart with embedded data.",
"width": 500,
"data": {
    "values": [
    {"a": "A", "b": 28}, {"a": "B", "b": 55}, {"a": "C", "b": 43},
    {"a": "D", "b": 91}, {"a": "E", "b": 81}, {"a": "F", "b": 53},
    {"a": "G", "b": 19}, {"a": "H", "b": 87}, {"a": "I", "b": 52}
    ]
},
"mark": "bar",
"encoding": {
    "x": {"field": "a", "type": "nominal", "axis": {"labelAngle": 0}},
    "y": {"field": "b", "type": "quantitative"}
}
}
其他的图像也是也是类似的操作
复制完成之后按照values提供的格式改改数据就好了
很直的曲线球
可以试着将 数据 分离开来
比如使用一个新的文件存放数据
./src/bar_data.json
[
    {"a": "A", "b": 28}, {"a": "B", "b": 55}, {"a": "C", "b": 43},
    {"a": "D", "b": 91}, {"a": "E", "b": 81}, {"a": "F", "b": 53},
    {"a": "G", "b": 19}, {"a": "H", "b": 87}, {"a": "I", "b": 52}
]
然后将上面的 values 改为 url
    ```vega-lite
    {
    "$schema": "https://vega.github.io/schema/vega-lite/v4.json",
    "description": "A simple bar chart with embedded data.",
    "width": 500,
    "data": {
        "url": "./src/bar_data.json"
    },
    "mark": "bar",
    "encoding": {
        "x": {"field": "a", "type": "nominal", "axis": {"labelAngle": 0}},
        "y": {"field": "b", "type": "quantitative"}
    }
    }
    ```
也能达到相同的效果
{
"$schema": "https://vega.github.io/schema/vega-lite/v4.json",
"description": "A simple bar chart with embedded data.",
"width": 500,
"data": {
    "url": "./src/bar_data.json"
},
"mark": "bar",
"encoding": {
    "x": {"field": "a", "type": "nominal", "axis": {"labelAngle": 0}},
    "y": {"field": "b", "type": "quantitative"}
}
}
当然也可以直接使用http直接从后端那边拿数据(只要返回的数据格式能对上)
蛇皮球
上述的两种做法只能做出静态图像,vega支持的添加事件(如hover事件之类的)就完全无法使用
而且如果导出为html,图像无法随着数据的变化而变化
所以若是想使用更强的功能,还是得上 html+js
首先在md文件的开头加上
<!-- 不会显示出来 -->
<script src="https://cdn.jsdelivr.net/npm/vega@5.17.0"></script>
<script src="https://cdn.jsdelivr.net/npm/vega-lite@4.17.0"></script>
<script src="https://cdn.jsdelivr.net/npm/vega-embed@6.12.2"></script>
在这之后加上
<div id="vis"></div>
<script type="text/javascript">
    var config = {
        "$schema": "https://vega.github.io/schema/vega-lite/v4.json",
        "description": "A simple bar chart with embedded data.",
        "width": 500,
        "data": {
            "url": "./src/bar_data.json"
        },
        "mark": "bar",
        "encoding": {
            "x": {"field": "a", "type": "nominal", "axis": {"labelAngle": 0}},
            "y": {"field": "b", "type": "quantitative"}
        }
    }
    vegaEmbed('#vis', config);
</script>
如果有兴趣,可以将这个 config 做成一个 url
然后当config改变,图像也会有相应的改变
至于这种写法到底算是方便还是不方便,我就不知道了