之前写过一个Vue 学习笔记 细节就不多写了
1. 进入CMD

2.创建项目
vue init webpack

vs code下:

调整端口避免冲突:

到这里是回顾;

********************************
ElementUI:
用elementUI吧: 官网文档参考:https://element.eleme.cn/#/zh-CN/component/installation
安装一下按照官网:
npm i element-ui -S
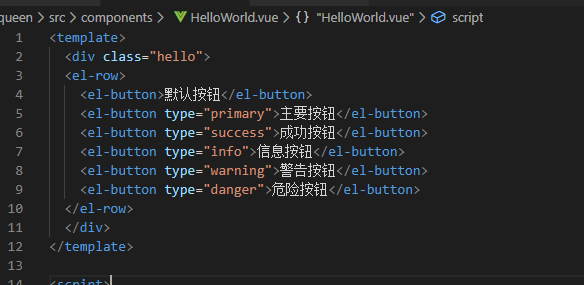
然后引入

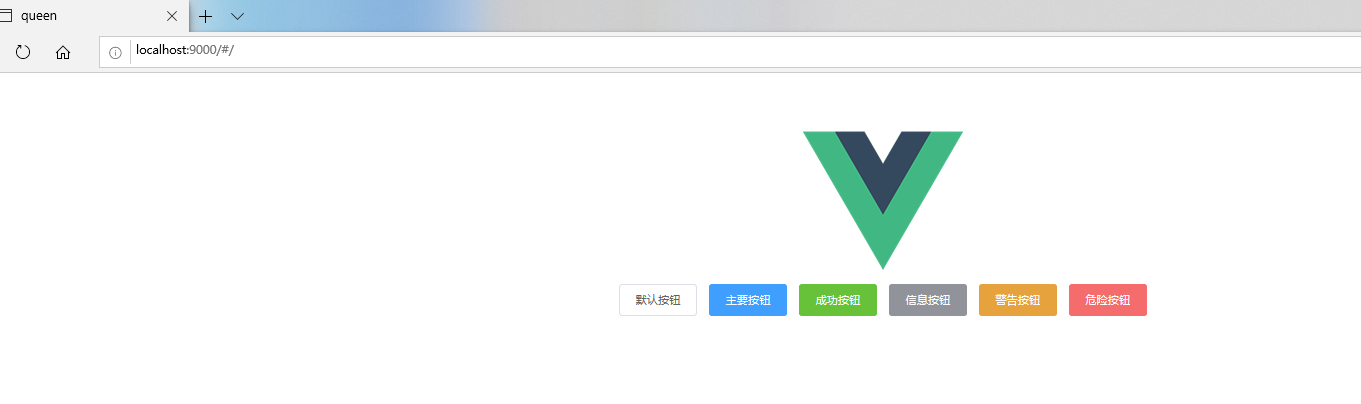
随便写几个按钮测试一下
看一下页面
》》》》》》》》》
axios :安装引入可参考:https://www.kancloud.cn/yunye/axios/234845
main.js

router 路由加上自己的页面

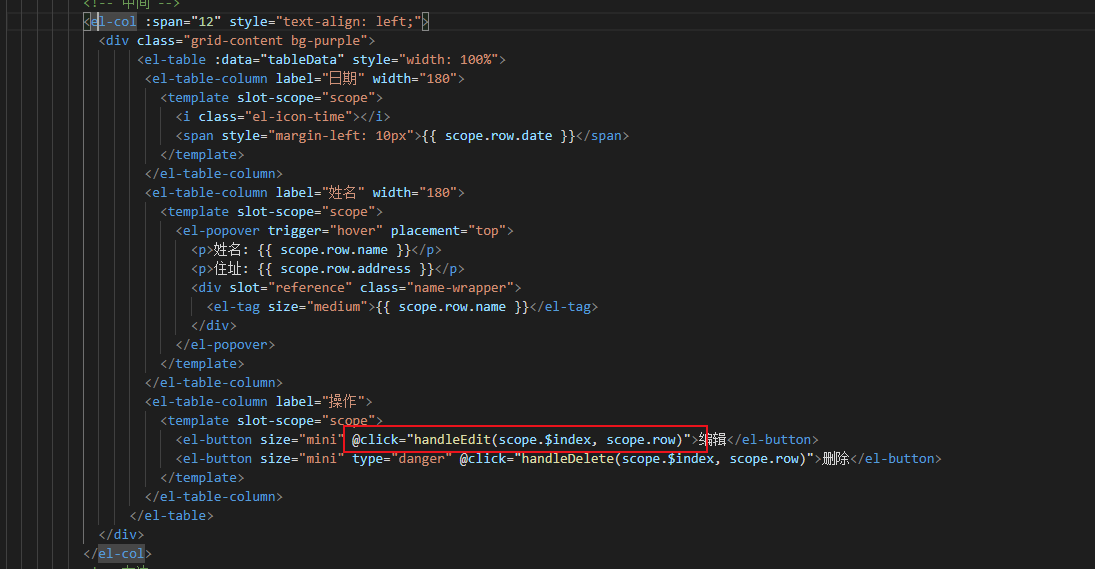
然后随便从elmentUi官网粘贴了一个表格用来测试

下面通过axios 访问自己的后台 为了方便我在自己的表中也加了date字段用于展示 实体中也做了相应的改动。先看一下后台查询结果。

现在需要把显示的数据改成后台返回的数据。因为前后台的端口号不同 所以我们需要先解决跨域问题。config 下的index,js

代码:
proxyTable: {
      '/api': {
        target: 'http://localhost:8091',//设置你调用的接口域名和端口号 别忘了加http
        changeOrigin: true,//如果需要跨域
        pathRewrite: {
          '^/api': '/',
        }
      }
    },
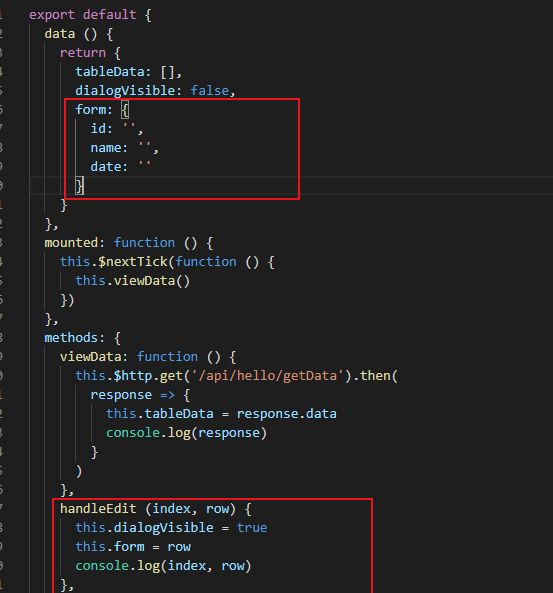
首先把原有的数据注释掉 写一个mounted 调用 axios 方法获取数据赋值给 tableData
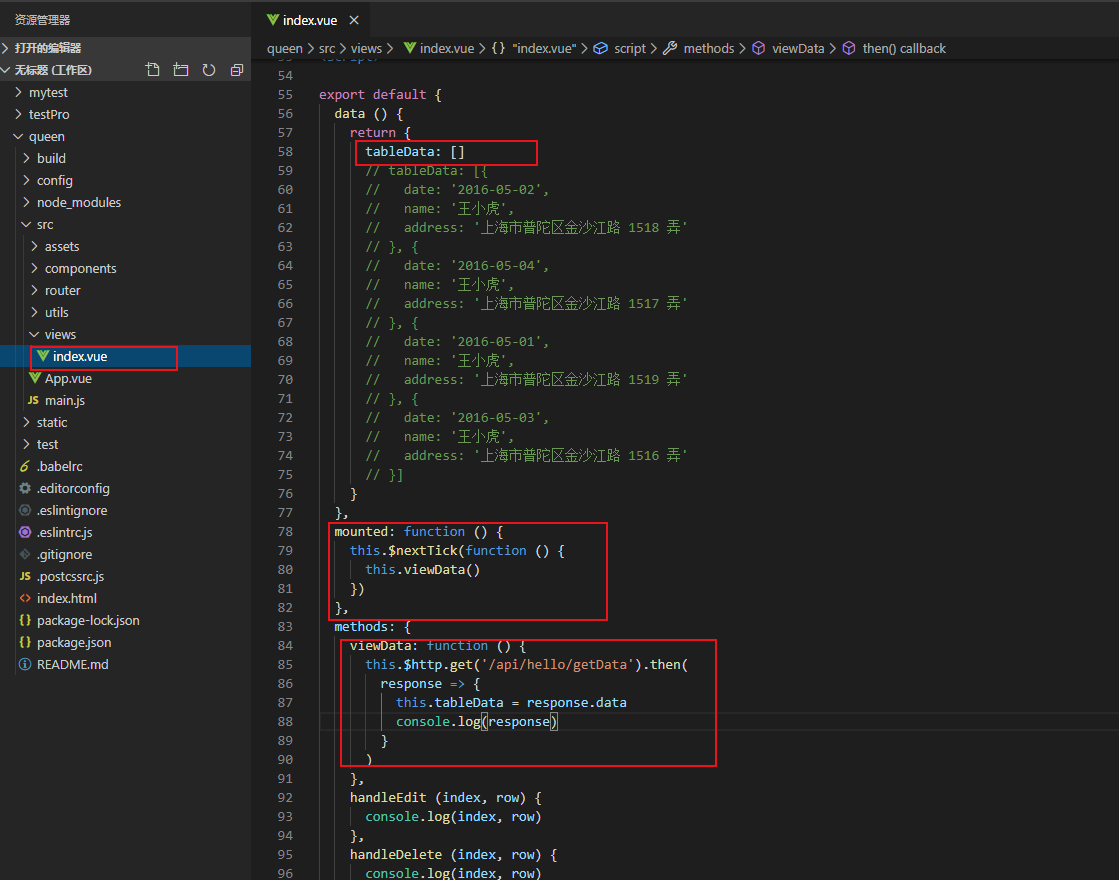
页面

》》》》》》》》》》
点击编辑 加个弹窗吧 。。页面html
ElementUI 官网复制一个弹窗。在里面加了一个时间选择器和input。
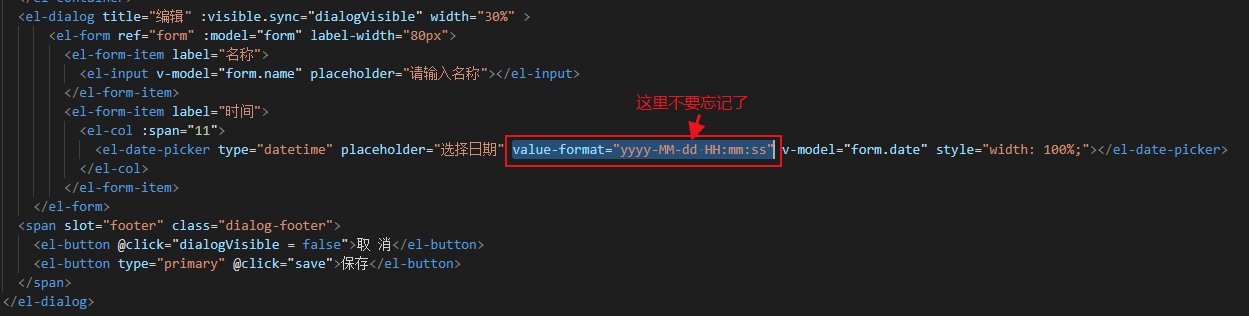
代码:
<el-dialog title="编辑" :visible.sync="dialogVisible" width="30%" >
        <el-form ref="form" :model="form" label-width="80px">
          <el-form-item label="名称">
            <el-input v-model="form.name" placeholder="请输入名称"></el-input>
          </el-form-item>
          <el-form-item label="时间">
            <el-col :span="11">
              <el-date-picker type="datetime" placeholder="选择日期" value-format="yyyy-MM-dd HH:mm:ss" v-model="form.date" style=" 100%;"></el-date-picker>
            </el-col>
          </el-form-item>
      </el-form>
    <span slot="footer" class="dialog-footer">
      <el-button @click="dialogVisible = false">取 消</el-button>
      <el-button type="primary" @click="save">保存</el-button>
    </span>
  </el-dialog>
点击编辑触发弹窗:
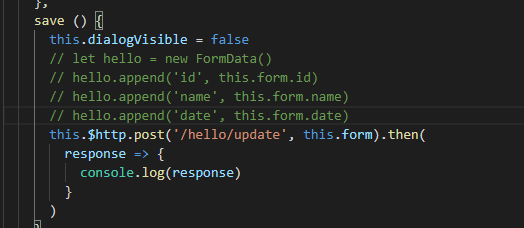
点击保存:

代码:


save () {
      this.dialogVisible = false
      let hello = new FormData()
      hello.append('id', this.form.id)
      hello.append('name', this.form.name)
      hello.append('date', this.form.date)
      this.$http.post('/api/hello/update', hello).then(
        response => {
          console.log(response)
        }
      )
    }
后台就不多写了 调用 mybatis-plus 的方法即可
serviceImpl:


》》》》》》》
代码就写到这里 开始打包 npm run build
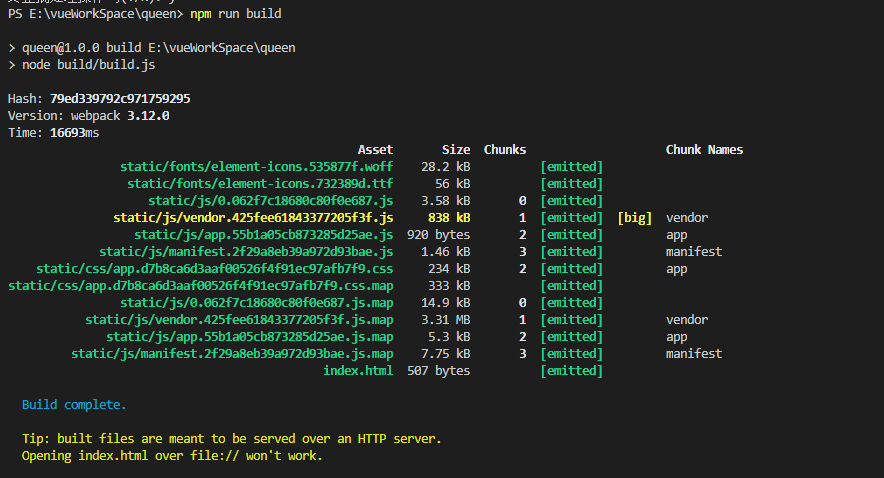

放到项目下
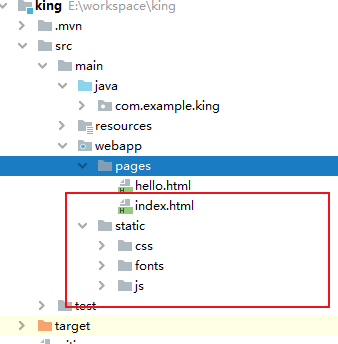
页面:

### 问题 ##
1. post 请求的时候参数发现太麻烦
这是可以安装qs 给axios 做一个简单的封装 在做post请求时用 qs.stringify(data) 传参

main.js的改动

2. 发现生产环境和部署环境调用的url 有差异
这时需要配置config 下 prod.env.js 把正式的url 写进去
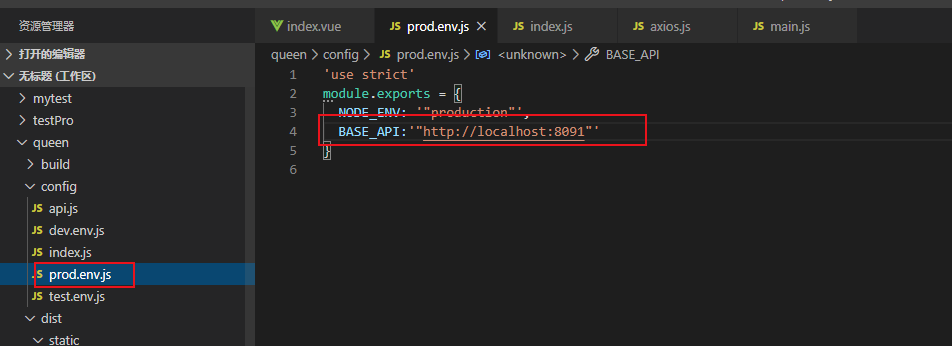
代码:
'use strict'
module.exports = {
  NODE_ENV: '"production"',
  BASE_API:'"http://localhost:8091"'
}
这里是axios.js内部
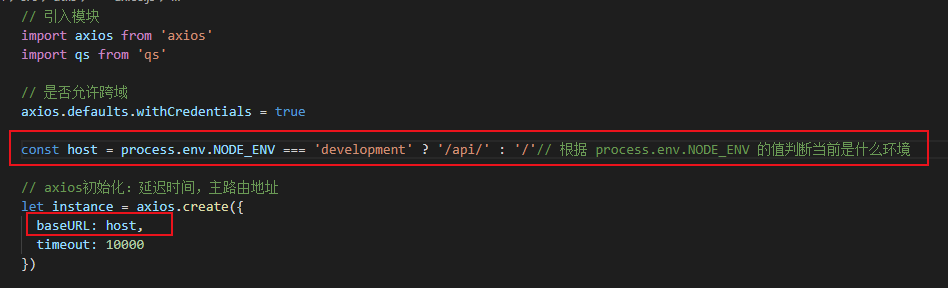
const host = process.env.NODE_ENV === 'development' ? '/api/' : '/'// 根据 process.env.NODE_ENV 的值判断当前是什么环境
那我们现在的调用就可以改成这样了 是不是简单了很多
代码:
// 引入模块
import axios from 'axios'
import qs from 'qs'

// 是否允许跨域
axios.defaults.withCredentials = true

const host = process.env.NODE_ENV === 'development' ? '/api/' : '/'// 根据 process.env.NODE_ENV 的值判断当前是什么环境

// axios初始化:延迟时间,主路由地址
let instance = axios.create({
  baseURL: host,
  timeout: 10000
})

// 设置拦截器
instance.interceptors.request.use(function (config) {
  // 在发送请求之前做某事
  return config
}, function (error) {
  // 请求错误时做些事
  return Promise.reject(error)
})
// 响应拦截器
instance.interceptors.response.use(function (response) {
  // 对响应数据做些事
  return response
}, function (error) {
  // 请求错误时做些事
  return Promise.reject(error)
})

// 是否销毁拦截器
// 1.给拦截器起个名称 var myInterceptors = instance.interceptors.requesst.use();
// 2.instance.interceptors.request.eject(myInterceptor);

// 请求成功的回调
function checkStatus (res) {
  // 请求结束成功
  if (res.status === 200 || res.status === 304) {
    return res.data
  }
  return {
    code: 0,
    msg: res.data.msg || res.statusText,
    data: res.statusText
  }
}
// 请求失败的回调
function checkCode (res) {
  if (res.code === 0) {
    throw new Error(res.msg)
  }
  return res
}
// 模块化导出
export default {
  get (url, params) {
    if (!url) return
    return instance({
      method: 'get',
      url: url,
      params,
      timeout: 30000
    }).then(checkStatus).then(checkCode)
  },
  post (url, data) {
    if (!url) return
    return instance({
      method: 'post',
      url: url,
      data: qs.stringify(data),
      timeout: 30000
    }).then(checkStatus).then(checkCode)
  },
  postFile (url, data) {
    if (!url) return
    return instance({
      method: 'post',
      url: url,
      data
    }).then(checkStatus).then(checkCode)
  }
}
@