上节以对话形式,大概说了几种客户端授权模式的原理,这节重点介绍Hybrid模式在MVC下的使用。且为实现IdentityServer4从数据库获取User进行验证,并对Claim进行权限设置打下基础(第五节介绍)。
本节内容比较多,且涉及一、二节的内容,如有不懂,可先熟悉一、二节知识。
一、新建授权服务,命名为AuthServer
(1)新建Web API项目,不用配置HTTPS,不进行身份验证。
设置成控制台方式运行,端口设为5000。
安装IdentityServer4包
在Config.cs类中,添加如下代码:
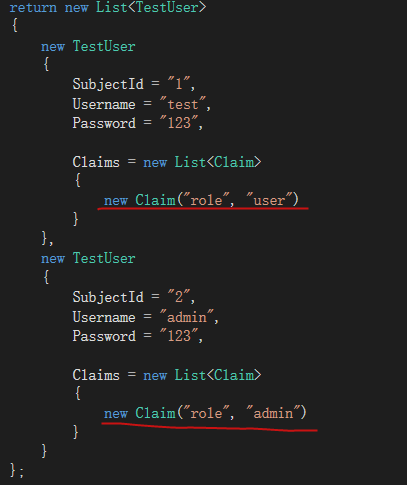
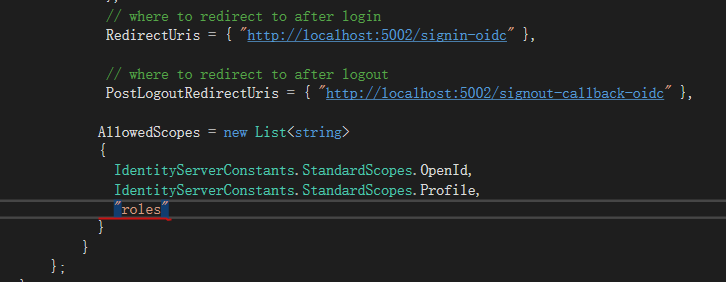
public class Config
    {

        public static List<TestUser> GetUsers()
        {
            return new List<TestUser>
            {
                new TestUser
                {
                    SubjectId = "1",
                    Username = "test",
                    Password = "123",

                    Claims = new List<Claim>
                    {
                        new Claim("role", "user")
                    }
                },
                new TestUser
                {
                    SubjectId = "2",
                    Username = "admin",
                    Password = "123",

                    Claims = new List<Claim>
                    {
                        new Claim("role", "admin")
                    }
                }
            };
        }

        public static IEnumerable<IdentityResource> GetIdentityResources()
        {
            return new List<IdentityResource>
            {
                new IdentityResources.OpenId(),
                new IdentityResources.Profile(),
                //new IdentityResource("roles","role",new List<string>{ "role"})
            };
        }

        public static IEnumerable<ApiResource> GetApiResources()
        {
            return new List<ApiResource>
            {
                new ApiResource("api1", "My API")
                //new ApiResource("api1", "My API",new List<string>(){ "role"})
            };
        }

        // clients want to access resources (aka scopes)
        public static IEnumerable<Client> GetClients()
        {
            return new List<Client>
            {
                new Client
                {
                    ClientId = "AuthServer",
                    AllowedGrantTypes = GrantTypes.ClientCredentials,
                    ClientSecrets =
                    {
                        new Secret("secret".Sha256())
                    },
                    AllowedScopes = { "api1" },
                    Claims= new List<Claim>(){new Claim("role","AuthServer") },
                    ClientClaimsPrefix = ""
                },
                // OpenID Connect implicit flow client (MVC)
                new Client
                {
                   ClientId = "mvc",
                   ClientName = "MVC Client",
                   AllowedGrantTypes = GrantTypes.Hybrid,
                   ClientSecrets =
                   {
                       new Secret("secret".Sha256())
                   },
                   // where to redirect to after login
                   RedirectUris = { "http://localhost:5002/signin-oidc" },

                   // where to redirect to after logout
                   PostLogoutRedirectUris = { "http://localhost:5002/signout-callback-oidc" },

                  AllowedScopes = new List<string>
                  {
                    IdentityServerConstants.StandardScopes.OpenId,
                    IdentityServerConstants.StandardScopes.Profile,
                    //"roles"
                  }
                }
            };
        }
}
这里IdentityResource映射于那些关于用户信息的scope, ApiResource映射于API资源的scopes。
(2)打开Startup.cs,在ConfigureServices里面调用AddIdentityServer来把Identity Server注册到ASP.NET Core的容器里面;随后我调用了AddDeveloperSigningCredentials方法,它会创建一个用于对token签名的临时密钥材料(但是在生产环境中应该使用可持久的密钥材料)
 public void ConfigureServices(IServiceCollection services)
        {
            services.AddMvc();

            services.AddIdentityServer()
               .AddDeveloperSigningCredential()
               .AddTestUsers(Config.GetUsers())
               .AddInMemoryIdentityResources(Config.GetIdentityResources())
               .AddInMemoryApiResources(Config.GetApiResources())
               .AddInMemoryClients(Config.GetClients());
        }
(3)打开Configure方法,把IdentityServer添加到ASP.NET Core的管道里。
public void Configure(IApplicationBuilder app, IHostingEnvironment env)
        {
            if (env.IsDevelopment())
            {
                app.UseDeveloperExceptionPage();
            }

            app.UseIdentityServer();
            //MVC配置
            app.UseStaticFiles();
            app.UseMvcWithDefaultRoute();
        }
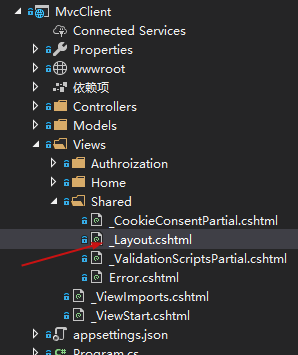
(4)然后下载登录用的UI: https://github.com/IdentityServer/IdentityServer4.Quickstart.UI
把图中三个文件复制到AuthServer项目目录下。
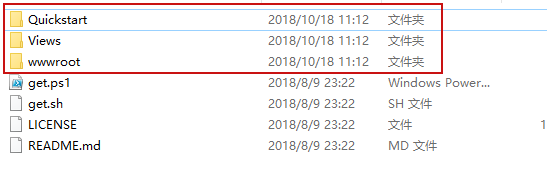
复制完后项目如下: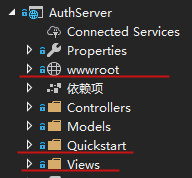
二、新建MVC客户端,命名为MvcClient
(1)设置端口为5002。
修改Start.cs的ConfigureServices方法为:
public void ConfigureServices(IServiceCollection services)
        {
            services.Configure<CookiePolicyOptions>(options =>
            {
                // This lambda determines whether user consent for non-essential cookies is needed for a given request.
                options.CheckConsentNeeded = context => true;
                options.MinimumSameSitePolicy = SameSiteMode.None;
            });


            services.AddMvc();

            JwtSecurityTokenHandler.DefaultInboundClaimTypeMap.Clear();

            services.AddAuthentication(options =>
            {
                options.DefaultScheme = "Cookies";
                options.DefaultChallengeScheme = "oidc";
            })
            .AddCookie("Cookies", options =>
            {
                //无权限,显示的页面
                options.AccessDeniedPath = "/Authorization/AccessDenied";
            })
            .AddOpenIdConnect("oidc", options =>
            {
                options.SignInScheme = "Cookies";

                options.Authority = "http://localhost:5000";
                options.RequireHttpsMetadata = false;

                options.ClientId = "mvc";
                options.ResponseType = "code id_token";
                options.Scope.Clear();
                options.Scope.Add("openid");
                options.Scope.Add("profile");
                //options.Scope.Add("roles");

                options.SaveTokens = true;
                options.ClientSecret = "secret";
                options.GetClaimsFromUserInfoEndpoint = true;

                //options.ClaimActions.MapUniqueJsonKey("role", "role");


                //options.TokenValidationParameters = new TokenValidationParameters
                //{
                //    NameClaimType = JwtClaimTypes.GivenName,
                //    RoleClaimType = JwtClaimTypes.Role
                //};
            });
       }
AddAuthentication方法来添加和配置身份认证中间件。这里使用Cookie作为验证用户的首选方式,而DefaultScheme = "Cookies",这个"Cookies"字符串是可以任意填写的,只要与后边的一致即可。但是如果同一个服务器上有很多应用的话,这个Scheme的名字不能重复。
DefaultChanllangeScheme设为"oidc", 这个名字与后边配置OpenIdConnect的名字要一样. 当用户需要登陆的时候, 将使用的是OpenId Connect Scheme。
AddCookie其参数是之前配置的DefaultScheme名称,这配置了Cookie的处理者,并让应用程序为我们的DefaultScheme启用了基于Cookie的身份认证。一旦ID Token验证成功并且转化为Claims身份标识后,这些信息就将会保存于被加密的Cookie里。
AddOpenIdConnect方法添加了对OpenID Connect流程的支持,它让配置了用来执行OpenId Connect 协议的处理者。这个处理者会负责创建身份认证请求,Token请求和其它请求,并负责ID Token的验证工作。它的身份认证scheme就是之前配置的"oidc",它的意思就是如果该客户端的某部分要求身份认证的时候,OpenID Connect将会作为默认方案被触发(因为之前设置的DefaultChallengeScheme是"oidc", 和这里的名字一样)。
SignInScheme和上面的DefaultScheme一致,它保证身份认证成功的结果将会被保存在方案名为"Cookies"的Cookie里。
Authority就是Identity Provider的地址。
ClientId和Secret要与IdentityProvider里面的值一样。
请求的Scope有openid和profile,其实中间件默认也包括了这些scope,但是写出来更明确一些。
SaveTokens=true,表示允许存储从Identity Provider那里获得的tokens。
(2)修改Configure方法为:
 public void Configure(IApplicationBuilder app, IHostingEnvironment env)
        {
            if (env.IsDevelopment())
            {
                app.UseDeveloperExceptionPage();
            }
            else
            {
                app.UseExceptionHandler("/Home/Error");
            }

            app.UseAuthentication();

            app.UseStaticFiles();
            app.UseMvcWithDefaultRoute();
        }
(3)然后对HomeController加上身份验证。[Authorize]

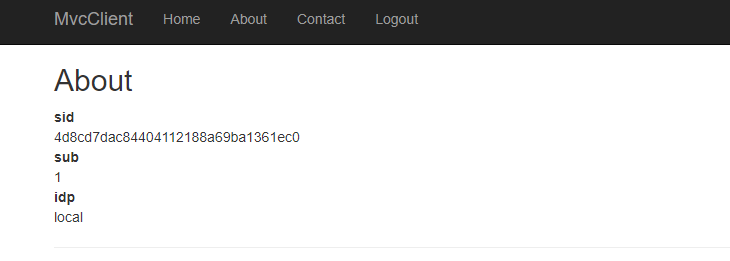
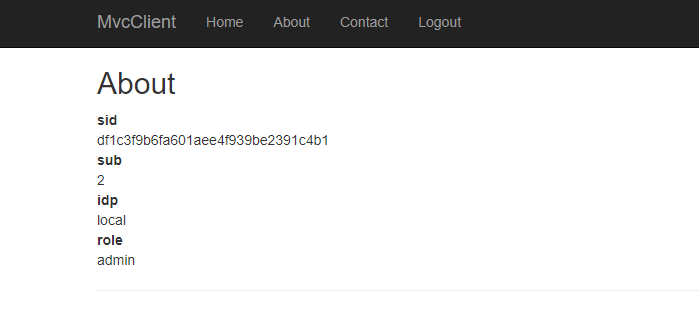
(4)再修改About的页面,显示User的Claim信息。
@{
    ViewData["Title"] = "About";
}
<h2>@ViewData["Title"]</h2>

@*<dt>Access Token</dt>
<dd>@ViewData["AccessToken"]</dd>*@

<dl>
    @foreach (var claim in User.Claims)
    {
        <dt>@claim.Type</dt>
        <dd>@claim.Value</dd>
    }
</dl>
(5)现在,可以运行AuthServer和MvcClient项目了。
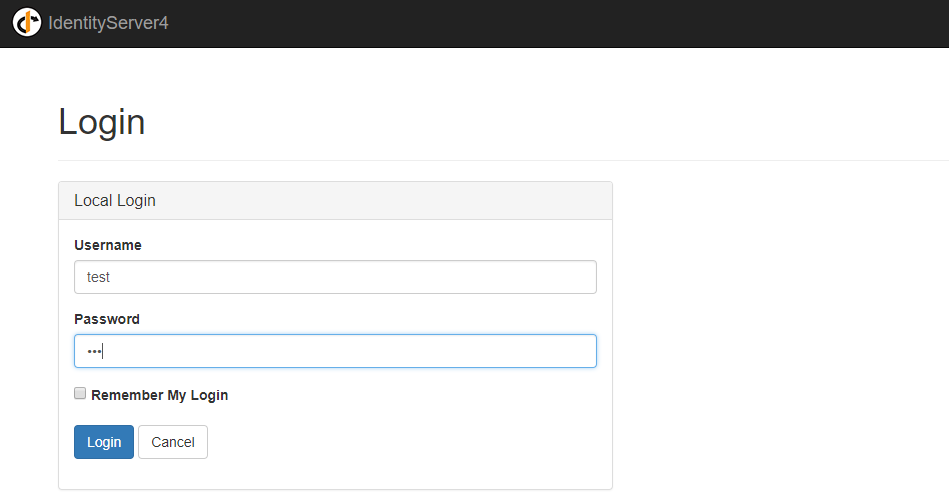
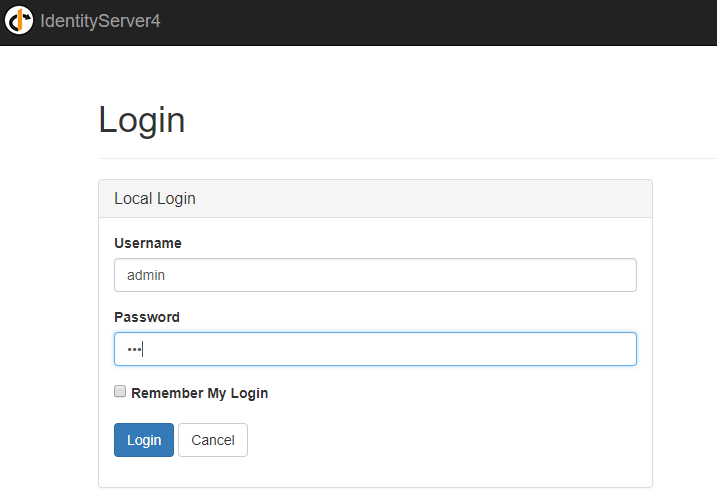
(6)输入Config文件中的TestUser的用户,密码都设为123,点击Login
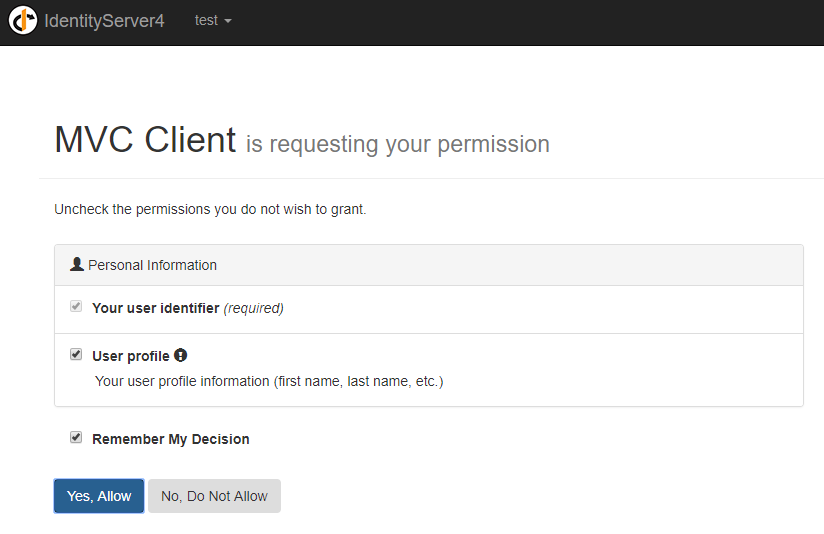
允许授权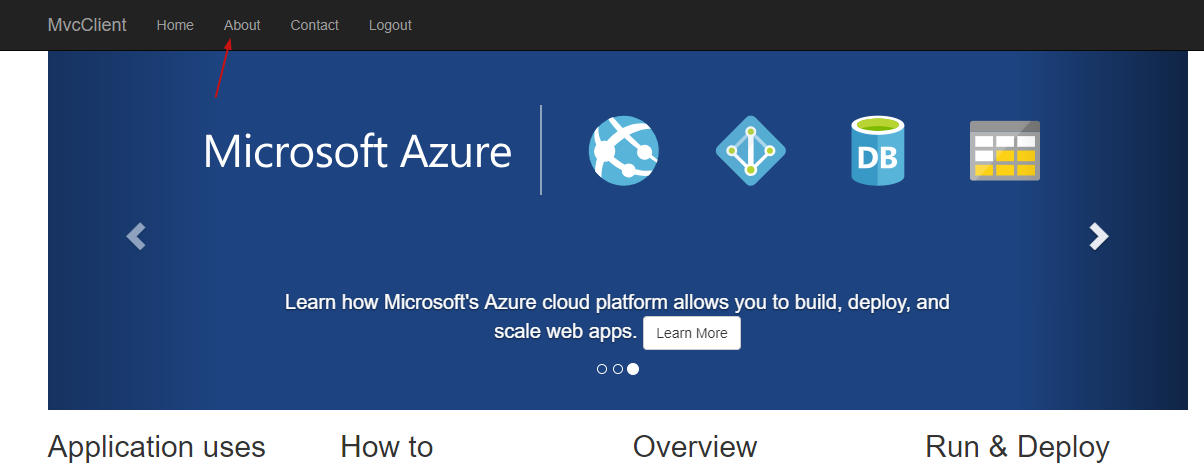
查看About页面,显示了user相关的claim信息。
(7)当然,登出功能还没实现,这里先实现登出。打开图中cshtml文件
添加如下代码:
 @if (User.Identity.IsAuthenticated)
 {
     <li><a asp-area="" asp-controller="Home" asp-action="Logout">Logout</a></li>
 }

然后在HomeController控制器中添加Logout方法
public async Task Logout()
{
await HttpContext.SignOutAsync("Cookies");
await HttpContext.SignOutAsync("oidc");
}
首先要清除本地的Cookie,这个Cookie的名字要与之前配置的默认方案里的名字一致,这一步就相当于登出MVC客户端。
后一行代码的作用是跳转回到Identity Provider,然后用户可以继续登出IDP, 也就是IDP会清除它的Cookie。
(8)接着在AuthServer中的Quickstart/Account/AccountOptions实现自动跳转回登录页面。

好了,登录登出实现完了,我们接着实现Claim权限限制。
三、为MVC客户端设置Claim身份验证
(1)添加TestUser的Claim中Type为role
(2)定义用户信息scope的role信息

第一个参数是scope的名字,第二个参数是scope的显示名,第三个参数是它所包含的claim类型,这里就是“role”。
(3)然后还需要客户端允许请求“roles”这个scope
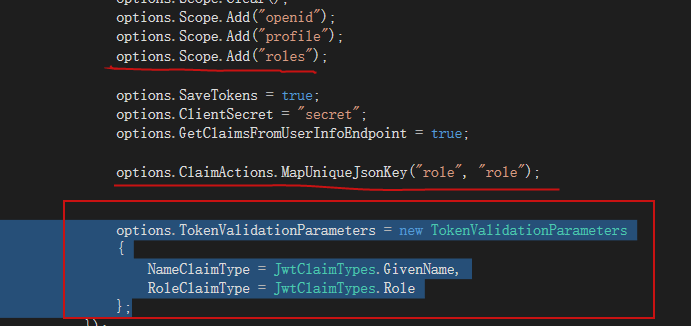
(4)MVC客户端的配置,打开MVC的startup,添加“roles”这个scope:options.Scope.Add("roles");
把role claim 映射到User.Claims里:options.ClaimActions.MapUniqueJsonKey("role", "role");
role claim映射成ASP.NET Core MVC可以识别的角色Roles。
options.TokenValidationParameters = new TokenValidationParameters
{
    NameClaimType = JwtClaimTypes.GivenName,
    RoleClaimType = JwtClaimTypes.Role
};
这样MVC中的role就可以识别User.Claims的role了。
(6)最后在MvcClient项目HomeController中 About前,加上role为admin身份验证。[Authorize(Roles ="admin")]

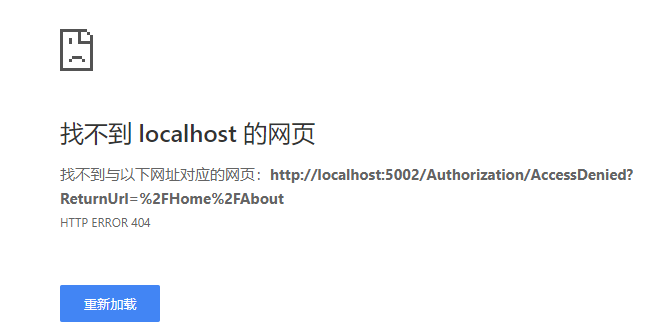
然后运行,先用test账号登录进行验证。
发现点About页面没有权限进不去
然后登出,换admin账号登录
User.Claims的role成功被MVC中角色role识别,展示About页面。
这节主要介绍Hybrid在MVC下的使用,包括User的登录登出和Claim对MVC的身份授权。
然而,这只是针对内存用户TestUser进行操作的,显示实际项目中不能满足我们需求。下节将在本节的基础上介绍如何实现IdentityServer4从数据库获取User进行验证并对Claim进行身份验证。