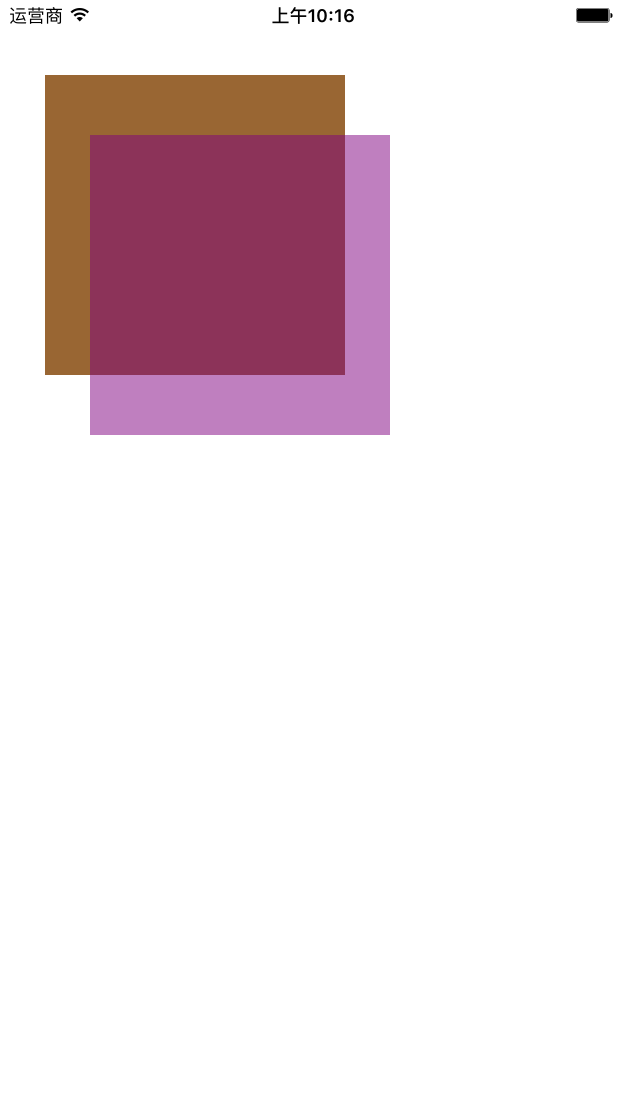
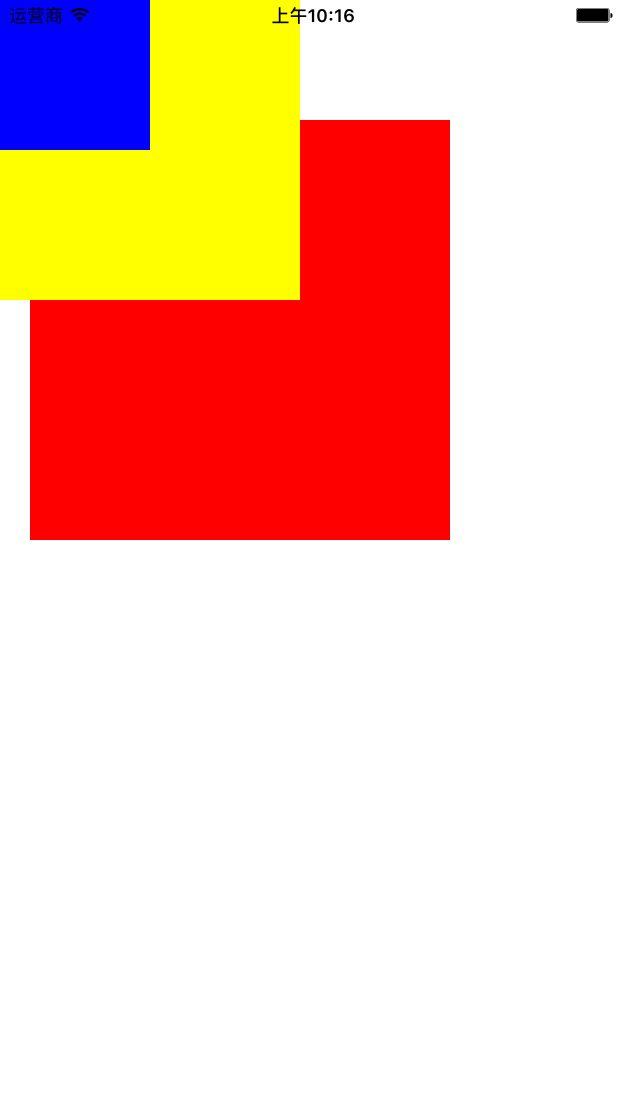
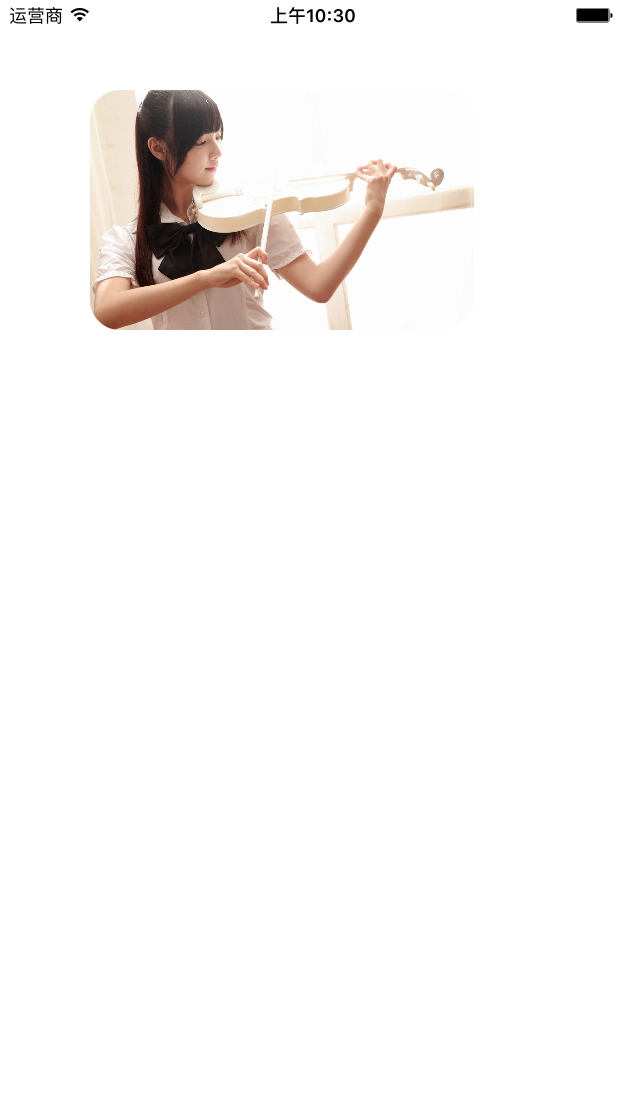
//
//  ViewController.m
//  UIviewtest
//
//  Created by HO on 16/6/23.
//  Copyright © 2016年 HO. All rights reserved.
//

#import "ViewController.h"

@interface ViewController ()

@end

@implementation ViewController

//1.UIView视图的基本使用
- (void)createUIView1{

    CGRect rect1 = CGRectMake(30, 50, 200, 200);

    UIView * view1 = [[UIView alloc] initWithFrame:rect1];

    [view1 setBackgroundColor:[UIColor brownColor]];

    CGRect rect2 = CGRectMake(60, 90, 200, 200);

    UIView * view2 = [[UIView alloc] initWithFrame:rect2];

    [view2 setBackgroundColor:[UIColor purpleColor]];

    [view2 setAlpha:0.5];

    [self.view addSubview:view1];

    [self.view addSubview:view2];
}


//2.UIView视图的层次关系
- (void)createUIView2{

    UIView * view1 = [[UIView alloc] initWithFrame:CGRectMake(20, 80, 280, 280)];
    view1.backgroundColor = [UIColor redColor];
    [self.view addSubview:view1];


    UIView * view2 = [[UIView alloc] initWithFrame:CGRectMake(0, 0, 200, 200)];
    view2.backgroundColor = [UIColor yellowColor];
    [self.view addSubview:view2];

    UIView * view3 = [[UIView alloc] initWithFrame:CGRectMake(0, 0, 100, 100)];
    view3.backgroundColor = [UIColor blueColor];
    [self.view addSubview:view3];
}


//3.UIView视图的基本操作
- (void)createUIView3{

    CGRect rect = CGRectMake(30, 50, 200, 200);
    UIView * view = [[UIView alloc] initWithFrame:rect];
    view.backgroundColor = [UIColor yellowColor];
    [self.view addSubview:view];

    UIButton * btnAdd = [[UIButton alloc] initWithFrame:CGRectMake(30, 350, 80, 30)];
    [btnAdd setBackgroundColor:[UIColor grayColor]];
    [btnAdd setTitle:@"Add" forState:UIControlStateNormal];
    [btnAdd addTarget:self action:@selector(addview) forControlEvents:UIControlEventTouchUpInside];
    [self.view addSubview:btnAdd];

    UIButton * btnBack = [[UIButton alloc] initWithFrame:CGRectMake(120, 350, 80, 30)];
    [btnBack setBackgroundColor:[UIColor grayColor]];
    [btnBack setTitle:@"Switch" forState:UIControlStateNormal];
    [btnBack addTarget:self action:@selector(bringvieToBack) forControlEvents:UIControlEventTouchUpInside];
    [self.view addSubview:btnBack];


    UIButton * btRemove = [[UIButton alloc] initWithFrame:CGRectMake(210, 350, 80, 30)];
    [btRemove setBackgroundColor:[UIColor grayColor]];
    [btRemove setTitle:@"Remove" forState:UIControlStateNormal];
    [btRemove addTarget:self action:@selector(removeView) forControlEvents:UIControlEventTouchUpInside];
    [self.view addSubview:btRemove];
}


#pragma mark - 点击事件
- (void)addview{
    //添加视图
    CGRect rect = CGRectMake(60, 90, 200, 200);

    UIView * view = [[UIView alloc] initWithFrame:rect];

    [view setBackgroundColor:[UIColor purpleColor]];

    [view setTag:1];
    [self.view addSubview:view];
}


- (void)bringvieToBack{
    //把视图移到最底
    UIView * view = [self.view viewWithTag:1];

    [self.view sendSubviewToBack:view];
}


- (void)removeView{
    //移除视图
    UIView * view = [self.view viewWithTag:1];
    [view removeFromSuperview];
}


//4.UIView视图添加边框效果
- (void)createUIView4{

    UIImage * uiimage = [UIImage imageNamed:@"44.JPG"];

    UIImageView * uiimageview = [[UIImageView alloc] initWithImage:uiimage];

    uiimageview.frame = CGRectMake(60, 80, 206, 284);

    uiimageview.layer.borderWidth = 10;

    uiimageview.layer.borderColor = [[UIColor purpleColor] CGColor];

    [self.view addSubview:uiimageview];

}


//5.UIView视图添加圆角效果
- (void)createUIView5{

    UIImage * image = [UIImage imageNamed:@"44.jpg"];

    UIImageView * imageview = [[UIImageView alloc] initWithImage:image];

    CGRect rect = CGRectMake(60, 60, 256, 160);

    imageview.frame = rect;

    imageview.layer.cornerRadius = 20;

    imageview.layer.masksToBounds = YES;

    [self.view addSubview:imageview];

}


//6.UIView视图添加阴影效果
- (void)createUIView6{

    UIImage * image = [UIImage imageNamed:@"44.jpg"];

    UIImageView * imageview = [[UIImageView alloc] initWithImage:image];

    CGRect rect = CGRectMake(60, 60, 256, 160);

    imageview.frame = rect;

    //设置图像视图层的阴影颜色

    imageview.layer.shadowColor = [[UIColor blackColor] CGColor];

    //设置图像层的阴影横向和纵向的偏移值

    imageview.layer.shadowOffset = CGSizeMake(5.0f, 5.0f);

    //设置图像视图层的阴影透明度

    imageview.layer.shadowOpacity = 0.75;

    //设置图像视图层的阴影半径大小

    imageview.layer.shadowRadius = 10.0f;

    [self.view addSubview:imageview];

}


//7.UIView视图的渐变填充
- (void)createUIView7{

    CGRect rect = CGRectMake(60, 120, 256, 160);

    UIView * view = [[UIView alloc] initWithFrame:rect];

    view.backgroundColor = [UIColor whiteColor];


    //新建一个渐变层
    CAGradientLayer * gradientLayer = [CAGradientLayer layer];

    //设置渐变层的位置和尺寸,与视图对象一致
    gradientLayer.frame = view.frame;

    //设置渐变的起始颜色为蓝色
    CGColorRef fromColor = [UIColor blueColor].CGColor;

    //设置渐变的中间颜色为红色
    CGColorRef midColor = [UIColor redColor].CGColor;

    //设置渐变的结束颜色为黄色
    CGColorRef toColor = [UIColor yellowColor].CGColor;

    //创建一个数组对象,存储三个颜色变量
    NSArray * colorArray = [NSArray arrayWithObjects:(__bridge id _Nonnull)(fromColor),midColor,toColor, nil];

    //设置渐变层的颜色数组属性为三个渐变色构建的数组
    gradientLayer.colors = colorArray;

    //将渐变层添加到视图对象的层中
    [view.layer addSublayer:gradientLayer];

    [self.view addSubview:view];

}

//8.UIView视图的纹理填充

- (void)createUIView8{
    //新建一个颜色对象,将图片赋予该对象
    UIColor * background = [[UIColor alloc] initWithPatternImage:[UIImage imageNamed:@"wenli.jpg"]];
    self.view.backgroundColor = background;
}


//9.CGAffineTransform仿射变换
- (void)createUIView9{
    CGRect rect = CGRectMake(50.f, 150.f, 200.f, 50.f);
    UIView * myview = [[UIView alloc] initWithFrame:rect];
    myview.backgroundColor = [UIColor redColor];
    [self.view addSubview:myview];

    //创建一个仿射变换变量,仿射变换可以用于平移,旋转,缩放变换路径或者图形上下文
    CGAffineTransform transform = myview.transform;
    transform = CGAffineTransformRotate(transform, 3.14/4);
    myview.transform = transform;
}


//10.iOS手势 -- 单击手势
- (void)createRecognizer1{

    CGRect rect = CGRectMake(100, 100, 100, 100);
    UIImageView * imageview = [[UIImageView alloc] initWithFrame:rect];

    UIImage * image = [UIImage imageNamed:@"44.JPG"];
    [imageview setImage:image];
    [imageview setUserInteractionEnabled:YES];

    [self.view addSubview:imageview];
    UITapGestureRecognizer * guesture = [[UITapGestureRecognizer alloc] initWithTarget:self action:@selector(singleTap)];
    [imageview addGestureRecognizer:guesture];

}


- (void)singleTap{

    UIAlertView * alertView = [[UIAlertView alloc] initWithTitle:@"Information" message:@"single Tap" delegate:self cancelButtonTitle:@"ok" otherButtonTitles:nil, nil];
    [alertView show];

}


//11.iOS手势 -- 长按手势

- (void)createRecognizer2{

    CGRect rect = CGRectMake(100, 100, 100, 100);

    UIImageView * imageview = [[UIImageView alloc] initWithFrame:rect];

    UIImage * image = [UIImage imageNamed:@"44.JPG"];
    [imageview setImage:image];
    [imageview setUserInteractionEnabled:YES];
    [self.view addSubview:imageview];

    UILongPressGestureRecognizer * guesture = [[UILongPressGestureRecognizer alloc] initWithTarget:self action:@selector(longPress:)];
    [imageview addGestureRecognizer:guesture];
}


- (void)longPress:(UILongPressGestureRecognizer *)guesture{

    //判断手势事件的阶段
    if (guesture.state == UIGestureRecognizerStateBegan) {

        UIAlertView * alertView = [[UIAlertView alloc] initWithTitle:@"Information" message:@"Long Press" delegate:self cancelButtonTitle:@"ok" otherButtonTitles:nil, nil];
        [alertView show];
    }
}


//12.iOS手势 -- 双击手势

- (void)createRecognizer3{

    CGRect rect = CGRectMake(100, 100, 100, 100);

    UIImageView * imageview = [[UIImageView alloc] initWithFrame:rect];

    UIImage * image = [UIImage imageNamed:@"44.JPG"];
    [imageview setImage:image];
    [imageview setUserInteractionEnabled:YES];

    [self.view addSubview:imageview];

    UITapGestureRecognizer * guesture = [[UITapGestureRecognizer alloc] initWithTarget:self action:@selector(doubleTap)];
    [imageview addGestureRecognizer:guesture];

    //设置点击次数为2,模拟双击事件
    [guesture setNumberOfTapsRequired:2];

    //设置为单次双击事件
    [guesture setNumberOfTouchesRequired:1];

    //将手势指定给图形视图
    [imageview addGestureRecognizer:guesture];
}


- (void)doubleTap{
    UIAlertView * alertView = [[UIAlertView alloc] initWithTitle:@"Information" message:@"double Tap" delegate:self cancelButtonTitle:@"ok" otherButtonTitles:nil, nil];

    [alertView show];
}

- (void)viewDidLoad {
    [super viewDidLoad];
//    [self createUIView1];
//    [self createUIView2];
//    [self createUIView3];
//    [self createUIView4];
//    [self createUIView5];
//    [self createUIView6];
//    [self createUIView7];
    [self createUIView8];


}

- (void)didReceiveMemoryWarning {
    [super didReceiveMemoryWarning];
    // Dispose of any resources that can be recreated.
}

@end