AOP面向切面编程
OOP编程的一种思想补充
纵向重复,横向抽取:将多个类中公共的部分抽取出来,作用到多个类中,从而形成切面
好处:降低代码的冗余,降低事务和主要业务的耦合度
切面类:公共代码提取出来编写的类
通知:增强的部分,例如事务控制的方法
切点:被增强的方法
切面:通知+切点
JDK代理和CGLIB代理:面向切面编程的底层为动态代理
声明式事务的配置
expression指定切点的语法:访问修饰符 返回类型 包.类.方法名(参数)
访问修饰符:非必写项,不写即对访问修饰符没有要求
返回类型:int等,*代表对访问返回类型没有要求
包.类.方法名(参数):com.offcn..(..代表包下面的任意子包),类可以具体指定如UserServiceImpl,也可以指定任意的类用*。方法名可以具体指定如saveUser,也可以指定任意的类用
参数:具体指定(int,String),(..)代表任意参数
业务层中所有类的所有方法都要进行事务控制
事务控制配置
1.添加事务的依赖包
2.在Spring配置文件Beans.xml中完成事务配置
前提:数据源注入
实例化事务的控制类 <bean id="tx" class="org.springframework.jdbc.datasource.DataSourceTransactionManager"> <property name="dataSource" ref="ds"></property> </bean> <bean id="tx"与tx:advice标签下的 transaction-manager="tx"匹配
<!-- 定义事务的通知:定义事务的规则 -->
    <tx:advice transaction-manager="tx" id="myadvice">
        <tx:attributes>
            <!-- name事务控制的的方法名,可以采用模糊匹配方法写 isolation:隔离级别和数据库保持一致 propagation传播行为,当前方法使用的事务环境REQUIRED如果当前方法已经处在一个事务环境中就采用该事务,否则就重新开启一个事务 -->
            <tx:method name="*" isolation="DEFAULT"
                propagation="REQUIRED" read-only="true"></tx:method>
            <tx:method name="trans" isolation="DEFAULT"
                propagation="REQUIRED" read-only="false"></tx:method>
            <tx:method name="save" isolation="DEFAULT"
                propagation="REQUIRED" read-only="false"></tx:method>
        </tx:attributes>
    </tx:advice>
将事务的通知作用在切点上
<!-- 2.将事务作用在业务层方法上 -->
    <aop:config>
        <aop:pointcut
            expression="execution(* com.offcn.service.*.*(..))" id="pt" />
        <aop:advisor advice-ref="myadvice" pointcut-ref="pt" />
    </aop:config>
        aop:advisor标签下pointcut-ref="pt" 与 aop:pointcut标签下 id="pt"匹配 (业务层的方法相匹配,事务的通知作用到切点上)
         aop:advisor标签下advice-ref="myadvice" 与 tx:advice标签下id="myadvice"匹配(事务的规则相匹配)
        expression="execution(* com.offcn.service.*.*(..))"业务层中类的方法
注解方式实现事务控制
启动事务注解驱动(与实例化事务控制类的id一致)
<tx:annotation-driven transaction-manager="tx">
SpringMVC介绍
1.Spring的后续产品,是Spring的一部分,其配置文件的语法和Spring一样
2.基于MVC的设计模式
3.是控制层的框架,是对servlet的封装
DispaterServlet:核心组件,协调调用其他组件
HandlerMapper:查找处理当前请求的处理器(控制层的某个类或方法)
HandlerAdapter:适配前端页面传过来的数据并执行处理器,返回ModelandView对象
ViewResolver:视图解析器,解析到要跳转的页面,并将后台的数据渲染到指定页面
SpringMVC入门案例
1.创建web项目
2.添加依赖包
3.编写配置文件(spring.xml)
<beans xmlns="http://www.springframework.org/schema/beans" xmlns:context="http://www.springframework.org/schema/context" xmlns:mvc="http://www.springframework.org/schema/mvc" xmlns:xsi="http://www.w3.org/2001/XMLSchema-instance" xsi:schemaLocation="http://www.springframework.org/schema/beans http://www.springframework.org/schema/beans/spring-beans.xsd http://www.springframework.org/schema/context http://www.springframework.org/schema/context/spring-context.xsd http://www.springframework.org/schema/mvc http://www.springframework.org/schema/mvc/spring-mvc.xsd">
4.在web.xml中配置前端控制器(web.xml)
指定配置文件的路径 <init-param> <param-name>contextConfigLocation</param-name> <param-value>classpath:springmvc.xml</param-value> </init-param>
5.编写控制类(LoginController类)
public class LoginController implements Controller{
@Override
public ModelAndView handleRequest(HttpServletRequest arg0, HttpServletResponse arg1) throws Exception {
    // TODO 自动生成的方法存根
    ModelAndView mv =new ModelAndView();
    mv.addObject("msg","欢迎");//向页面传递的参数
    mv.setViewName("main.jsp");//指定要跳转的页面
    return mv;
   }
}
6.在springmvc的配置文件中配置访问
id:前端页面发送的请求,class处理请求的类 <bean id="/login" class="com.offcn.controller.LoginController"></bean>
以注解的方式定义控制类
1.在springMVC的配置文件中开启注解扫描

2.以注解的方式定义控制类
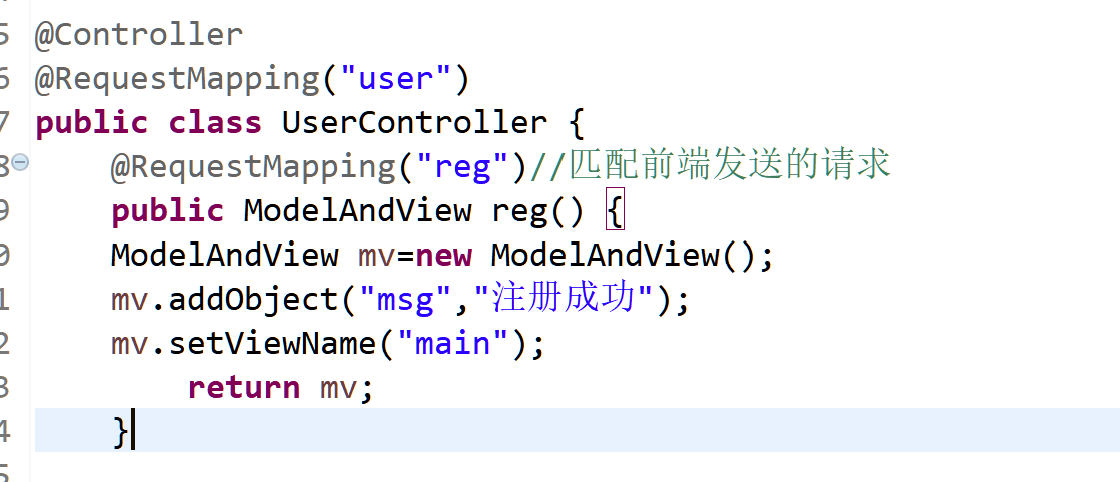
3.配置文件中视图解析器中前后缀的指定
1.
2.控制器类

SpringMVC参数传递
1.将后台的数据传回页面