WebSphere data source Configuration
- login http://localhost:9061/ibm/console/login.do(According to your own configuration for this URL, this is default URL).
- On the left navigation, click on “Environment” menu, and then spread the sum menu, click on the “WebSphere variables”.
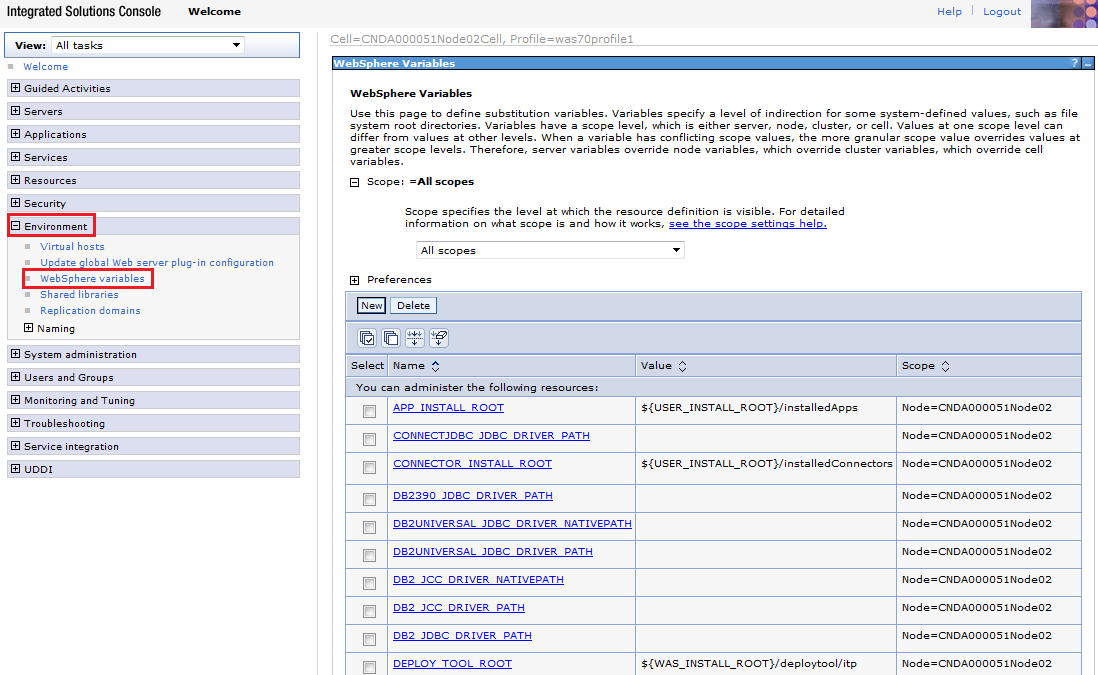
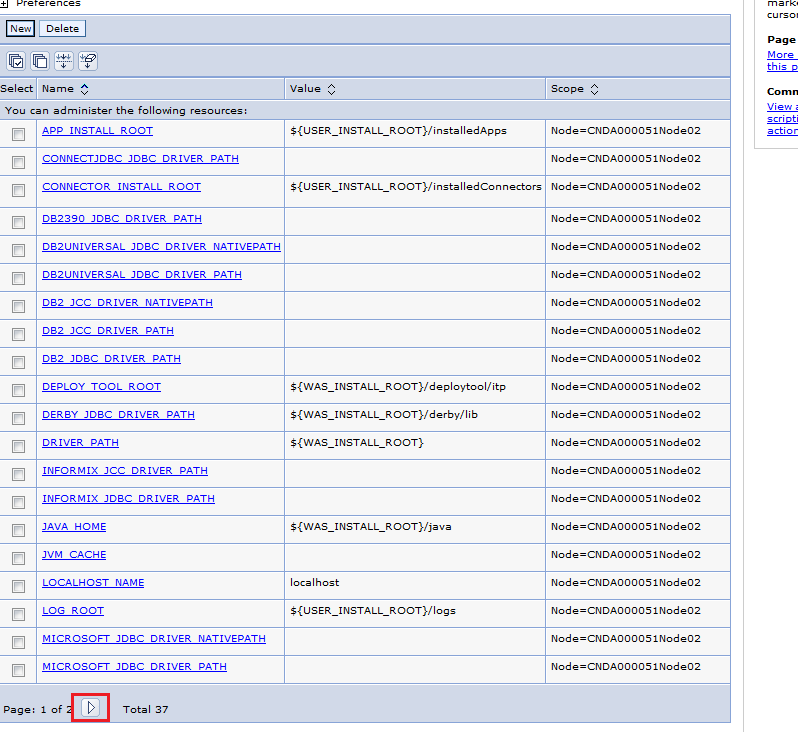
- On the right page shows the variables list, click “Next” button to move to next page and find “ORACLE_JDBC_DRIVER_PATH” variable.
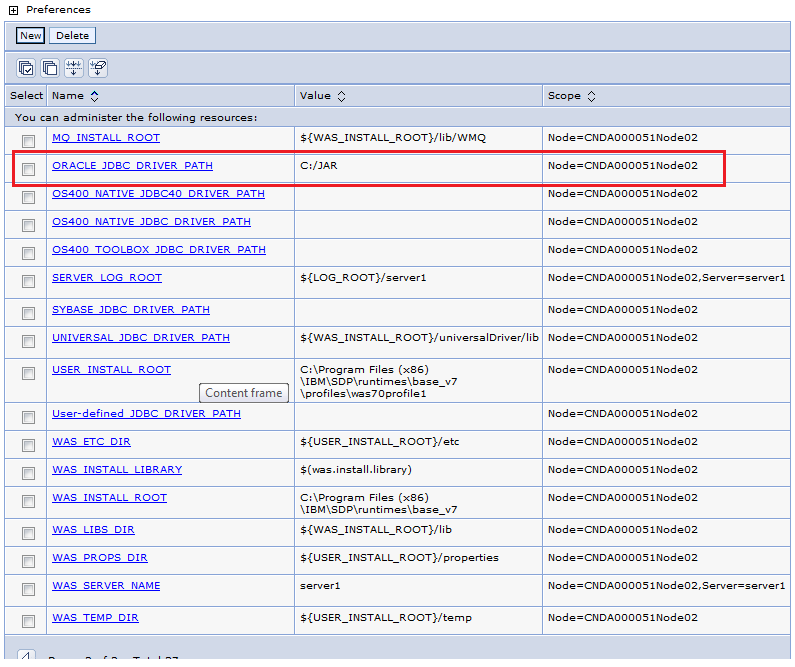
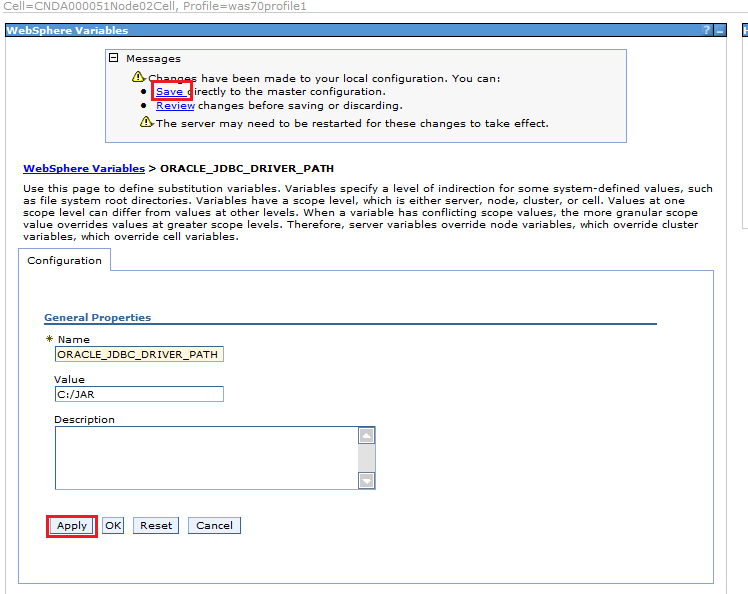
- Edit this path, set the “Value” as the path of your Oracle driver jar file.

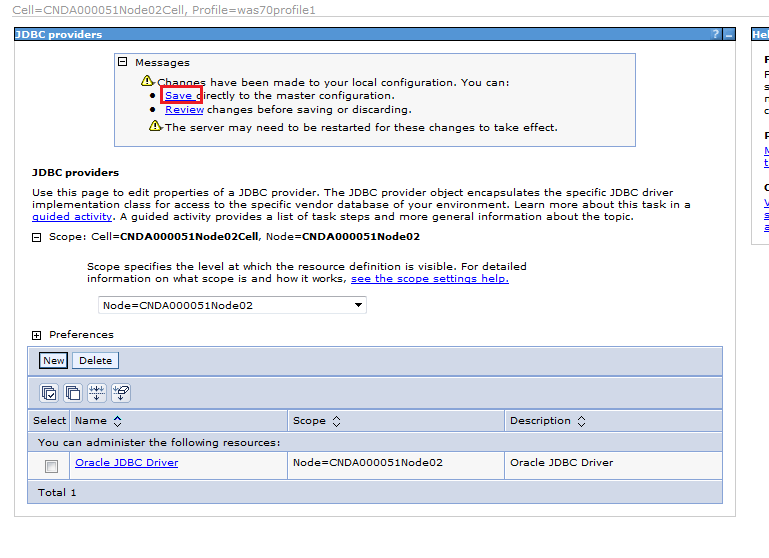
- After set the value, click “Apply” button, also click “Save” button to take effect.
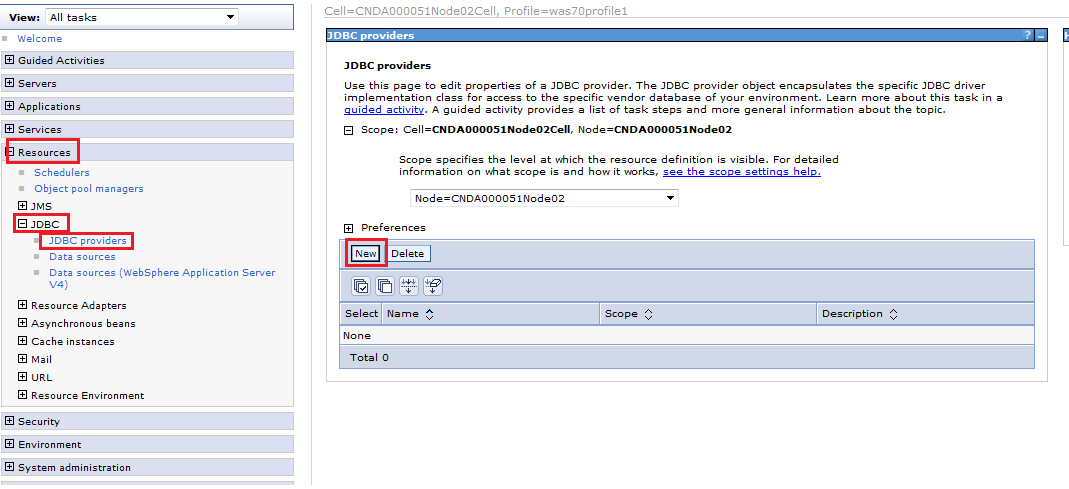
- Click the menu as below image shows, and click “New” button.
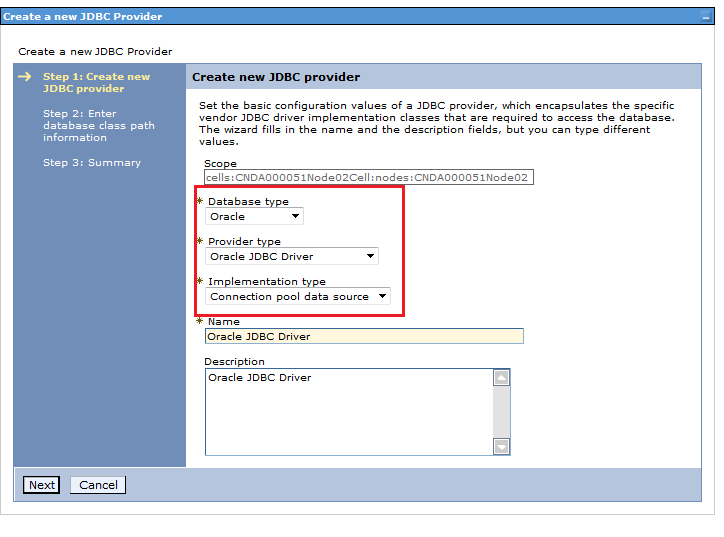
- Step 1: Create new JDBC provider. The values set as below image shows. And then click “Next”.
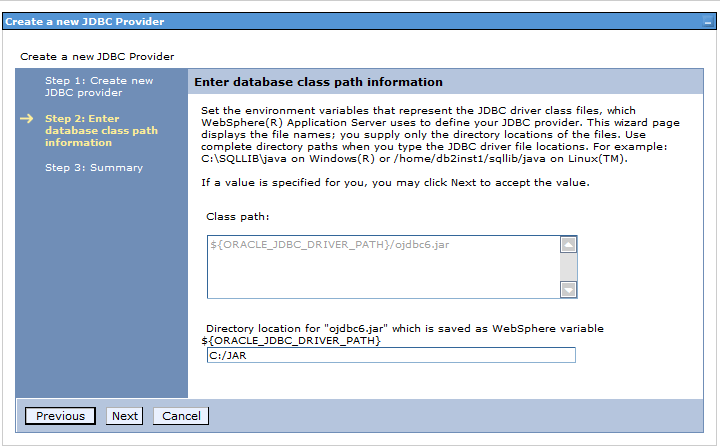
- Step 2, if the oracle jar is not the same as images shows, you can change it later. This page no needs to change, click “Next”.
- Step 3, no change to click “Finish”
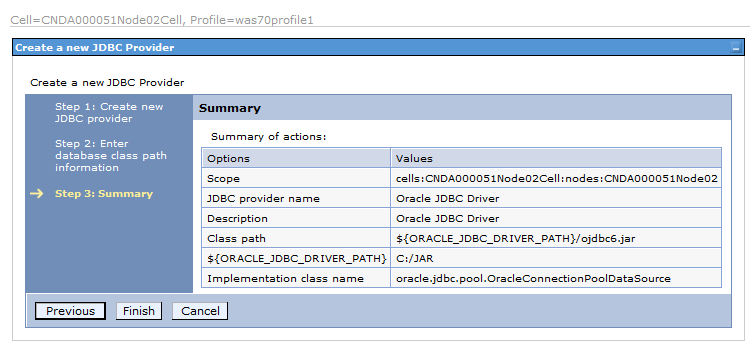
- Save the configuration.
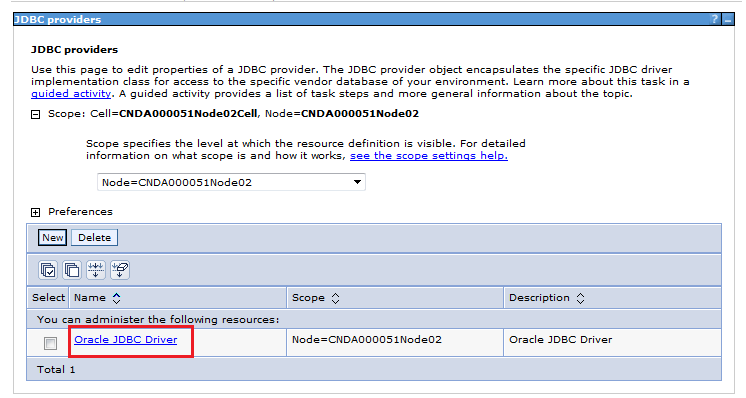
- You can click name in the list to change the configuration.
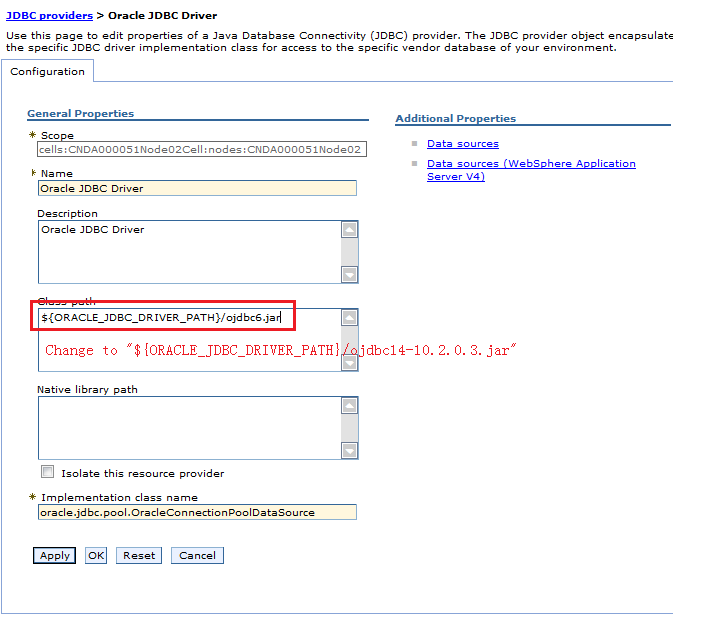
- If something is wrong, you can change it. Eg.my jar name is not “ojdbc6.jar”, so change the class path as “ojdbc14-10.2.0.3.jar”, and click “Apply”, “Save” button.
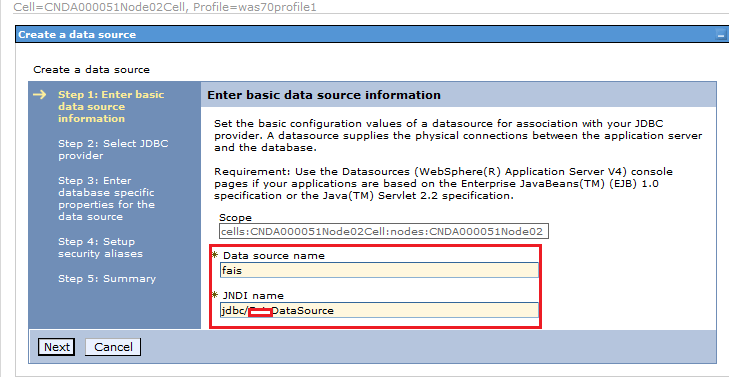
- Create Data source.
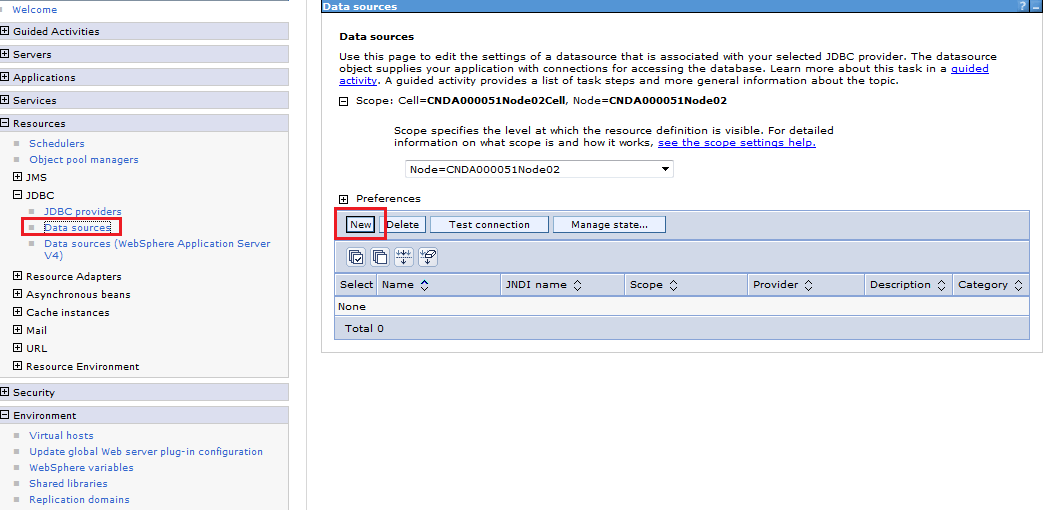
- Step 1, “Date source name” can free to input, “JNDI name” is “jdbc/DataSource”.
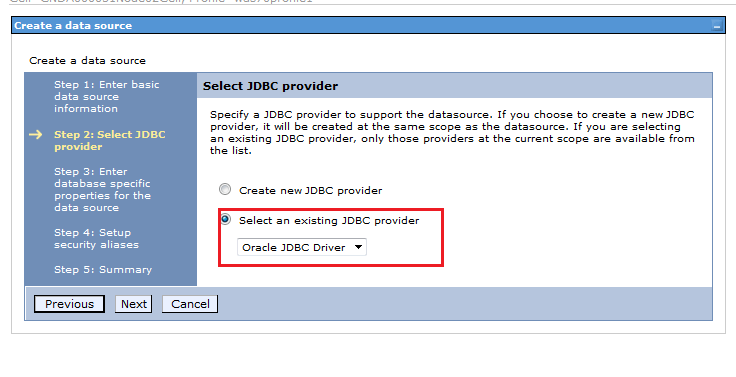
- Step 2, select an existing JDBC provider.
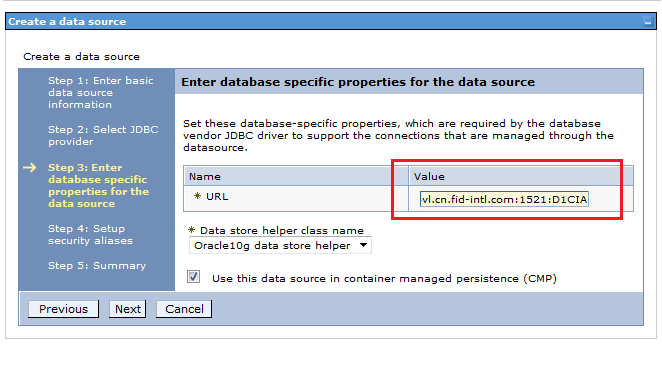
- Input URL “jdbc:oracle:thin:@cndalwebdb04vl.cn.fid-intl.com:1521:D1CIA”.
(According you own configuration).
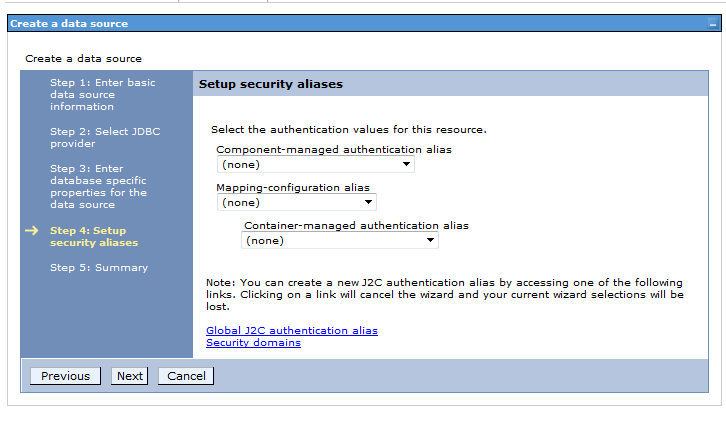
- Setup security aliases. (Set up oracle username and password). Set later. Do nothing and next.
- Confirm page, click “Finish” button.
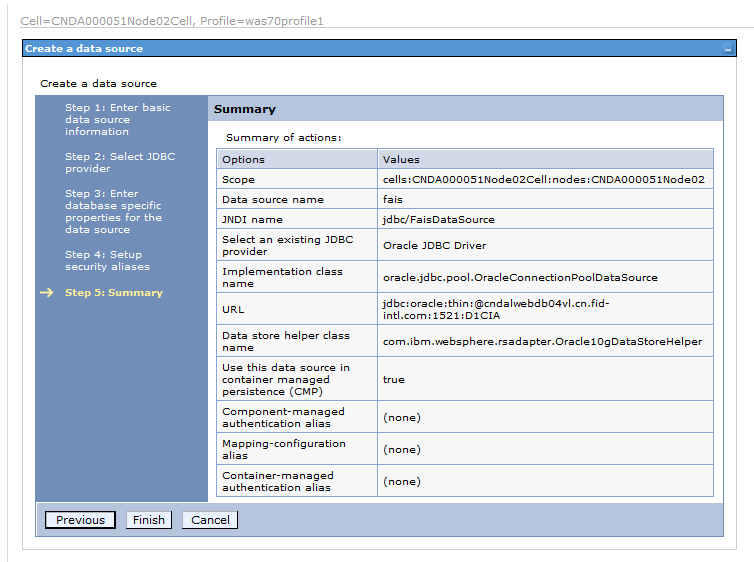
- Save the data source configuration.
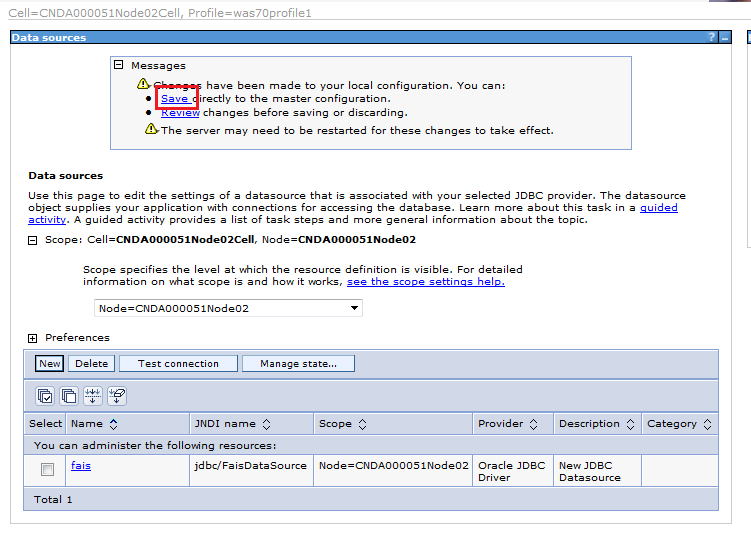
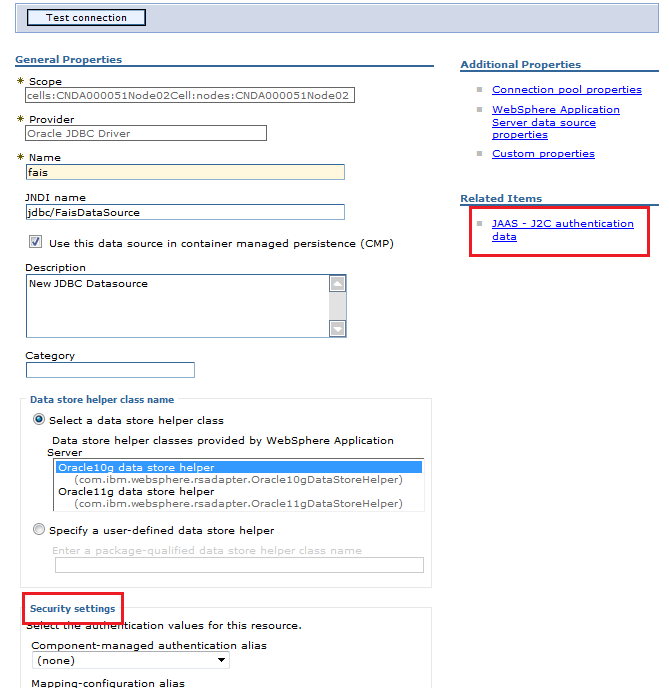
- Add “JAAS - J2C authentication data” (oracle username and password).
After that set “security setting”.
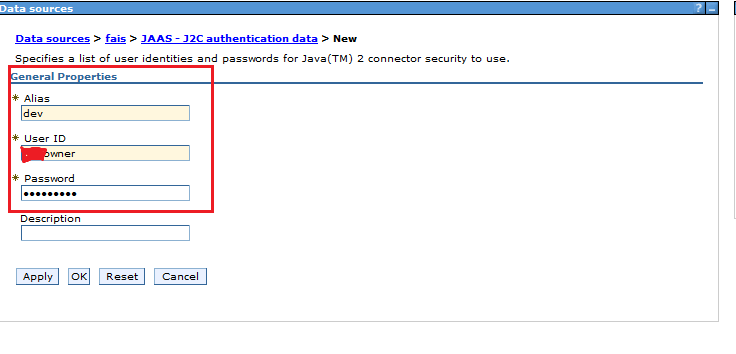
- Click “New” button.
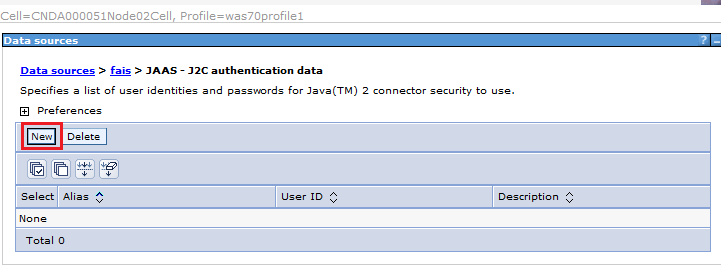
- Alias is free to input, User ID and Password use to connect oracle db.
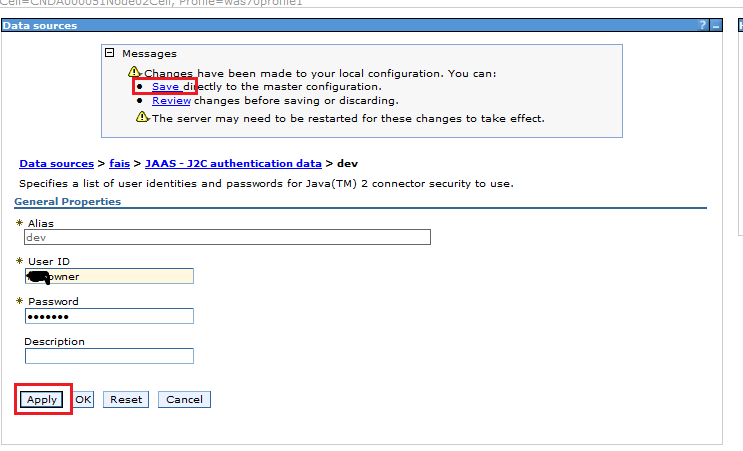
- Apply and save.
- Link to data source edit page, edit “Security settings” option.
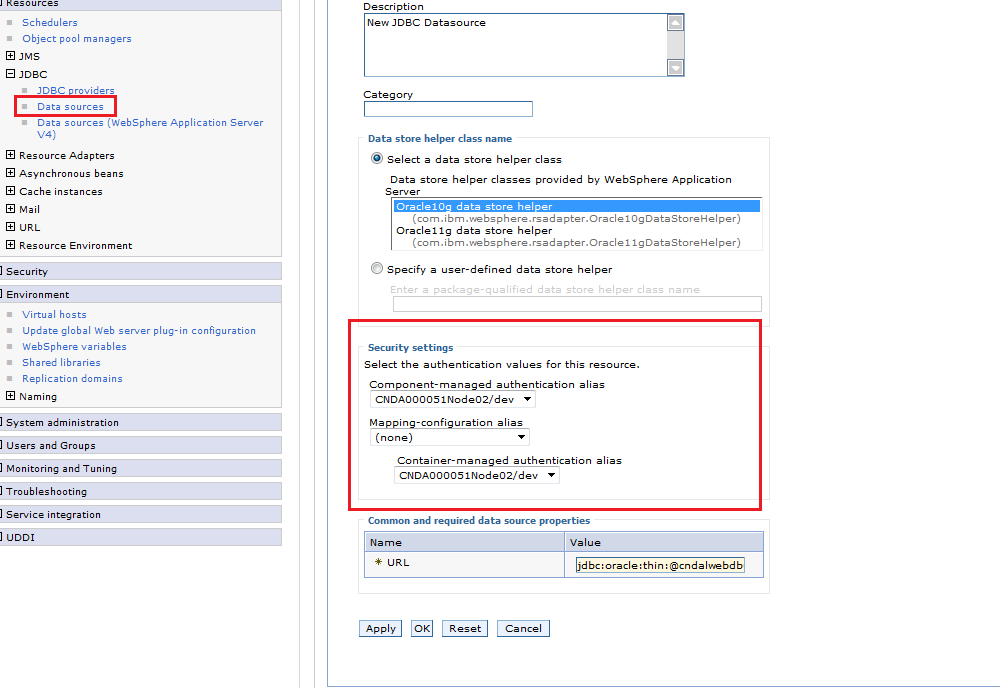
- Apply and save.
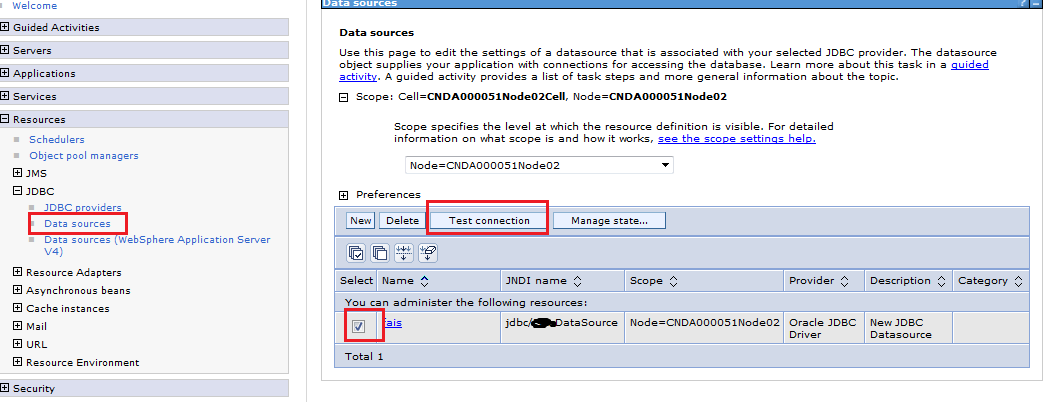
- Test connection.
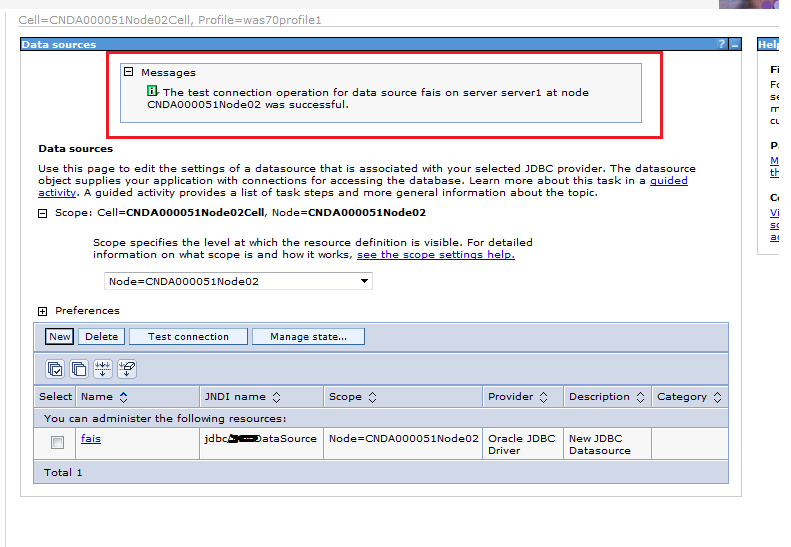
- Connect successfully if shows below page. And the entire configuration for data source has done.