1. webpack魔法糖和异步组件的体现
<template>
    <div>
        <div @click="showHander">显示组件</div>
        <testcom v-if="show"></testcom>
    </div>
</template>

<script>
    export default {
        data(){
            return{
                show:false,
            }
        },
        methods:{
            showHander(){
                this.show=!this.show;
            },
        },
        components:{
            //使用了魔法
           testcom:()=>import(/* webpackChunkName:"lhtest" */'../components/test-com')
        }
    }
</script>
webpack魔法糖发生的魔法现象
在页面第一次渲染的时候
并不会直接去加载testcom这个组件
而是页面需要渲染的时候
才会去加载这个组件
/* webpackChunkName:"lhtest" */ 这个是webpack的魔法注释
2.打包后项目可视化分析
https://blog.csdn.net/qq_39523111/article/details/108790661

vue/cli2.0 脚手架
npm run build --report

vue-cli3脚手架 项目npm run build --report生成分析图
npm run build -- --report

小可爱们看下图,发现了什么没有

3 获取data初始状态下的值 this.$options.data().xx·和data下的所有值this.$data
<template>
    <div>
        <el-button @click="gotos">改变</el-button>
        <el-button @click="change">获取data中的所有值</el-button>
        <el-button @click="inithander">获取初始状态下data中所有值</el-button>
        <el-button @click="reset">将data的值重置</el-button>
        <div>{{ obj}}</div>
    </div>
</template>
<script>
export default {
    data(){
        return{
            obj:{
                name:'张三',
                age:'20',
                sex:'男'
            },
            subjective:{
                info:'ok'
            }
        }
    },
    methods:{
        gotos(){
            this.obj.sex='我改变了性别'
            this.obj.age='我改变了年龄20-->30'
            this.obj.name='张三变成wang'
        },

        //获取vue中data中的所有值 当然data中的值也有可能是被改变了的
        change(){
            console.log('vue中data中的所有值',this.$data);
        },

        // 获取组件下初始状态下的值;就是你在data中最初写的值
        inithander(){
            console.log('初始状态下的值',this.$options.data());
        },

        // 重置值
        reset(){
            // 第一种
            // Object.assign(this.$data.obj,{name:'',age:'', sex:''});

            // 第二种
            Object.assign(this.$data.obj,this.$options.data().obj); //前提是obj的值是空
            console.log('重置', this.obj )
        }
    }
}
</script>
4.我们的主角---> onbeforeunload 事件
举个小栗子,如下面的场景
往下看,接近我们的主角
<template>
    <div>
        <h3>我是内容,不要看我</h3>
    </div>
</template>
<script>
 document.body.onbeforeunload = function () {
    setTimeout(() => {
        alert("离开页面将导致数据丢失!");
    })
}
</script>

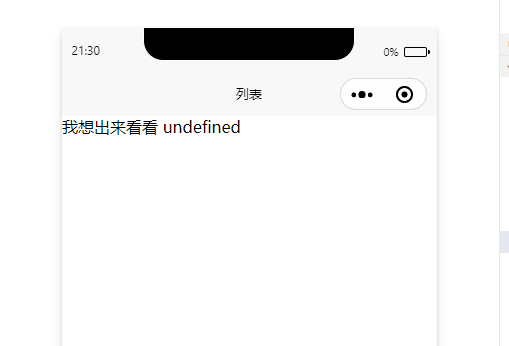
5 .uni-app中html中的你认为的this;实际的this
看完之后,惊喜不,意外不;是不是跟你想象中的this不一样;
那么this到底指向哪里呢????
<template>
	<view class="page-demo">
		<view class="demo" >
			我想出来看看
			{{ this}}
		</view>
	</view>
</template>
<script>
它的庐山真面目
6.阻止键盘弹起推动页面
康康我们的代码
<view class="bottom-wri-box" :style="{bottom: bottomHeight}">
	<image @tap="changeChander" class="left-cont-icon" :src="imageUrl+'/huifu-icon.png'"></image>
	<input
	:adjust-position="flasFlag"
	@confirm="AddSendMess"
	class="mormal-input uni-input"
	maxlength="300"
	@focus="getheightCont"
	@blur="initheight"
	confirm-type="send"
	placeholder="说点什么"
	v-model="writeCont" />
</view>
data中的值,用于控制input输入框的位置;
flasFlag:false, //表示input输入时,页面不会往上推动
bottomHeight:'0rpx',//input框的位置
mthods中的方法动态控制input框中的位置
methods:{
  getheightCont(e){
    //e.detail.height 用户获取键盘的高度,由于机型的不同,所以可以加上一个值10或者20
    this.bottomHeight=(e.detail.height*2)+10+"rpx";//你可以加上20或者加上10
  },
  //失去焦点后恢复原来的位置
  initheight(){
     this.bottomHeight='0rpx'
  },
}
css
.bottom-wri-box{
   100%;
   background-color:#fff;
   position:fixed !important; //一定要固定定位哈

   height: 152rpx;
   display: flex;
   align-items: center;
   justify-content: center;
   z-index: 1000 !important;
   box-shadow: 0px -2px 20px 0px rgba(0,0,0,0.05);
   .mormal-input{
       604rpx;
      height: 80rpx;
      background: #f5f5f5;
      border-radius: 44rpx;
      padding-left: 34rpx;
      box-sizing: border-box;
      padding-right: 32rpx;
       //注意input框中内容太多可能会出现样式移溢出
      white-space:normal !important;
      word-break:break-all !important;
      margin-left:28rpx;
}
  // 左侧图标 右侧表情
  .left-cont-icon{
        54rpx;
       height: 54rpx;
   }
}
我们在输入的时候,发现页面并没有往上推动;

7.uni-app同一个元素添加多个类
我想象中的
<template>
	<view class="page-demo">
        <view   v-for="(item,index) in listArr" :class="addclassName(item)">
			{{item.cont }}
		</view>
    </view>
</template>
<script>
export default {
data(){
	return{
		 listArr:[
		  {cont:"司藤",type:1001},
		  {cont:"山河令",type:1002},
		  {cont:"清风徐来",type:1003},
		  {cont:"九州",type:1004}
		  ]
	 }
 },
 filters: {
	addclassName(i) {
			switch (mess.type) {
			case 1001:
			return 'oncss';

			case 1002:
			return 'offcss'
		  }
	 }
	 },
}
</script>
好家伙,耍脾气,uni-app直接不干活了
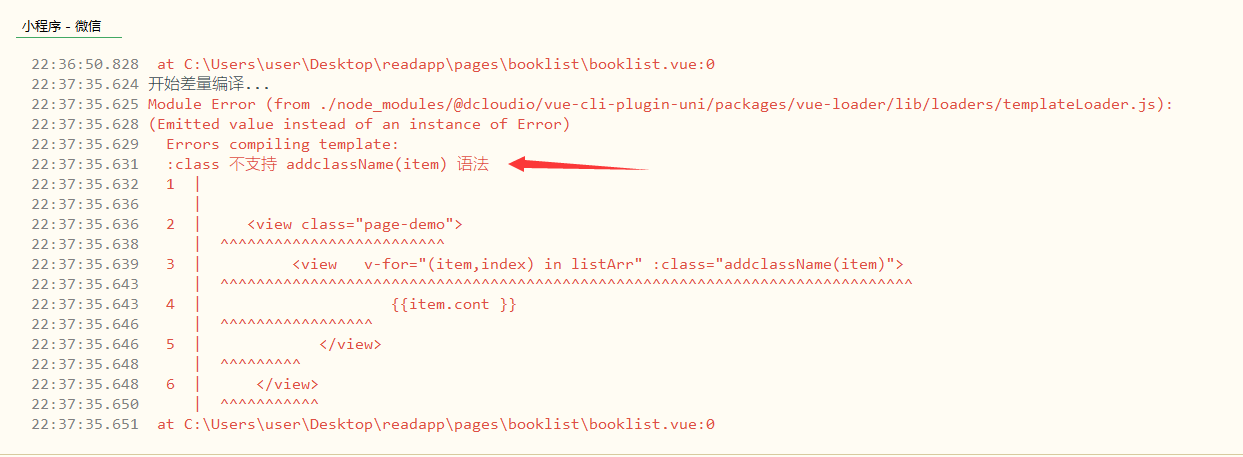
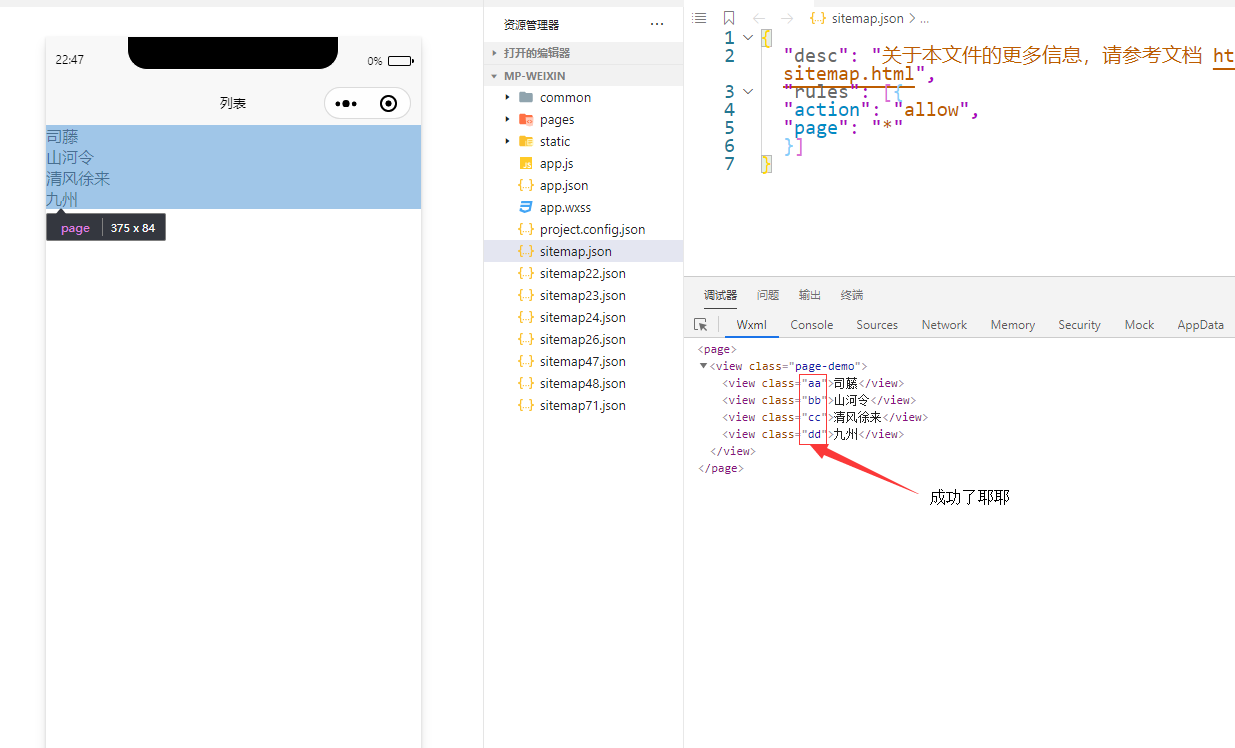
看来还是我不懂它的心,正确的姿势
<template>
  <view class="page-demo">
     <view class="demo"
       v-for="(item,index) in listArr" :key="index"
       :class="{'aa': item.type==1001,
       'bb': item.type==1002,
       'cc':item.type==1003,
       'dd':item.type==1004}">
	  {{item.cont }
     </view>
  </view>
</template>
<script>

<div
   v-for="(item, index) in list"
    :key="index"
  >
     <div class="item-tag" :class="addclassName(item)">
        {{ item.cont}}
      </div>
 </div>
<script>
export default {
 data(){
   return{
      listArr:[
         {cont:"司藤",type:1001},
         {cont:"山河令",type:1002},
         {cont:"清风徐来",type:1003},
         {cont:"九州",type:1004}
      ]
     }
  },
}
</script>
8. 如何才能无情的将scroll-view产生的滚动条抛弃
默认状态
<template>
	<view class="page-demo">
		<view class="srcool-box">
			<scroll-view scroll-y="true" class="cont-scrool">
				<view class="demo-height"
				    v-for="(item,index) in listTypecont" :key="index">
					{{ item.name }}
				</view>
			</scroll-view>
		</view>
		<view class="bottom">
			确认按钮
		</view>
	</view>
</template>


<script>
	export default {
		data() {
			return {
				listTypecont:[
					{name:"司藤"},
					{name:"三生三世十里桃花"},
					{name:"宸汐缘"},
					{name:"半妖司藤"},
					{name:"百岁之约,一言为定"},
					{name:"全部"},
					{name:"司藤1"},
					{name:"三生三世十里桃花2"},
					{name:"宸汐缘3"},
					{name:"半妖司藤4"},
					{name:"百岁之约,一言为定5"},
					{name:"全部6"},
					{name:"半妖司藤7"},
					{name:"百岁之约,一言为定8"},
					{name:"全部9"},
				],
			};
		},
	}
</script>
<style>
	.page-demo{
		display: flex;
		flex-direction: column;
		 100%;
		height: 100vh;
		overflow-y: auto;
	}
	::-webkit-scrollbar {
		 0;
		height: 0;
		color: transparent;
		display: none;
	}
	.srcool-box{
		flex: 1;
	}
	.cont-scrool{
		margin-bottom:100rpx;
	}

	.demo-height{
		height: 100rpx;
		text-align: center;
		line-height: 100rpx;
		vertical-align: middle;
		background-color: red;
		border-bottom: 1px solid #ccc;
	}
	.bottom{
		position: fixed;
		bottom: 0;
		height: 100rpx;
		 100%;
		background: blue;
		text-align: center;
	}
</style>
一顿操作之后

我们的功臣
::-webkit-scrollbar {
		 0;
		height: 0;
		color: transparent;
		display: none;
	}
9 推倒vue指令,自定义v-focus指令
<body>
    <div id="app">
        <input type="text" value="" v-focus>
    </div>
    <script>
    Vue.directive("focus", {
       bind: function (el) {

       },
       inserted: function (el) {
           el.focus();
       },
    })
        var vm = new Vue({
            el: "#app",
            data: {

            }
        });
    </script>
</body>
此时,尤大大走过;小伙子不错;看你代码惊奇;跟着我;我传你神奇功法
醒醒,做做梦了;讲讲你刚刚写的什么玩意;没有注释啊;怎么看?
赶紧擦了擦口水:
bind inserted 这两个函数只会执行一次哦,

数据发生改变的时候,updated可能会执行多次哦。

大招:
和css样式有关的操作 放在bind函数中
和js行为有关的操作  可以写在inserted()这个函数中去

bind:每当指令绑定到元素上的时候,就会立刻执行bind这个函数,
在这三个函数中,第一个参数永远是el,表示被绑定了指令的那个元素,这个el是一个原生的js对象。

inserted:表示元素插入到DOM中的时候,会执行inserted函数。
updated:当数据跟新的时候,就会执行updated,可能会触发多次

说这么多,我要眼见为是实;上图啊!!!!
10 div要上天了,没有有人管一下
<body>
    <div id="app">
        <div id="pcontent" contenteditable="true" ref="pvalue" @blur="addBlur">22323</div>
    </div>
    <script>
        var vm = new Vue({
            el: "#app",
            data: {

            },
            methods: {
                addBlur() {
                    alert(document.querySelector("#pcontent").innerText);
                }
            },
        });
    </script>
</body>
看看上面这一段代码会发生什么
很简单嘛;就是div;等等,眉头紧锁,感觉事情并不简单;
contenteditable="true" 难道说div可以编辑
有点不敢相信,天降div;
不仅div可以编辑,p标签页可以编辑
11.配角迎来高光时刻
2020.4.4)是全国哀悼日;
在浏览B站,腾讯视频,等网站时,网站变成灰色的了.
我去看了一下腾讯的做法,腾讯是将所有的图片换成了灰色的。
那么B站是如何做的呢?
B站是通过,css3的属性去控制的,
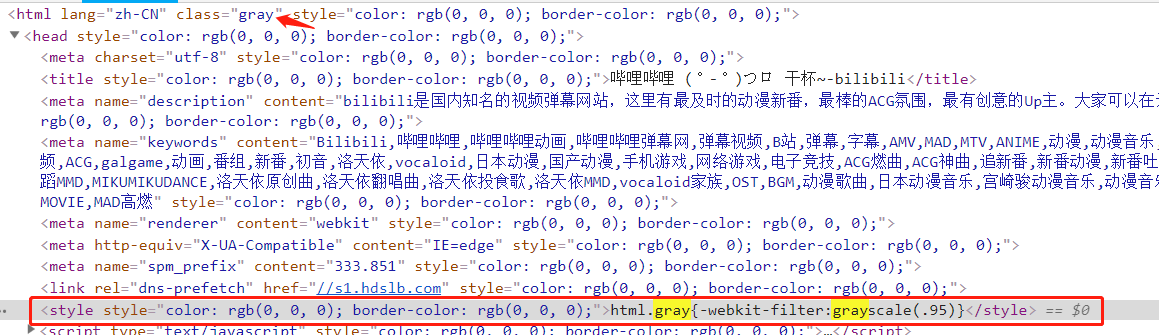
首先找到 html. 在 B 站的 html 中有一个 gray 这一个类。
然后全局搜索。gray.
然后你会发现有这么一段代码。
如果将这一段代码去除,网站将会恢复回来的彩色。
 <ul class="demo">
        <li>11</li>
        <li>11</li>
        <li>22</li>
        <li>33</li>
        <li>44</li>
    </ul>
    <img src="../dm.jpg" class="img-size">
<style>
 .demo {
            display: flex;
             300px;
            height: 40px;
            line-height: 40px;
            list-style: none;
            text-align: center;
        }
        .demo li {
             50px;
            color: antiquewhite;
            background: pink;
            padding-left: 0;
        }

        .img-size {
             100px;
            height: 100px;
            background-size: 100%;
        }
</style>
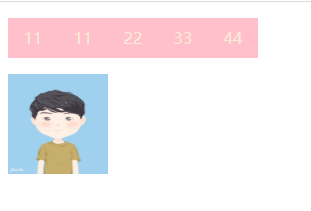
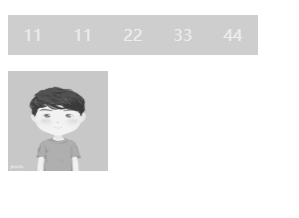
如何变成灰色的呢?
有这几种方式,都是利用css3de filter这个滤镜属性。

(1)
 html {
    -webkit-filter: grayscale(100%);
    filter: progid:DXImageTransform.Microsoft.BasicImage(graysale=1);
}

(2)
html {
            filter: grayscale(100%);
            -webkit-filter: grayscale(100%);
            -moz-filter: grayscale(100%);
            -ms-filter:
                grayscale(100%);
            -o-filter: grayscale(100%);
            filter: url("data:image/svg+xml;utf8,#grayscale");
            filter: progid:DXImageTransform.Microsoft.BasicImage(grayscale=1);
            -webkit-filter: grayscale(1);
        }
12 Vue中Vue.set()和this.$forceUpdate()的使用
1.给对象添加一个key值 失败的
<template>
    <div>
        <p>名称:{{userInfo.name}}</p>
        <p>性别是:{{userInfo.sex ?  userInfo.sex : ''}}</p>
        <button @click="updateName">修改userInfo</button>
    </div>
</template>
<script>
    export default {
        data(){
            return{
                userInfo:{name:'小明'}
            }
        },
        methods:{
            updateName(){
                this.userInfo['sex']='男';//失败的
            }
        }
    }
</script>

给对象添加一个key值 成功的
<template>
    <div>
        <p>{{userInfo.name}}</p>
        <p>{{userInfo.sex ?  userInfo.sex : ''}}</p>
        <button @click="updateName">修改userInfo</button>
    </div>
</template>
<script>
    export default {
        data(){
            return{
                userInfo:{name:'小明'}
            }
        },
        methods:{
            updateName(){
                this.userInfo.name='小红';
                this.userInfo['sex']='男';//ok
            }
        }
    }
</script>
3.好奇怪,为啥一个成功一个失败?
在什么情况下,直接给对象添加一个key值会失败?????
是在你直接给原来的对象上新增一个key值而且没有修改原来对象上的值如下
this.userInfo['sex']='男';
这样的修改肯定会失败的哈

你新增key值的时候;并且改变了原来已经有的key的内容;这样你新增的key值就可以更改成功
this.userInfo.name=this.userInfo.name+"213";
this.userInfo['sex']='男';//ok

为啥会这样是因为:
因为受现代JS的限制,vue不能检测到对象属性的添加或删除。
vue不允许在已经创建的实例上动态添加新的根级响应式属性
不过可以使用Vue.set()方法将响应式属性添加到嵌套的对象上。
3.给对象添加key值的两种方式
<template>
    <div>
        <p>{{userInfo.name}}</p>
        <p>{{userInfo.sex ?  userInfo.sex : ''}}</p>
        <button @click="updateName">修改userInfo</button>
    </div>
</template>
<script>
import Vue from "vue" //Vue.set()的时候需要使用
    export default {
        data(){
            return{
                userInfo:{name:'小明'}
            }
        },
        methods:{
            updateName(){
                // this.userInfo['sex']='男'; //失败的

                // 解决方法一:注意要引入Vue
                // Vue.set(this.userInfo, 'sex' ,'男')

                //解决办法二;不推荐因为消耗性能
                 this.userInfo['sex']='男';
                 this.$forceUpdate()
            }
        }

    }
</script>
####### 4.forceUpdate的讲解
this.$forceUpdate()
它可以迫使Vue的实例重新渲染;
注意它仅仅影响实例本身以及插入插槽内的子组件;并不是所有的子组件
13 小小方法,这么牛
uni.previewImage({
    current:0,
    urls: [mess.honorIcon],//['你的图片地址'] 必须是一个数组
});