一、概述
由于Android 没有提供一套统一的换肤机制,我猜可能是因为国外更注重功能和体验的原因
所以国内如果要做一个漂亮的换肤方案,需要自己去实现。
目前换肤的方法大概有三种方案:
(1)把皮肤资源文件内置于应用程序Apk的资源目录下,这种方案最简单,但是导致apk安装包比会比比较大,而且不好管理
(2)将皮肤资源文件打包成zip的资源文件方式提供,该方法也比较多被采用。
(3)将皮肤图片资源以独立的Apk安装包的方式提供,做成插件化的方式。便于管理。
本文主要讨论第三种实现。
二、效果演示
首先看看实现的效果吧:

三、换肤功能的实现
现在把 皮肤资源apk叫做皮肤Apk,把需要换肤的应用程序叫做主程序APK吧。
基本原理主要是:
(1)新建一个Android项目-MySkin,把皮肤资源文件放在把项目的资源目录下,改包名为:com.czm.myskin
(2)新建一个主程序Apk应用Android项目-MySkinDemo,通过皮肤Apk的包名,获取其Context:
方法如下:
mSkinContext= this.getApplicationContext().createPackageContext("com.czm.myskin",
                    Context.CONTEXT_IGNORE_SECURITY | Context.CONTEXT_INCLUDE_CODE);
为什么要用 Context.CONTEXT_IGNORE_SECURITY,且看api文档吧:
public static final int CONTEXT_IGNORE_SECURITY

Added in API level 1
Flag for use with createPackageContext(String, int): ignore any security restrictions on the Context being requested, allowing it to always be loaded. For use with CONTEXT_INCLUDE_CODE to allow code to be loaded into a process even when it isn't safe to do so. Use with extreme care!

Constant Value: 2 (0x00000002)
public static final int CONTEXT_INCLUDE_CODE

Added in API level 1
Flag for use with createPackageContext(String, int): include the application code with the context. This means loading code into the caller's process, so that getClassLoader() can be used to instantiate the application's classes. Setting this flags imposes security restrictions on what application context you can access; if the requested application can not be safely loaded into your process, java.lang.SecurityException will be thrown. If this flag is not set, there will be no restrictions on the packages that can be loaded, but getClassLoader() will always return the default system class loader.

Constant Value: 1 (0x00000001)
拿到皮肤Apk的context后,我们就可以拿到里面的皮肤资源文件和图片了
当然了,这里为了实现运行在同一个进程,需要将皮肤Apk-MySkin 的 android:sharedUserId 这个属性配置为 主程序MySkinDemo的包名:即:
<manifest xmlns:android="http://schemas.android.com/apk/res/android"
    package="com.czm.myskin"
    android:sharedUserId="com.czm.myskindemo"
    >
至于android:sharedUserId 这个的作用和意义,还是看官方api文档吧:
android:sharedUserId
The name of a Linux user ID that will be shared with other applications. By default, Android assigns each application its own unique user ID. However, if this attribute is set to the same value for two or more applications, they will all share the same ID — provided that they are also signed by the same certificate. Application with the same user ID can access each other's data and, if desired, run in the same process.
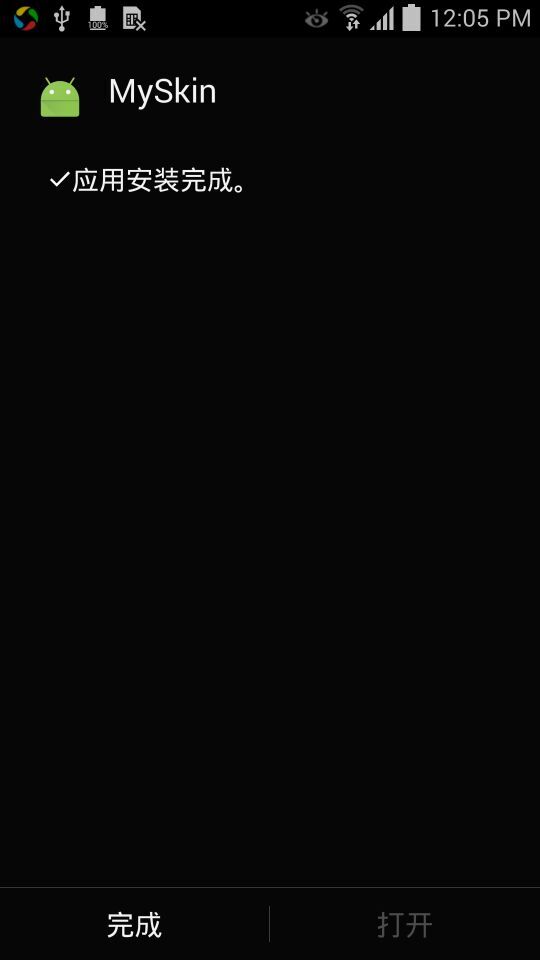
(3)为了让用户无感知,需要安装后皮肤APk后,让自己不可以打开,且不生成桌面图标,
如下图:

其实这里有个小窍门就是 不设置其
category的 Launcher : 即 把
<intent-filter>
                <action android:name="android.intent.action.MAIN" />

                <category android:name="android.intent.category.LAUNCHER" />
            </intent-filter>
这个过滤器去掉即可
如下:
<?xml version="1.0" encoding="utf-8"?>
<manifest xmlns:android="http://schemas.android.com/apk/res/android"
    package="com.czm.myskin"
    android:sharedUserId="com.czm.myskindemo"
    >

    <application
        android:icon="@mipmap/ic_launcher"
        android:label="@string/app_name"
        android:theme="@style/AppTheme">
        <activity
            android:name=".MainActivity"
            android:label="@string/app_name"
           >
        </activity>
    </application>

</manifest>
到此为止,Apk插件换肤功能方案已经完成实现。
下面是主程序的完整实例代码:(这里以换 2张背景图片为例)
package com.czm.myskindemo;

import android.app.Activity;
import android.content.Context;
import android.content.pm.PackageManager;
import android.graphics.drawable.Drawable;
import android.os.Bundle;
import android.view.View;
import android.widget.Button;

import java.util.List;

public class MainActivity extends Activity {

    private Button mButton;
    private Context mSkinContext;
    private int[] mResId;
    private int mCount = 0;
    private View mTopbar;
    private View mBottomBar;
    private List<View> mSkinWidgetList;
    @Override
    protected void onCreate(Bundle savedInstanceState) {
        super.onCreate(savedInstanceState);
        setContentView(R.layout.activity_main);
        initSkinContext();
        setListener();
    }
    private void initSkinContext() {
        mResId = new int[]{
                R.drawable.bg_topbar0,
                R.drawable.bg_topbar1,
                R.drawable.bg_topbar2,
        };
        try {
            mSkinContext= this.getApplicationContext().createPackageContext("com.czm.myskin",
                    Context.CONTEXT_IGNORE_SECURITY | Context.CONTEXT_INCLUDE_CODE);

        } catch (PackageManager.NameNotFoundException e) {
            e.printStackTrace();
        }
        mTopbar = findViewById(R.id.tv_topbar);
        mBottomBar = findViewById(R.id.tv_bottombar);
    }

    private void setListener() {
        mButton = (Button)findViewById(R.id.btn_install_skin);
        mButton.setOnClickListener(new View.OnClickListener() {
            @Override
            public void onClick(View view) {
                Drawable drawable = mSkinContext.getResources().getDrawable(mResId[mCount]);
                mTopbar.setBackground(drawable);
                mBottomBar.setBackground(drawable);
                mCount++;
                if(mCount >2){
                    mCount = 0;
                }
            }
        });
    }
}
其对于的布局文件:
<?xml version="1.0" encoding="utf-8"?>
<RelativeLayout
    xmlns:android="http://schemas.android.com/apk/res/android"
    xmlns:app="http://schemas.android.com/apk/res-auto"
    xmlns:tools="http://schemas.android.com/tools"
    android:layout_width="match_parent"
    android:layout_height="match_parent"
    tools:context="com.czm.myskindemo.MainActivity"
    tools:showIn="@layout/activity_main">

    <TextView
        android:id="@+id/tv_topbar"
        android:layout_width="match_parent"
        android:layout_height="50dp"
        android:layout_alignParentTop="true"
        android:background="#000"
        android:gravity="center"
        android:textColor="#FFF"
        android:text="Top Bar" />
    <TextView
        android:id="@+id/tv_bottombar"
        android:layout_width="match_parent"
        android:layout_height="50dp"
        android:layout_alignParentBottom="true"
        android:textColor="#FFF"
        android:gravity="center"
        android:background="#000"
        android:text="Bottom Bar" />
    <Button
        android:id="@+id/btn_install_skin"
        android:layout_width="wrap_content"
        android:layout_height="wrap_content"
        android:layout_centerInParent="true"
        android:text="Install Skin"/>
</RelativeLayout>
四、源码下载: