安装很简单,使用spt-get安装即可,安装mysql后,不需要使用密码就可以进行登陆。
[root@localhost ~]# mysql
Welcome to the MySQL monitor.  Commands end with ; or g.
Your MySQL connection id is 3
Server version: 5.6.39 MySQL Community Server (GPL)

Copyright (c) 2000, 2018, Oracle and/or its affiliates. All rights reserved.

Oracle is a registered trademark of Oracle Corporation and/or its
affiliates. Other names may be trademarks of their respective
owners.

Type 'help;' or 'h' for help. Type 'c' to clear the current input statement.

mysql> exit
Bye
这样很不安全,所以我们需要为mysql的root用户配置密码
[root@localhost ~]# mysql
Welcome to the MySQL monitor.  Commands end with ; or g.
Your MySQL connection id is 3
Server version: 5.6.39 MySQL Community Server (GPL)

Copyright (c) 2000, 2018, Oracle and/or its affiliates. All rights reserved.

Oracle is a registered trademark of Oracle Corporation and/or its
affiliates. Other names may be trademarks of their respective
owners.

Type 'help;' or 'h' for help. Type 'c' to clear the current input statement.

mysql> exit
Bye
设置mysql的自启:
[root@localhost ~]# chkconfig --list

注意:该输出结果只显示 SysV 服务,并不包含原生 systemd 服务。SysV 配置数据可能被原生 systemd 配置覆盖。
      如果您想列出 systemd 服务,请执行 'systemctl list-unit-files'。
      欲查看对特定 target 启用的服务请执行
      'systemctl list-dependencies [target]'。

mysqld             0:关    1:关    2:关    3:关    4:关    5:关    6:关
netconsole         0:关    1:关    2:关    3:关    4:关    5:关    6:关
network            0:关    1:关    2:开    3:开    4:开    5:开    6:关
[root@localhost ~]# chkconfig mysqld on
[root@localhost ~]# chkconfig --list|grep mysql

注意:该输出结果只显示 SysV 服务,并不包含原生 systemd 服务。SysV 配置数据可能被原生 systemd 配置覆盖。
      如果您想列出 systemd 服务,请执行 'systemctl list-unit-files'。
      欲查看对特定 target 启用的服务请执行
      'systemctl list-dependencies [target]'。

mysqld             0:关    1:关    2:开    3:开    4:开    5:开    6:关
连接数据库:
mysql -uroot -p
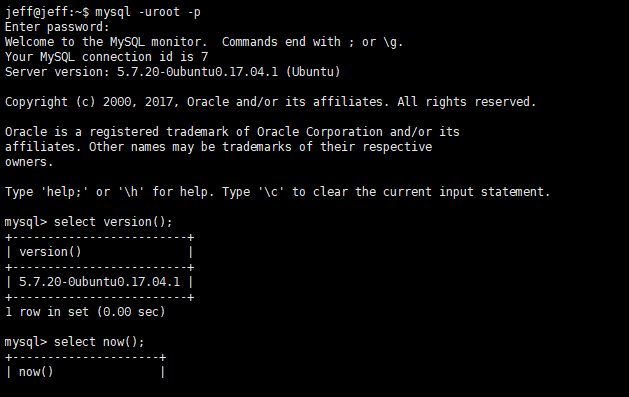
输入数据库密码即可登陆。
查看mysql版本信息:
mysql> select version();
+-------------------------+
| version()               |
+-------------------------+
| 5.7.20-0ubuntu0.17.04.1 |
+-------------------------+
1 row in set (0.00 sec)
查看当前时间:
mysql> select now();
+---------------------+
| now()               |
+---------------------+
| 2017-11-09 23:27:41 |
+---------------------+
1 row in set (0.01 sec)
实现Windows与Ubuntu虚拟机之间的文件互传问题。
其实很简单就是需要安装一个VMware tools即可。
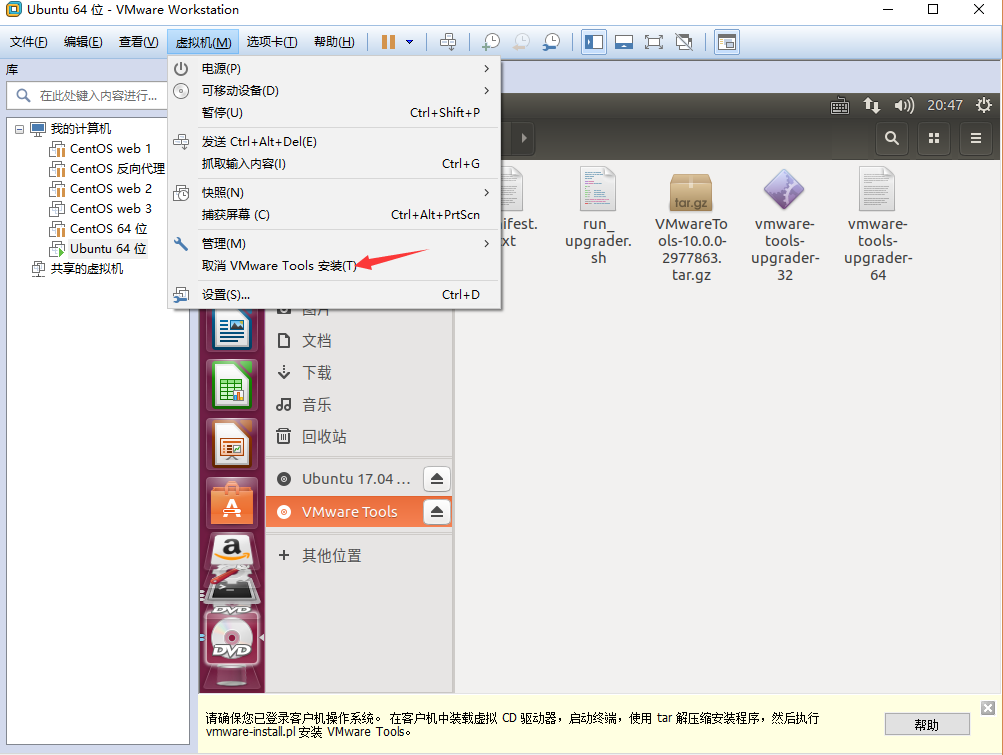
打开文件管理就有一个VM的tar包,没有的话就需要多挂一个cd驱动器。
右键,设置,
我有两个cd驱动器,一个放置Ubuntu镜像,另一个安装VM。然后把tar包复制到桌面提取出来文件。
tar -xzvf VMwareTools-10.0.6-3595377.tar.gz

切到解压的目录下执行:
sudo ./wmware-install.pl
一路回车。然而我装完后不能拖入文件,只好使用lrzsz了。
sudo apt install lrzsz
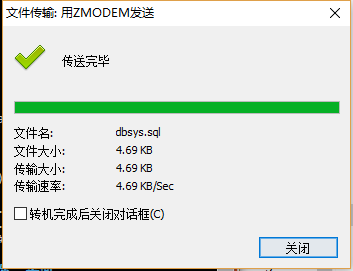
上传成功。
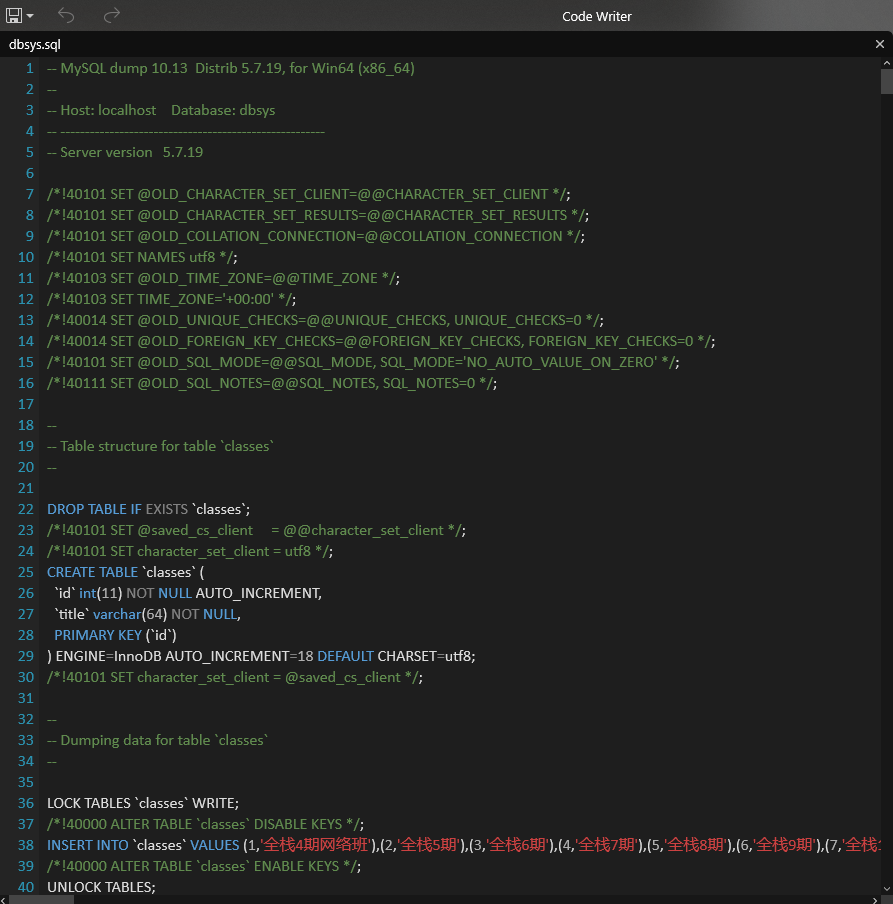
数据的转移方法
更换机器时(或者装了双系统之后),需要导入之前的数据库信息。
第一步,将数据库信息拿出来存到物理硬盘。
C:Usersjeffd>mysqldump -uroot -p dbsys > D:dbsys.sql
Enter password: ********
此时会在相应的路径下生成数据库文件。
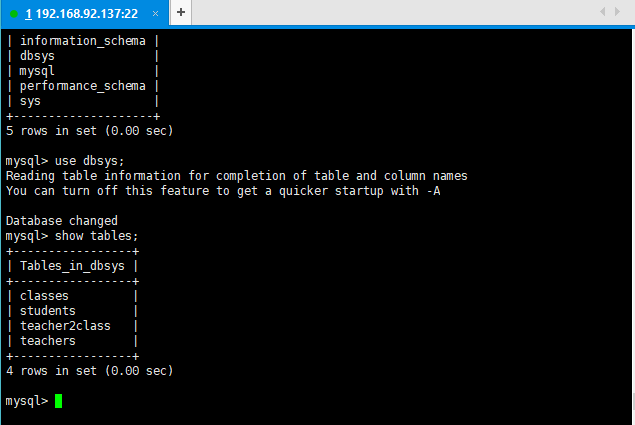
在要转移到的机器上新建立一个数据库。
mysql -uroot –p 数据库名 < D:dbsys.sql
数据库就导入成功了。
mongodb
首先,在GitHub拉下来源码包mongo。传到Ubuntu虚拟机上,解压
unzip mongo-master.zip
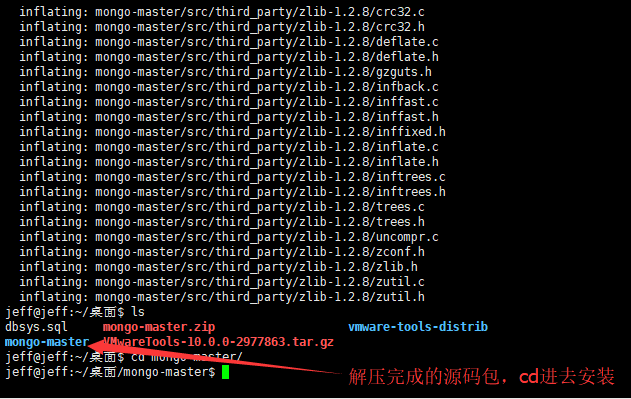
然后编译你的版本,我在编译的过程中多次出错(研究了一会不知道是什么问题,有人遇到可以交流一下),还是老老实实apt-get来装。
sudo apt-get install mongodb
安装成功,查看mongo版本。
jeff@jeff:/etc$ mongo -version
MongoDB shell version: 3.2.11