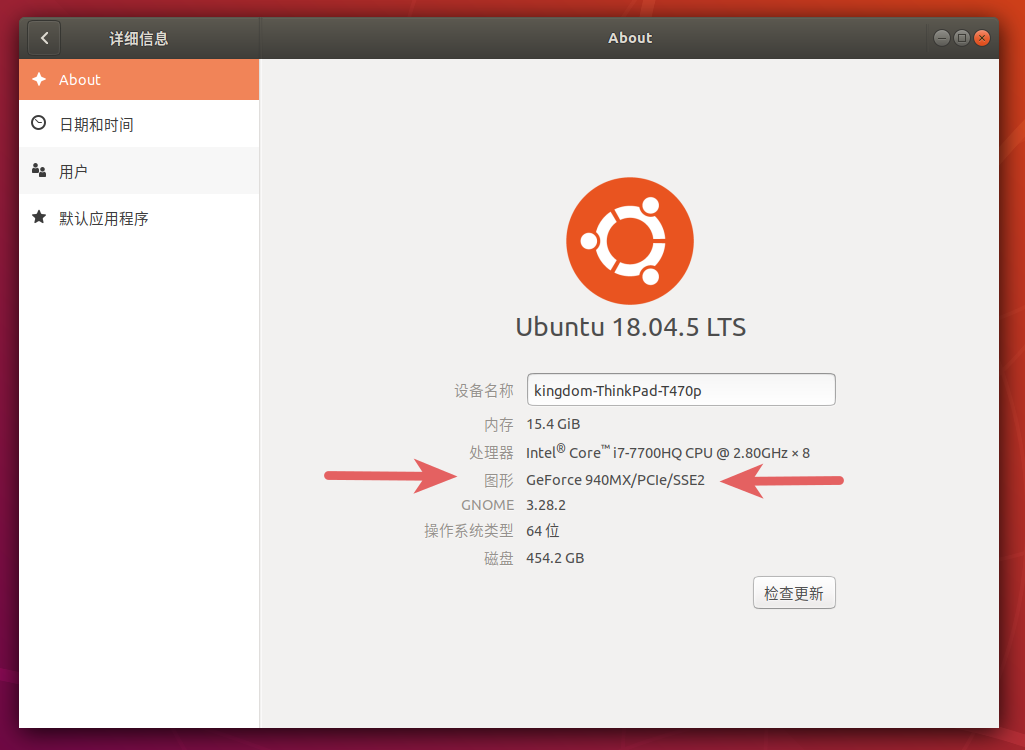
零、环境
Ubuntu 18.04 显卡 940MX
安装Cuda8.0+Cudnn5.1
由于Ubuntu 18.04自带的gcc版本为7.5.0,下文中使用了建立软链接的方式,使得Cuda使用gcc5.0。
一、安装合适版本的显卡驱动
参考下图,选择适当版本
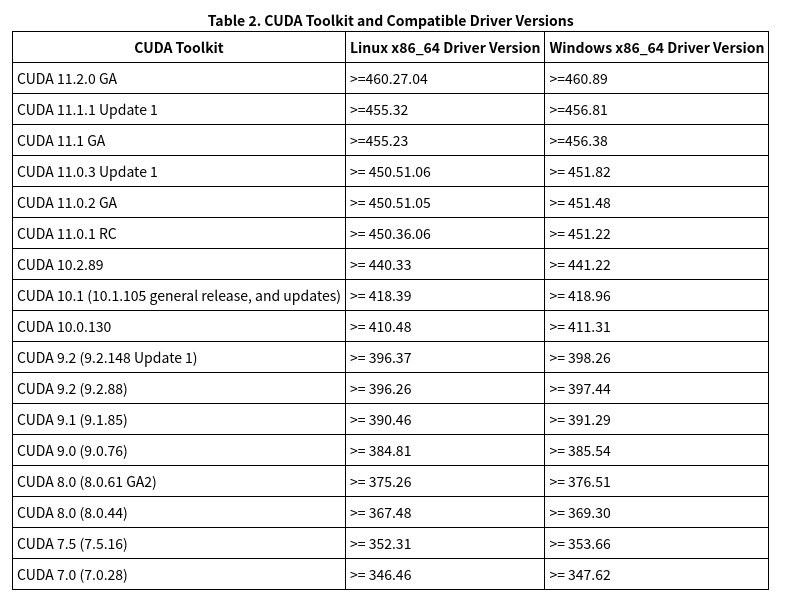
来源:https://docs.nvidia.com/cuda/cuda-toolkit-release-notes/index.html
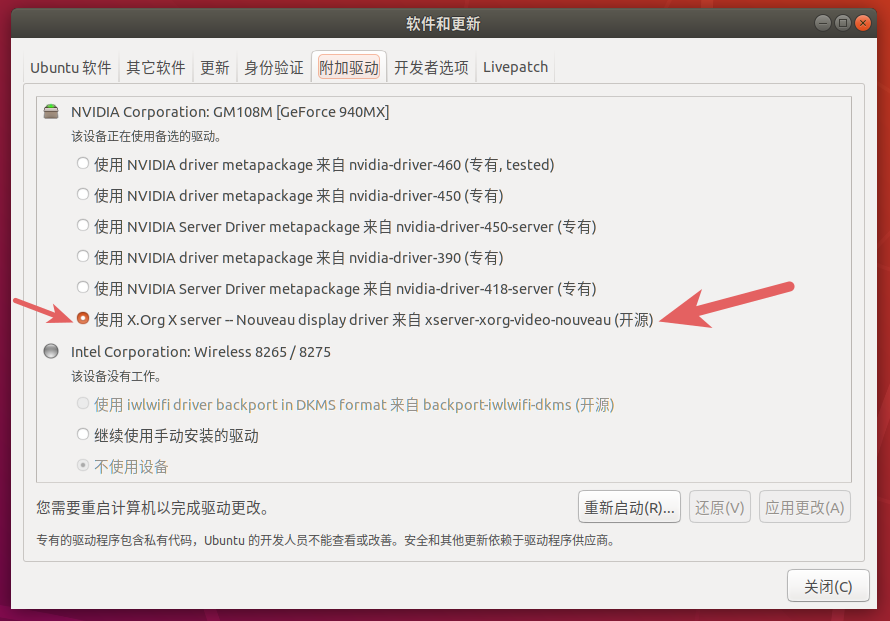
软件和更新->附加驱动
下图是默认情况
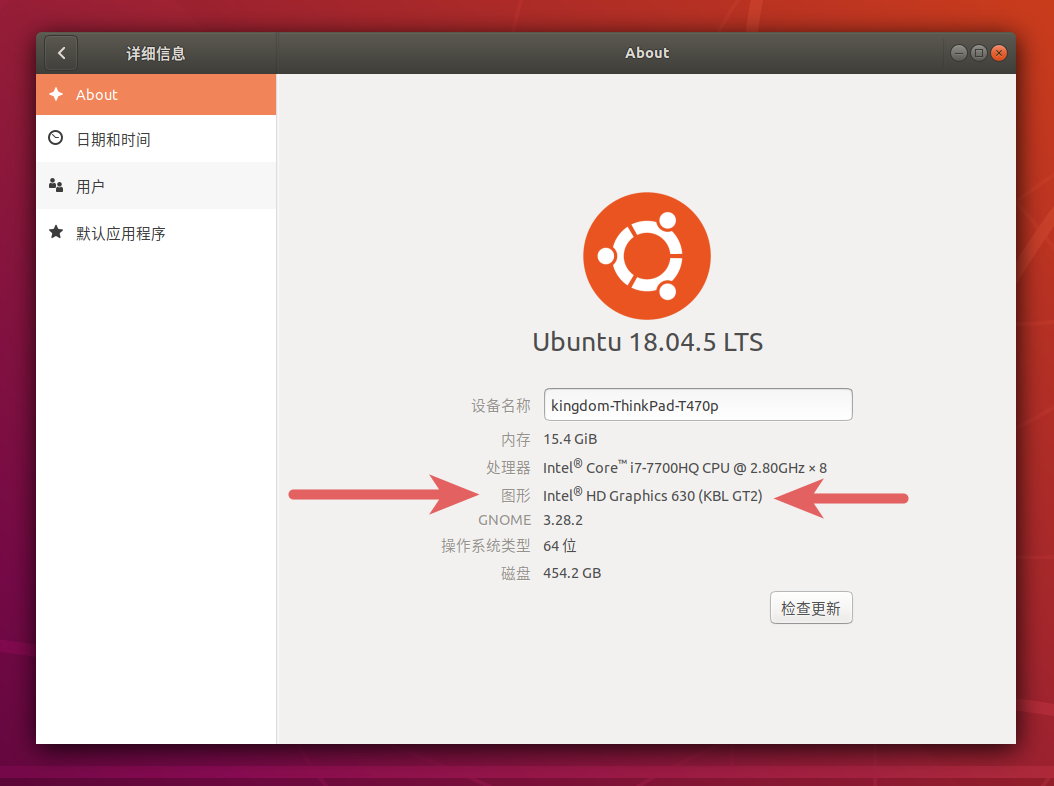
此时,设置->详细信息中图形显示的是我的核心显卡
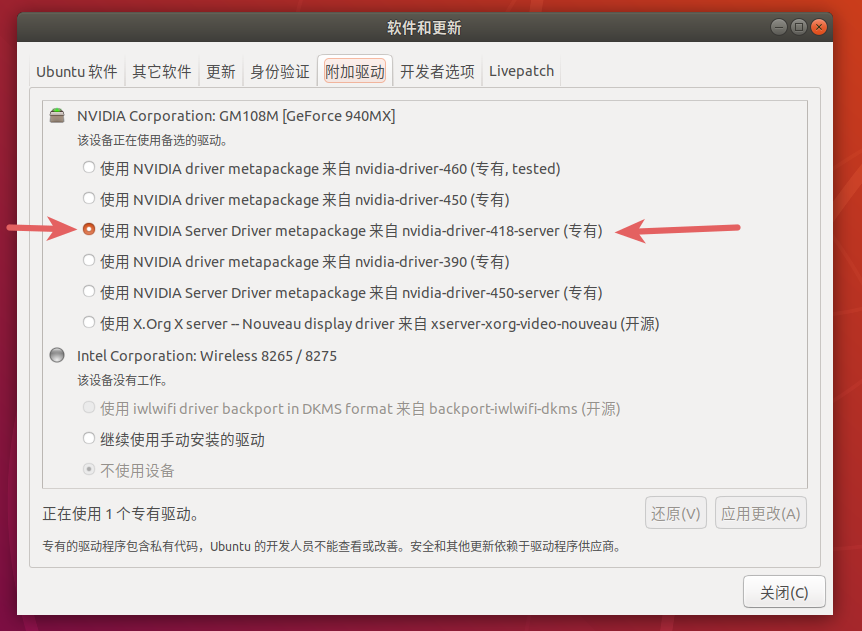
这里我修改为418,执行完成后重启机器,可以看到这两处的变化
安装完毕
sudo nvidia-smi

二、安装 Cuda 8.0
1.下载
https://developer.nvidia.com/Cuda-toolkit-archive
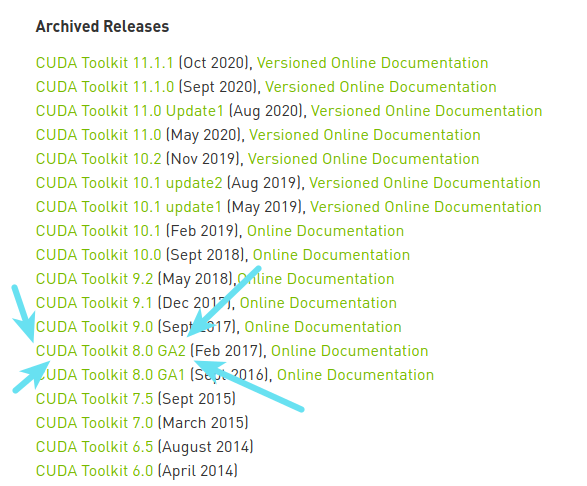
选择:
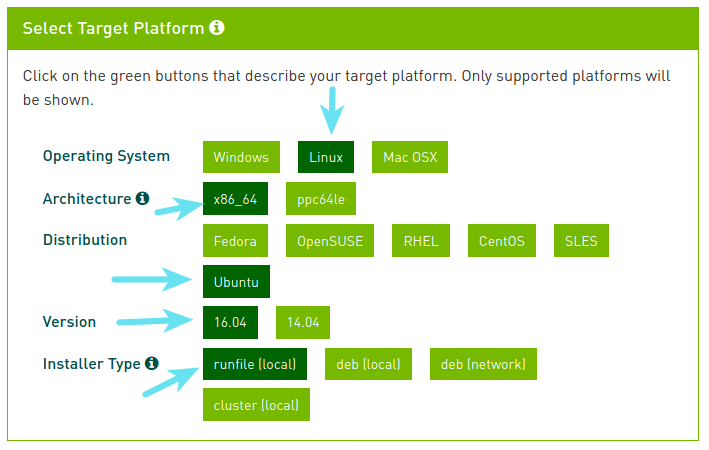
虽然Version中没有18.04,但可选16.04,亲测可以正常使用。( 详见 五、问题与解决 )
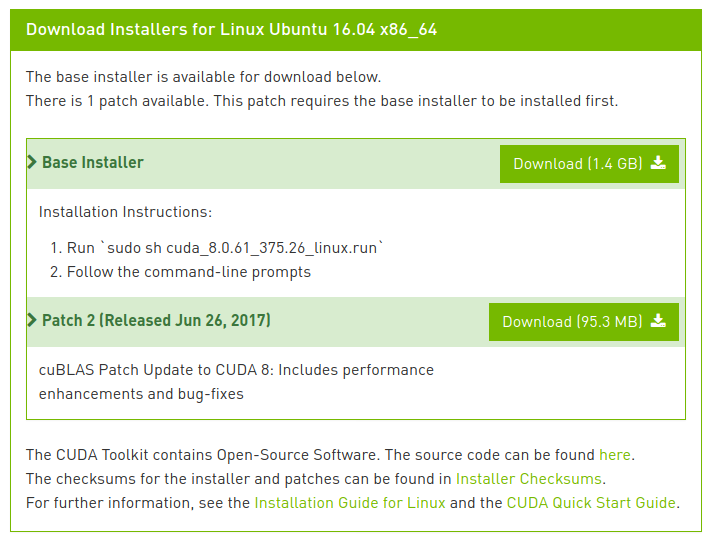
** Base Installer** 和** Patch 2**都需要下载
下载得到这两个文件

2.预备
安装依赖
sudo apt-get install freeglut3-dev build-essential libx11-dev libxmu-dev libxi-dev libgl1-mesa-glx libglu1-mesa libglu1-mesa-dev
接下来的这个步骤,可以避免安装出现“Can't locate InstallUtils.pm in @INC”的错误
(Can't locate InstallUtils.pm in @INC问题的参考链接:
https://forums.developer.nvidia.com/t/cant-locate-installutils-pm-in-inc/46952/10
https://askubuntu.com/questions/1086160/how-to-install-cuda-8-on-ubuntu-18-04-lts/1087842
参考博客:
https://blog.csdn.net/xiaoyang19910623/article/details/108407959
https://blog.csdn.net/u014529295/article/details/78820414)
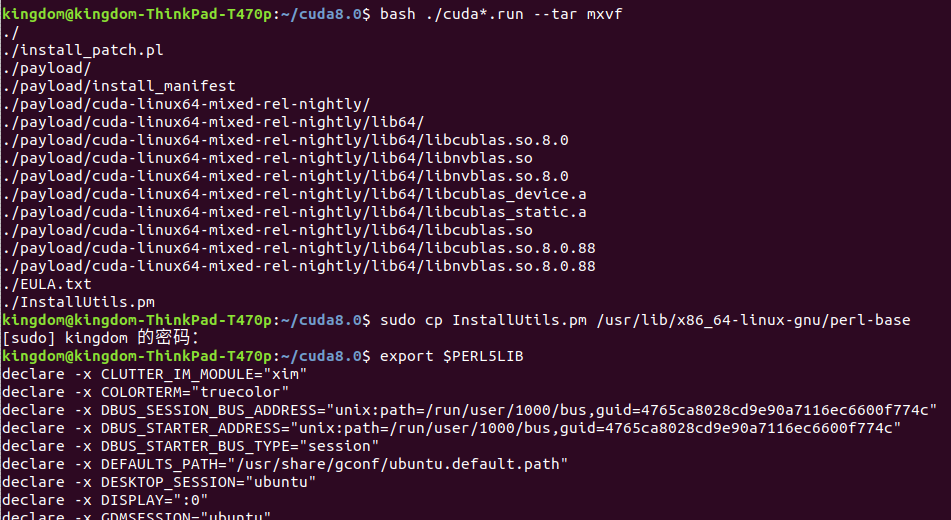
cd进入文件存放目录
bash ./cuda*.run --tar mxvf
sudo cp InstallUtils.pm /usr/lib/x86_64-linux-gnu/perl-base
export $PERL5LIB
3.安装
sudo sh cuda_8.0.61_375.26_linux.run --override
弹出一堆协议申明,可以空格向下浏览,不过十分冗长,可以直接按q退出协议浏览。

退出协议的阅读后,输入accept接受协议,开始安装

接下来几个选项需要输入y/n/enter选择
Do you accept the previously read EULA?
accept/decline/quit: accept

You are attempting to install on an unsupported configuration. Do you wish to continue?
(y)es/(n)o [ default is no ]: y

Install NVIDIA Accelerated Graphics Driver for Linux-x86_64 375.26?
(y)es/(n)o/(q)uit: n

Install the CUDA 8.0 Toolkit?
(y)es/(n)o/(q)uit: y

Enter Toolkit Location
 [ default is /usr/local/cuda-8.0 ]:

Do you want to install a symbolic link at /usr/local/cuda?
(y)es/(n)o/(q)uit: y

Install the CUDA 8.0 Samples?
(y)es/(n)o/(q)uit: y

Enter CUDA Samples Location
 [ default is /home/kingdom ]:

Installing the CUDA Toolkit in /usr/local/cuda-8.0 ...
Installing the CUDA Samples in /home/kingdom ...
Copying samples to /home/kingdom/NVIDIA_CUDA-8.0_Samples now...
Finished copying samples.

===========
= Summary =
===========

Driver:   Not Selected
Toolkit:  Installed in /usr/local/cuda-8.0
Samples:  Installed in /home/kingdom

Please make sure that
 -   PATH includes /usr/local/cuda-8.0/bin
 -   LD_LIBRARY_PATH includes /usr/local/cuda-8.0/lib64, or, add /usr/local/cuda-8.0/lib64 to /etc/ld.so.conf and run ldconfig as root

To uninstall the CUDA Toolkit, run the uninstall script in /usr/local/cuda-8.0/bin

Please see CUDA_Installation_Guide_Linux.pdf in /usr/local/cuda-8.0/doc/pdf for detailed information on setting up CUDA.

***WARNING: Incomplete installation! This installation did not install the CUDA Driver. A driver of version at least 361.00 is required for CUDA 8.0 functionality to work.
To install the driver using this installer, run the following command, replacing <CudaInstaller> with the name of this run file:
    sudo <CudaInstaller>.run -silent -driver

Logfile is /tmp/cuda_install_14643.log

Q&A:
a) 为什么会出现 **You are attempting to install on an unsupported configuration. ** ?
这个问题请看文末 五、问题与解决 中的 原因 ,对这里安装没有影响。
b) 关于 WARNING: Incomplete installation! This installation did not install the CUDA Driver
之前我们已经手动安装了高版本的显卡驱动,这里可以无视。故上面 Install NVIDIA Accelerated Graphics Driver for Linux-x86_64 375.26? 的时候我们选择的是 n
4.配置环境变量
vim ~/.bashrc
末尾处添加
export LD_LIBRARY_PATH=$LD_LIBRARY_PATH:/usr/local/cuda/lib64
export PATH=$PATH:/usr/local/cuda/bin
export CUDA_HOME=$CUDA_HOME:/usr/local/cuda

source ~/.bashrc使环境变量生效
5.验证安装
nvcc -V
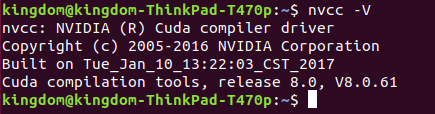
到这里,cuda的安装就完成了,但是可能会在后续使用中出现gcc版本的问题。
建议执行 解决方法 , 通过添加软链接的方式使得cuda改用gcc5.0。
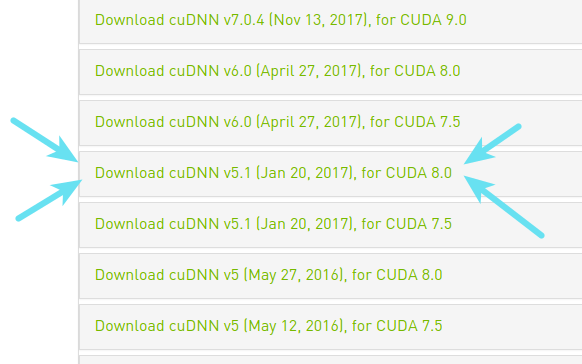
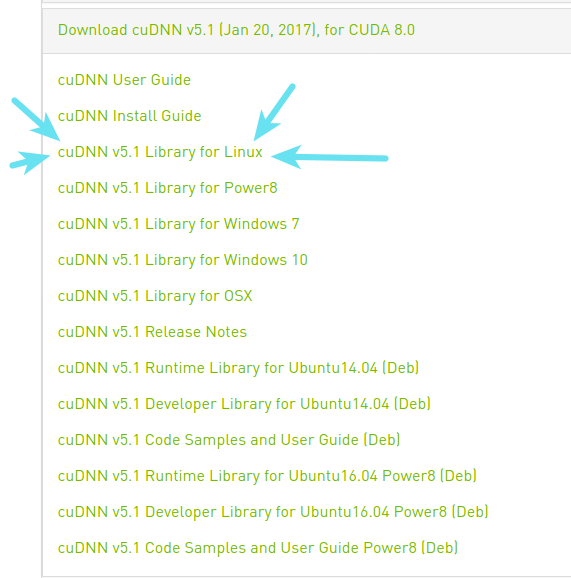
三、安装cuDNN v5.1
1.下载
https://developer.nvidia.com/rdp/cudnn-archive
这里下载需要登录你的Nvidia账号,如果没有就注册一个。注册过程有可能出现访问缓慢的情况。
下载也可能失败。如果始终无法下载可以在windows下使用迅雷下载。
不过,windows下下载此文件,文件格式将会是solitairetheme8。
使用前请重命名,修改为.tgz。
若在ubuntu下下载,将会直接是tgz格式。
2.解压
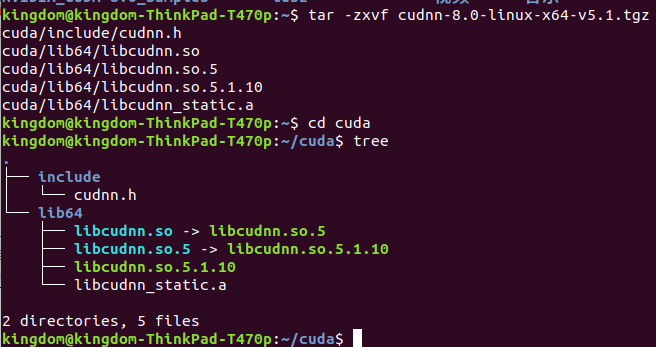
tar -zxvf cudnn-8.0-linux-x64-v5.1.tgz
解压将会在当前目录产生一个cuda文件夹
3.配置
sudo cp cuda/include/cudnn.h /usr/local/cuda/include/
sudo cp cuda/lib64/libcudnn* /usr/local/cuda/lib64/
sudo chmod a+r /usr/local/cuda/include/cudnn.h
sudo chmod a+r /usr/local/cuda/lib64/libcudnn*
4.验证安装
cat /usr/local/cuda/include/cudnn.h | grep CUDNN_MAJOR -A 2
可以看到我们的cuDNN版本

这步仅能查看版本,不能验证cuDNN已可用。
如何验证请看 五、问题与解决
四、验证
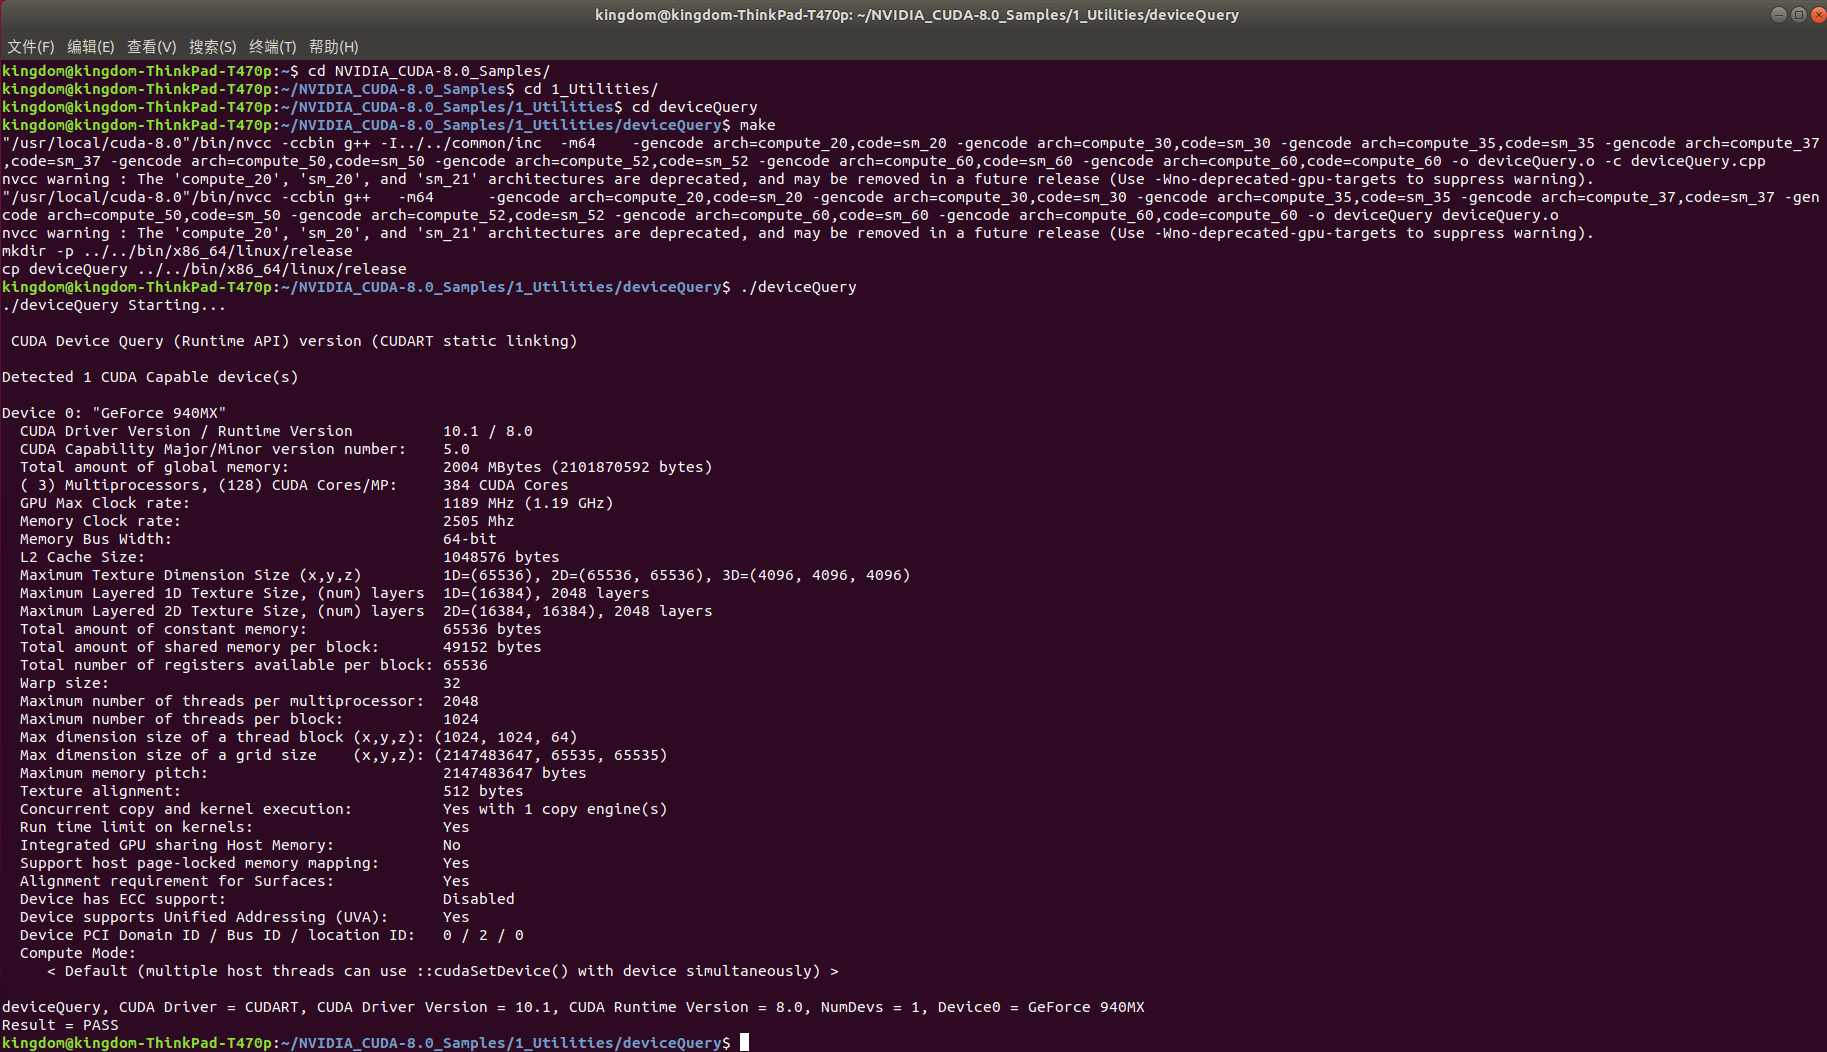
cd进入安装cuda产生的Samples目录
kingdom@kingdom-ThinkPad-T470p:~$ cd NVIDIA_CUDA-8.0_Samples/
kingdom@kingdom-ThinkPad-T470p:~/NVIDIA_CUDA-8.0_Samples$ cd 1_Utilities/
kingdom@kingdom-ThinkPad-T470p:~/NVIDIA_CUDA-8.0_Samples/1_Utilities$ cd deviceQuery
kingdom@kingdom-ThinkPad-T470p:~/NVIDIA_CUDA-8.0_Samples/1_Utilities/deviceQuery$ make
kingdom@kingdom-ThinkPad-T470p:~/NVIDIA_CUDA-8.0_Samples/1_Utilities/deviceQuery$ ./deviceQuery
五、问题与解决
问题
问题出现在验证cuDNN安装上。这个问题与前文cuda安装出现的一问原因相同。故放在一起来讲。
如何验证cuDNN安装成功呢?
如果使用deb形式安装cuDNN时,会附带下载一份Sample,因为前文我用tgz格式安装了,所以补充下载下图的deb包。
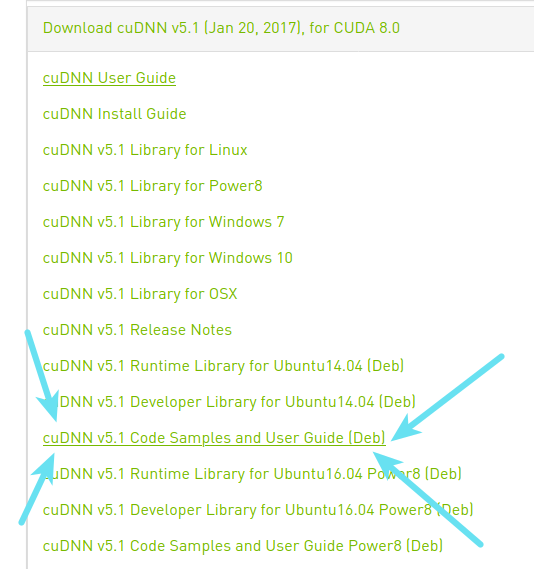
得到这个文件
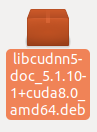
右键提取到此处解压,得到的文件

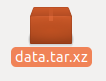
右键提取到此处,得到data文件夹
其结构
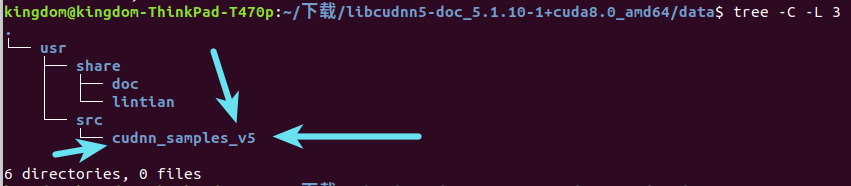
其中的 cudnn_samples_v5 就是我们需要的
可以把它复制一份到我们指定的位置
这里我把它复制到了我的主目录下
cd进入/cudnn_samples_v5/mnistCUDNN
make clean && make
编译,遇到问题
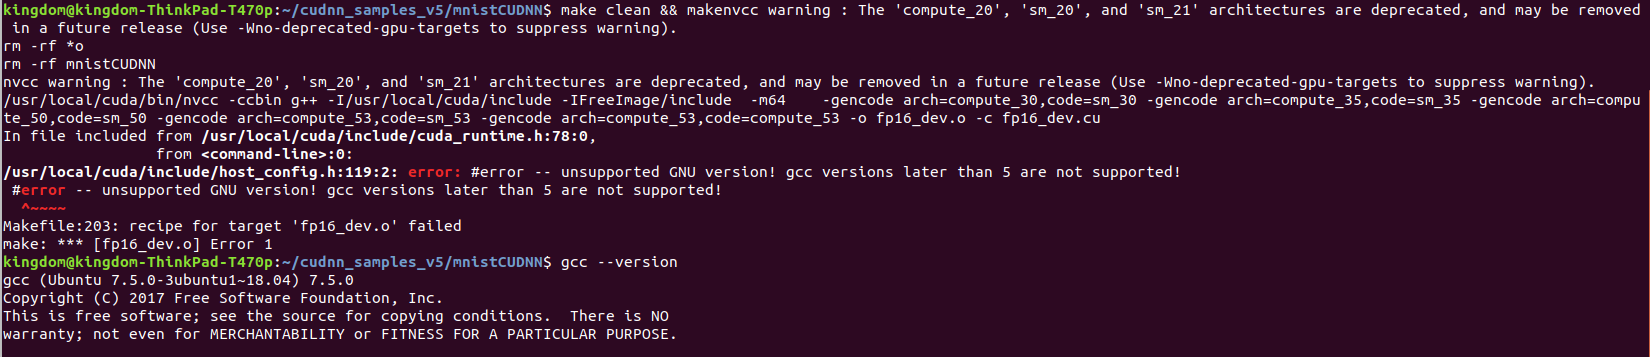
error: #error -- unsupported GNU version! gcc versions later than 5 are not supported!
原因
Ubuntu 18.04自带的gcc版本与cuda8.0要求的不同

参考官方给出的对照表

来源:https://docs.nvidia.com/cuda/archive/8.0/cuda-installation-guide-linux/index.html
解决方法
改变cuda使用的gcc版本
安装低版本gcc和g++
sudo apt-get install gcc-5
sudo apt-get install g++-5
然后建立软链接
sudo ln -s /usr/bin/gcc-5 /usr/local/cuda/bin/gcc
sudo ln -s /usr/bin/g++-5 /usr/local/cuda/bin/g++
这样就可以正常编译sample了

运行
./mnistCUDNN

出现 Test passed! 表示cuDNN安装成功。