1.需要在maven中引入依赖,这些依赖可以去,maven repository的官网中下载
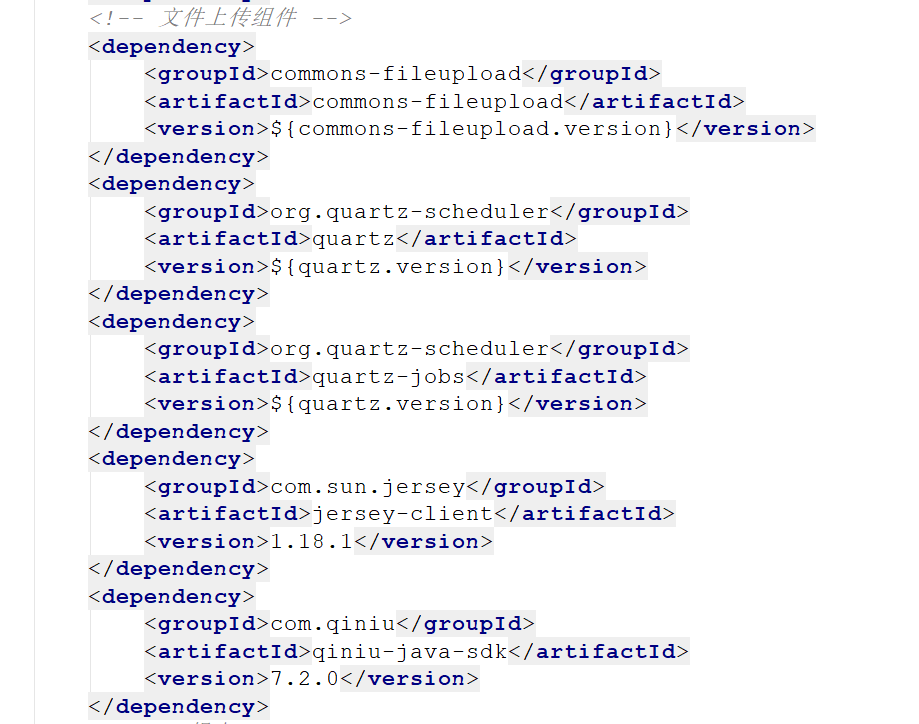
 <dependency>
                <groupId>commons-fileupload</groupId>
                <artifactId>commons-fileupload</artifactId>
                <version>1.3.1</version>
            </dependency>
            <dependency>
                <groupId>org.quartz-scheduler</groupId>
                <artifactId>quartz</artifactId>
                <version>2.2.1</version>
            </dependency>
            <dependency>
                <groupId>org.quartz-scheduler</groupId>
                <artifactId>quartz-jobs</artifactId>
                <version>2.2.1</version>
            </dependency>
            <dependency>
                <groupId>com.sun.jersey</groupId>
                <artifactId>jersey-client</artifactId>
                <version>1.18.1</version>
            </dependency>
            <dependency>
                <groupId>com.qiniu</groupId>
                <artifactId>qiniu-java-sdk</artifactId>
                <version>7.2.0</version>
            </dependency>
2.准备好七牛云的工具类
import com.qiniu.storage.BucketManager;
import com.qiniu.util.Auth;
import com.qiniu.util.Base64;
import com.qiniu.util.StringMap;
import com.qiniu.util.UrlSafeBase64;
import okhttp3.OkHttpClient;
import okhttp3.Request;
import okhttp3.RequestBody;


/**
 * 七牛云工具类
 */
public class QiNiuUtils {
    public  static String accessKey = "qSy8fAAmBX9xeTkTOaRbEFsuC4AWEtA_f2W21Dga";
    public  static String secretKey = "KcM3XV7trf5bUJN8mJnDWDQX4K5GgLUZo2kF4rwM";
    public  static String bucket = "kobo1005";
    // 密钥
    private static final Auth auth = Auth.create(accessKey, secretKey);

    //新建空间时,七牛云分配出的域名 (自己可在万网购买域名解析后,绑定到加速域名)
    private static final String DOMAIN = "qscqh6z76.hn-bkt.clouddn.com";

    public static String getUpToken() {
        return auth.uploadToken(bucket, null, 3600, new StringMap().put("insertOnly", 1));
    }

    //base64方式上传
    public static String put64image(byte[] base64, String key) throws Exception {
        String file64 = Base64.encodeToString(base64, 0);
        Integer len = base64.length;

        //华北空间使用 upload-z1.qiniu.com,华南空间使用 upload-z2.qiniu.com,北美空间使用 upload-na0.qiniu.com
        String url = "http://upload-z2.qiniu.com/putb64/" + len + "/key/" + UrlSafeBase64.encodeToString(key);

        RequestBody rb = RequestBody.create(null, file64);
        Request request = new Request.Builder()
                .url(url)
                .addHeader("Content-Type", "application/octet-stream")
                .addHeader("Authorization", "UpToken " + getUpToken())
                .post(rb).build();
        OkHttpClient client = new OkHttpClient();
        okhttp3.Response response = client.newCall(request).execute();
        System.out.println(response);
        //返回图片地址   https://q5jhgxz4q.bkt.clouddn.com/812bbd78-62d3-44bc-836c-9ee27ba4866a
        //用此地址可在网页中访问到上传的图片
        return key;
    }

    /**
     * @param key 图片的文件名
     * @Explain 删除空间中的图片
     */
    public static void delete(String key) {
        BucketManager bucketManager = new BucketManager(auth,  null);
        try {
            bucketManager.delete(bucket, key);
        } catch (Exception e) {
            e.printStackTrace();
        }
    }
3.element ui前端和vue前端代码
<el-form-item label="上传图片" :span="24">
                                                <el-upload
                                                        action="/Setmeal/upload.do"
                                                        name="imgFile"
                                                        list-type="picture-card"
                                                        :on-success="handleAvatarSuccess"
                                                        :before-upload="beforeAvatarUpload"
                                                        :on-preview="handlePictureCardPreview"
                                                        :on-remove="handleRemove">
                                                    <img width="100%" :src="formData.img" alt=""/>
                                                    <i class="el-icon-plus"></i>
                                                </el-upload>
                                            </el-form-item>
4.vue data中定义的属性

 dialogVisible: false,
            autoUpload:true,//自动上传
            activeName:'first',//添加/编辑窗口Tab标签名称
            dialogImageUrl:"http://qscqh6z76.hn-bkt.clouddn.com/",//模型数据,用于上传图片完成后图片预览
5.vue 中的methods 定义的方法
  handleRemove(file, fileList) {
                console.log(file, fileList);
            },
            handlePictureCardPreview(file) {
                console.log(file.url)
                this.img = file.url;
                this.dialogVisible = true;
            },
            handleAvatarSuccess(response, file) {
                //提示成功或失败,要回显图片
                this.$message({
                    message: response.message,
                    type: response.flag ? "success" : "error"
                })
                if(response.flag){
                    // 回显图片
                    //this.imageUrl = response.data.domain + response.data;

                    this.dialogImageUrl = this.dialogImageUrl + response.data.data;
                    // 表单中没有img参数,后台数据库用的就是img字段,补上它的值
                    // 前端中的json数据 {key,value}=> map,
                    // 对象.属性名(不存在) => map.put(不存在的key,value)
                }
            },
            //上传图片之前执行
            beforeAvatarUpload(file) {
                question = confirm("确定要直接上传嘛?");
                if(question){
                    const isJPG = file.type === 'image/jpeg';
                    const isLt2M = file.size / 1024 / 1024 < 2;
                    if (!isJPG) {
                        this.$message.error('上传套餐图片只能是 JPG 格式!');
                    }
                    if (!isLt2M) {
                        this.$message.error('上传套餐图片大小不能超过 2MB!');
                    }
                    return isJPG && isLt2M;
                }else {
                    this.$message({
                        type: 'info',
                        message: '已取消'
                    })
                    return false;
                }
            },
6.element ui前端和vue 与后台交互 controller 方法
 @RequestMapping(value = "/upload",method= RequestMethod.POST)
    public Result uploadImg(@RequestParam MultipartFile imgFile) {

        try {
            byte[] bytes = imgFile.getBytes();
            imageName = UUID.randomUUID().toString();

            String s = QiNiuUtils.put64image(bytes, imageName);
            System.out.println("s = " + s);

            return new Result(true, MessageConstant.PIC_UPLOAD_SUCCESS,s);
        } catch (IOException e) {
            e.printStackTrace();
        } catch (Exception e) {
            e.printStackTrace();
        }
        return new Result(false, MessageConstant.PIC_UPLOAD_FAIL);
    }
如果还有疑问的小伙伴 可以私信或留言在下方