一、Django的安装:
1、python虚拟运行的环境的安装以及安装django:
1 sudo pip install virtualenv
2 export VIRTUALENV_DISTRINUTR=true
3 virtualenv envname
4 source envname/bin/activate
5 sudo pip install django==1.8
6 #deactivate
2、启动第一个项目:
1 django-admin.py startproject hellodjango
2 cd hellodjango
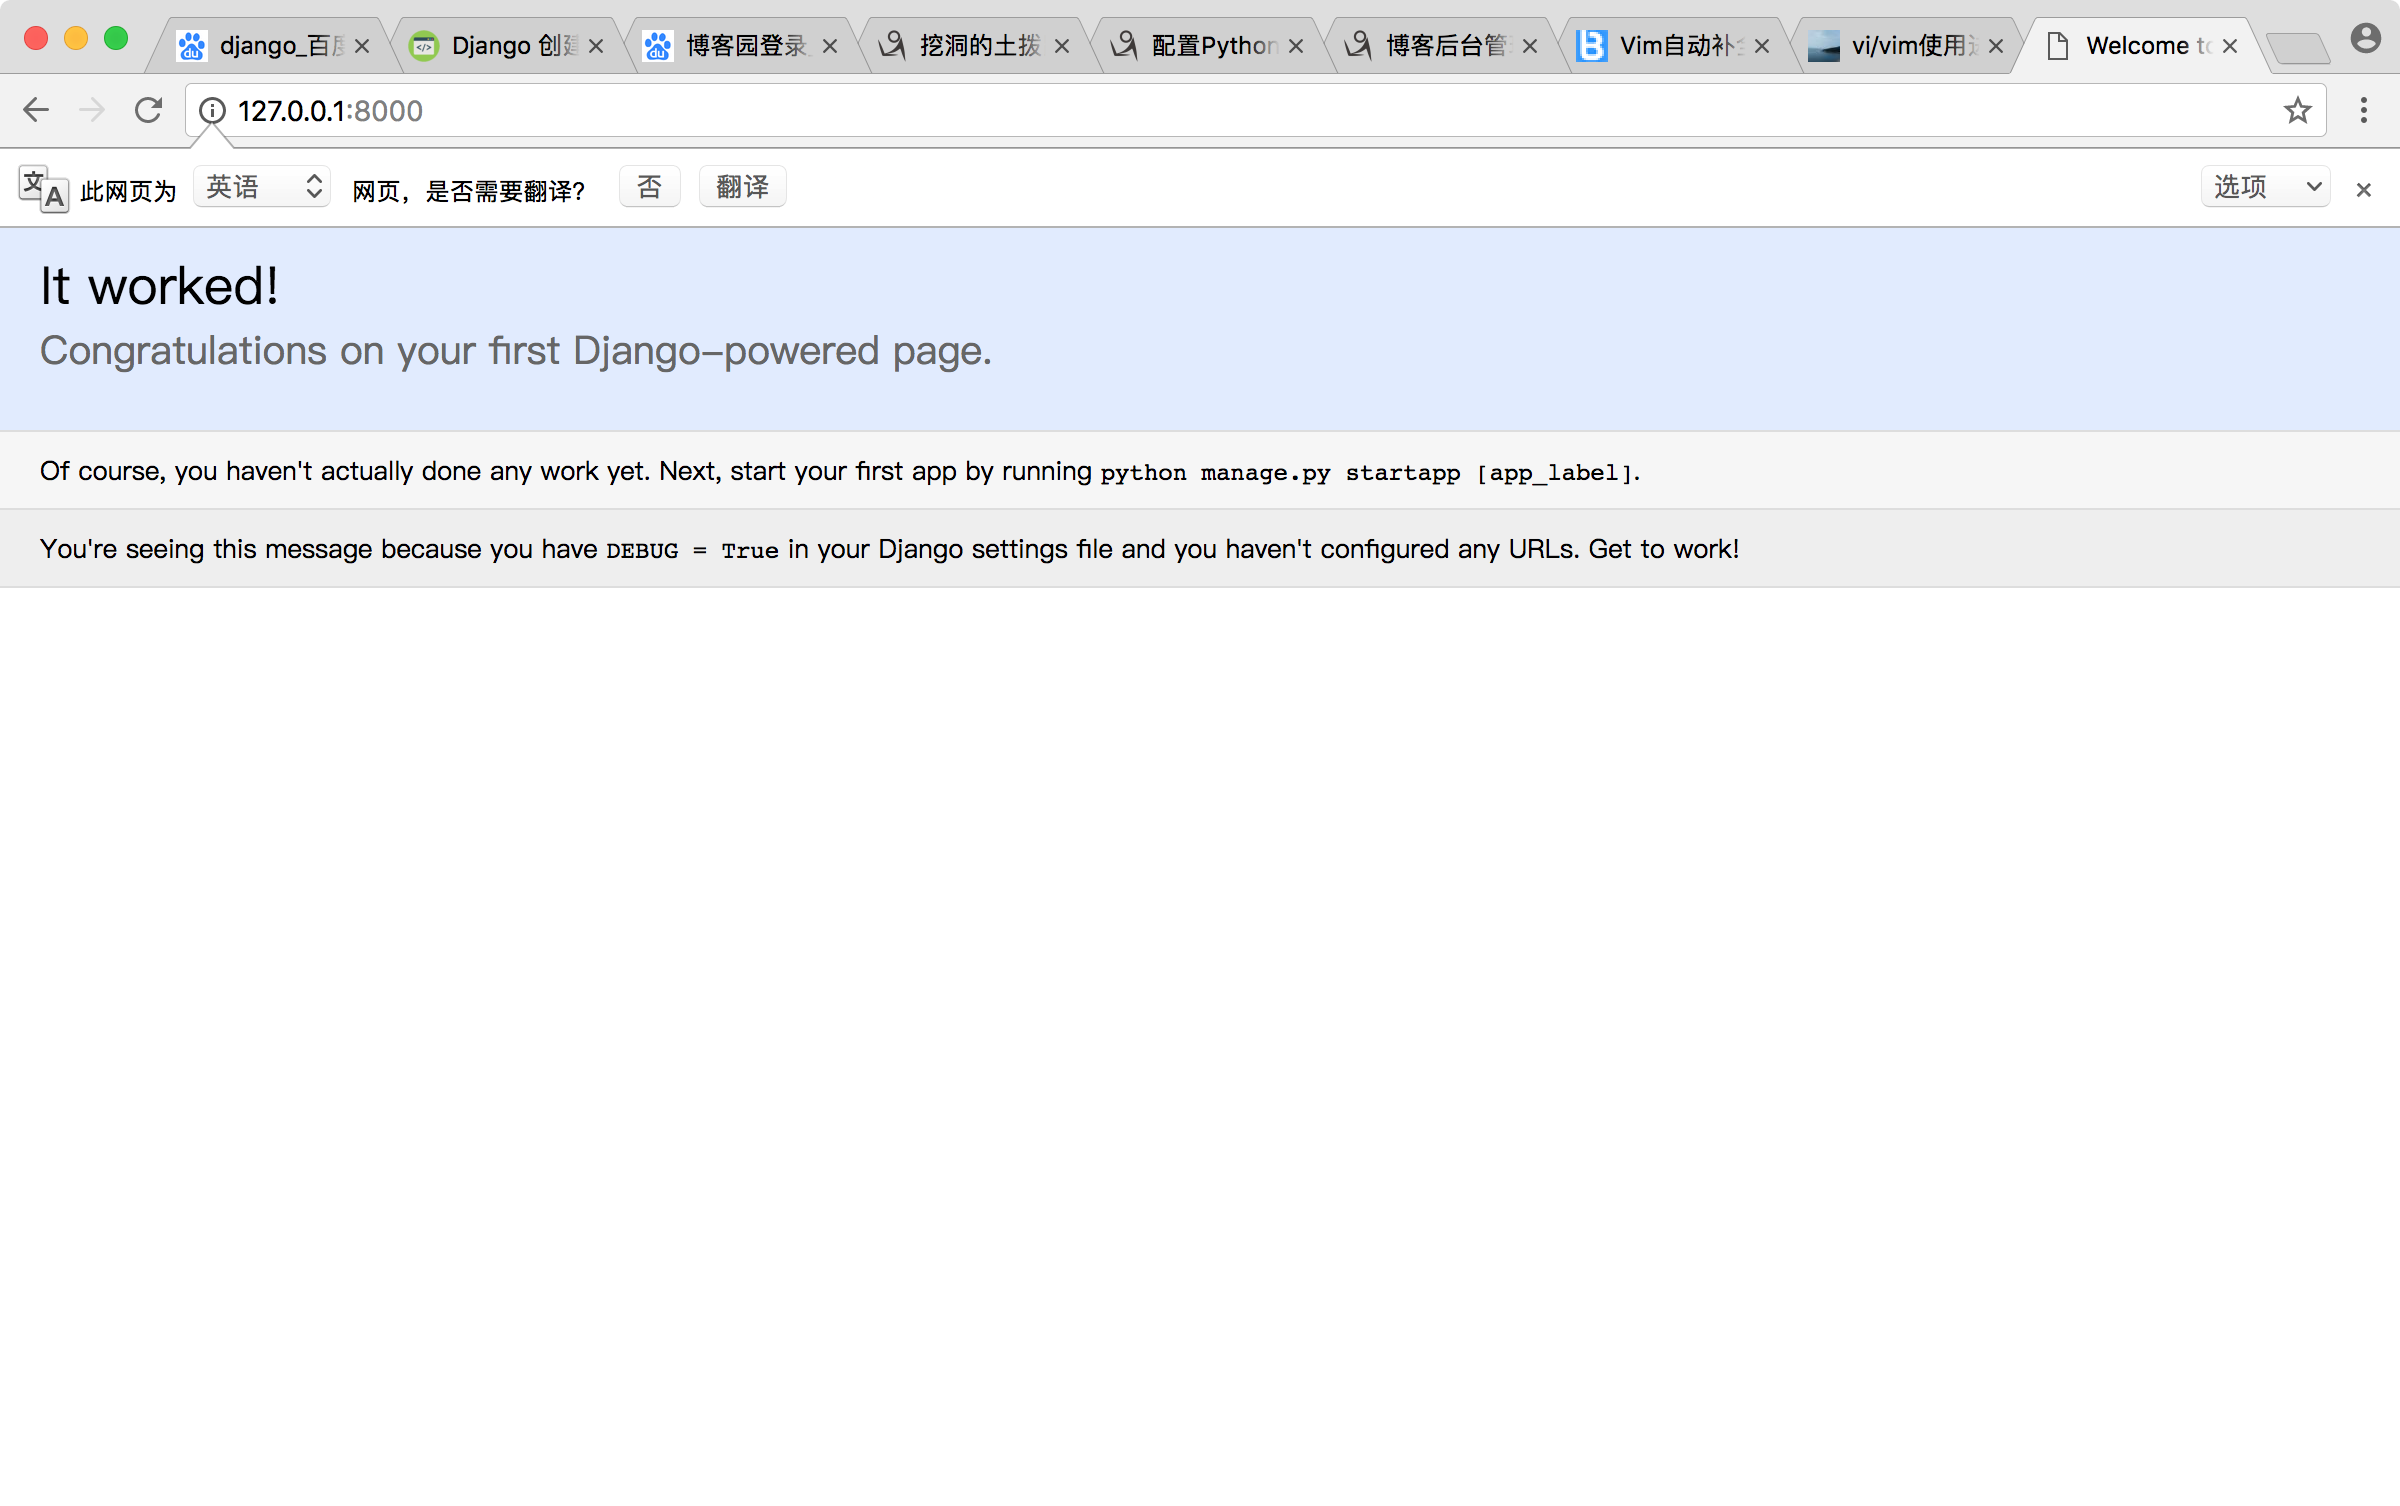
3 python manage.py runserver 0.0.0.0:8000

二、项目结构:
1、典型例子:
 1 ├── djangolicious
 2 │   ├── apps
 3 │   │   ├── blog
 4 │   │   │   ├── __init__.py
 5 │   │   │   ├── models.py
 6 │   │   │   ├── tests.py
 7 │   │   │   └── views.py
 8 │   │   ├── __init__.py
 9 │   │   ├── news
10 │   │   │   ├── __init__.py
11 │   │   │   ├── models.py
12 │   │   │   ├── tests.py
13 │   │   │   └── views.py
14 │   │   └── reader
15 │   │       ├── __init__.py
16 │   │       ├── models.py
17 │   │       ├── tests.py
18 │   │       └── views.py
19 │   ├── __init__.py
20 │   ├── libs
21 │   │   ├── display
22 │   │   │   ├── __init__.py
23 │   │   │   ├── models.py
24 │   │   │   ├── tests.py
25 │   │   │   └── views.py
26 │   │   ├── __init__.py
27 │   │   └── management
28 │   │       ├── __init__.py
29 │   │       ├── models.py
30 │   │       ├── tests.py
31 │   │       └── views.py
32 │   ├── settings.py
33 │   ├── urls.py
34 │   └── wsgi.py
35 ├── manage.py
36 ├── requirements
37 │   ├── common.txt
38 │   ├── dev.txt
39 │   ├── prod.txt
40 │   └── test.txt
41 └── requirements.txt
42 9个目录,32个文件
解释manage.py是一个启动管理脚本
models.py和数据看相关的代码
views.py视图函数
urls.py路由函数
wsgi.py python的http服务器
settings.py配置文件
doc文件夹:文档
requirements.txt包依赖说明文件
utils自定义包文件库文件
templates模板文件夹
static静态文件夹
三、第一个项目打印判断输入:
1、views.py
 1 from django.http import HttpResponse
 2
 3 def authlogin(request):
 4     request.encoding = "utf-8"
 5     if "username" in request.GET:
 6         username = request.GET.get("username")
 7     else:
 8         return HttpResponse("Login Name?")
 9     if "password" in request.GET:
10         password = request.GET.get("password")
11         if password == "admin":
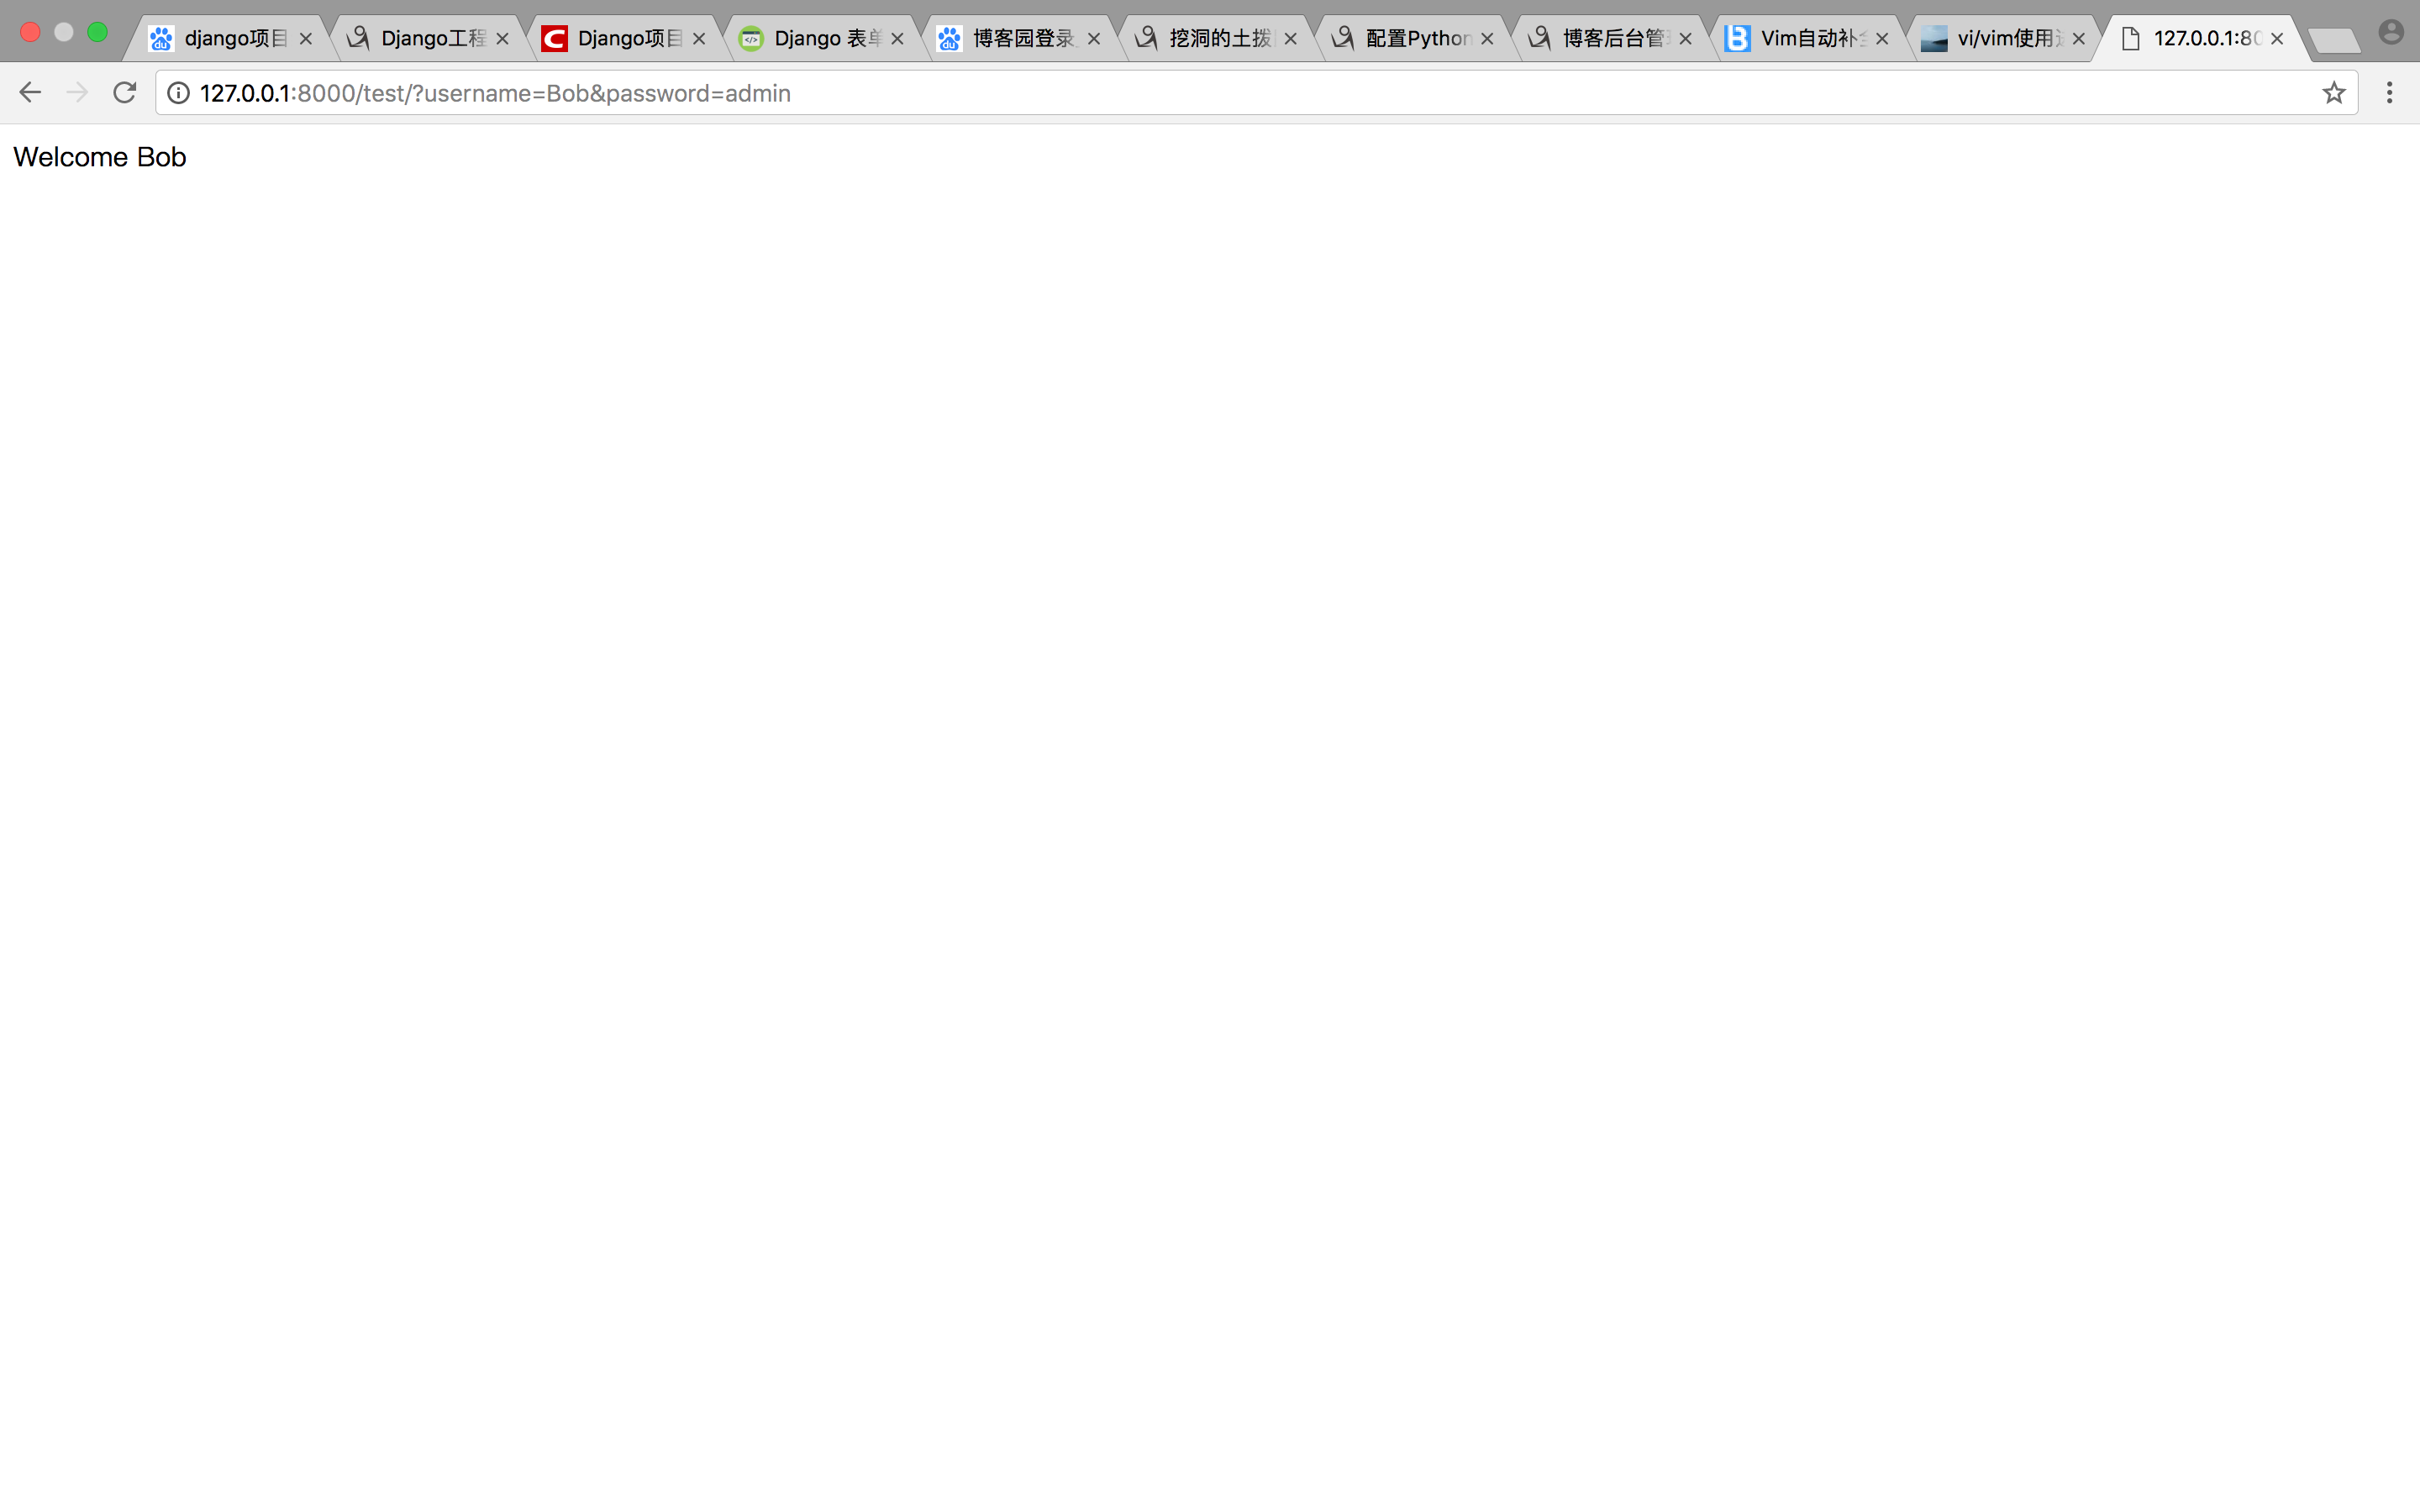
12             return HttpResponse("Welcome %s"%username)
13         else:
14             return HttpResponse("Login Password Error!")
15     else:
16         return HttpResponse("Login Password?")
2、urls.py
 1 from django.conf.urls import include, url
 2 from django.contrib import admin
 3 from . import views
 4
 5 urlpatterns = [
 6     # Examples:
 7     # url(r'^$', 'login_welcome.views.home', name='home'),
 8     # url(r'^blog/', include('blog.urls')),
 9
10     url(r'^admin/', include(admin.site.urls)),
11     url(r'^test/',views.authlogin)
12 ]
然后启动即可
1 python manage.py runserver 0.0.0.0:8000
