一、全局安装 Hexo
$ npm install hexo-cli -g
二、初始化博客项目并安装依赖
$ hexo init blog
$ cd blog
$ npm install
三、运行博客项目
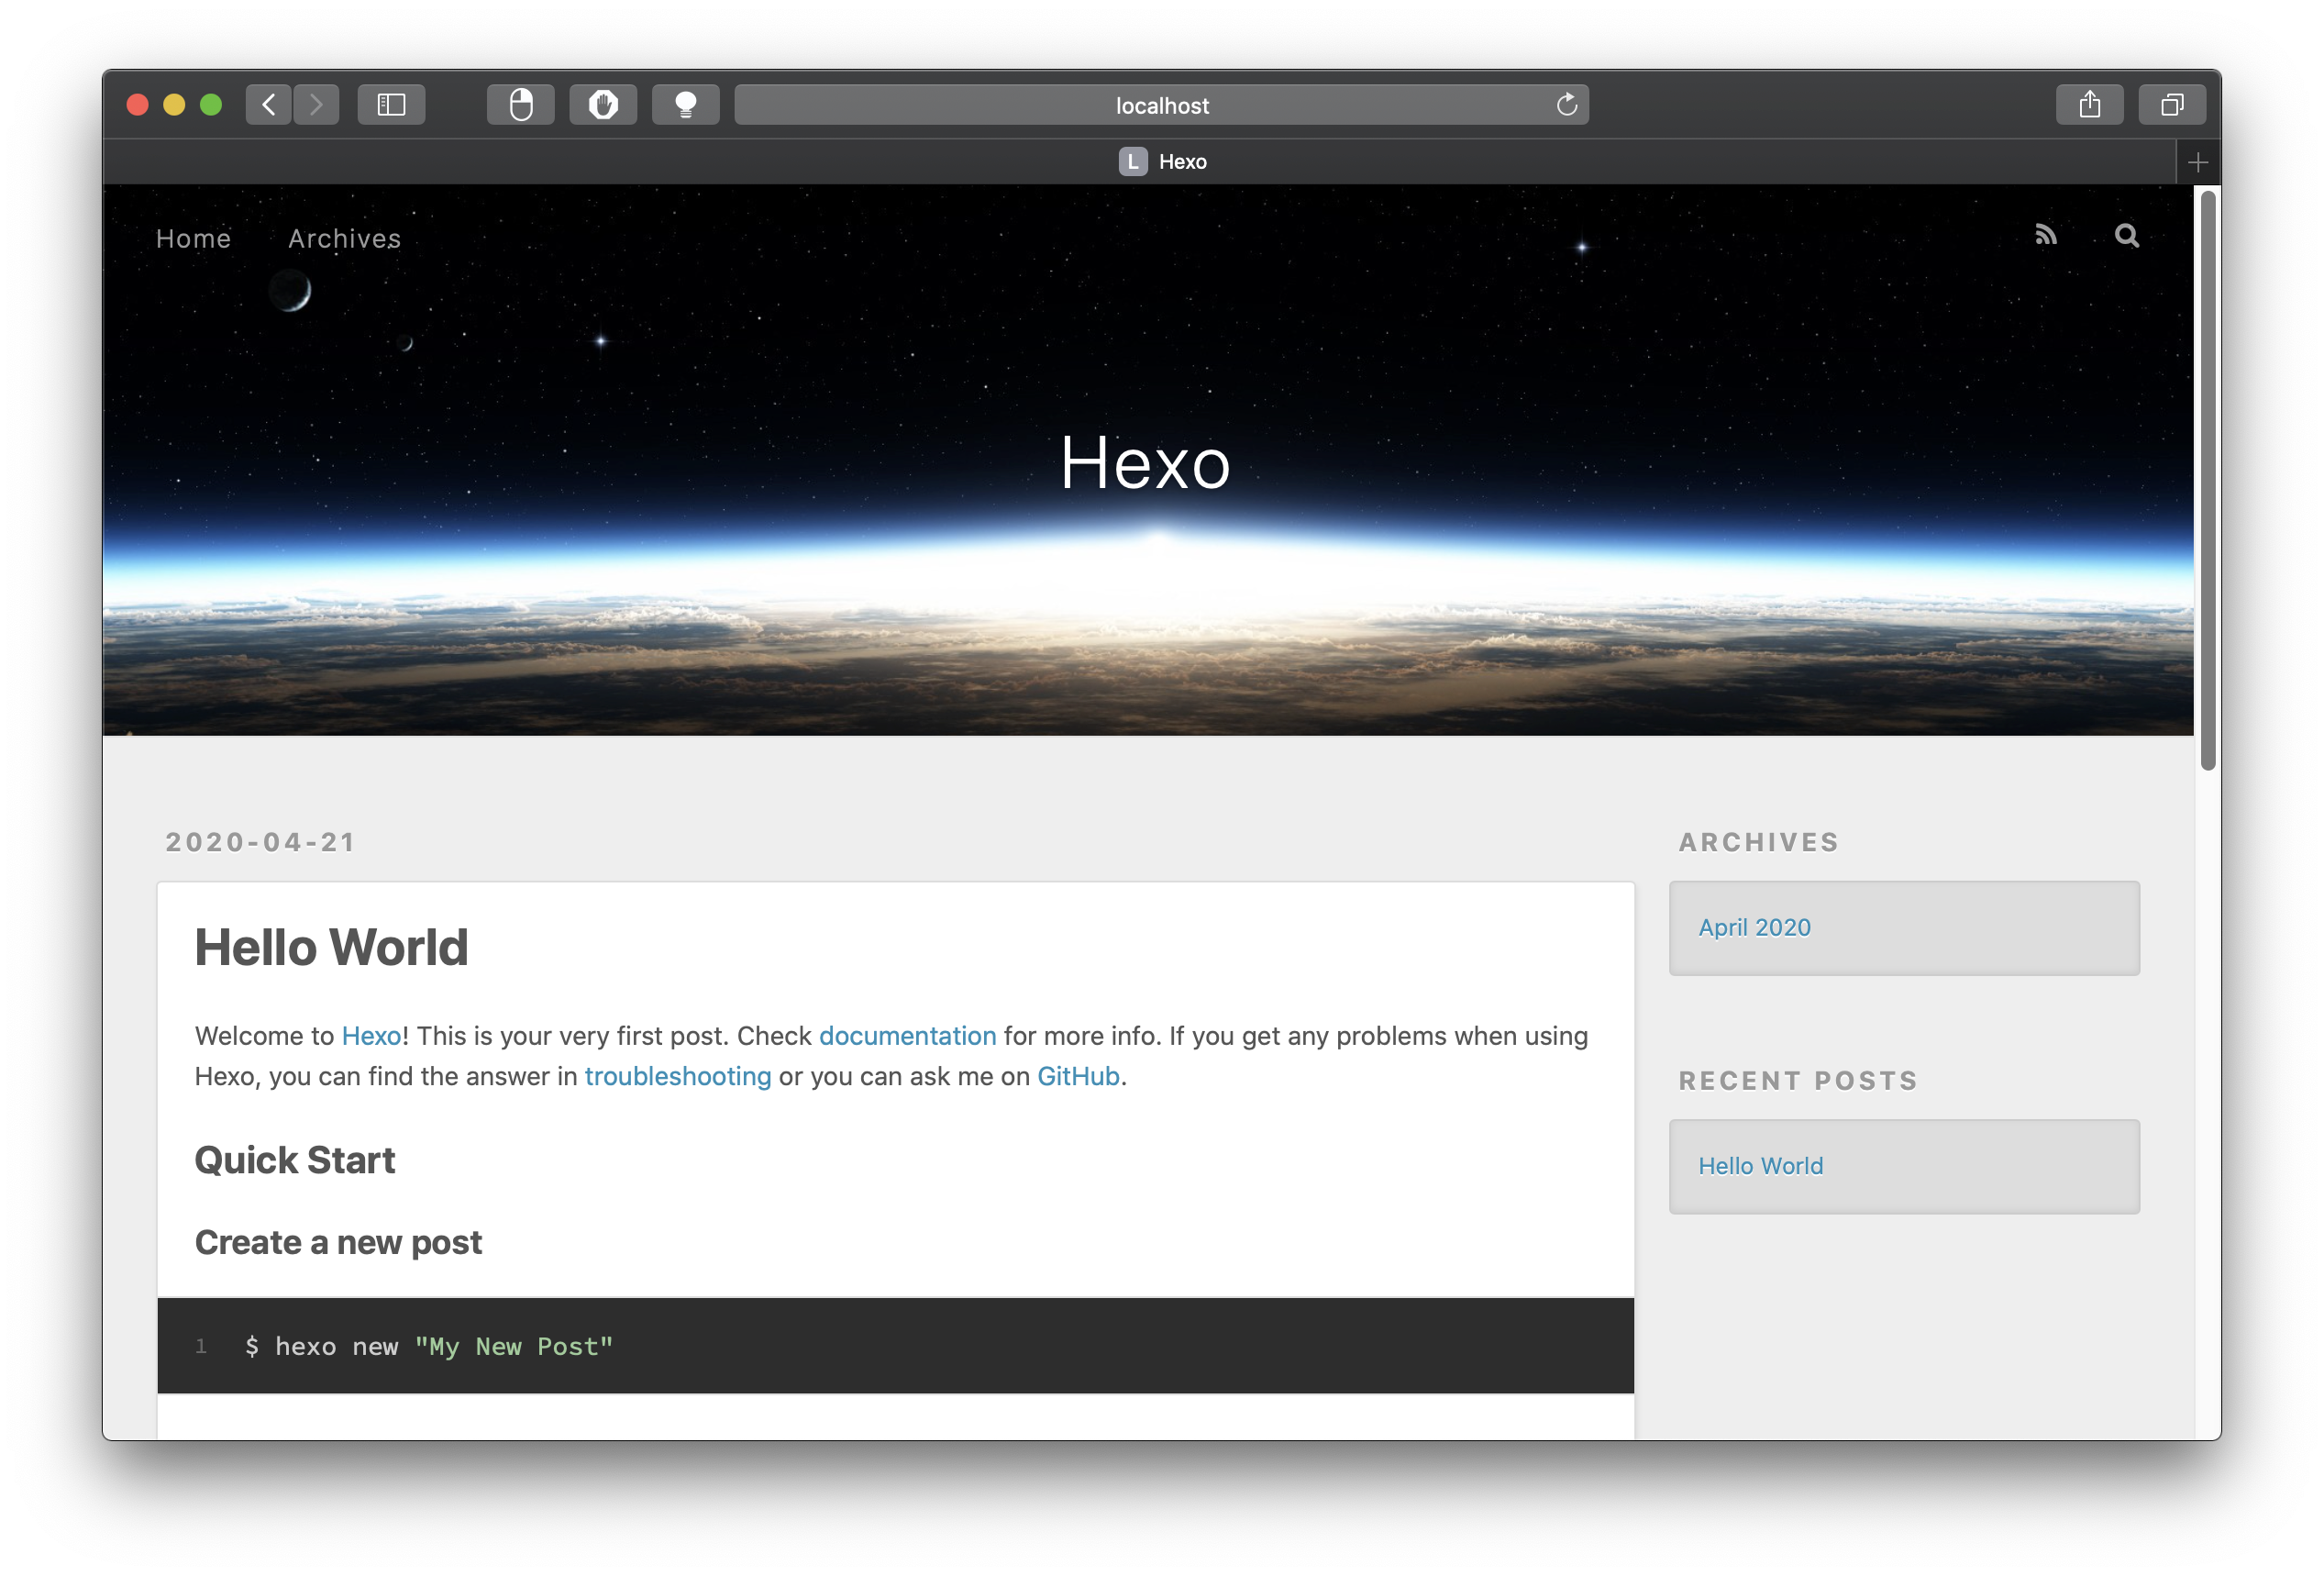
$ hexo server
也可以简写
$ hexo s
查看运行结果 → 访问:http://localhost:4000
四、将 Hexo 博客发布到 github
1、先 ctrl+c 停止博客项目运行
2、在博客项目中安装 hexo-deployer-git
$ npm install hexo-deployer-git --save
3、配置 _config.yml,将下面代码复制到项目根目录 _config.yml 文件的最后
deploy:
  type: git
  repo: <repository url>
  branch: [branch]
  token: ''
  message: [message]
  name: [git user]
  email: [git email]
  extend_dirs: [extend directory]
  ignore_hidden: false # default is true
  ignore_pattern: regexp  # whatever file that matches the regexp will be ignored when deploying
4、创建一个 github 仓库,注意仓库名(Repository name)的格式:用户名.github.io
5、将仓库的 SSH 覆盖到上面 _config.yml 文件中 deploy: 的 repo
6、配置公钥,在项目根目录终端输入:
$ ssh-keygen -t rsa -b 4096 -C "邮箱地址"
回车,当出现 passphrase 时设置密码,继续回车,完成后输入:
$ ls ~/.ssh/
可以看到
![]()
其中,id_rsa 就是密钥文件,id_rsa.pub 是公钥文件,输入
$ cat ~/.ssh/id_rsa.pub
即可查看公钥,复制公钥,在 github 中单击头像打开设置,选择 SSH and GPG keys,单击 New SSH key,将公钥复制到 key 输入框中,Title 自定,添加即可完成
7、继续配置 _config.yml,设置 deploy 中的 branch、name、email 等属性
8、输入
$ hexo g
生成 public 文件夹
9、输入
$ hexo d
将博客部署到远程的 github pages 上
当出现以下代码时说明部署成功
![]()
10、进入 github 的博客项目仓库,进入项目的设置,在下方的 GitHub Pages 即可查看博客的域名