插件预览:

一、开发环境配置
1、idea社区版(Community Edition)
2、IntelliJ Plateform Plugin SDK
3、安装Plugin Devkit插件
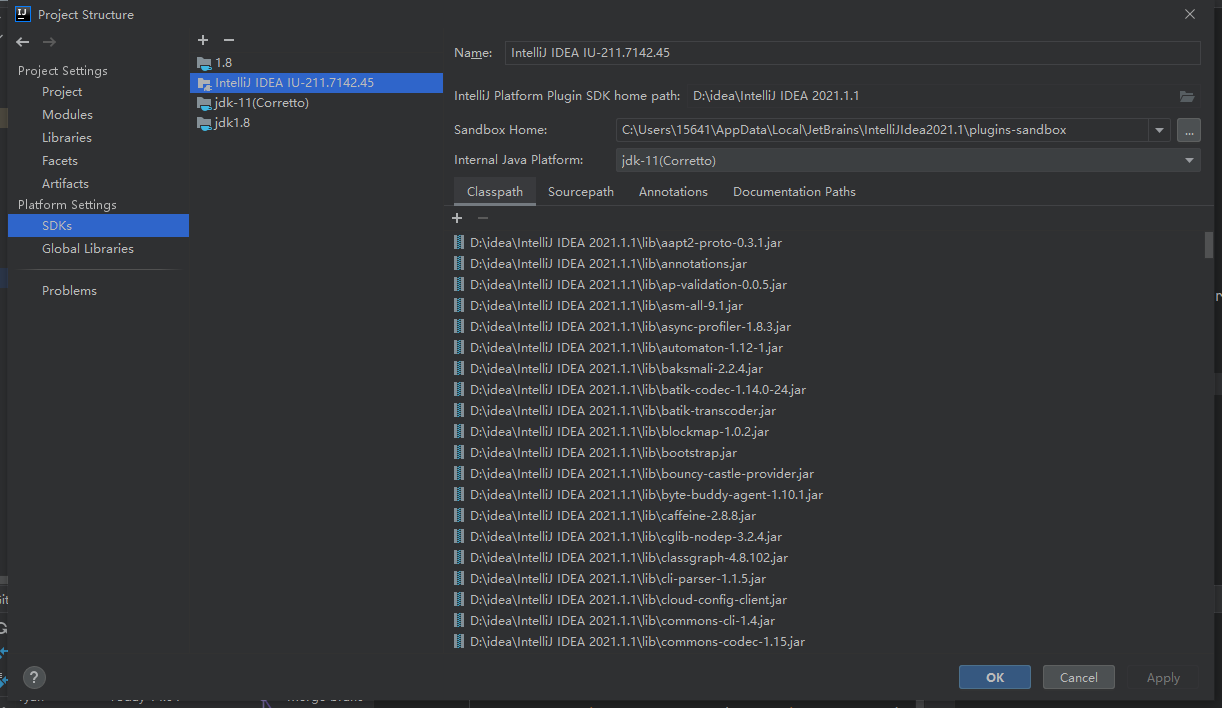
在项目Project Structure添加Intellij IDEA SDK
二、开发插件
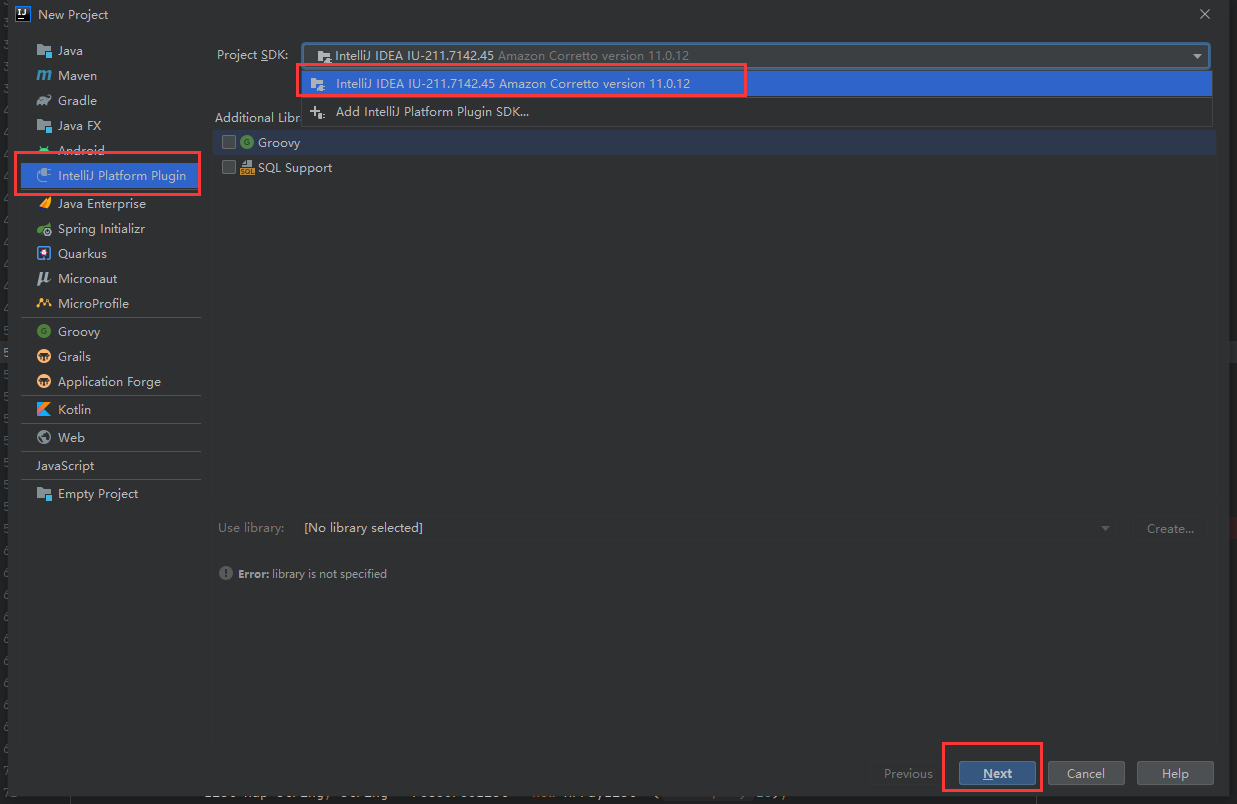
新建项目,选择Intellij Platform Plugin,SDK选择刚才添加的IDEA SDK,然后点击next
默认项目结构如下:
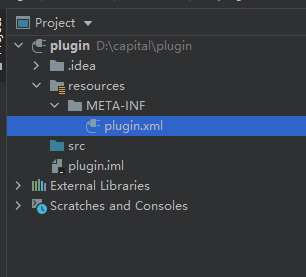
src表示插件代码目录,resources表示插件资源目录,plugin.xml为插件的描述文件,和一些配置信息
plugin.xml文件默认如下:
<idea-plugin>
  <id>com.your.company.unique.plugin.id</id>
  <name>Plugin display name here</name>
  <version>1.0</version>
  <vendor email="support@yourcompany.com" url="http://www.yourcompany.com">YourCompany</vendor>

  <description><![CDATA[
      Enter short description for your plugin here.<br>
      <em>most HTML tags may be used</em>
    ]]></description>

  <change-notes><![CDATA[
      Add change notes here.<br>
      <em>most HTML tags may be used</em>
    ]]>
  </change-notes>

  <!-- please see https://plugins.jetbrains.com/docs/intellij/build-number-ranges.html for description -->
  <idea-version since-build="173.0"/>

  <!-- please see https://plugins.jetbrains.com/docs/intellij/plugin-compatibility.html
       on how to target different products -->
  <depends>com.intellij.modules.platform</depends>

  <extensions defaultExtensionNs="com.intellij">
    <!-- Add your extensions here -->
  </extensions>

  <actions>
    <!-- Add your actions here -->
  </actions>

</idea-plugin>
新创建会看到description和change-notes内容报红,可不用管,修改内容之后会恢复正常,
其中id表示插件唯一的id,不可与其他插件冲突,插件不同版本之间不可修改
name表示插件的名称,发版成功别人可以在插件市场根据名称进行搜索
version 插件的版本号
vendor 插件的供应商 也就是作者名称
description 插件的描述,不能使用默认值,必须修改成自己的,并且需要大于40字符
change-notes 插件的修改日志,支持html标签
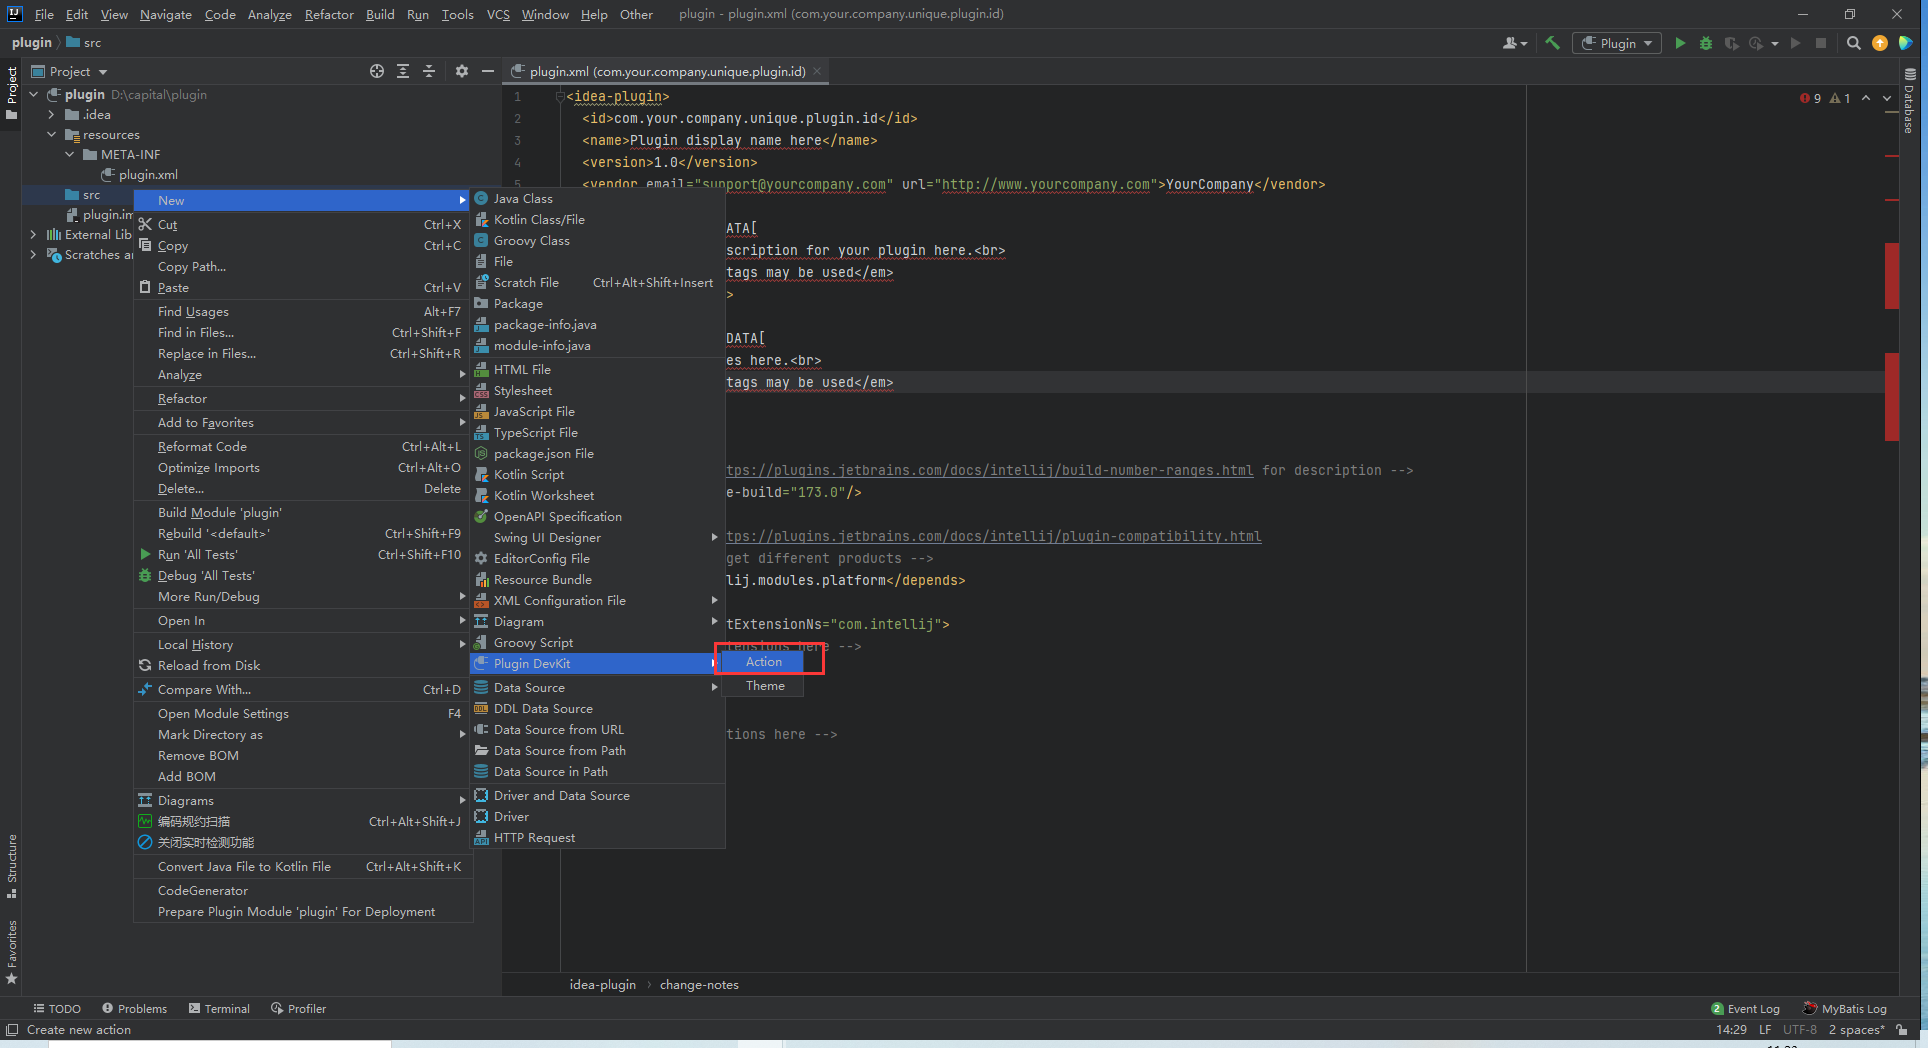
然后开始创建一个action,如果安装了Devki插件,可以快速生成Action,在new的时候选择Plugin Devkit Action
点击可以进行快速创建Action,其中Name表示Action的name,这里Group选择EditorPopupMenu表示右击出现GenerateResource选项。下面KeyBoard Shortcuts表示触发的快捷键,这里除了右击出现GenerateResource会触发外我们可以使用快捷键Ctrl S+B.

点击OK,会自动创建一个类继承AnAction,重写方法actionPerforned表示触发之后执行的操作。我们需要在这里编写代码

在plugin.xml会自动添加Action的配置信息

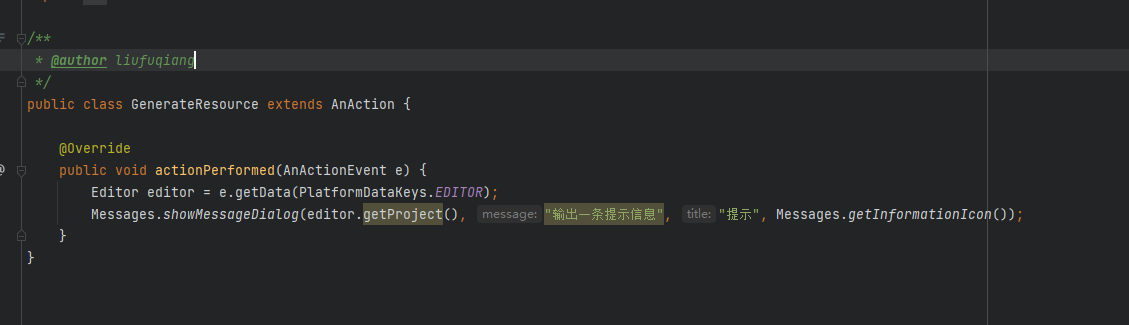
然后开始编写actionPerformed方法,比如这里我们在执行操作之后输出一条信息
@Override
    public void actionPerformed(AnActionEvent e) {
        Editor editor = e.getData(PlatformDataKeys.EDITOR);
        Messages.showMessageDialog(editor.getProject(), "输出一条提示信息", "提示", Messages.getInformationIcon());
    }
三、调试、部署
编写完成,需要进行测试,跟正常java代码一样。我们可以debug
点击run或者debug来启动插件项目

启动完成,会重新打开idea的一个窗口,在新开的窗口可以调试自己的插件,
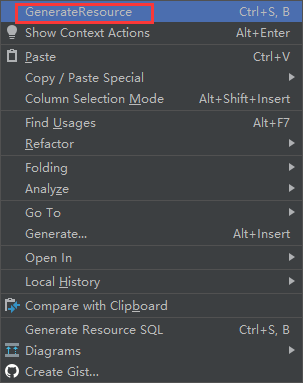
这里我们右击编辑窗口,可以看到刚才添加的action
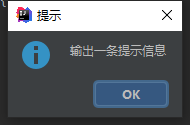
点击可以看到输出一条信息
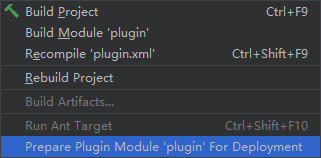
开发完成,需要我们打包供自己或别人使用
点击上方菜单build -> Prepare Plugin Module xxx For Deployment。可以在项目生成一个插件的jar包
在使用时,可以在plugins选择从磁盘安装刚才的插件,导入生成的jar包重启idea可使用

当需要发布到插件市场别人可以搜索到时,我们需要注册jetbrains账号,点击upload plugin
https://plugins.jetbrains.com/plugin/add#intellij
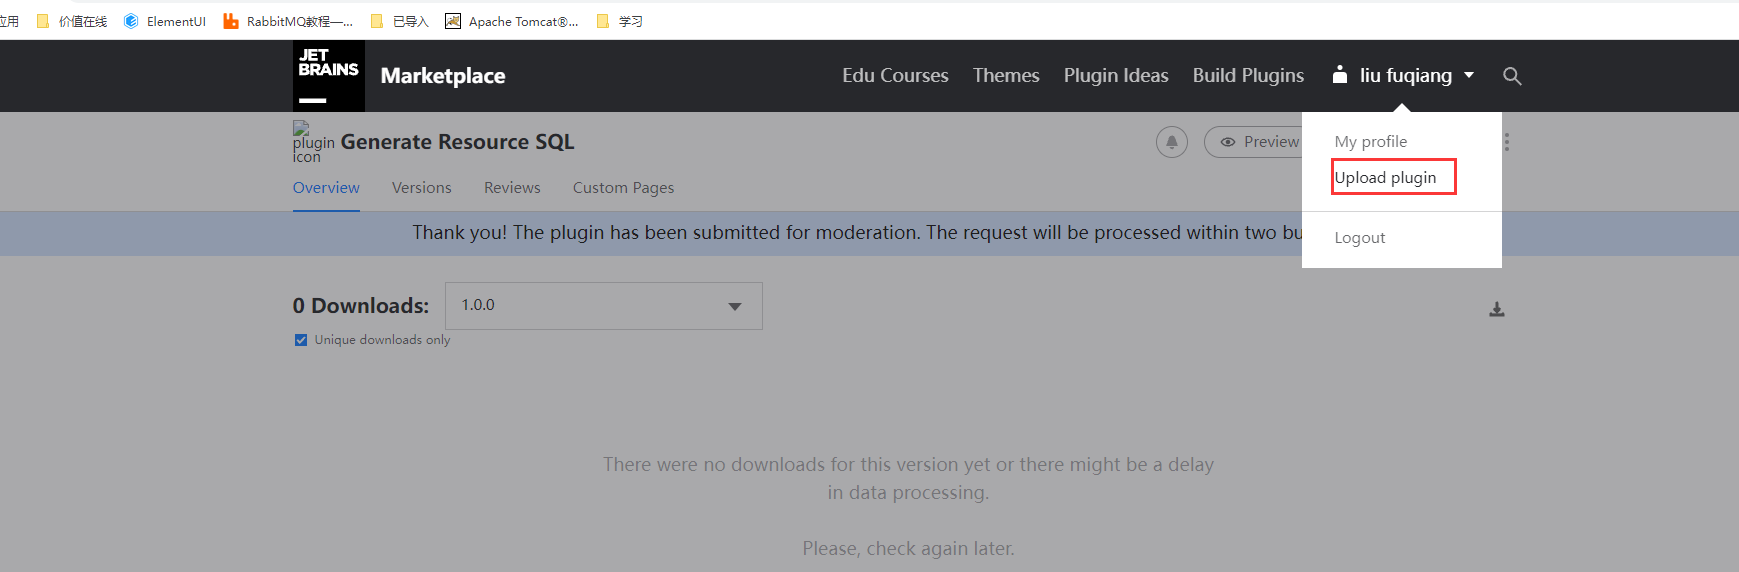
需要等待1-2个工作日等待审核通过就可以在插件市场搜索到了
四、开发插件
在许多项目中,需要将接口的地址放入resource数据库的表中。来进行细粒度的权限控制,类似这种,需要在resource表中添加资源url,资源描述,资源名称等字段,而这个url对应controller的@RequestMapping的value值,需要我们一个一个复制并手动书写插入的sql语句,在实际开发中,我们无需做这种额外的费时费力的重复无用操作,可以将精力放到其他工作中,所以我们可以开发一个插件,来自动完成这些操作,来输出数据库的脚本。

实现思路:获取@RequestMapping(@GetMapping、@PostMapping、@PutMapping、@DeleteMapping)注解的value值,也就是访问时的url,资源名称(RES_XXX)我们可以将url进行大小写转换,并缩短至数据库规定大小来进行改造。资源描述:在一般开发中,我们应该按照规范在每个接口上填写注释,所以我们可以获取到每个方法上的注释,并进行简单的匹配以及分割就可以得到这个方法的描述,也就是资源描述的信息。代码如下:
package com.liufuqiang.packages;

import com.intellij.openapi.actionSystem.AnAction;
import com.intellij.openapi.actionSystem.AnActionEvent;
import com.intellij.openapi.actionSystem.PlatformDataKeys;
import com.intellij.openapi.editor.Document;
import com.intellij.openapi.editor.Editor;
import com.intellij.openapi.ui.Messages;
import com.intellij.psi.*;
import com.intellij.psi.util.PsiUtilBase;
import org.apache.commons.lang3.StringUtils;

import javax.swing.tree.DefaultMutableTreeNode;
import java.util.*;
import java.util.regex.Matcher;
import java.util.regex.Pattern;

/**
 * @date 2021/10/21
 * @author liufuqiang
 */
public class GenerateResourceAction extends AnAction {

    private static final String PREFIX = "/";

    @Override
    public void actionPerformed(AnActionEvent event) {
        Editor editor = event.getData(PlatformDataKeys.EDITOR);
        PsiFile psiFile = PsiUtilBase.getPsiFileInEditor(editor, editor.getProject());
        //只读文件直接返回
        if( psiFile.getFileType().isReadOnly()){
            return;
        }

        String fileName = psiFile.getVirtualFile().getName();
        // 判断文件后缀是不是Controller
        String fileSuffix = "Controller.java";
        if (!fileName.endsWith(fileSuffix)) {
            return;
        }

        String baseUrl = "";
        Document document = PsiDocumentManager.getInstance(event.getProject()).getDocument(psiFile);
        DefaultMutableTreeNode fileNode = new DefaultMutableTreeNode(fileName);
        for (PsiElement psiElement  : psiFile.getChildren()) {
            if (psiElement instanceof PsiClass){
                // 获取类上面的RequestMapping注解信息
                PsiClass psiClass = (PsiClass) psiElement;
                for (PsiAnnotation annotation : psiClass.getAnnotations()) {
                    if (StringUtils.equals(annotation.getQualifiedName(), "org.springframework.web.bind.annotation.RequestMapping")) {
                        baseUrl = annotation.findAttributeValue("value").getText().replaceAll(""", "").trim();
                    }
                }

                if (StringUtils.isNotBlank(baseUrl) && !baseUrl.startsWith("/")) {
                    baseUrl = PREFIX.concat(baseUrl);
                }

                // 方法列表
                List<Map<String, String>> resourceList = new ArrayList<>(20);
                PsiMethod[] methods = psiClass.getMethods();
               for (PsiMethod method : methods) {
                   PsiAnnotation[] annotations = method.getAnnotations();
                   for (PsiAnnotation annotation : annotations) {
                       String qualifiedName = annotation.getQualifiedName();
                       if (!StringUtils.equals(qualifiedName, "org.springframework.web.bind.annotation.RequestMapping")
                       && !StringUtils.equals(qualifiedName, "org.springframework.web.bind.annotation.GetMapping")
                       && !StringUtils.equals(qualifiedName, "org.springframework.web.bind.annotation.PostMapping")
                       && !StringUtils.equals(qualifiedName, "org.springframework.web.bind.annotation.PutMapping")
                       && !StringUtils.equals(qualifiedName, "org.springframework.web.bind.annotation.DeleteMapping")) {
                           continue;
                       }

                       Map<String, String> params = new HashMap<>(3);
                       PsiAnnotationMemberValue annotationMemberValue = annotation.findAttributeValue("value");
                       String memberValue = annotationMemberValue.getText().replaceAll(""", "").trim();
                       if (StringUtils.isNotBlank(memberValue) && !memberValue.startsWith("/")) {
                           memberValue = PREFIX.concat(memberValue);
                       }
                       String resourceUrl = baseUrl.concat(memberValue);

                       //  resource_url
                       params.put("resource_url", resourceUrl);

                       // resource_name
                       String resourceName = humpToUnderline(resourceUrl);
                       if (resourceName.length() > 50) {
                           resourceName = resourceName.substring(0, 50);
                       }
                       params.put("resource_name", resourceName);

                       // resource_desc
                       String resourceDesc = checkMethodComment(document, method);
                       params.put("resource_des", resourceDesc);

                       resourceList.add(params);
                       continue;
                   }
               }
               if (resourceList.size() == 0) {
                   return;
               }

               outputSqlInfo(editor, resourceList);
            }
        }
    }

    /**
     * 输出sql语句
     * @param editor
     * @param resourceList
     */
    public void outputSqlInfo(Editor editor, List<Map<String, String>> resourceList) {
        StringBuilder sb = new StringBuilder();
        sb.append("-- sa_resource");
        sb.append("SET @parent_id = "0";
");
        for (Map<String, String> param : resourceList) {
            String resourceSql = "INSERT INTO `sa_resource` (`id`, `p_id`, `resource_name`, `resource_des`, `resource_type`, `resource_url`, `curr_status`, `relation`, `company_id`, `create_user`, `create_time`,`update_user`, `update_time`, `status`)
" +
                    "VALUES (CONCAT(UUID_SHORT(),''), @parent_id, '%s', '%s', NULL, '%s', NULL, NULL, '', NULL, NOW(), NULL, NOW(), NULL);
";
            sb.append(String.format(resourceSql, param.get("resource_name"), param.get("resource_des"), param.get("resource_url")));
            sb.append("
");
        }
        Messages.showMessageDialog(editor.getProject(), sb.toString(), "总共有方法" + resourceList.size() + "个", Messages.getInformationIcon());
    }

    /**
     * 小写转大写
     * @param var1
     * @return
     */
    public static String humpToUnderline(String var1) {
        StringBuilder result = new StringBuilder();
        if (var1 != null || var1.length() > 0) {
            result.append("RES_");
            result.append(var1.substring(0, 1).toUpperCase());

            for (int i = 1; i < var1.length(); i++) {
                String var2 = var1.substring(i, i + 1);
                // 在大写字母前添加下划线
                if (var2.equals(var2.toUpperCase()) && !Character.isDigit(var2.charAt(0))) {
                    result.append("_");
                }
                result.append(var2.toUpperCase());
            }
        }
        return result.toString().replaceAll("/", "");
    }

    /**
     * 获取注释
     * @param document
     * @param psiMethod
     * @return
     */
    private String  checkMethodComment(Document document, PsiMethod psiMethod){
        String comment = "";
        PsiComment classComment = null;
        for (PsiElement tmpEle : psiMethod.getChildren()) {
            if (tmpEle instanceof PsiComment){
                classComment = (PsiComment) tmpEle;
                // 注释的内容
                String tmpText = classComment.getText();

                String pattern = "[\u4E00-\u9FA5A-Za-z0-9]+";

                Pattern r = Pattern.compile(pattern);
                Matcher m = r.matcher(tmpText);
                while (m.find()) {
                    comment = m.group(0);
                    break;
                }
            }
        }
        return comment;
    }
}
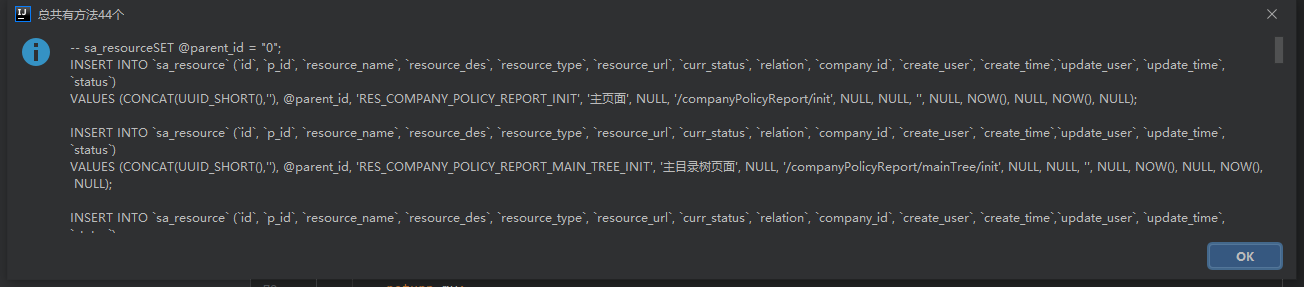
开发完成,我们可以进行sql语句的模板替换并进行输出,最后输出结果如下:
比如这个方法
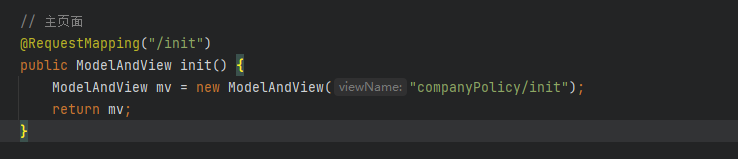
我们可以看到最后生成的sql语句为
INSERT INTO `sa_resource` (`id`, `p_id`, `resource_name`, `resource_des`, `resource_type`, `resource_url`, `curr_status`, `relation`, `company_id`, `create_user`, `create_time`,`update_user`, `update_time`, `status`)
VALUES (CONCAT(UUID_SHORT(),''), @parent_id, 'RES_COMPANY_POLICY_REPORT_INIT', '主页面', NULL, '/companyPolicyReport/init', NULL, NULL, '', NULL, NOW(), NULL, NOW(), NULL);

满足我们当时的要求,自此可以进行一键生成所需要的sql语句,所以此插件名Generate Resource SQL,

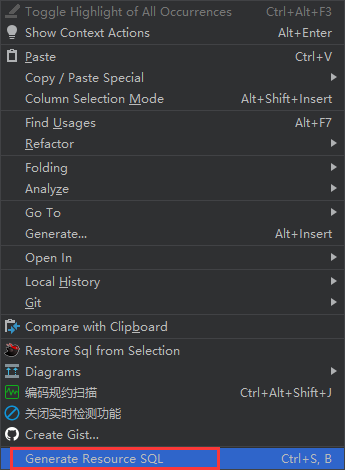
可以在idea插件市场搜索Generate Resource SQL,重启idea。在controller类里右击鼠标,点击Generate Resource SQL进行使用
项目已上传至Github: https://github.com/LiuFqiang/GeneratePlugin
插件主页:https://plugins.jetbrains.com/plugin/17843-generate-resource-sql