SpringCloud Config
Config 介绍
Spring Cloud Config项目是一个解决分布式系统的配置管理方案。它包含了Client和Server两个部分,server提供配置文件的存储、以接口的形式将配置文件的内容提供出去,client通过接口获取数据、并依据此数据初始化自己的应用。
开发准备
开发环境
JDK:1.8
SpringBoot:2.1.1.RELEASE
SpringCloud:Finchley
注:不一定非要用上述的版本,可以根据情况进行相应的调整。需要注意的是SpringBoot2.x以后,jdk的版本必须是1.8以上!
确认了开发环境之后,我们再来添加相关的pom依赖。
<dependencies>
   	<dependency>
		<groupId>org.springframework.cloud</groupId>
		<artifactId>spring-cloud-config</artifactId>
	</dependency>
	<dependency>
		<groupId>org.springframework.cloud</groupId>
		<artifactId>spring-cloud-starter-netflix-eureka-server</artifactId>
	</dependency>
</dependencies>

spring.application.name=springcloud-hystrix-eureka-server
server.port=8005
eureka.client.register-with-eureka=false
eureka.client.fetch-registry=false
eureka.client.serviceUrl.defaultZone=http://localhost:8005/eureka/
	@SpringBootApplication
	@EnableEurekaServer
	public class ConfigEurekaApplication {

		public static void main(String[] args) {
			SpringApplication.run(ConfigEurekaApplication.class, args);
			 System.out.println("config 注册中心服务启动...");
		}
	}

 spring.application.name=springcloud-config-server
 server.port=9005
 eureka.client.serviceUrl.defaultZone=http://localhost:8005/eureka/
 spring.cloud.config.server.git.uri = https://github.com/xuwujing/springcloud-study/
 spring.cloud.config.server.git.search-paths = /springcloud-config/config-repo
 spring.cloud.config.server.git.username =
 spring.cloud.config.server.git.password =
word=hello world

@EnableDiscoveryClient
@EnableConfigServer
@SpringBootApplication
public class ConfigServerApplication {

	public static void main(String[] args) {
		SpringApplication.run(ConfigServerApplication.class, args);
		System.out.println("配置中心服务端启动成功!");
	}
}
spring.cloud.config.name=configtest
spring.cloud.config.profile=pro
spring.cloud.config.label=master
spring.cloud.config.discovery.enabled=true
spring.cloud.config.discovery.serviceId=springcloud-config-server
eureka.client.serviceUrl.defaultZone=http://localhost:8005/eureka/

spring.application.name=springcloud-config-client
server.port=9006

	@EnableDiscoveryClient
	@SpringBootApplication
	public class ConfigClientApplication {

		public static void main(String[] args) {
			SpringApplication.run(ConfigClientApplication.class, args);
			System.out.println("配置中心客户端启动成功!");
		}
	}

	@RestController
	public class ClientController {

		@Value("${word}")
		private String word;

	    @RequestMapping("/hello")
	    public String index(@RequestParam String name) {
	        return name+","+this.word;
	    }
	}

http://localhost:9005/configtest-1.properties

/{application}/{profile}[/{label}]
/{application}-{profile}.yml
/{label}/{application}-{profile}.yml
/{application}-{profile}.properties
/{label}/{application}-{profile}.properties

开发准备开发环境
JDK:1.8SpringBoot:2.1.1.RELEASESpringCloud:Finchley注:不一定非要用上述的版本,可以根据情况进行相应的调整。需要注意的是SpringBoot2.x以后,jdk的版本必须是1.8以上!
确认了开发环境之后,我们再来添加相关的pom依赖。
<dependencies> <dependency><groupId>org.springframework.cloud</groupId><artifactId>spring-cloud-config</artifactId></dependency><dependency><groupId>org.springframework.cloud</groupId><artifactId>spring-cloud-starter-netflix-eureka-server</artifactId></dependency></dependencies>12345678910SpringCloud Config 示例目前SpringCloud Config的使用主要是通过Git/SVN方式做一个配置中心,然后每个服务从其中获取自身配置所需的参数。SpringCloud Config也支持本地参数配置的获取。如果使用本地存储的方式,在 application.properties 或 application.yml 文件添加 spring.profiles.active=native 配置即可,它会从项目的 resources路径下读取配置文件。如果是读取指定的配置文件,那么可以使用 spring.cloud.config.server.native.searchLocations = file:D:/properties/ 来读取。
服务端首先是服务端这块,首先创建一个注册中心,为了进行区分,创建一个springcloud-config-eureka的项目。 代码和配置和之前的基本一样。application.properties配置信息:
配置信息:
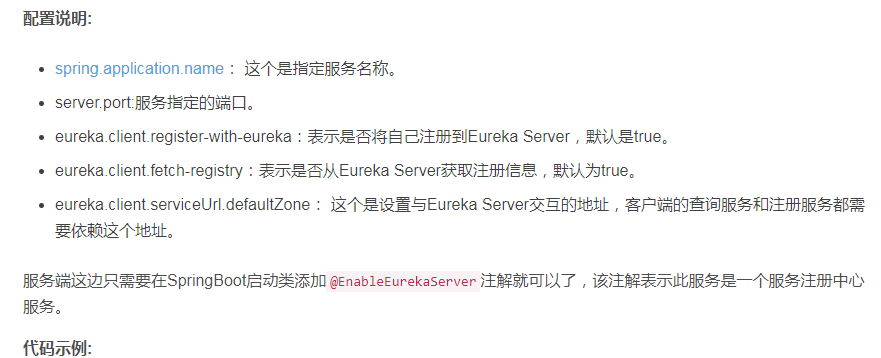
spring.application.name=springcloud-hystrix-eureka-serverserver.port=8005eureka.client.register-with-eureka=falseeureka.client.fetch-registry=falseeureka.client.serviceUrl.defaultZone=http://localhost:8005/eureka/12345配置说明:
spring.application.name: 这个是指定服务名称。server.port:服务指定的端口。eureka.client.register-with-eureka:表示是否将自己注册到Eureka Server,默认是true。eureka.client.fetch-registry:表示是否从Eureka Server获取注册信息,默认为true。eureka.client.serviceUrl.defaultZone: 这个是设置与Eureka Server交互的地址,客户端的查询服务和注册服务都需要依赖这个地址。服务端这边只需要在SpringBoot启动类添加@EnableEurekaServer注解就可以了,该注解表示此服务是一个服务注册中心服务。
代码示例:
@SpringBootApplication@EnableEurekaServerpublic class ConfigEurekaApplication {public static void main(String[] args) {SpringApplication.run(ConfigEurekaApplication.class, args); System.out.println("config 注册中心服务启动...");}}
123456789101112创建好了注册中心之后,我们再来创建一个配置中心,用于管理配置。创建一个springcloud-config-server的项目。然后在application.properties配置文件添加如下配置:
配置信息:
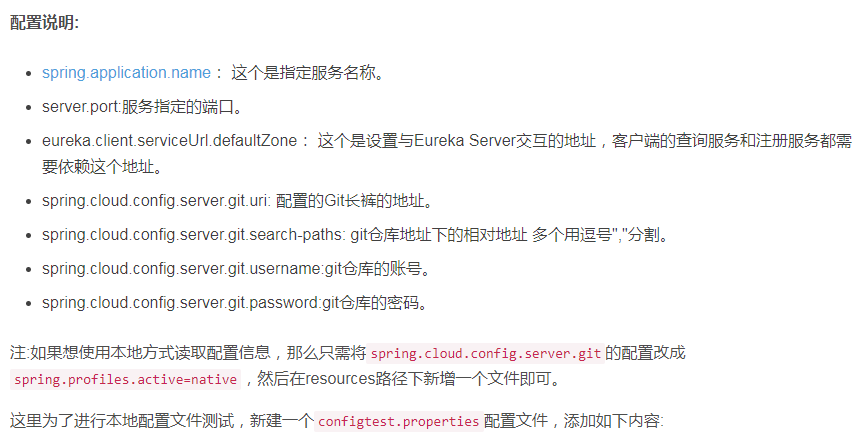
spring.application.name=springcloud-config-server server.port=9005 eureka.client.serviceUrl.defaultZone=http://localhost:8005/eureka/ spring.cloud.config.server.git.uri = https://github.com/xuwujing/springcloud-study/ spring.cloud.config.server.git.search-paths = /springcloud-config/config-repo spring.cloud.config.server.git.username = spring.cloud.config.server.git.password = 1234567配置说明:
spring.application.name: 这个是指定服务名称。server.port:服务指定的端口。eureka.client.serviceUrl.defaultZone: 这个是设置与Eureka Server交互的地址,客户端的查询服务和注册服务都需要依赖这个地址。spring.cloud.config.server.git.uri: 配置的Git长裤的地址。spring.cloud.config.server.git.search-paths: git仓库地址下的相对地址 多个用逗号","分割。spring.cloud.config.server.git.username:git仓库的账号。spring.cloud.config.server.git.password:git仓库的密码。注:如果想使用本地方式读取配置信息,那么只需将spring.cloud.config.server.git的配置改成spring.profiles.active=native,然后在resources路径下新增一个文件即可。
这里为了进行本地配置文件测试,新建一个configtest.properties配置文件,添加如下内容:
word=hello world
123代码这块也很简单,在程序主类中,额外添加@EnableConfigServer注解,该注解表示启用config配置中心功能。代码如下:
、、、
@EnableDiscoveryClient@EnableConfigServer@SpringBootApplicationpublic class ConfigServerApplication {
public static void main(String[] args) {SpringApplication.run(ConfigServerApplication.class, args);System.out.println("配置中心服务端启动成功!");}}12345678910、、、
完成上述代码之后,我们的配置中心服务端已经构建完成了。
客户端我们新建一个springcloud-config-client的项目,用于做读取配置中心的配置。pom依赖还是和配置中心一样,不过需要新增一个配置,用于指定配置的读取。创建一个bootstrap.properties文件,并添加如下信息:
配置信息:
spring.cloud.config.name=configtestspring.cloud.config.profile=prospring.cloud.config.label=masterspring.cloud.config.discovery.enabled=truespring.cloud.config.discovery.serviceId=springcloud-config-servereureka.client.serviceUrl.defaultZone=http://localhost:8005/eureka/123456配置说明:
spring.cloud.config.name: 获取配置文件的名称。spring.cloud.config.profile: 获取配置的策略。spring.cloud.config.label:获取配置文件的分支,默认是master。如果是是本地获取的话,则无用。spring.cloud.config.discovery.enabled: 开启配置信息发现。spring.cloud.config.discovery.serviceId: 指定配置中心的service-id,便于扩展为高可用配置集群。eureka.client.serviceUrl.defaultZone: 这个是设置与Eureka Server交互的地址,客户端的查询服务和注册服务都需要依赖这个地址。注:上面这些与spring-cloud相关的属性必须配置在bootstrap.properties中,config部分内容才能被正确加载。因为bootstrap.properties的相关配置会先于application.properties,而bootstrap.properties的加载也是先于application.properties。需要注意的是eureka.client.serviceUrl.defaultZone要配置在bootstrap.properties,不然客户端是无法获取配置中心参数的,会启动失败!
application.properties配置
spring.application.name=springcloud-config-clientserver.port=900612配置说明:
spring.application.name: 这个是指定服务名称。server.port:服务指定的端口。程序主类代码,和之前的基本一致。代码如下:
代码示例:
@EnableDiscoveryClient@SpringBootApplicationpublic class ConfigClientApplication {public static void main(String[] args) {SpringApplication.run(ConfigClientApplication.class, args);System.out.println("配置中心客户端启动成功!");}}
1234567891011为了方便查询,在控制中进行参数的获取,并返回。@Value注解是默认是从application.properties配置文件获取参数,但是这里我们在客户端并没有进行配置,该配置在配置中心服务端,我们只需指定好了配置文件之后即可进行使用。
代码示例:
@RestControllerpublic class ClientController {@Value("${word}")private String word; @RequestMapping("/hello") public String index(@RequestParam String name) { return name+","+this.word; }}
12345678910111213到此,客户端项目也就构建完成了。
功能测试完成如上的工程开发之后,我们来进行测试。
本地测试首先我们把springcloud-config-server项目的application.properties配置文件添加spring.profiles.active=native配置,注释掉spring.cloud.config.server.git相关的配置,然后在src/main/resources目录下新建一个configtest.properties文件,然后在里面添加一个配置word=hello world。添加完成之后,我们依次启动springcloud-config-eureka、springcloud-config-server、springcloud-config-client这三个项目。启动成功之前,先看来看看配置中心服务端的配置文件获取,在浏览器输入:
http://localhost:9005/configtest-1.properties
查看该文件的配置信息。
注:配置文件的名称是configtest.properties,但是如果直接该名称的话是获取不到的,因为在配置文件名需要通过-来进行获取,如果配置文件名称没有-,那么添加了-之后,会自动进行匹配搜索。
springcloud config 的URL与配置文件的映射关系如下:
/{application}/{profile}[/{label}]/{application}-{profile}.yml/{label}/{application}-{profile}.yml/{application}-{profile}.properties/{label}/{application}-{profile}.properties12345上面的url会映射{application}-{profile}.properties对应的配置文件,{label}对应git上不同的分支,默认为master。
界面返回:
word: hello world1然后调用客户端的接口,查看是否能够获取配置信息。在浏览器上输入:
http://localhost:9006//hello?name=pancm
界面返回:
pancm,hello world1示例图:
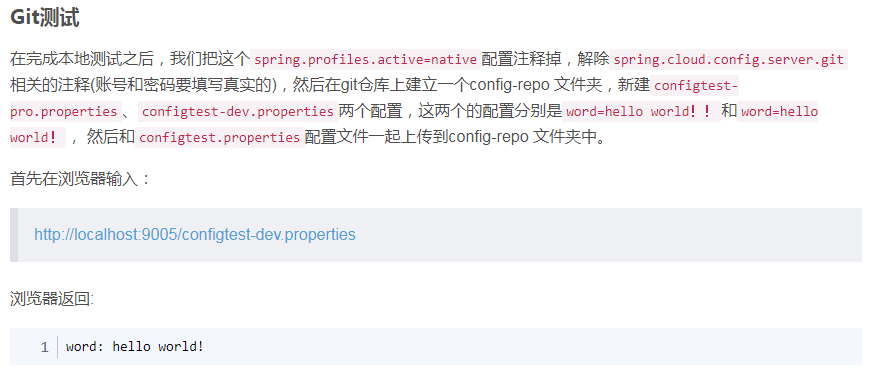
Git测试在完成本地测试之后,我们把这个spring.profiles.active=native配置注释掉,解除spring.cloud.config.server.git相关的注释(账号和密码要填写真实的),然后在git仓库上建立一个config-repo 文件夹,新建configtest-pro.properties、configtest-dev.properties两个配置,这两个的配置分别是word=hello world!!和word=hello world!, 然后和configtest.properties配置文件一起上传到config-repo 文件夹中。
首先在浏览器输入:
http://localhost:9005/configtest-dev.properties
浏览器返回:
word: hello world!1然后再浏览器输入:
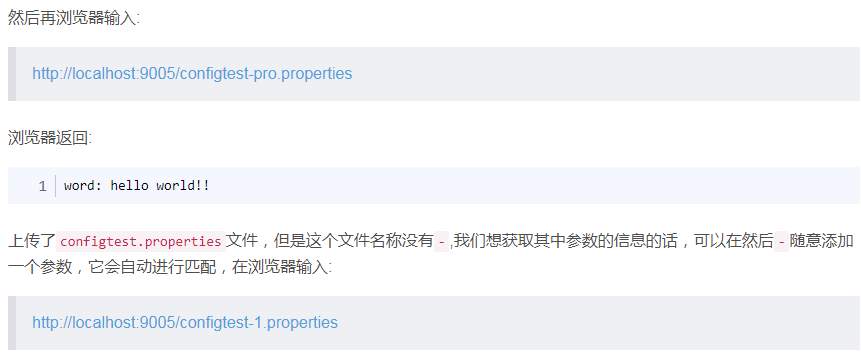
http://localhost:9005/configtest-pro.properties
浏览器返回:
word: hello world!!1上传了configtest.properties文件,但是这个文件名称没有-,我们想获取其中参数的信息的话,可以在然后-随意添加一个参数,它会自动进行匹配,在浏览器输入:
http://localhost:9005/configtest-1.properties
浏览器返回:
word: hello world1然后进行客户端接口调用测试,在浏览器输入:
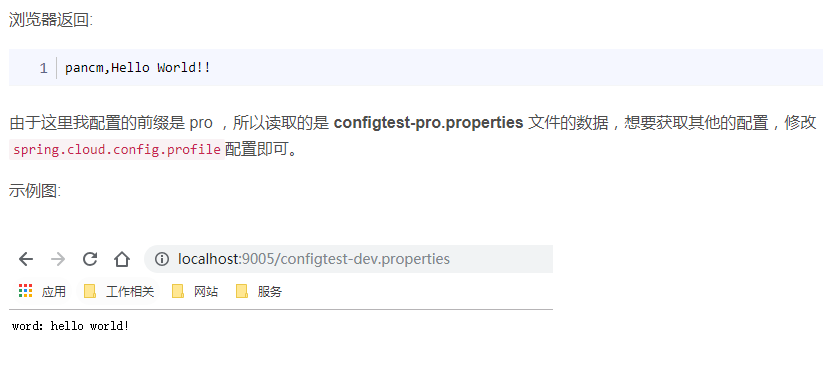
http://localhost:9006/hello?name=pancm
浏览器返回:
pancm,Hello World!!1由于这里我配置的前缀是 pro ,所以读取的是 configtest-pro.properties 文件的数据,想要获取其他的配置,修改spring.cloud.config.profile配置即可。
示例图:
其他项目地址基于SpringBoot2.x、SpringCloud的Finchley版本开发的地址:https://github.com/xuwujing/springcloud-study
基于SpringBoot1.x、SpringCloud 的Dalston版本开发的地址: https://github.com/xuwujing/springcloud-study-old
如果感觉项目不错,希望能给个star,谢谢!————————————————版权声明:本文为CSDN博主「虚无境」的原创文章,遵循CC 4.0 BY-SA版权协议,转载请附上原文出处链接及本声明。原文链接:https://blog.csdn.net/qazwsxpcm/article/details/88578076