接下来我们需要实现的是简历的修改。
第一,在ResumeController中添加两个Action,如下面的代码:
//
// GET: /Resume/Edit/5
public ActionResult Edit(int id)
{
    Resume.Models.Resume resume = context.Resumes.Find(id);
    ViewBag.NationId = new SelectList(context.Nations, "NationId", "Name", resume.NationId);
    return View(resume);
}

//
// POST: /Resume/Edit/5

[HttpPost]
public ActionResult Edit(Resume.Models.Resume resume)
{
    if (ModelState.IsValid)
    {
        context.Entry(resume).State = EntityState.Modified;
        context.SaveChanges();
        return RedirectToAction("Index");
    }
    return View(resume);
}
第二,创建Edit.cshtml,跟创建Create.cshtml一样,选择Empty。
第三,在Index.cshtml中添加如下代码:
$("a[rel='editResume']").click(function () {
    $(this).colorbox({
         1000,
        heigth: 500,
        overlayClose: false,
        close: "",
        onComplete: function () {
            $("#btnCancel").click(function () {
                $.colorbox.close();
            });
        },
        onClosed: function () {
            $.colorbox.remove();
        }
    });
});
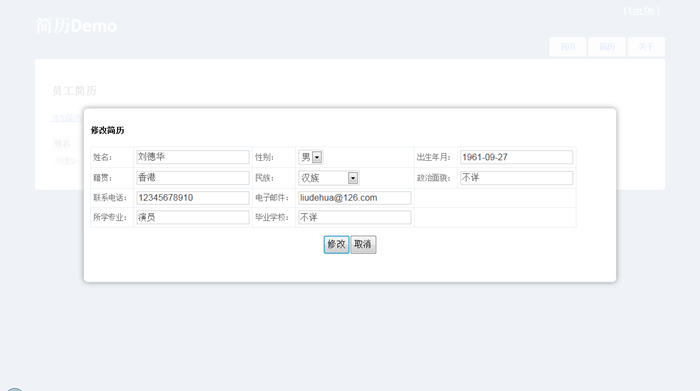
第四,运行效果:
简历的详细信息
第一,添加Action。
//
// GET: /Resume/Details/5

public ActionResult Details(int id)
{
    Resume.Models.Resume resume = context.Resumes.Find(id);
    return View(resume);
}
第二,创建Details.cshtml,同上。
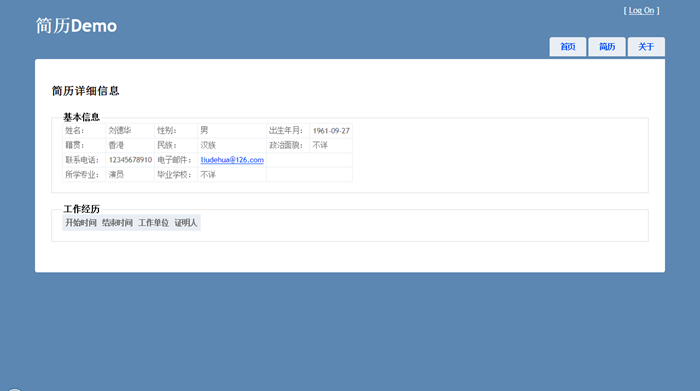
第三,运行效果:
简历的删除
第一,添加Action。
public ActionResult Delete(int id)
{
    Resume.Models.Resume resume = context.Resumes.Find(id);
    context.Resumes.Remove(resume);
    context.SaveChanges();
    return RedirectToAction("Index");
}
创建Action就可以了。
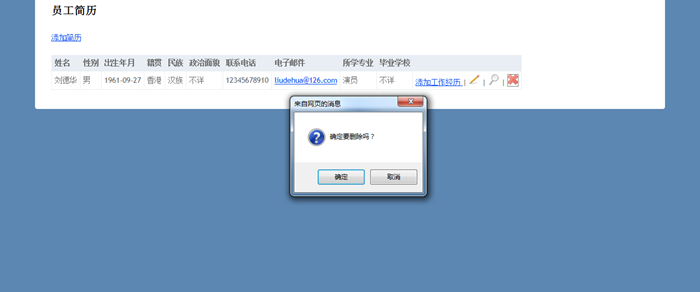
第二,运行效果:
添加工作经历
上面几个功能都很简单,这个功能也不困难,![]()
首先,还是从添加Action开始。
public ViewResult AddExper(int id)
{
    ViewBag.ExpersById = context.Experiences.Where(e => e.ResumeId == id);
    return View();
}

[HttpPost]
public ActionResult AddExper(Resume.Models.Experience exper)
{
    if (ModelState.IsValid)
    {
        exper.ResumeId = Convert.ToInt32(RouteData.Values["id"]);
        context.Experiences.Add(exper);
        context.SaveChanges();
        return RedirectToAction("Index");
    }
    return View(exper);
}
第二,创建AddExper.cshtml,代码如下:
<body>
    @using (Html.BeginForm())
    {

        <table>
            <tr>
                <th>
                    开始时间
                </th>
                <th>
                    结束时间
                </th>
                <th>
                    工作单位
                </th>
                <th>
                    证明人
                </th>
            </tr>
            @foreach (var item in ViewBag.ExpersById)
            {
                <tr>
                    <td>
                        @item.StartTime.ToString("yyyy-MM-dd")
                    </td>
                    <td>
                        @item.EndTime.ToString("yyyy-MM-dd")
                    </td>
                    <td>
                        @item.WorkUnit
                    </td>
                    <td>
                        @item.Voucher
                    </td>
                </tr>
            }
            <tr>
                <td>
                    @Html.EditorFor(e => e.StartTime)
                    @Html.ValidationMessageFor(e => e.StartTime)
                </td>
                <td>
                    @Html.EditorFor(e => e.EndTime)
                    @Html.ValidationMessageFor(e => e.EndTime)
                </td>
                <td>
                    @Html.EditorFor(e => e.WorkUnit)
                    @Html.ValidationMessageFor(e => e.WorkUnit)
                </td>
                <td>
                    @Html.EditorFor(e => e.Voucher)
                    @Html.ValidationMessageFor(e => e.Voucher)
                </td>
            </tr>
        </table>
        <p style="text-align: center;">
            <input type="submit" value="添加" /><input type="button" id="btnCancel" value="取消" /></p>}
</body>
第三,在Index.cshtml中添加如下代码:
$("a[rel='addExper']").click(function () {
    $(this).colorbox({
         950,
        overlayClose: false,
        close: "",
        onComplete: function () {
            $("#StartTime,#EndTime").datepicker({
                changeMonth: true,
                changeYear: true,
                dayNamesMin: ['日', '一', '二', '三', '四', '五', '六'],
                monthNamesShort: ['一月', '二月', '三月', '四月', '五月', '六月', '七月', '八月', '九月', '十月', '十一月', '十二月'],
                dateFormat: 'yy-mm-dd',
                yearRange: 'c-50:c+50',
                showMonthAfterYear: true
            });
            $("#btnCancel").click(function () {
                $.colorbox.close();
            });
        },
        onClosed: function () {
            $.colorbox.remove();
        }
    });
});
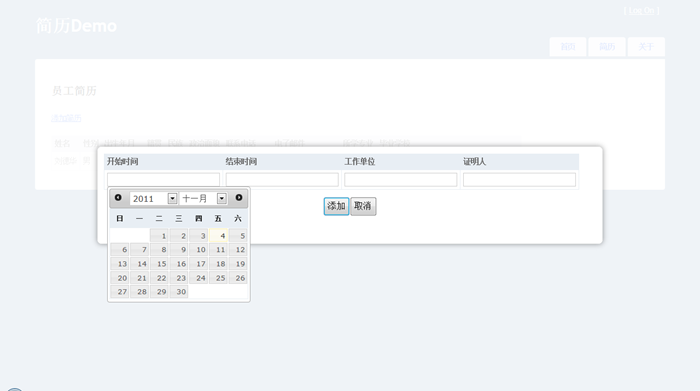
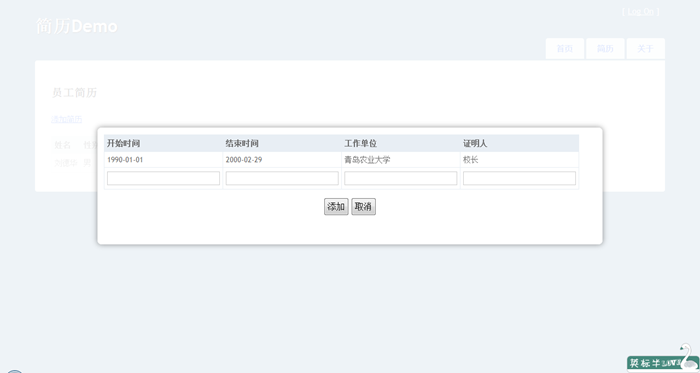
第四,看一下运行的效果吧:
总结
一个小小的Demo做完了,在这个过程中我学到了很多东西,我再一次坚定了实践是学习的最佳路径。当然,我这个Demo中还有很多问题,如果感兴趣的朋友可以跟我提出来,咱们共同学习,共同提高。
Demo源代码下载地址:https://files.cnblogs.com/nianming/Resume1.rar
