一、Win2D
Win2D是微软开源的项目
它的github地址是 https://github.com/Microsoft/Win2D
里面有详细的文档 http://microsoft.github.io/Win2D/html/Introduction.htm
大量Sample https://github.com/Microsoft/Win2D-samples
二、运用
1、上手win2d十分快,在nuget下载安装相应win2d插件即可使用了。
2、win2d里面有canvasControl ,CanvasAnimatedControl等实用的控件。
3、大量不懂的可以看Sample里面的代码。
三、例子
去年实习的时候,看过js实现下雨天的效果( https://github.com/maroslaw/rainyday.js ),所以一直想自己按照js的思路用C#实现一遍,win2d正好的适用。
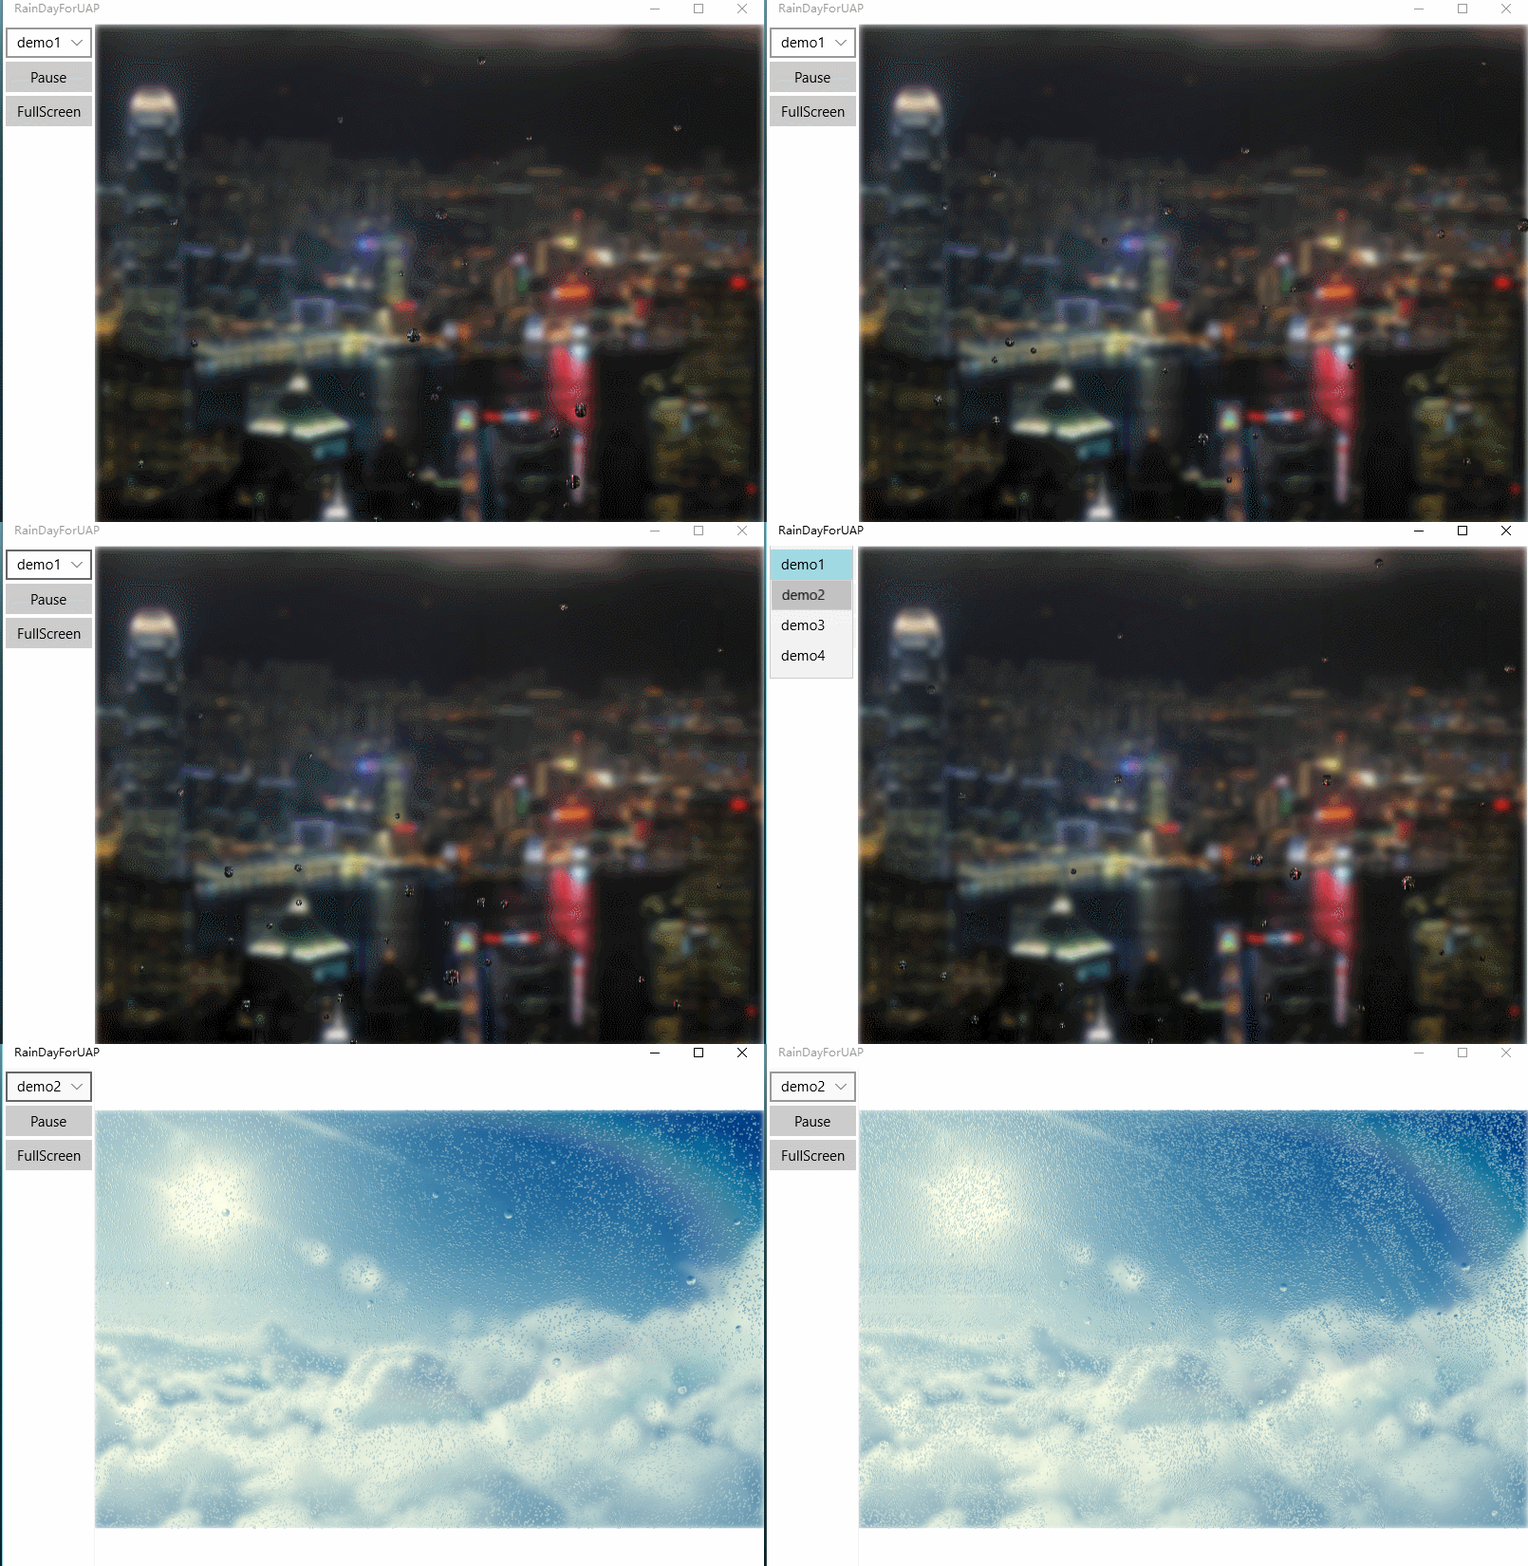
最后是基本实现了效果,还有好多可以扩展优化的(其中几个效果会卡)。
1、实现背景高斯模糊
 blurEffect = new GaussianBlurEffect()
            {
                Source = imgbackground,
                BlurAmount = 4.0f,
                BorderMode = EffectBorderMode.Soft
            };
2、加载背景
imgbackground = await CanvasBitmap.LoadAsync(sender, imgPath, defaultDpi);
3、玻璃准备
glassSurface = new CanvasRenderTarget(sender, imgW, imgH, defaultDpi);
4、画不同形状的雨滴
 /// <summary>
        /// Draws a raindrop on canvas at the current position.
        /// </summary>
        public void Draw(RainyDay rainyday, CanvasDrawingSession context)
        {
            float orgR = r;
            r = 0.95f * r;
            if (r < 3)
            {
                clipGeo = CanvasGeometry.CreateCircle(context, new Vector2(x, y), r);
            }
            else if (colliding != null || yspeed > 2)
            {
                if (colliding != null)
                {
                    var collider = colliding;
                    r = 1.001f * (r > collider.r ? r : collider.r);
                    x += (collider.x - x);
                    colliding = null;
                }
                float yr = 1 + 0.1f * yspeed;
                using (CanvasPathBuilder path = new CanvasPathBuilder(context))
                {
                    path.BeginFigure(x - r / yr, y);
                    path.AddCubicBezier(new Vector2(x - r, y - r * 2), new Vector2(x + r, y - r * 2), new Vector2(x + r / yr, y));
                    path.AddCubicBezier(new Vector2(x + r, y + yr * r), new Vector2(x - r, y + yr * r), new Vector2(x - r / yr, y));
                    path.EndFigure(CanvasFigureLoop.Closed);
                    clipGeo = CanvasGeometry.CreatePath(path);
                }
            }
            else
            {
                clipGeo = CanvasGeometry.CreateCircle(context, new Vector2(x, y), 0.9f * r);
            }
            r = orgR;
            if (rainyday.Reflection != null)
            {
                using (context.CreateLayer(1, clipGeo))
                {
                    rainyday.Reflection(context, this);
                }
            }
            if (clipGeo != null)
            {
                clipGeo.Dispose();
            }
        }
5、清除某个矩形区域
 context.Blend = CanvasBlend.Copy;
            context.FillRectangle(x - r - 1, y - r - 2, 2 * r + 2, 2 * r + 2, Colors.Transparent);
            context.Blend = CanvasBlend.SourceOver;
6、UWP全屏设置
 private void btnFullScreen_IsChecked(object sender, RoutedEventArgs e)
        {
            if (btnFullScreen.IsChecked==true)
            {
                ApplicationView.TryUnsnapToFullscreen();

                ApplicationView.GetForCurrentView().TryEnterFullScreenMode();
                toolSP.Visibility = Visibility.Collapsed;
            }
            else
            {
                ApplicationView.GetForCurrentView().ExitFullScreenMode();
                toolSP.Visibility = Visibility.Visible;
            }
        }
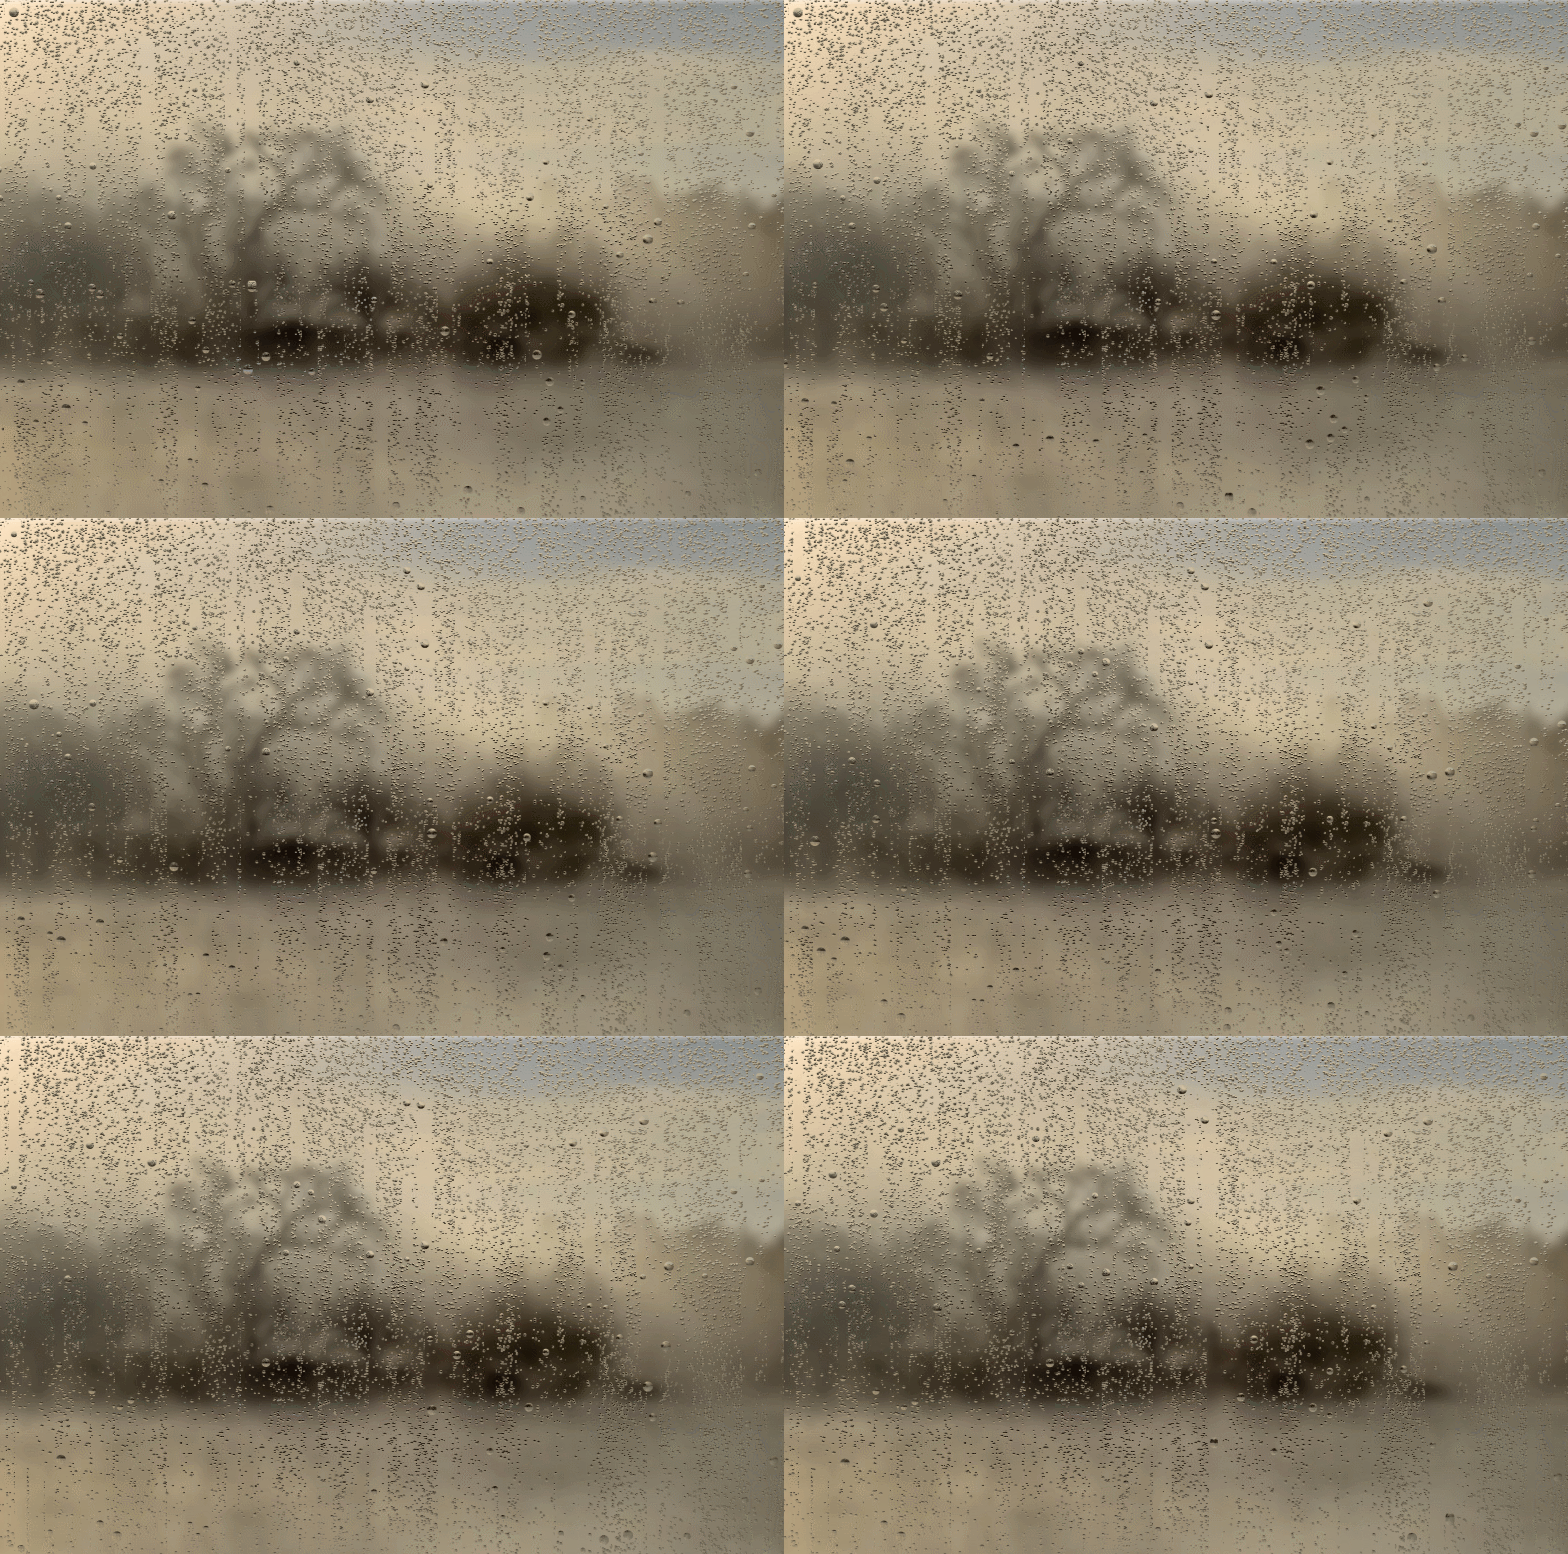
四、实现效果动图
图一:

图2:(全屏)

实现源码:https://github.com/Neilxzn/RainDayForUAP
完成这个例子还是挺爽的。继续努力,学多点,看多点