css
介绍
CSS(Cascading Style Sheets)称为层叠样式表,用于对页面进行美化。
1. 应用方式
- 内联样式(Inline style):指定一个标签。【不推荐,多标签无法复用样式】
- 内部样式表(Internal style sheet):当前页面的所有标签。【推荐,多个标签可复用样式】
- 外部样式表(External style sheet):所有引入css文件的页面。【推荐,多页面、多个标签均可复用样式】
内联
<div style="color:green;">Alex</div>
内部
<!DOCTYPE html>
<html lang="en">
<head>
    <meta charset="UTF-8">
    <title>CSS学习</title>
    <style>
        /*给所有的div设置样式*/
        div {
            color: green;
        }
    </style>
</head>
<body>
    <div>anna</div>
    <div>nana</div>
</body>
</html>
外部:
创建一个文件common.css,写入:div {color: green;}
引用:<link rel="stylesheet" href="common.css">
2. 选择器
为了准确选择标签,给它样式。
2.1 标签选择器 标签名
a {color: green;} 所有a标签
2.2 id 选择器 #
#i1 {color: green;} id为i1的标签(id标签命名一般为唯一的)
2.3 class 选择器 .
.green {color: green;} 所有含class有green的标签(class为一类)
2.4 属性选择器 [ ]
.head[name="anna"] {color: green;} 有class=head且标签中中有name='anna'的标签
2.5 后代选择器 空格
.head ul .hat {color: green;}
- 子元素选择器(以大于号分隔)
div>p只能选择作为某元素子元素的元素- 相邻兄弟选择器(以加号分隔)
div+p选择紧接在另一元素后的元素,且二者有相同父元素- 后续兄弟选择器(以破折号分隔)
div~p选取所有指定元素之后的相邻兄弟元素
2.6 选择器分组 逗号
h1, .head h2, h3, h4 { color: green;}
3. CSS样式
height 高度 & width 宽度
- 像素,根据像素设置。
- 百分比,根据百分比设置。
**因网页高度无限制,所以默认高度无法设置百分比,如果非要设置,则需要父级标签设置固定高度,子标签便可使用百分比设置高度。
行内标签无法设置高度和宽度,如果想要设置必须转换为块级标签才能应用。**
display 显示
display:block,变为块级标签。
display:inline,变为行内标签。
display:inline-block,变为行块内标签(行内和块级特性结合)。
display:none,把标签隐藏。(设置display:none隐藏标签,移除之后显示标签)。
float 浮动(float浮动用于实现N个标签行内存放)
页面布局时,一般都会使用div标签及float属性来实现,float设置时一般有两个值:
float:left,标签并排向左浮动。
float:right,标签并排向右浮动。
布局中如果使用了float浮动,就会出现脱离文档流的现象,父标签高度为0!
为了防止脱离文档流现象,所以以后只要出现浮动就记得要清除浮动
<body>
    <h1>向左浮动</h1>
    <div>
        <div style="float:left; 100px;color: green;">天堂</div>
        <div style="float: left; 100px;color: red;">地狱</div>
        <!-- 清除浮动,与使用了float属性的标签放在同一级 -->
        <div style="clear:both;"></div>
    </div>
</body>
font 字体
字体、大小、加粗、颜色
font-family: "Times New Roman",Georgia,Serif;字体
font-size: 13px;大小
font-weight: 100;加粗 (100-1000)
color: red;颜色color:#f0ad4e
文字对齐方式
- 水平方向:左、中、右(left center right)
- 垂直方向:上、中、下
<div class="demo2" style="height: 100px;background-color: pink;">上对齐</div>
<div class="demo2" style="height: 100px;background-color: darkseagreen;line-height: 100px;">垂直居中</div>
<div class="demo2" style="height: 100px;background-color: goldenrod;position: relative; ">
    <span style="position: absolute;bottom: 0;">下对齐</span>
</div>
padding 内填充 margin外边距
可以设置上、下、左、右方向。
padding-left:8px;
padding-right:2px;
padding-top:4px;
padding-bottom:18px;

/* padding:上 右 下 左; */
padding:10px 0 2px 4px;
/* padding:上下  左右; */
padding:7px 5px;
/* padding:上下左右; */
padding:8px;
关于外边距还有两个特殊的知识点需要学习。
- body标签默认有一个 8px的外边距,所以你会发现默认的页面都有一个“白边”。
- 自动居中布局,你应该见过很多网站的内容都在中间放置,两边是空白。
- 所以要给body:
body{
    margin:0
}
- 自动居中
/* 只要指定宽度并设置margin为 0 auto 就可以实现div 自动居中布局*/
900px;
margin:0 auto;
border边框
    <div style="border: 1px solid #333333;"></div>
    <div style="border: 1px dotted red;"></div>
    <div style="border: 3px dotted rgb(201, 151, 26);border-right: 3px solid blue"></div>
border-radius:30% 也可以设置圆角边框
background 背景
background-color设置背景颜色backgroud-imgage设置背景图片background-repeat背景图片如何重复background-postion背景图片位置
background-image: url("https://images.cnblogs.com/cnblogs_com/abc/23423/o_search.png");
background-repeat: no-repeat;   不重复
background-position: 50% 50%;   (x,y位移量)
background-size: 16px 16px;     切割大小
cursor光标(cursor指鼠标放在标签上之后显示的形状)
    <div style='cursor: pointer;'>div1</div>
    <div style='cursor: help;'>div2</div>
    <div style='cursor: move;'>div3</div>
position对于对屏幕上的标签进行定位,定位相关知识点可以分为两种:
- position:fixed,生成绝对定位的元素,相对于浏览器窗口进行定位。例如最常见的广告位置和返回顶部,都是基于它来实现。
.back-top{
     45px;
    height: 45px;
    border: 1px solid #dddddd;
    background-color: white;
    position: fixed;
    right: 2px;
    bottom: 100px;
    font-size: 12px;
    text-align: center;
    color: #757575;
}
- position:absolute,,生成绝对定位的元素,相对于特定第一个父元素进行定位,常与position:relative结合使用。例如:想要让某标签相对某指定标签位置显示。
        .header .menus .app {
            position: relative;
        }
        .header .menus .app .download {
            padding: 10px;
            background-color: white;
            border: 1px solid #dddddd;
            position: absolute;
            left: 5px;    往内为+,往外为-
            top: 40px;
        }
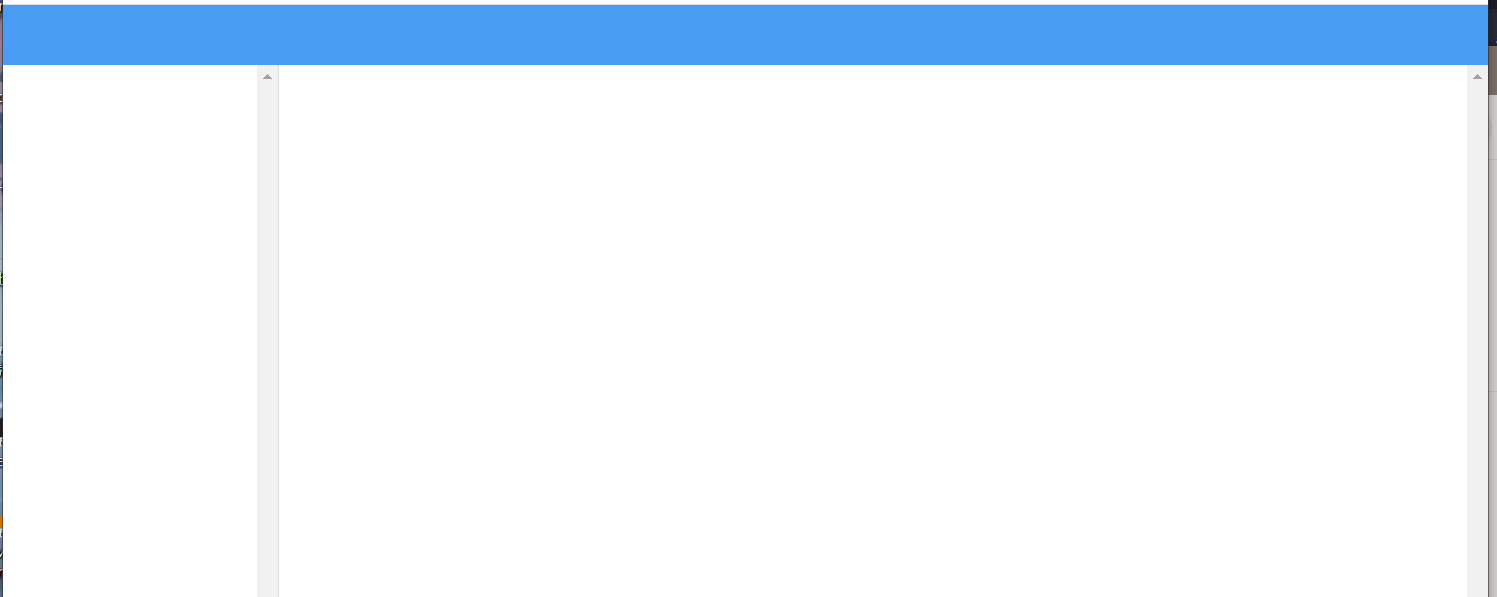
后台管理布局

<!DOCTYPE html>
<html lang="en">

<head>
    <meta charset="UTF-8">
    <title>CSS学习</title>
    <style>
        body {
            margin: 0;
        }

        .header {
            height: 48px;
            background-color: #499ef3;
        }

        .body .menu {
            position: fixed;
            top: 48px;
            left: 0;
            bottom: 0;
             220px;
            border-right: 1px solid #dddddd;
            overflow: scroll;
        }

        .body .content {
            position: fixed;
            top: 48px;
            right: 0;
            bottom: 0;
            left: 225px;
            /* 超出范围的话,出现滚轮 */
            overflow: scroll;
        }
    </style>
</head>

<body>
    <div class="header"></div>
    <div class="body">
        <div class="menu"></div>
        <div class="content"></div>
    </div>
</body>
</html>
opacity透明度
例如:常见的加载,登录框等显示都是基于它实现。
实现思路:
基于z-index属性把页面分为三层:最下面是文章,中间层是黑色遮罩,最上层是登录框。
为中间的黑色遮罩设置细分,否则无法看到最连续的,细分值范围:0〜1,某些地方越不透明,例如:
filter:alpha(opacity=50); /* IE */
-moz-opacity:0.5; /* 老版Mozilla */
-khtml-opacity:0.5; /* 老版Safari */
opacity: 0.5; /* 支持opacity的浏览器*/
实例代码
<!DOCTYPE html>
<html lang="en">
<head>
    <meta charset="UTF-8">
    <title>Title</title>
    <style>
        body{
            margin: 0;
        }
        .container{
             980px;
            margin: 0 auto;
        }
        .header{
            height: 48px;
            background-color: #499ef3;
        }
        .shade{
            position: fixed;
            top: 0;
            bottom: 0;
            left: 0;
            right: 0;
            background-color: black;
            opacity: 0.7;
        }
        .login{
             400px;
            height: 300px;
            background-color: white;
            border: 1px solid #dddddd;
            position: fixed;
            top: 60px;
            left: 50%;
            margin-left: -200px;
        }
    </style>
</head>
<body>
    <div class="header"></div>
    <div class="body">
        <div class="container" style="text-align: center">
            <img src="https://images.cnblogs.com/cnblogs_com/wupeiqi/662608/o_big_girl.png" alt="">
        </div>
    </div>
    <!--遮罩层-->
    <div class="shade"></div>
    <!--登录框-->
    <div class="login">
        <h2 style="text-align: center">用户登录</h2>
    </div>
</body>
</html>
悬停伪类(当鼠标放在标签上时,可以能够设置一些样式)
.header .menus a{
    color: pink;
}
.header .menus a:hover{
    color: black;
}
之后选择器 :after
:after选择器向预期的元素之后插入内容。
        li:after {
            content: '戴帽子';
            color: green;
            font-weight: 500;
        }
    <ul>
        <li>王宝强</li>
        <li>陈羽凡</li>
        <li>贾乃亮</li>
    </ul>
在标签后添加标签,解决浮动脱离文档流的问题,不用再额外手动添加标签了。
处理脱离文档流的问题时候,只需要为父标签应用clearfix样式即可(严重推荐)
<head>
    <style>
        .clearfix:after{
            content: '';
            display: block;
            clear: both;
        }
    </style>
</head>
<body>
    <div class="row clearfix">
        <div class="item">item1</div>
        <div class="item">item2</div>
    </div>
</body>