ElasticSearch
ElasticSearch的搭建,为ELK/Skywolking搭建做准备(很重要),亲手践行。
ElasticSearch环境搭建
- 下载、解压缩包
mkdir -p /usr/elasticsearch
cd /usr/elasticsearch
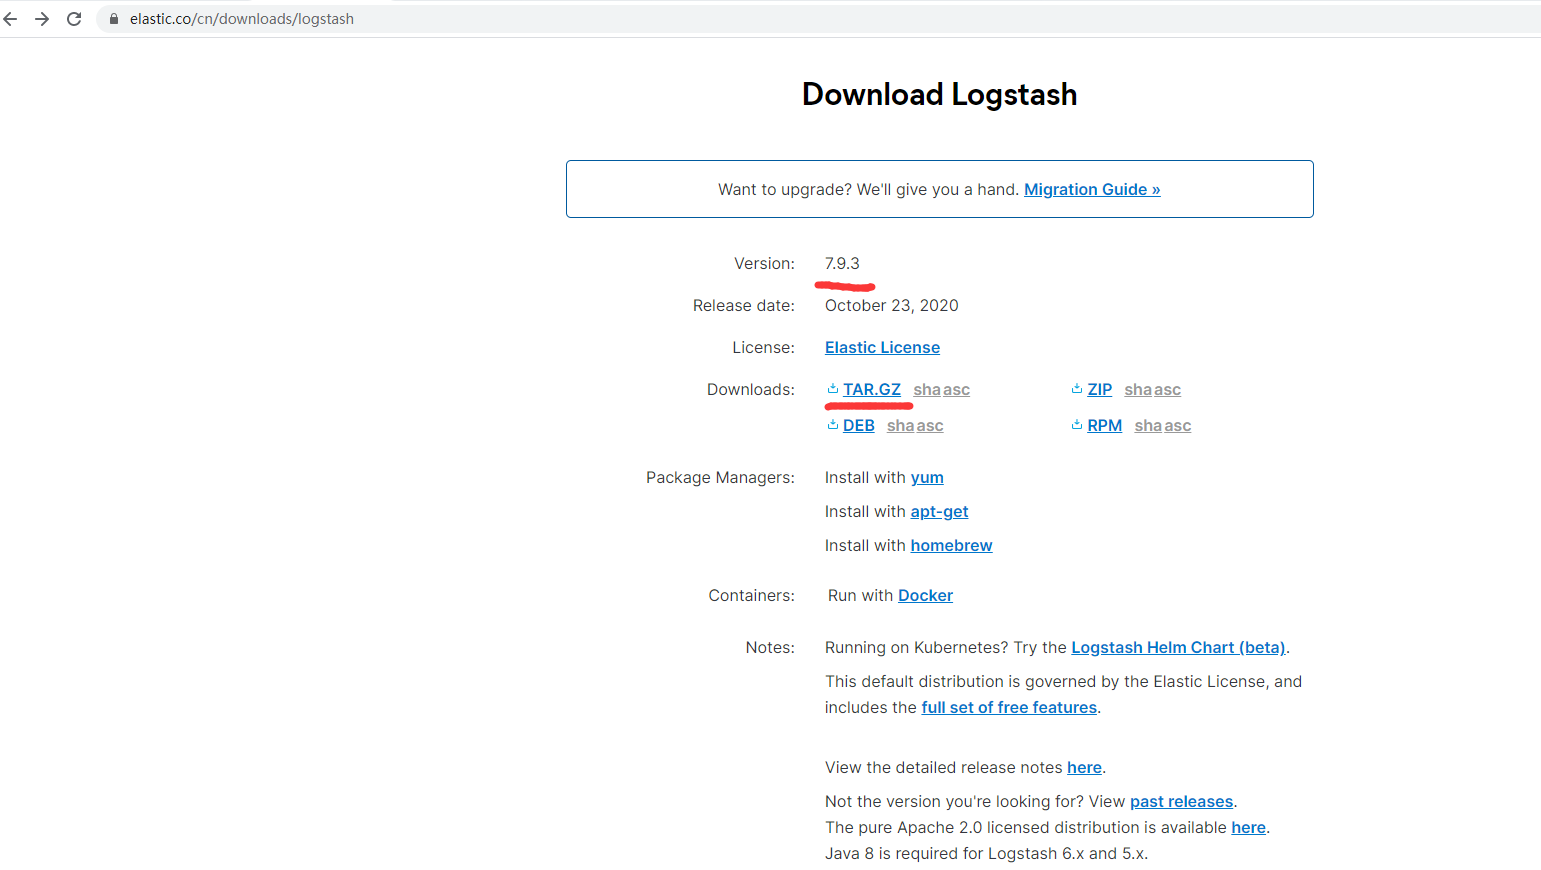
wget https://artifacts.elastic.co/downloads/elasticsearch/elasticsearch-7.9.3-linux-x86_64.tar.gz
tar -zxvf elasticsearch-7.9.3-linux-x86_64.tar.gz
可以直接到elasticsearch官网下载再拷贝到解压文件夹下
- 建新用户及权限
由于安全考虑elasticsearch不允许root权限用户直接启动
groupadd es
useradd esu -g es -p elasticsearch
chown -R esu:es elasticsearch
- 创建用于存放数据与日志的目录
mkdir -p /opt/elasticsearch/data
mkdir -p /opt/elasticsearch/log
chown -R elasticsearch.elasticsearch /opt/elasticsearch/*
- 修改配置
vim /usr/elasticsearch/elasticsearch-7.9.3/config/elasticsearch.yml

# ======================== Elasticsearch Configuration =========================
#
# NOTE: Elasticsearch comes with reasonable defaults for most settings.
#       Before you set out to tweak and tune the configuration, make sure you
#       understand what are you trying to accomplish and the consequences.
#
# The primary way of configuring a node is via this file. This template lists
# the most important settings you may want to configure for a production cluster.
#
# Please consult the documentation for further information on configuration options:
# https://www.elastic.co/guide/en/elasticsearch/reference/index.html
#
# ---------------------------------- Cluster -----------------------------------
#
# Use a descriptive name for your cluster:
#
cluster.name: elasticsearch
#
# ------------------------------------ Node ------------------------------------
#
# Use a descriptive name for the node:
#
node.name: node-1
#
# Add custom attributes to the node:
#
#node.attr.rack: r1
#
# ----------------------------------- Paths ------------------------------------
#
# Path to directory where to store the data (separate multiple locations by comma):
#
path.data: /opt/elasticsearch/data
#
# Path to log files:
#
path.logs: /opt/elasticsearch/log
#
# ----------------------------------- Memory -----------------------------------
#
# Lock the memory on startup:
#
#bootstrap.memory_lock: true
#
# Make sure that the heap size is set to about half the memory available
# on the system and that the owner of the process is allowed to use this
# limit.
#
# Elasticsearch performs poorly when the system is swapping the memory.
#
# ---------------------------------- Network -----------------------------------
#
# Set the bind address to a specific IP (IPv4 or IPv6):
#
network.host: 0.0.0.0
#
# Set a custom port for HTTP:
#
http.port: 9200
#
# For more information, consult the network module documentation.
#
# --------------------------------- Discovery ----------------------------------
#
# Pass an initial list of hosts to perform discovery when this node is started:
# The default list of hosts is ["127.0.0.1", "[::1]"]
#
#discovery.seed_hosts: ["host1", "host2"]
discovery.seed_hosts: ["192.168.64.101"]
#
# Bootstrap the cluster using an initial set of master-eligible nodes:
#
cluster.initial_master_nodes: ["node-1"] #["node-1", "node-2"]
#
# For more information, consult the discovery and cluster formation module documentation.
#
# ---------------------------------- Gateway -----------------------------------
#
# Block initial recovery after a full cluster restart until N nodes are started:
#
gateway.recover_after_nodes: 1
#
# For more information, consult the gateway module documentation.
#
# ---------------------------------- Various -----------------------------------
#
# Require explicit names when deleting indices:
#
#action.destructive_requires_name: true

http.cors.enabled: true
http.cors.allow-origin: "*"
- 启动elasticsearch
/usr/elasticsearch/elasticsearch-7.9.3/bin/elasticsearch
- 遇到报错“文件大小受限,进程/线程受限,内存无法锁定”
修改一下配置
ulimit -Hn
4096

vim /etc/security/limits.conf

* soft nofile 65536
* hard nofile 65536
* soft nproc 4096
* hard nproc 4096
* hard memlock unlimited
* soft memlock unlimited
保存,登出exist,再登陆
ulimit -Hn
65536
vi /etc/sysctl.conf
vm.max_map_count=262144

#保存,执行以下语句生效
sysctl -p
再启动
/usr/elasticsearch/elasticsearch-7.9.3/bin/elasticsearch
- 设置开机启动
cd /etc/init.d
touch elasticsearch
vim elasticsearch

#然后把以下内容拷入进去

#!/bin/sh
#chkconfig: 2345 80 05
#description: elasticsearch

export JAVA_HOME=/usr/local/jvm/jdk1.8.0_261
export JAVA_BIN=/usr/local/jvm/jdk1.8.0_261/bin
export PATH=$PATH:$JAVA_HOME/bin
export CLASSPATH=.:$JAVA_HOME/lib/dt.jar:$JAVA_HOME/lib/tools.jar
export JAVA_HOME JAVA_BIN PATH CLASSPATH

case "$1" in
start)
        su elsearchu<<! #"<<!"及后面的"!"是切换权限的意思
        cd /usr/elasticsearch/elasticsearch-7.9.3/bin;
        ./elasticsearch -d;
!
        echo "elasticsearch startup";;
stop)
        es_pid=`ps aux|grep elasticsearch | grep -v 'grep elasticsearch' | awk '{print $2}'`
        kill -9 $es_pid
        echo "elasticsearch stopped";;
restart)
        es_pid=`ps aux|grep elasticsearch | grep -v 'grep elasticsearch' | awk '{print $2}'`
        kill -9 $es_pid
        echo "elasticsearch stopped"
        su elsearchu<<!
        cd /usr/elasticsearch/elasticsearch-7.9.3/bin
        ./elasticsearch -d
!
        echo "elasticsearch startup";;
*)
        echo "start|stop|restart";;
esac
保存后设置文件的执行权限
chmod a+x /etc/init.d/elasticsearch
通过下面指令控制启动停止验证下
/etc/init.d/elasticsearch start
/etc/init.d/elasticsearch stop
加入chkconfig管理列表:
chkconfig --add /etc/init.d/elasticsearch
设置开机自动启动
chkconfig elasticsearch on
加完这个之后,就可以使用service对nginx进行启动,重启等操作了。
service elasticsearch start
service elasticsearch stop
service elasticsearch restart
浏览器访问:http://192.168.64.101:9200/
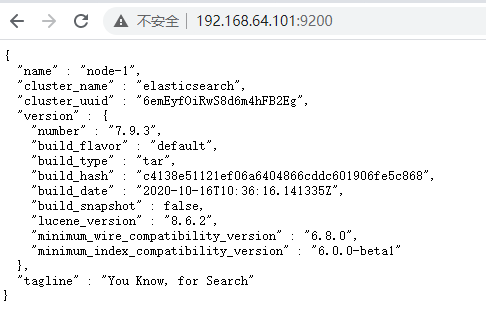
踩坑过程中发现,以上不足以证明elasticsearch正常,还需访问:http://192.168.64.101:9200/_cat/health?v(查看健康状况) 或 http://192.168.64.101:9200/_cat/nodes?v(查看节点信息),出现以下界面才正常


至此搭建完成!
Grunt 命令安装超慢,设置下ali资源
npm config set registry https://registry.npm.taobao.org
yum安装
rpm --import https://artifacts.elastic.co/GPG-KEY-elasticsearch

vim /etc/yum.repos.d/elasticsearch.repo

[elasticsearch-7.x]
name=Elasticsearch repository for 7.x packages
baseurl=https://artifacts.elastic.co/packages/7.x/yum
gpgcheck=1
gpgkey=https://artifacts.elastic.co/GPG-KEY-elasticsearch
enabled=1
autorefresh=1
type=rpm-md

yum install -y elasticsearch

#超级慢,放弃