此处使用iviewui如有需要可自行使用其他组件如element-ui 原理相同
前提
iviewui主题
使用方法见官网↓
iviewui
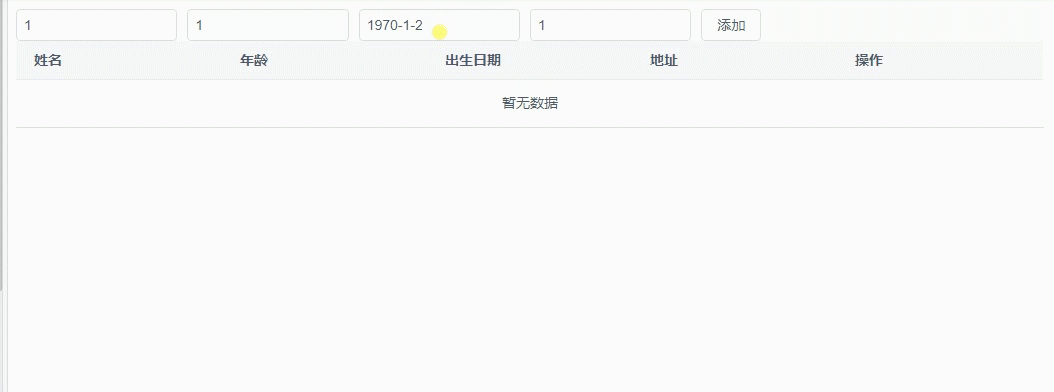
效果
安装iviewui
- 此处安装可参考官网
方式一:CDN 引入
<!-- import Vue.js -->
<script src="//vuejs.org/js/vue.min.js"></script>
<!-- import stylesheet -->
<link rel="stylesheet" href="//unpkg.com/view-design/dist/styles/iview.css">
<!-- import iView -->
<script src="//unpkg.com/view-design/dist/iview.min.js"></script>
方式二: NPM
$ npm install view-design --save
mian.js配置
import Vue from 'vue';
import VueRouter from 'vue-router';
import App from 'components/app.vue';
import Routers from './router.js';
import ViewUI from 'view-design';
import 'view-design/dist/styles/iview.css';

Vue.use(VueRouter);
Vue.use(ViewUI);

// The routing configuration
const RouterConfig = {
    routes: Routers
};
const router = new VueRouter(RouterConfig);

new Vue({
    el: '#app',
    router: router,
    render: h => h(App)
});
代码
<template>
    <div>
    <Row>
      <Col span="4" style="padding-right:10px">
        <Input type="text" v-model="name" placeholder="姓名" />
      </Col>
      <Col span="4" style="padding-right:10px">
        <Input type="text" v-model="age" placeholder="地址"/>
      </Col>
      <Col span="4" style="padding-right:10px">
        <Input type="text" v-model="birthday" placeholder="出生年月" />
      </Col>
      <Col span="4" style="padding-right:10px">
        <Input type="text" v-model="address"  placeholder="地址"/>
      </Col>
    </Row>
  <Button @click="add()">
    添加
  </Button>
  <Table :columns="columns" :data="data">
    <template slot-scope="{ row, index }" slot="name">
      <Input type="text" v-model="editName" v-if="editIndex === index" />
      <span v-else>{{ row.name }}</span>
    </template>

    <template slot-scope="{ row, index }" slot="age">
      <Input type="text" v-model="editAge" v-if="editIndex === index" />
      <span v-else>{{ row.age }}</span>
    </template>

    <template slot-scope="{ row, index }" slot="birthday">
      <Input type="text" v-model="editBirthday" v-if="editIndex === index" />
      <span v-else>{{ getBirthday(row.birthday) }}</span>
    </template>

    <template slot-scope="{ row, index }" slot="address">
      <Input type="text" v-model="editAddress" v-if="editIndex === index" />
      <span v-else>{{ row.address }}</span>
    </template>

    <template slot-scope="{ row, index }" slot="action">
      <div v-if="editIndex === index">
        <Button @click="handleSave(index)">保存</Button>
        <Button @click="editIndex = -1">取消</Button>
      </div>
      <div v-else>
        <Button @click="handleEdit(row, index)">操作</Button>
        <Button type="error"  @click="remove(index)">Delete</Button>
      </div>
    </template>
  </Table>
 </div>
</template>
<script>
  export default {
    data () {
      return {
         name:'',
        age:'',
        birthday:'',
        address:'',
        columns: [
          {
            title: '姓名',
            slot: 'name'
          },
          {
            title: '年龄',
            slot: 'age'
          },
          {
            title: '出生日期',
            slot: 'birthday'
          },
          {
            title: '地址',
            slot: 'address'
          },
          {
            title: '操作',
            slot: 'action'
          }
        ],
        data:[],
        editIndex: -1,  // 当前聚焦的输入框的行数
        editName: '',  // 第一列输入框,当然聚焦的输入框的输入内容,与 data 分离避免重构的闪烁
        editAge: '',  // 第二列输入框
        editBirthday: '',  // 第三列输入框
        editAddress: '',  // 第四列输入框
      }
    },
    methods: {
      add(){
       var _this=this
        _this.data.push({

          name:_this.name,
          age:_this.age,
          birthday:_this.birthday,
          address:_this.address

        })
       console.log(this.data)
      },
      handleEdit (row, index) {
        this.editName = row.name;
        this.editAge = row.age;
        this.editAddress = row.address;
        this.editBirthday = row.birthday;
        this.editIndex = index;
      },
      handleSave (index) {
        this.data[index].name = this.editName;
        this.data[index].age = this.editAge;
        this.data[index].birthday = this.editBirthday;
        this.data[index].address = this.editAddress;
        this.editIndex = -1;
      },
      getBirthday (birthday) {
        const date = new Date(parseInt(birthday));
        const year = date.getFullYear();
        const month = date.getMonth() + 1;
        const day = date.getDate();
        return `${year}-${month}-${day}`;
      },
       remove(index) {
            this.data.splice(index, 1);
      }
    }
  }
</script>