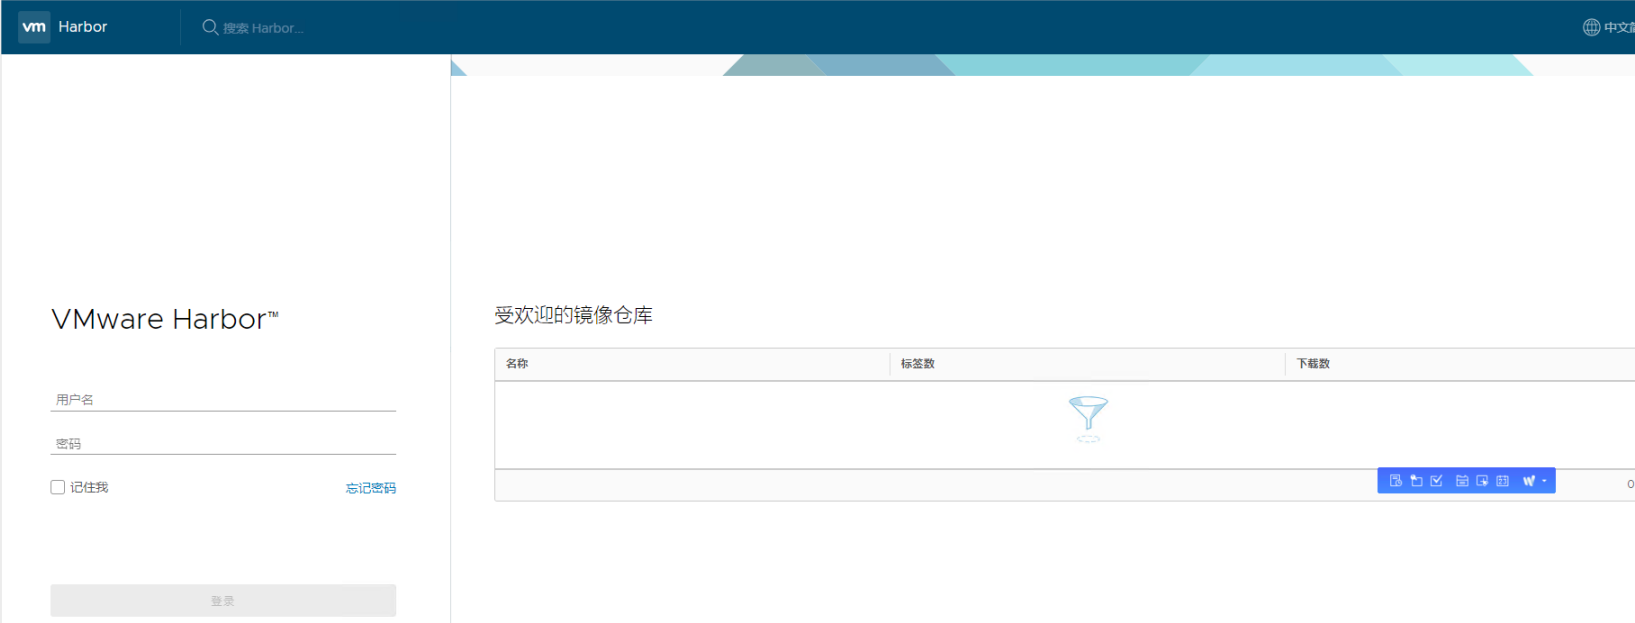
CentOS7 Harbor 安装
安装Harbor,首先要安装docker 和 docker-compose
1.安装docker
(1)安装一些必要的系统工具
|
1
|
$ yum install -y yum-utils device-mapper-persistent-data lvm2 |
(2)添加软件源信息
|
1
|
$ yum-config-manager --add-repo http://mirrors.aliyun.com/docker-ce/linux/centos/docker-ce.repo |
(3)更新 yum 缓存
|
1
|
$ yum makecache fast |
(4)安装 Docker-ce
|
1
|
$ yum -y install docker-ce |
(5)启动 Docker 后台服务
|
1
|
$ systemctl start docker |
2.安装docker-compose
(1)下载二进制文件
|
1
|
$ curl -L https://github.com/docker/compose/releases/download/1.16.1/docker-compose-`uname -s`-`uname -m` -o /usr/local/bin/docker-compose |
(2)赋予二进制文件可执行权限
|
1
|
$ chmod +x /usr/local/bin/docker-compose |
(3)根据自己的情况决定是否安装命令补全功能
|
1
2
|
$ yum install bash-completion $ curl -L https://raw.githubusercontent.com/docker/compose/1.16.1/contrib/completion/bash/docker-compose -o /etc/bash_completion.d/docker-compose |
(4)测试是否安装成功
|
1
|
$ docker-compose --version |
3.安装harbor
(1)下载
|
1
|
$ wget -P /usr/local/src/ https://github.com/vmware/harbor/releases/download/v1.2.0/harbor-online-installer-v1.2.0.tgz |
(2)解压
|
1
|
$ tar zxf harbor-online-installer-v1.2.0.tgz -C /usr/local/ |
(3)修改配置文件
|
1
2
|
$ cd /usr/local/harbor/$ vim /usr/local/harbor/harbor.cfg |
修改hostname = harbor (启动harbor为主机名)
否则会报异常:
➜ Please set hostname and other necessary attributes in harbor.cfg first. DO NOT use localhost or 127.0.0.1 for hostname, because Harbor needs to be accessed by external clients.
Please set --with-notary if needs enable Notary in Harbor, and set ui_url_protocol/ssl_cert/ssl_cert_key in harbor.cfg bacause notary must run under https.
Please set --with-clair if needs enable Clair in Harbor
(4)执行安装
|
1
|
$ ./install.sh |
默认账号密码: admin / Harbor12345 登录后修改密码

(6)启动和重启
Harbor 的日常运维管理是通过docker-compose来完成的,Harbor本身有多个服务进程,都放在docker容器之中运行,我们可以通过docker ps命令查看。
|
1
2
3
4
5
6
7
8
|
查看Harbor# docker-compose ps启动Harbor# docker-compose start停止Harbor# docker-comose stop重启Harbor# docker-compose restart |
如果是用 docker-compose start 会报错:
ERROR: for nginx UnixHTTPConnectionPool(host='localhost', port=None): Read timed out. (read timeout=60)
ERROR: for harbor-log UnixHTTPConnectionPool(host='localhost', port=None): Read timed out. (read timeout=60)
ERROR: An HTTP request took too long to complete. Retry with --verbose to obtain debug information.
因此使用 docker-compose up -d 启动
4. 上传和下载
(1)配置daemon.json
|
1
|
$ vim /etc/docker/daemon.json |
{
"registry-mirrors": ["https://njrds9qc.mirror.aliyuncs.com"],
"insecure-registries":["192.168.38.23"]
}
然后依次执行如下命令:
|
1
2
3
4
|
$ docker-compose stop$ systemctl daemon-reload$ systemctl restart docker$ docker-compose up -d |
(2)客户端将镜像打tag
命令格式:docker tag SOURCE_IMAGE[:TAG] harbor/library/IMAGE[:TAG]
|
1
|
docker tag 83f3f8af3613 192.168.38.23/library/tomcat:7.0.69-jre7 |
(3)客户端push镜像之前,先登录服务端
|
1
2
3
|
$ docker login 192.168.38.23Username: adminPassword: |
用户名密码:admin / Harbor12345
备注:如果登录时出现 Error response from daemon: Get http://192.168.38.23/v2/: Get http://harbor/service/token?account=admin&client_id=docker&offline_token=true&service=harbor-registry: dial tcp: lookup harbor on 192.168.38.2:53: no such host.
则需要执行第5步操作,配置TLS证书
(4)客户端push
push命令格式: docker push harbor/library/IMAGE[:TAG]
|
1
|
$ docker push 192.168.38.23/library/tomcat:7.0.69-jre7 |
5.Harbor配置TLS证书
(1)修改Harbor配置文件
因为Harbor默认使用http协议访问,所以我们这里在配置文件中,开启https配置;
配置harbor.cfg
hostname = 192.168.38.23
ui_url_protocol = https
ssl_cert = /etc/certs/ca.crt
ssl_cert_key = /etc/certs/ca.key
(2)创建自签名证书key文件
|
1
2
3
4
5
6
|
$ mkdir /etc/certs$ openssl genrsa -out /etc/certs/ca.key 2048Generating RSA private key, 2048 bit long modulus....+++..................................................+++e is 65537 (0x10001) |
(3)创建自签名证书crt文件
|
1
|
$ openssl req -x509 -new -nodes -key /etc/certs/ca.key -subj "/CN=192.168.38.23" -days 5000 -out /etc/certs/ca.crt |
(4)开始安装Harbor
|
1
|
$ ./install.sh |
(5)客户端配置
客户端需要创建证书文件存放的位置,并且把服务端创建的证书拷贝到该目录下,然后重启客户端docker
|
1
|
$ mkdir -p /etc/docker/certs.d/192.168.38.23 |
把服务端crt证书文件拷贝到客户端,这里的客户端为192.168.38.21
|
1
|
$ scp /etc/certs/ca.crt root@192.168.38.21:/etc/docker/certs.d/192.168.38.23/ |
重启客户端docker
|
1
|
$ systemctl restart docker |
(6)客户端docker pull 测试
备注:如果pull不成功,可能需要修改daemon.json 文件
