1.通过点击服务器端的List中的mp3,将mp3下载到客户端中,并在客户端中显示出来;
首先因为ListView中我们需要通过点击不同的List位子相应不同的事件,用到onListItemClick(ListView l, View v, int position, long id),根据用户点击列表当中的位子来得到响应的mp3Info对象,具体代码如下:
	@Override
	protected void onListItemClick(ListView l, View v, int position, long id) {
		// TODO Auto-generated method stub
		//根据用户点击列表当中的位置来得到响应的mp3Info对象
		Mp3Info mp3Info = mp3Infos.get(position);
		System.out.println("mp3Info----->" + mp3Info);
		//生成intent对象
		Intent intent = new Intent();
		intent.putExtra("mp3Info", mp3Info);
		intent.setClass(this,DownloadService.class);
		startService(intent);
		super.onListItemClick(l, v, position, id);
	}
根据不同的position来判断,然后通过Intent响应到DownloadService.class,该类是用来从服务器端将mp3文件以及lrc文件下载下来。接下来详细介绍该类
2.下载服务器上的MP3文件
这里通过一个继承Service的DownloadService类来实现下载功能,先上代码:
public class DownloadService extends Service{

	@Override
	public IBinder onBind(Intent intent) {
		// TODO Auto-generated method stub
		return null;
	}

	@Override
	public int onStartCommand(Intent intent, int flags, int startId) {
		// TODO Auto-generated method stub
		Mp3Info mp3Info =(Mp3Info)intent.getSerializableExtra("mp3Info");
		DownloadThread downloadThread = new DownloadThread(mp3Info);
		Thread thread = new Thread(downloadThread);
		thread.start();
		return super.onStartCommand(intent, flags, startId);
	}

	class DownloadThread implements Runnable{
		private Mp3Info mp3Info = null;
		public DownloadThread(Mp3Info mp3Info){
			this.mp3Info = mp3Info;
		}
		@Override
		public void run() {
			//下载地址http://10.0.2.2:8080/mp3/a1.mp3
			String mp3Url = null;
			try {
				mp3Url = AppConstant.URL.BASE_URL +URLEncoder.encode(mp3Info.getMp3Name(),"UTF-8");
			} catch (UnsupportedEncodingException e) {
				// TODO Auto-generated catch block
				e.printStackTrace();
			}
			String lrcUrl = null;
			try {
				lrcUrl = AppConstant.URL.BASE_URL + URLEncoder.encode(mp3Info.getLrcName(), "UTF-8");
			} catch (UnsupportedEncodingException e) {
				// TODO Auto-generated catch block
				e.printStackTrace();
			}
			HttpDownloader httpDownloader = new HttpDownloader();
			int result = httpDownloader.downFile(mp3Url,"mp3",mp3Info.getMp3Name());
			int lrcResult = httpDownloader.downFile(lrcUrl,"mp3",mp3Info.getLrcName());
			String resultMessage = null;
			if(result == -1){
				resultMessage = "下载失败";
			}
			else if(result == 0){
				resultMessage = "文件已存在,不需要重复下载";
			}
			else if(result == 1){
				resultMessage = "文件下载成功";
			}

		}

	}


}
这里用到线程的概念
a.定义DownloadThread类实现Runnable接口,重写接口中的run()方法,在run()方法中加入下载任务;
b.创建Runnable接口实现类的对象,即downloadThread;
c.run()方法的具体实现:
获得mp3Url和lrcUrl,注:因为需要下载的mp3和lrc中含有中文,因此需要添加“UTF-8”编码,所以获取需要添加try-catch
HTTP方式下载,通过返回的result值来判断下载的成功与否;
将HttpDown进行封装为一个常用类,类名为HttpDownloader,代码如下:
public class HttpDownloader {
	private URL url = null;

	public String download(String urlStr) {
		StringBuffer sb = new StringBuffer();
		String line = null;
		BufferedReader buffer = null;
		try{
			URL url = new URL(urlStr);
			HttpURLConnection urlConn = (HttpURLConnection) url.openConnection();
			buffer = new BufferedReader(new InputStreamReader(urlConn.getInputStream()));
			while((line = buffer.readLine())!= null){
				sb.append(line);
			}
		}catch(Exception e){
			e.printStackTrace();
		}finally{
			try{
				buffer.close();
			}catch(Exception e){
				e.printStackTrace();
			}
		}
		return sb.toString();

	}
3.下载成功的mp3将会显示在local(本地)中的列表下,具体代码:
public class LocalMp3ListActivity extends ListActivity{
	private List<Mp3Info> mp3Infos = null;
	@Override
	protected void onCreate(Bundle savedInstanceState) {
		// TODO Auto-generated method stub
		super.onCreate(savedInstanceState);
		setContentView(R.layout.local_mp3_list);
	}

	@Override
	protected void onResume() {
		// TODO Auto-generated method stub
		FileUtils fileUtils = new FileUtils();
		mp3Infos = fileUtils.getMp3Files("mp3/");
		List<HashMap<String,String>> list = new ArrayList<HashMap<String,String>>();
		for(Iterator iterator = mp3Infos.iterator();iterator.hasNext();){
			Mp3Info mp3Info = (Mp3Info)iterator.next();
			HashMap<String,String> map = new HashMap<String,String>();
			map.put("mp3_name", mp3Info.getMp3Name());
			map.put("mp3_size", mp3Info.getMp3Size());
			list.add(map);
		}

		SimpleAdapter simpleAdapter = new SimpleAdapter(this,
														list,
														R.layout.mp3info_item,
														new String[]{"mp3_name","mp3_size"},
														new int[]{R.id.mp3_name,R.id.mp3_size});
		setListAdapter(simpleAdapter);
		super.onResume();
	}
a.如果mp3下载成功,则会在响应的文件目录下生成,本例是/mnt/sdcard/mp3中存在,因此会调用getMp3Files()函数,来更新mp3Infos,同时通过迭代,将已经下载成功的 mp3的信息显示出来,方法同客户端显示列表方法一致,通过List<HashMap<String,String>>和SimpleAdapter来实现
至此下载功能基本完成,附上几幅图片吧。
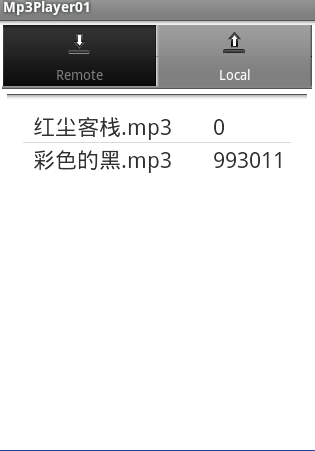
1.服务器端的mp3列表信息:

2.点击某个mp3,来实现下载:
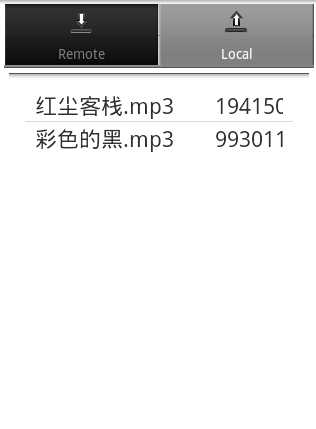
通过mp3的大小不同,显示出模拟器上正在下载我们所点击的mp3。
3.OK。下载完成!
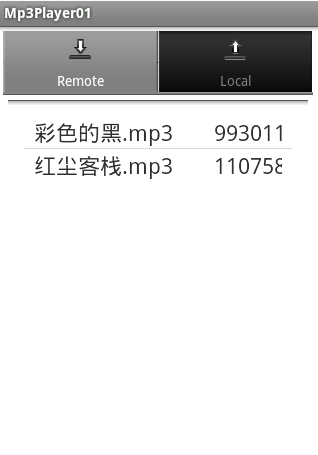
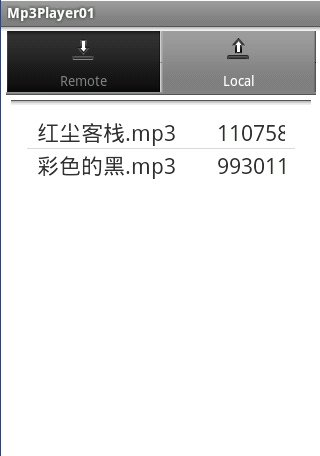
服务器端和客户端mp3大小相同已下载成功,当然可以通过命令行adb shell来查看了。下次将介绍的是mp3的播放,暂停,停止功能。