阿里云配置HTTPS
2018-05-29 16:00:56 by SemiconductorKING
最近申请域名配置了一下HTTPS协议,记录一下配置过程。
准备
备案过的域名,一个SSL证书(免费的就行)。
申请证书
- 登录:阿里云控制台,产品与服务,证书服务,购买证书。
- 购买:证书类型选择 免费型DV SSL,然后完成购买。
- 补全:在 我的证书 控制台,找到购买的证书,在操作栏里选择 补全。填写证书相关信息。
- 域名验证:可以选择 DNS,如果域名用了阿里云的 DNS 服务,再勾选一下 证书绑定的域名在 阿里云的云解析。
- 上传:系统生成 CSR,点一下 创建。
- 提交审核。
如果一切正常,10 分钟左右,申请的证书就会审核通过。
下载证书
1.去你的域名管理页,点击SSL证书。
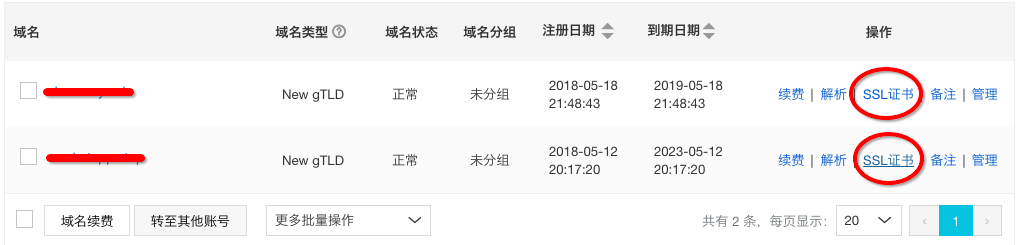
2.确认了已获得证书就去证书控制台下载证书吧,解压后有两个文件。


3.不同的 Web 服务器地配置方法都不太一样,下面用 NGINX 服务器作为演示。
配置 NGINX 的 HTTPS
1.服务器里创建一个存储证书的目录(目录不一定要和我一样):
sudo mkdir -p /etc/nginx/ssl/取个名字吧
 2.把申请并下载下来的证书,上传到上面创建的目录的下面。
  上传我用的是scp当然你也可以用其他方式上传到服务器:
scp -p 22 /Users/zxy/Downloads/1528845255923/1528845255923.key root@120.77.223.222:/etc/nginx/ssl/取个名字吧

scp -p 22 /Users/zxy/Downloads/1528845255923/1528845255923.pem root@120.77.223.222:/etc/nginx/ssl/取个名字吧

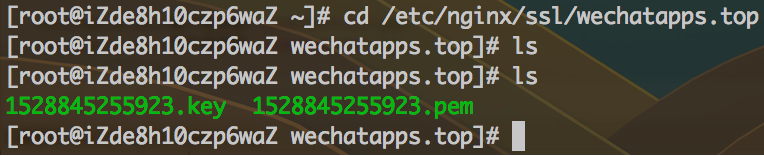
3.然后你的你的证书的位置是:
/etc/nginx/ssl/取个名字吧/1528845255923.pem
/etc/nginx/ssl/取个名字吧/1528845255923.key
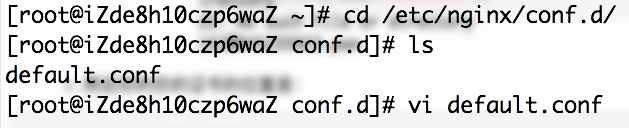
4. 修改配置文件:
server {
    #listen       80;将listen 80;修改成监听443端口
    listen      443;
    #server_name  localhost;
    server_name wechatapps.top;
    ssl          on;
    root /mnt/www/取个名字吧;
    index index.html;

    ssl_certificate   /etc/nginx/ssl/取个名字吧/1527005594992.pem;
    ssl_certificate_key  /etc/nginx/ssl/取个名字吧/1527005594992.key;
    ssl_session_timeout 5m;
    ssl_protocols TLSv1 TLSv1.1 TLSv1.2;
    ssl_ciphers AESGCM:ALL:!DH:!EXPORT:!RC4:+HIGH:!MEDIUM:!LOW:!aNULL:!eNULL;
    ssl_prefer_server_ciphers on;

    #charset koi8-r;
    #access_log  /var/log/nginx/host.access.log  main;

    location / {
        root   /usr/share/nginx/html;
        index  index.html index.htm;
    }

    #error_page  404              /404.html;

    # redirect server error pages to the static page /50x.html
    #
    error_page   500 502 503 504  /50x.html;
    location = /50x.html {
        root   /usr/share/nginx/html;
    }

    # proxy the PHP scripts to Apache listening on 127.0.0.1:80
    #
    #location ~ .php$ {
    #    proxy_pass   http://127.0.0.1;
    #}

    # pass the PHP scripts to FastCGI server listening on 127.0.0.1:9000
    #
    #location ~ .php$ {
    #    root           html;
    #    fastcgi_pass   127.0.0.1:9000;
    #    fastcgi_index  index.php;
    #    fastcgi_param  SCRIPT_FILENAME  /scripts$fastcgi_script_name;
    #    include        fastcgi_params;
    #}

    # deny access to .htaccess files, if Apache's document root
    # concurs with nginx's one
    #
    #location ~ /.ht {
    #    deny  all;
    #}
}
#将http重定向到https,解决修改为https后http无法访问的问题
server {
    listen      80;
    server_name wechatapps.top;
    return 301  https://wechatapps.top;
}
修改后保存退出。
5.重启服务
sudo systemctl reload nginx
