实验四 《Android程序设计实验报告》-20175131王泽龙
实验四 Android程序设计-1
①实验要求:
Android Stuidio的安装测试:参考《Java和Android开发学习指南(第二版)(EPUBIT,Java for Android 2nd)》第二十四章:
- 参考http://www.cnblogs.com/rocedu/p/6371315.html#SECANDROID,安装 Android Stuidio
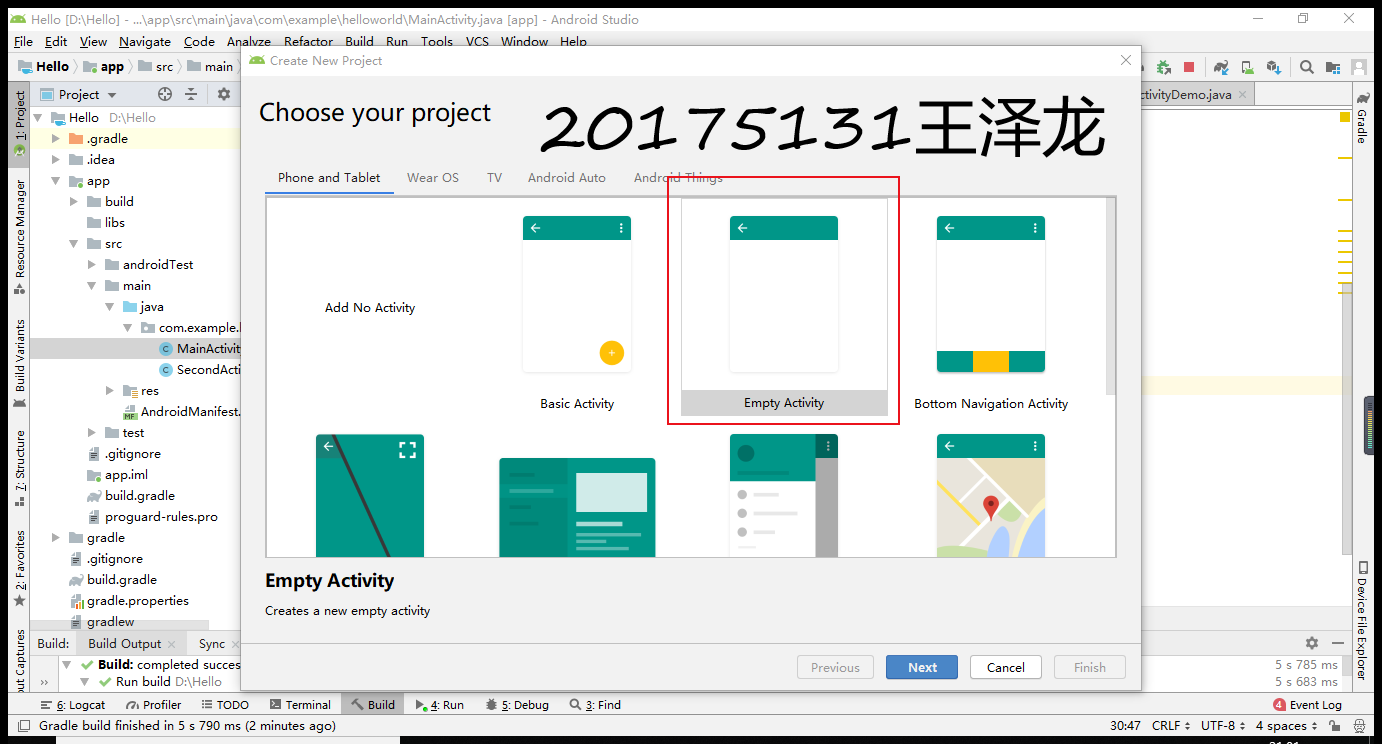
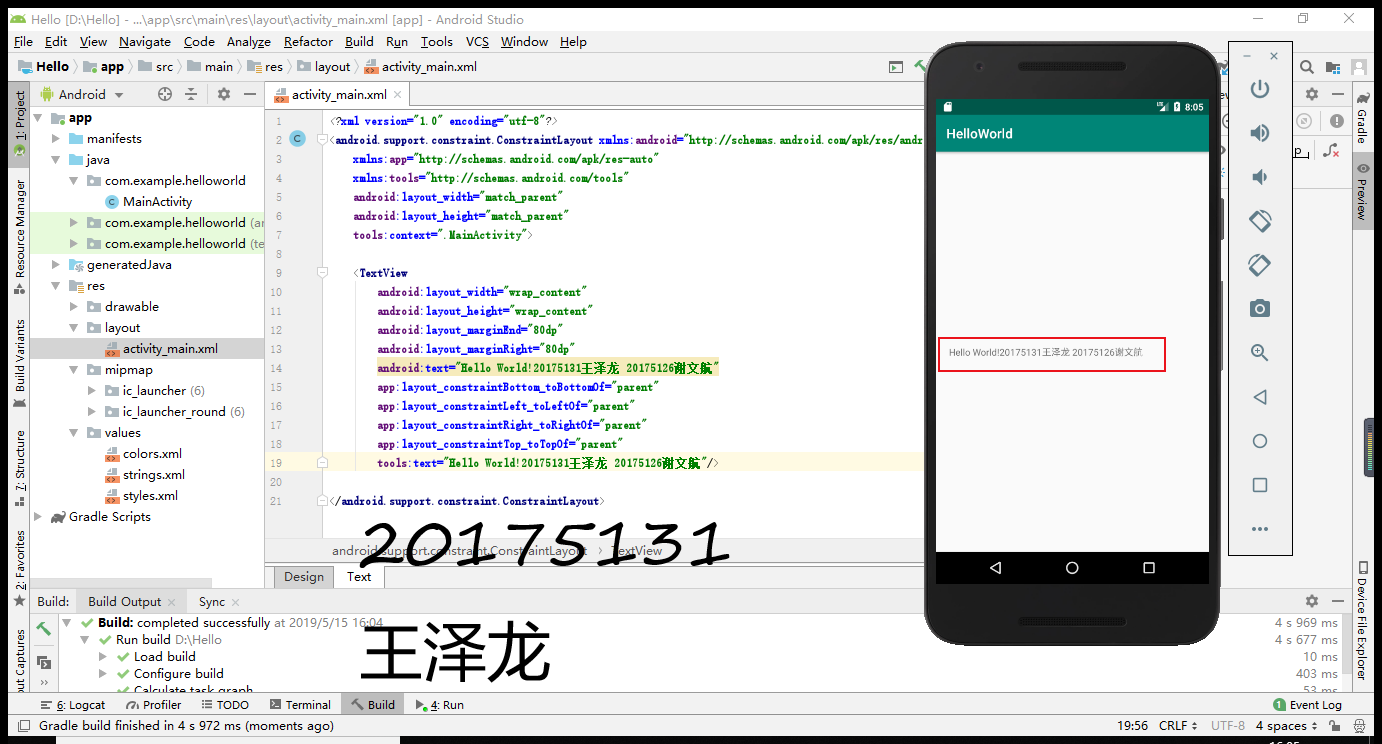
- 完成Hello World, 要求修改res目录中的内容,Hello World后要显示自己的学号,自己学号前后一名同学的学号,提交代码运行截图和码云Git链接,截图没有学号要扣分
- 学习Android Stuidio调试应用程序
②实验过程:
-首先是安装Android Studio(这个下载安装倒不是很难,按照老师给的步骤一步一步安装就好,就是配置设备的过程对我来说有点困难,配了两天才把最基础的做好,让我对Android实验有了意思恐惧)
-多余的赘述我就不一一说了,主要说一下我在第一个实验中遇到的困难:
先是在新建项目的时候没有设置好语言(应该是java,我粗心大意设置成了Kotlin),导致后面怎么修改都解决不了问题,后来我把项目重新创建了一次就可以正常运行了
下面这个是重点(和我一样粗心大意的同学可以好好看看)
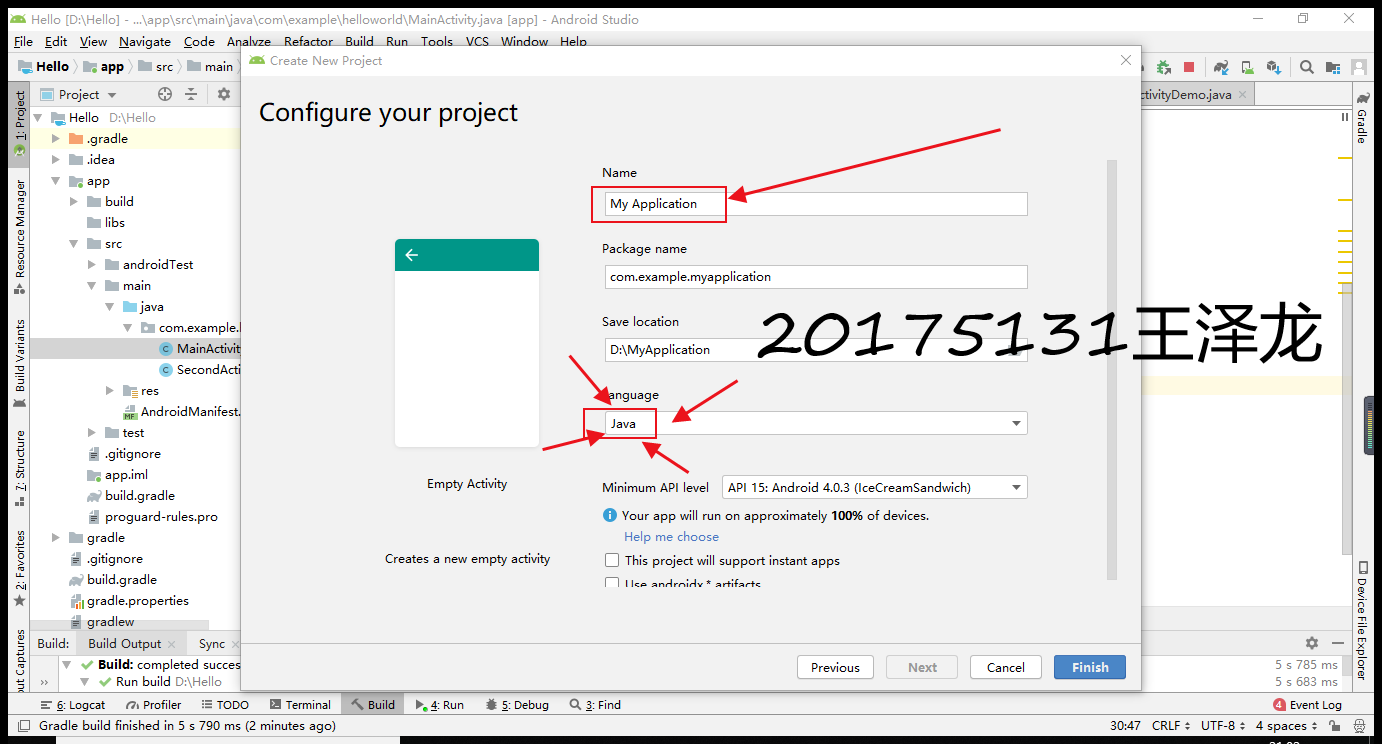
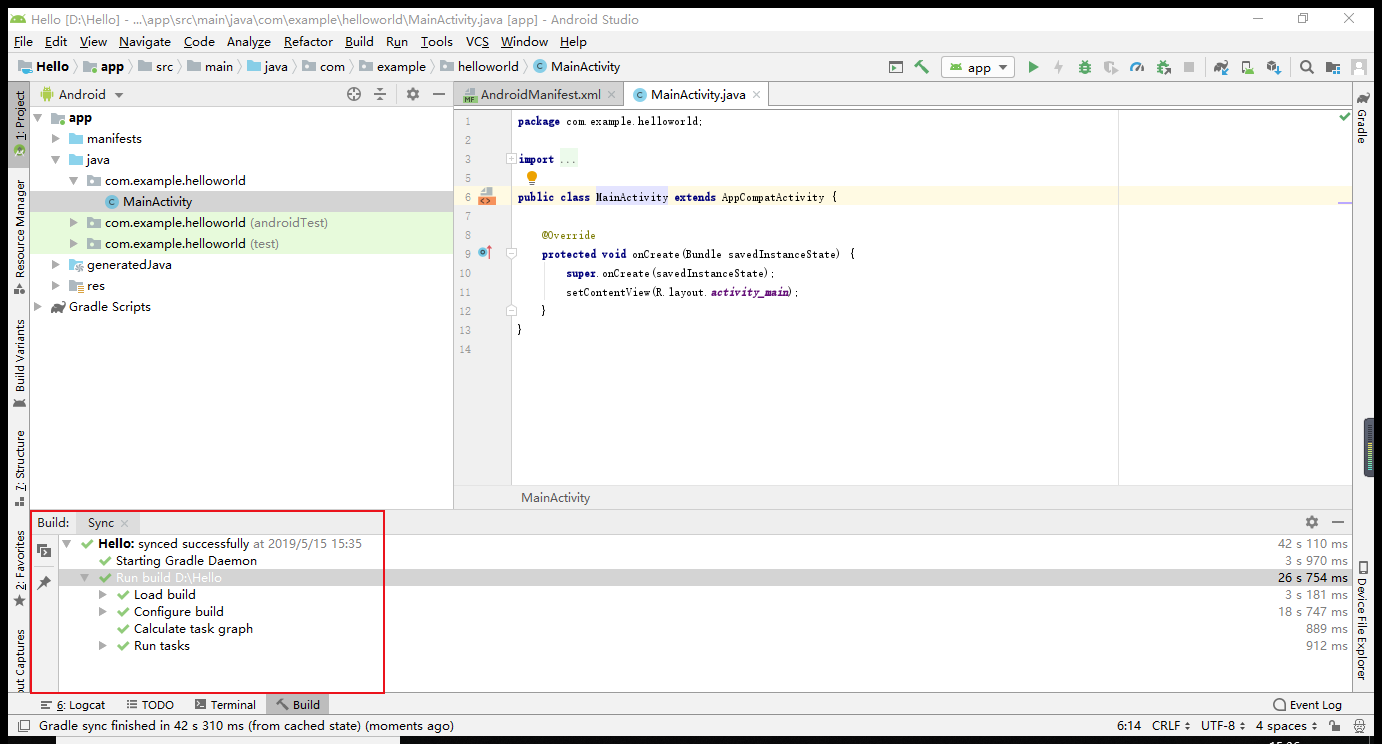
设置好了这两个步骤就可以运行了,HelloWorld在里面是自带的,可以直接运行,我们只需要修改代码即可。下面给出配置好的截图:
修改代码为:
<android.support.constraint.ConstraintLayout xmlns:android="http://schemas.android.com/apk/res/android"
xmlns:app="http://schemas.android.com/apk/res-auto"
xmlns:tools="http://schemas.android.com/tools"
android:layout_width="match_parent"
android:layout_height="match_parent"
tools:context=".MainActivity">
</android.support.constraint.ConstraintLayout>
运行截图:
实验四 Android程序设计-2
①实验要求:
Activity测试: 参考《Java和Android开发学习指南(第二版)(EPUBIT,Java for Android 2nd)》第二十五章:
- 构建项目,运行教材相关代码
- 创建 ThirdActivity, 在ThirdActivity中显示自己的学号,修改代码让MainActivity启动ThirdActivity
- 提交代码运行截图和码云Git链接,截图要有学号水印,否则会扣分
②实验过程:
-首先要在HelloWorld里面再创建一个Activity
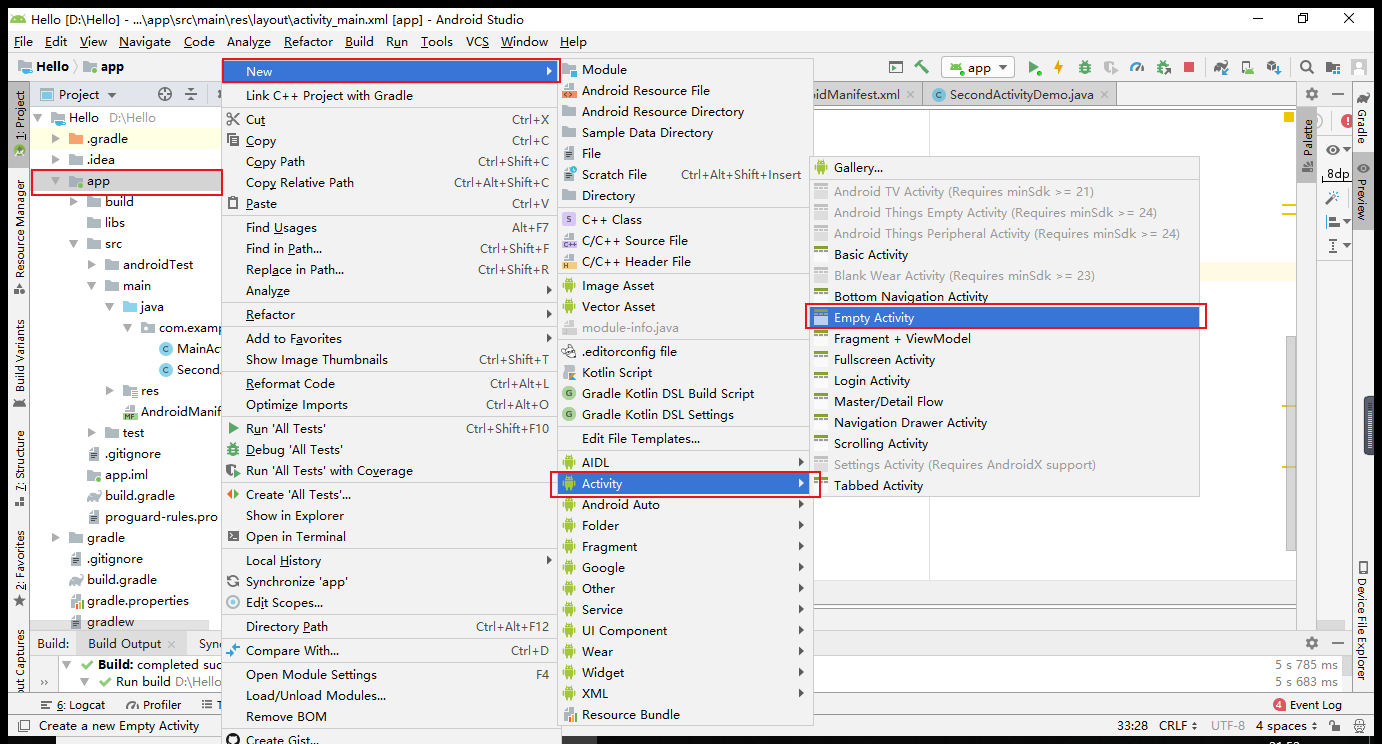
命名为SecondActivityDemo
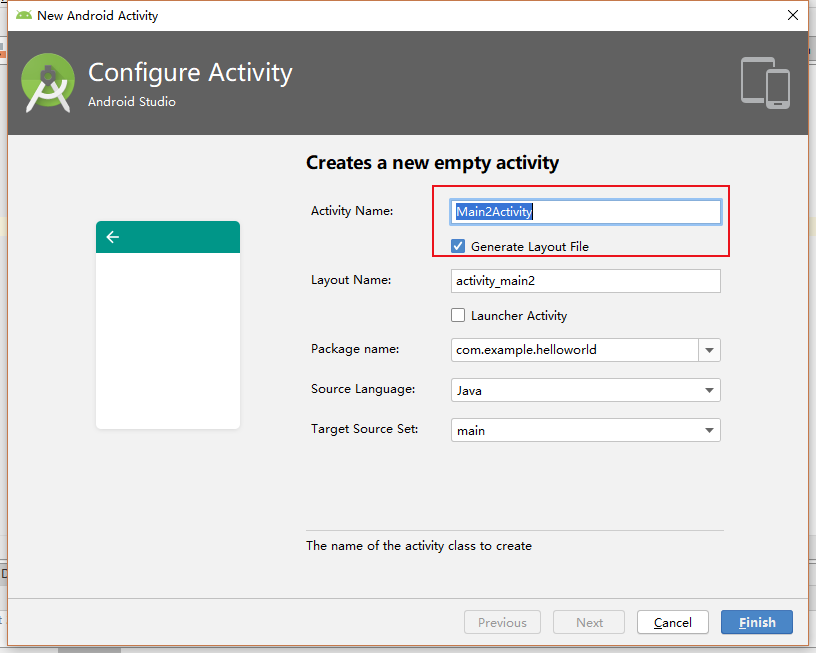
创建好了之后会自动生成两个文件,一个java文件,一个xml文件
代码分别为:
java:
package com.example.helloworld;
import android.support.v7.app.AppCompatActivity;
import android.os.Bundle;
public class SecondActivityDemo extends AppCompatActivity {
@Override
protected void onCreate(Bundle savedInstanceState) {
    super.onCreate(savedInstanceState);
    setContentView(R.layout.activity_second_demo);
}
}
xml:
<android.support.constraint.ConstraintLayout xmlns:android="http://schemas.android.com/apk/res/android"
xmlns:app="http://schemas.android.com/apk/res-auto"
xmlns:tools="http://schemas.android.com/tools"
android:layout_width="match_parent"
android:layout_height="match_parent"
android:orientation="vertical">
<TextView
    android:id="@+id/textView"
    android:layout_width="172dp"
    android:layout_height="139dp"
    android:text="20175131王泽龙"
    tools:layout_editor_absoluteX="153dp"
    tools:layout_editor_absoluteY="311dp"
    tools:ignore="MissingConstraints" />
</android.support.constraint.ConstraintLayout>
-然后在activity_main.xml里建一个新的按钮
添加后的activity_main.xml为:
<android.support.constraint.ConstraintLayout xmlns:android="http://schemas.android.com/apk/res/android"
xmlns:app="http://schemas.android.com/apk/res-auto"
xmlns:tools="http://schemas.android.com/tools"
android:layout_width="match_parent"
android:layout_height="match_parent"
tools:context=".MainActivity">