转自:https://blog.csdn.net/AD_118/article/details/64695528
Unity5.5
一:准备工作
1、把字体图片放到Assets->Resources里面
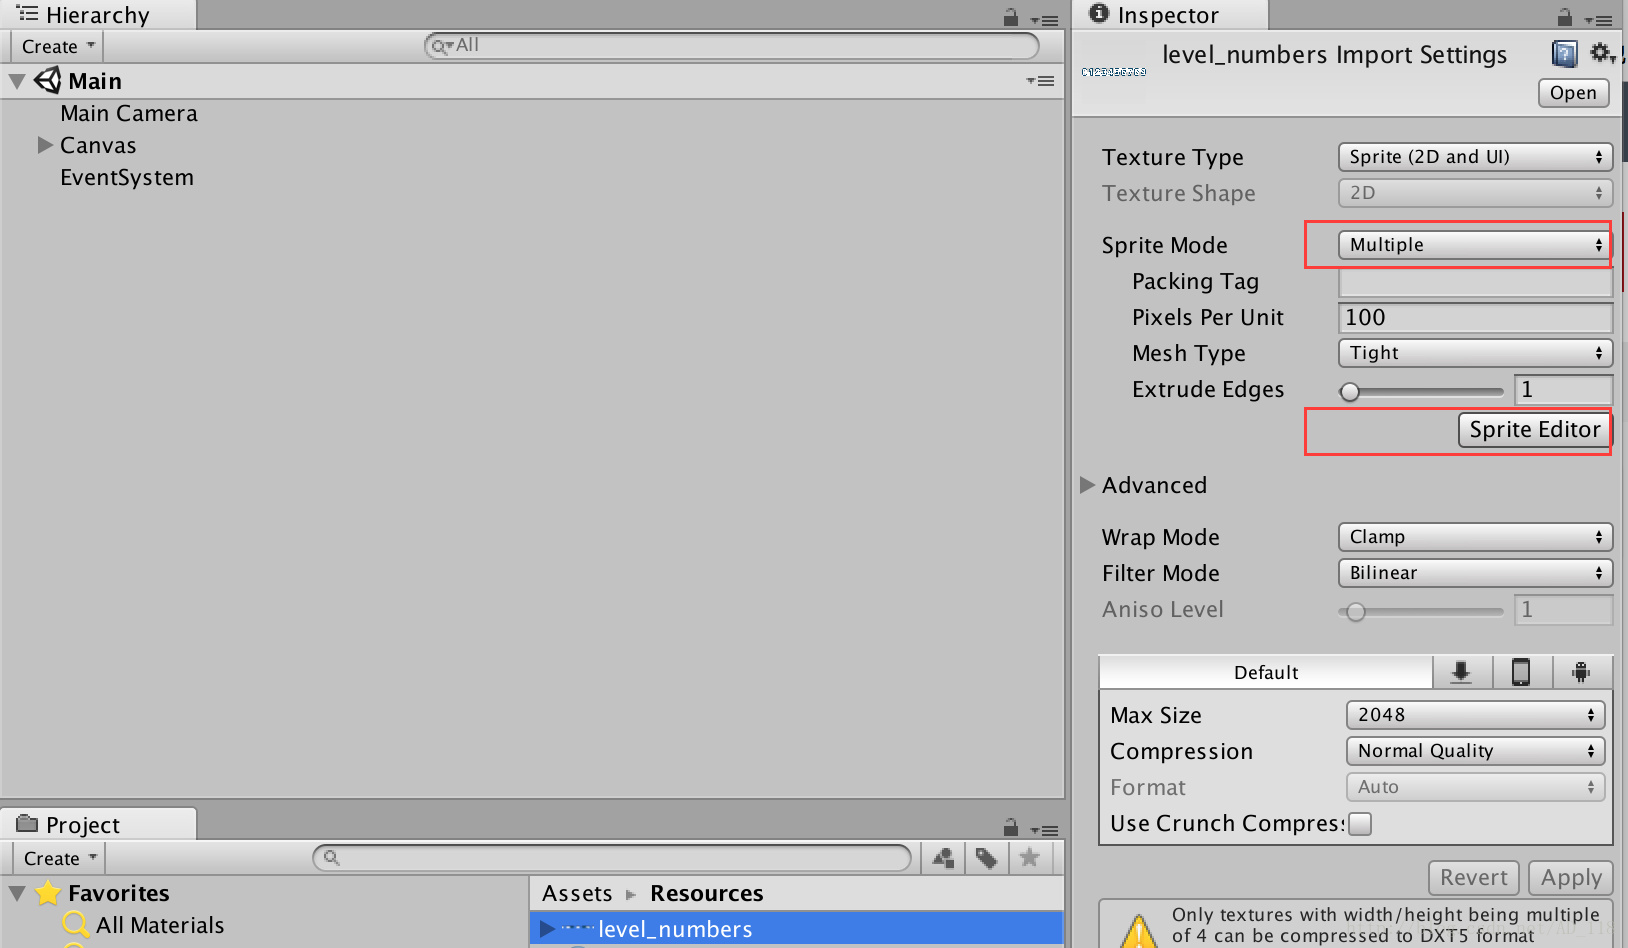
2、设置改图片
- Sprite Mode为multiple
- Sprite Editor,先Slice 然后在Apply
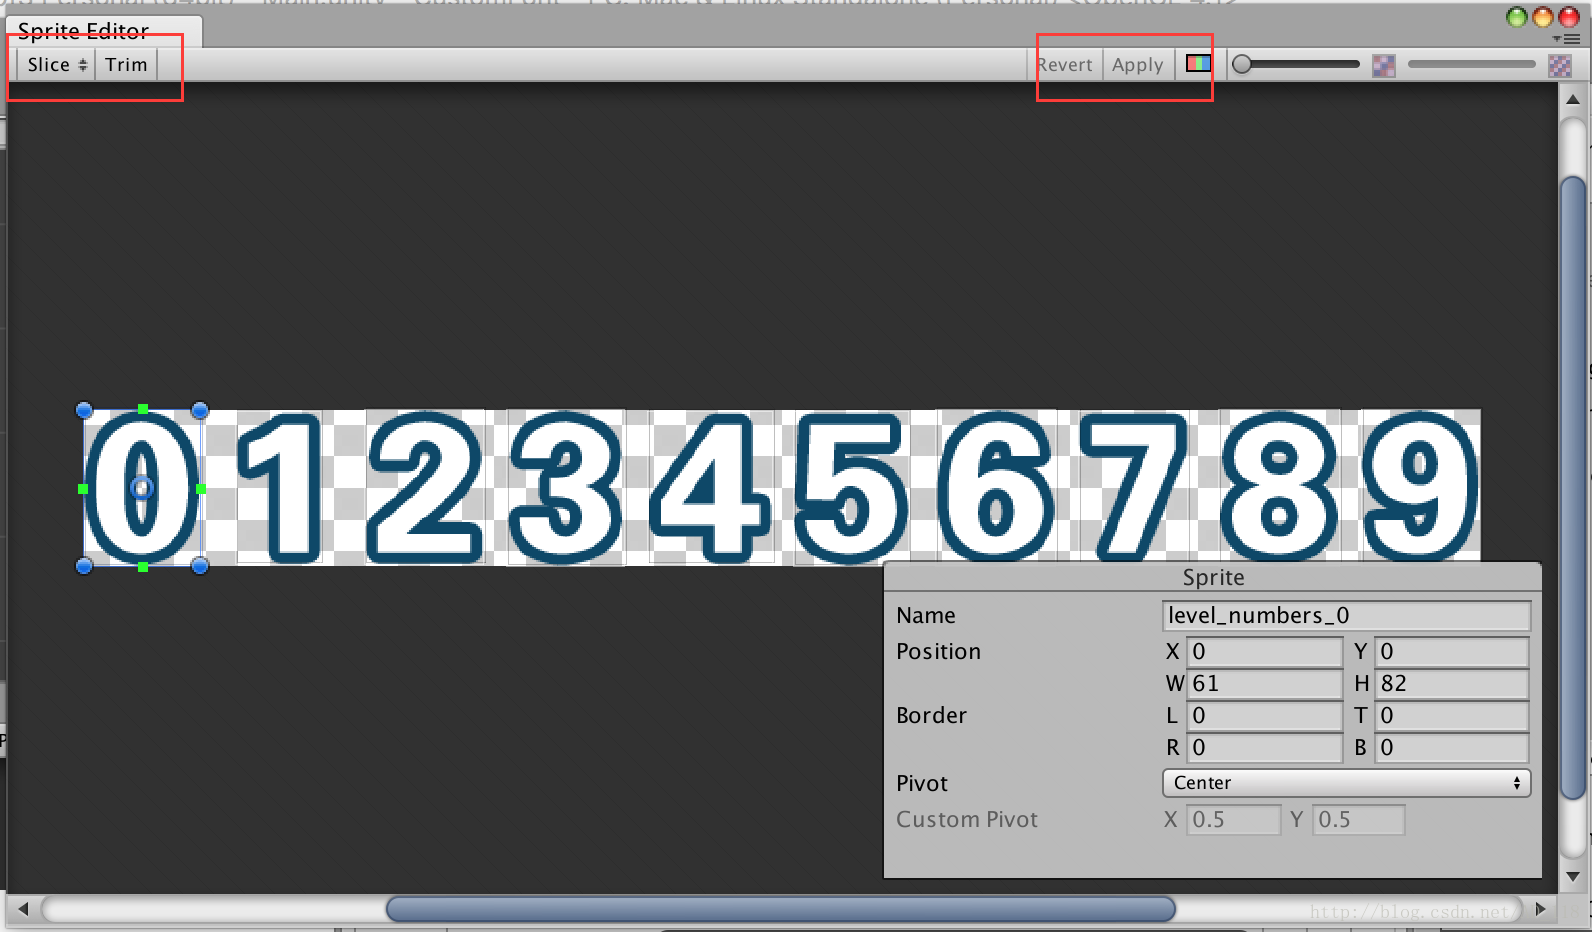
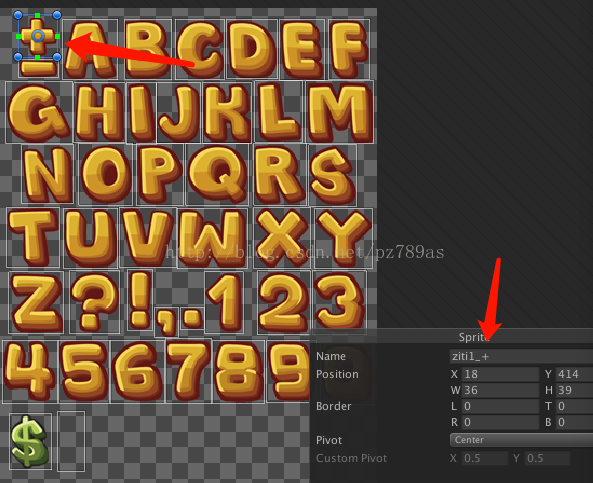
3、Sprite Editor命名自己规范一下!我现在命名是使用的名字的最后一个字符去定义的,类似我下面的截图:
二、实现图片到字体的转换
1、在Assets下创建一个Editor的文件夹
在里面创建一个CustomFont的类
类的内容如下:
using UnityEngine;
using UnityEditor;
using System.IO;

public class CustomFont : MonoBehaviour
{
    //本方法是通过裁切的sprite导出字体文件,裁切使用的是unity自带的sprite editor,方便操作。
    //另外,裁切之后,每个sprite的名字的最后一个字符对应了ascii码的编码,比如:
    //0: 我们只要将sprite的名字命名成xxx0,就可以了!
    //由于使用到的了sprite加载,所以字体图片请放在Resources目录下面,等制作完毕,再把他们放到fonts文件夹或者其他文件夹中即可。
    [MenuItem ("Assets/CreateMyFontSprite")]
    static void CreateMyFontSprite ()
    {

        Debug.LogWarning ("abc");

        if (Selection.objects == null)
            return;
        if (Selection.objects.Length == 0) {
            Debug.LogWarning ("没有选中Sprite文件,需要将Sprite Mode设置成Multiple,切分好,并且以以名字的最后一个字符当做ascii码");
            return;
        }
        string resoursePath = "Resources";
        UnityEngine.Object o = Selection.objects [0];
        if (o.GetType () != typeof(Texture2D)) {
            Debug.LogWarning ("选中的并不是图片文件");
            return;
        }
        string selectionPath = AssetDatabase.GetAssetPath (o);
        if (selectionPath.Contains (resoursePath)) {
            string selectionExt = Path.GetExtension (selectionPath);
            if (selectionExt.Length == 0) {
                return;
            }
            string loadPath = selectionPath.Remove (selectionPath.Length - selectionExt.Length);
            string fontPathName = loadPath + ".fontsettings";
            string matPathName = loadPath + ".mat";
            float lineSpace = 0.1f;//字体行间距,下面会根据最高的字体得到行间距,如果是固定高度,可以在这里自行调整
            loadPath = Path.GetFileNameWithoutExtension (selectionPath);
            Sprite[] sprites = Resources.LoadAll<Sprite> (loadPath);
            if (sprites.Length > 0) {
                //以textrue方式获得该资源,可以设置到创建的材质中去
                Texture2D tex = o as Texture2D;
                //创建字体材质,并且将图片设置好
                Material mat = new Material (Shader.Find ("GUI/Text Shader"));
                AssetDatabase.CreateAsset (mat, matPathName);
                mat.SetTexture ("_MainTex", tex);
                //创建字体文件,设置字体文件的材质
                Font m_myFont = new Font ();
                m_myFont.material = mat;
                AssetDatabase.CreateAsset (m_myFont, fontPathName);
                //创建字体中的字符集数组
                CharacterInfo[] characterInfo = new CharacterInfo[sprites.Length];
                //得到最高的高度,设置行高和进行偏移计算
                for (int i = 0; i < sprites.Length; i++) {
                    if (sprites [i].rect.height > lineSpace) {
                        lineSpace = sprites [i].rect.height;
                    }
                }
                for (int i = 0; i < sprites.Length; i++) {
                    Sprite spr = sprites [i];
                    CharacterInfo info = new CharacterInfo ();
                    //设置ascii码,使用切分sprite的最后一个字母
                    info.index = (int)spr.name [spr.name.Length - 1];
                    Rect rect = spr.rect;
                    //根据pivot设置字符的偏移,具体需要做成什么样的,可以根据自己需要修改公式
                    float pivot = spr.pivot.y / rect.height - 0.5f;
                    if (pivot > 0) {
                        pivot = -lineSpace / 2 - spr.pivot.y;
                    } else if (pivot < 0) {
                        pivot = -lineSpace / 2 + rect.height - spr.pivot.y;
                    } else {
                        pivot = -lineSpace / 2;
                    }
                    Debug.Log (pivot);
                    int offsetY = (int)(pivot + (lineSpace - rect.height) / 2);
                    //设置字符映射到材质上的坐标
                    info.uvBottomLeft = new Vector2 ((float)rect.x / tex.width, (float)(rect.y) / tex.height);
                    info.uvBottomRight = new Vector2 ((float)(rect.x + rect.width) / tex.width, (float)(rect.y) / tex.height);
                    info.uvTopLeft = new Vector2 ((float)rect.x / tex.width, (float)(rect.y + rect.height) / tex.height);
                    info.uvTopRight = new Vector2 ((float)(rect.x + rect.width) / tex.width, (float)(rect.y + rect.height) / tex.height);
                    //设置字符顶点的偏移位置和宽高
                    info.minX = 0;
                    info.minY = -(int)rect.height - offsetY;
                    info.maxX = (int)rect.width;
                    info.maxY = -offsetY;
                    //设置字符的宽度
                    info.advance = (int)rect.width;
                    characterInfo [i] = info;
                }
                // lineSpace += 2;
                m_myFont.characterInfo = characterInfo;
                EditorUtility.SetDirty (m_myFont);//设置变更过的资源
                AssetDatabase.SaveAssets ();//保存变更的资源
                AssetDatabase.Refresh ();//刷新资源,貌似在Mac上不起作用

                //由于上面fresh之后在编辑器中依然没有刷新,所以暂时想到这个方法,
                //先把生成的字体导出成一个包,然后再重新导入进来,这样就可以直接刷新了
                //这是在Mac上遇到的,不知道Windows下面会不会出现,如果不出现可以把下面这一步注释掉
                AssetDatabase.ExportPackage (fontPathName, "temp.unitypackage");
                AssetDatabase.DeleteAsset (fontPathName);
                AssetDatabase.ImportPackage ("temp.unitypackage", true);
                AssetDatabase.Refresh ();

                //最佳高度:上下各留一个像素的间距,如果不需要可以注释掉,根据需求更改
                //打印是为了使使用者方便填写行高,因为font不支持设置行高。
                Debug.Log ("创建字体成功, 最大高度:" + lineSpace + ", 最佳高度:" + (lineSpace + 2));
            } else {
                Debug.LogWarning ("没有选中Sprite文件,需要将Sprite放到Resources文件夹下面,可以参考函数上方的说明操作");
            }
        }
    }
}
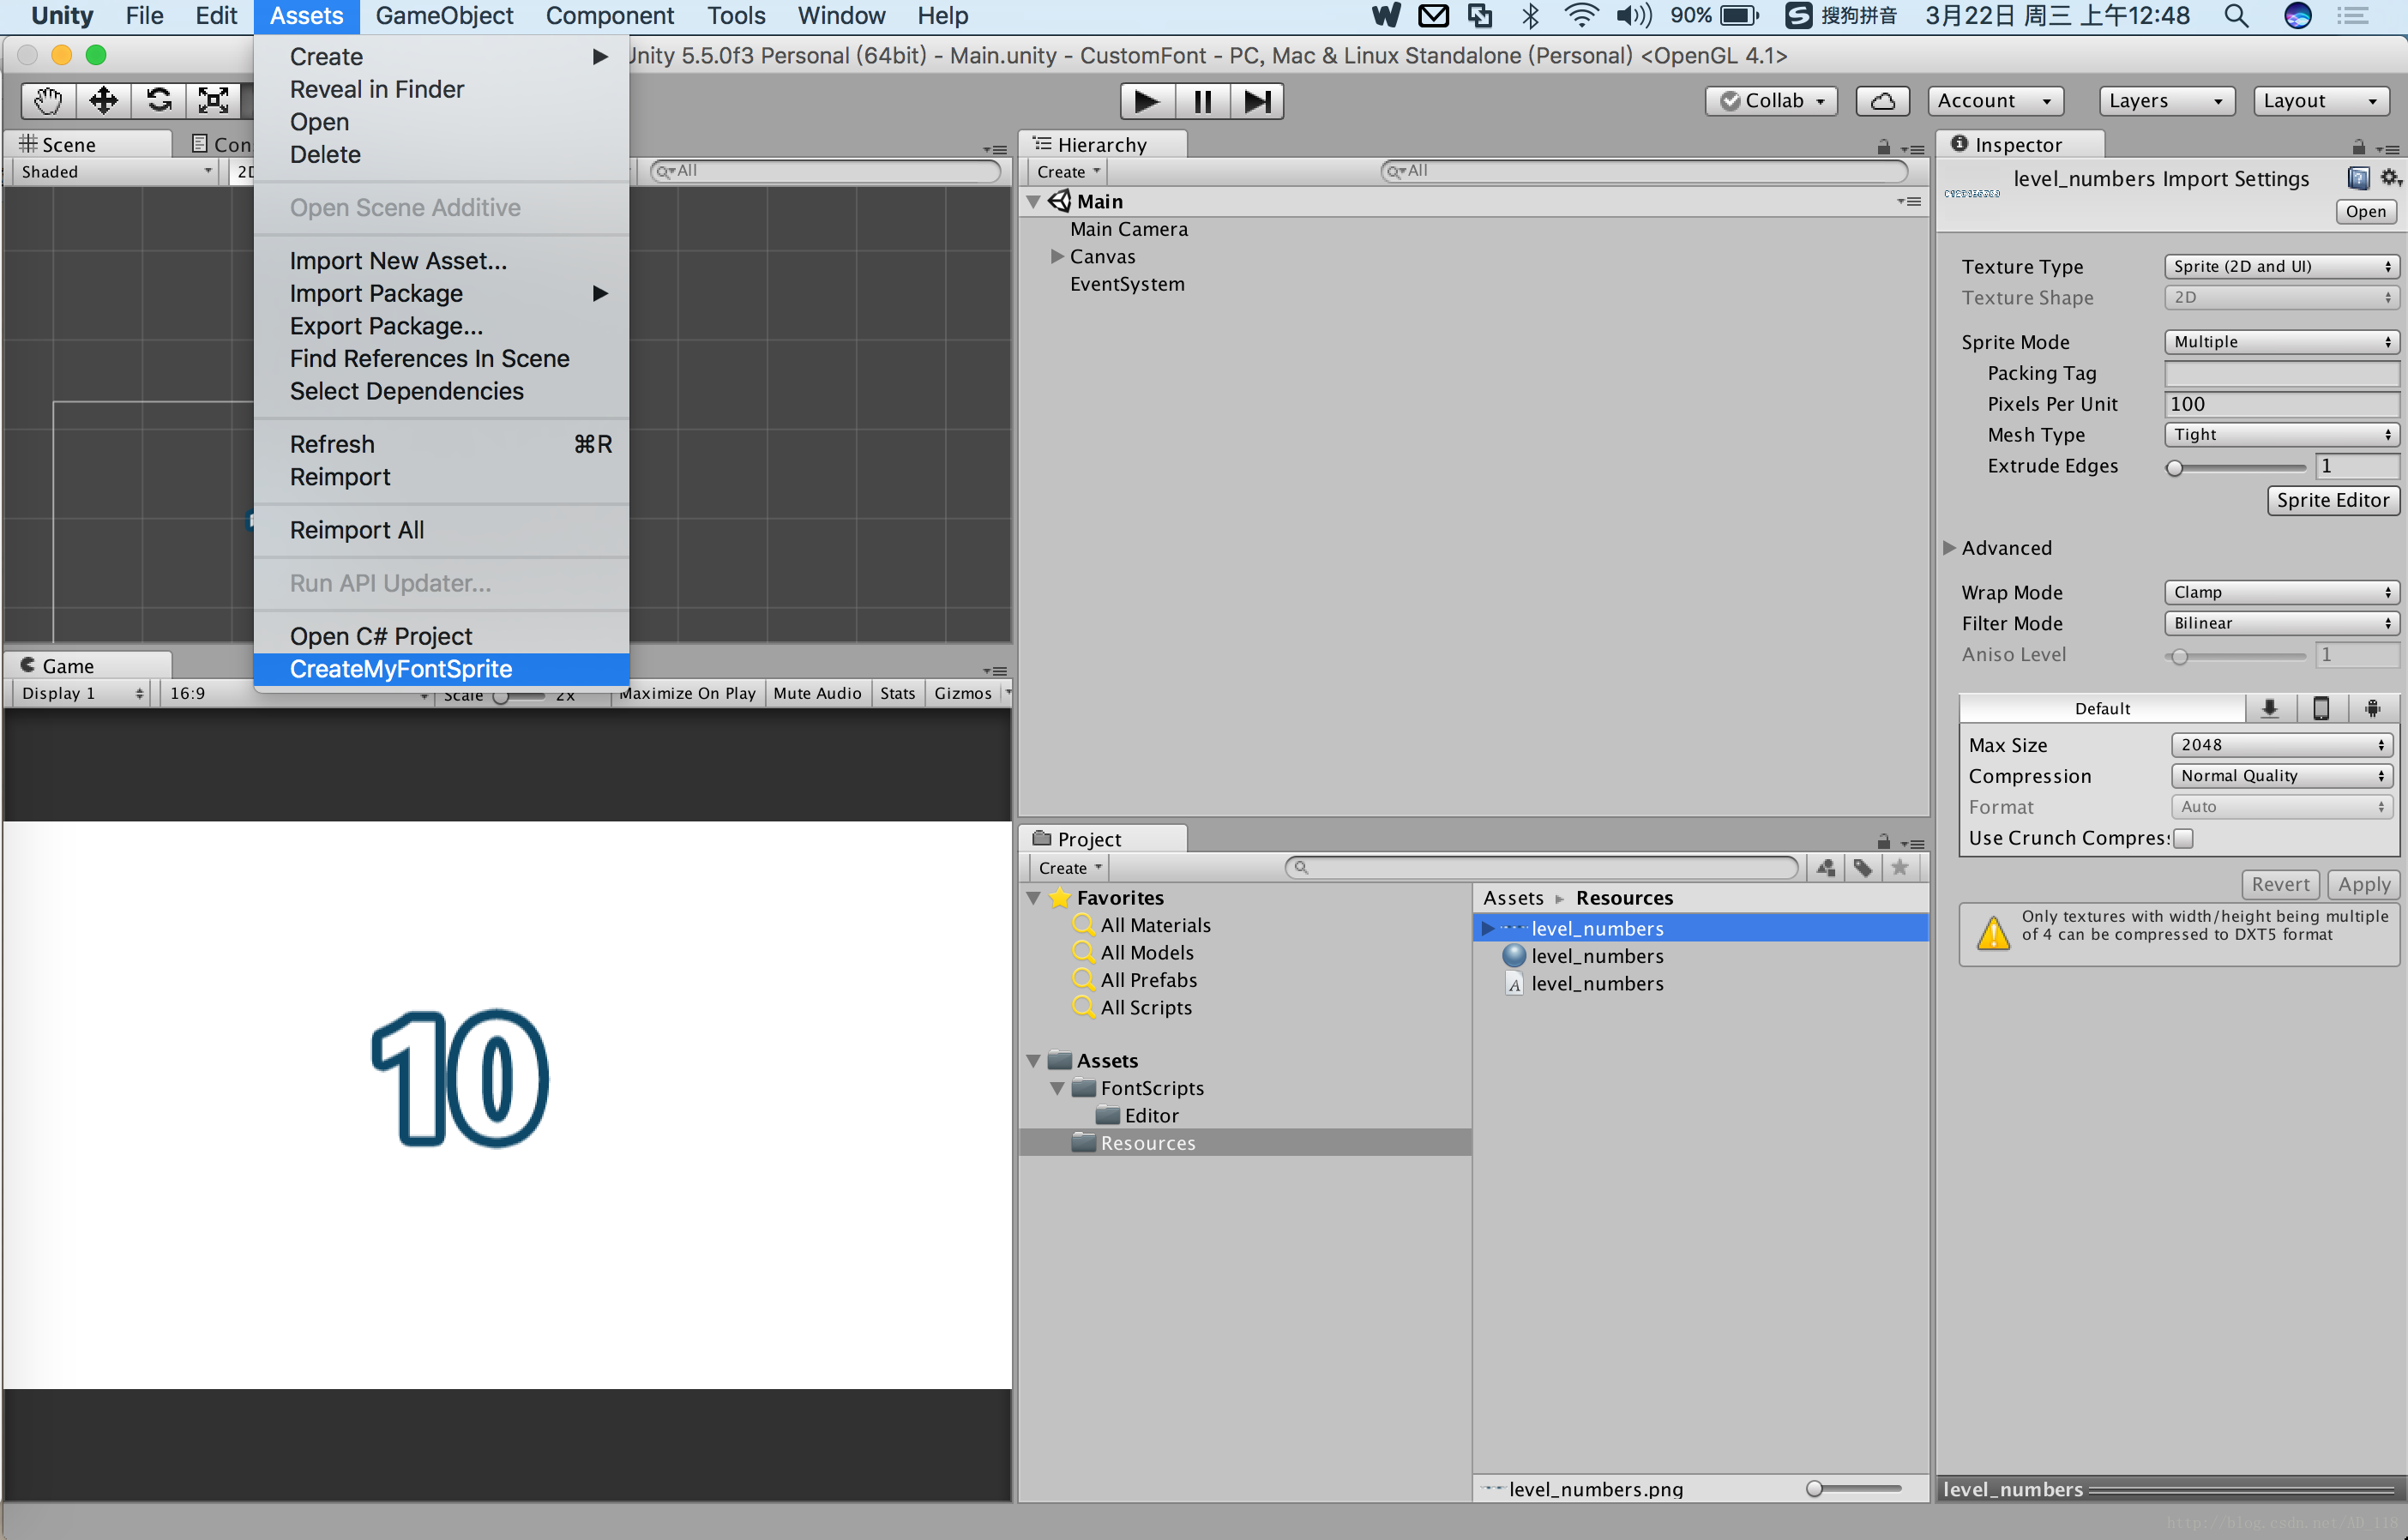
2、生成字体
我们运行的程序然后在Assets下发现了CreateMyFontSprite菜单
[MenuItem ("Assets/CreateMyFontSprite")] - 1
选中Resources中图片->点击Assets下的CreateMyFontSprite,就可以生成并导入字体了
点击CreateMyFontSprite会提示一个导入字体的提示窗
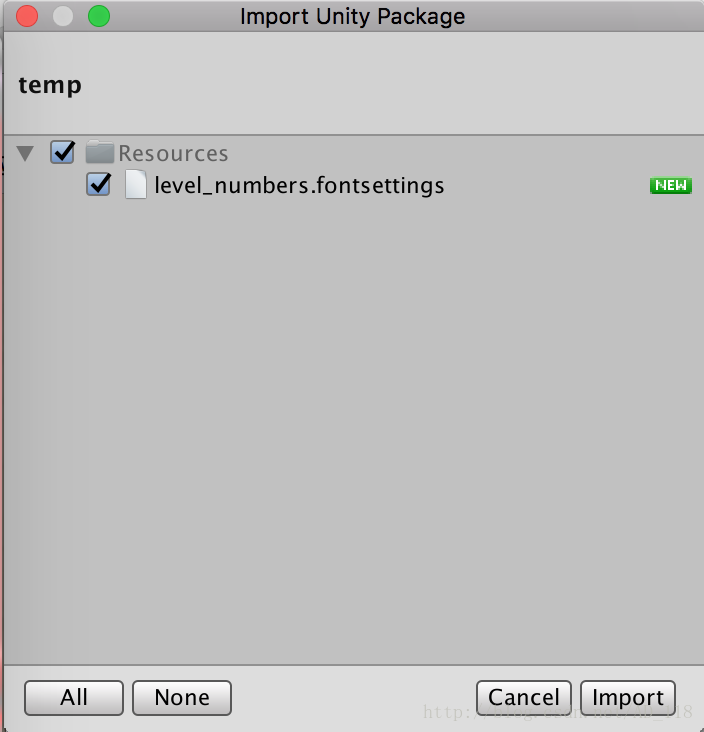
选择导入有如图

然后就可以使用这个字体了