springboot主要是帮助我们简化开发中繁琐的配置,如何简化???
pom.xml
父依赖
管理SpringBoot应用里面所有依赖版本,如果导入的包没有被管理就需要手动配置版本
启动器 spring-boot-starter
        <dependency>
            <groupId>org.springframework.boot</groupId>
            <artifactId>spring-boot-starter-web</artifactId>
        </dependency>
springboot-boot-starter-xxx:就是spring-boot的场景启动器
spring-boot-starter-web:帮我们导入了web模块正常运行所依赖的组件;
starter就是实现自动装配的核心,如何实现????
启动类
启动类
由两部分组成@SpringBootApplication、run方法
@SpringBootApplication
public class DemoApplication {

    public static void main(String[] args) {
        SpringApplication.run(DemoApplication.class, args);
    }

}
@SpringBootApplication
作用:标注在某个类上说明这个类是SpringBoot的主配置类 , SpringBoot就应该运行这个类的main方法来启动SpringBoot应用;
@SpringBootApplication结构
|-- @SpringBootConfiguration :表示为SpringBoot的配置类
|-- @EnableAutoConfiguration:开启自动配置功能
|-- @AutoConfigurationPackage:自动包配置
|-- @Import({AutoConfigurationImportSelector.class}):导入组件到spring容器中
|-- @ComponentScan :自动扫描并加载符合条件的组件或者bean , 并加载到Spring容器中
AutoConfigurationImportSelector.class


    protected List<String> getCandidateConfigurations(AnnotationMetadata metadata, AnnotationAttributes attributes) {

        List<String> configurations = SpringFactoriesLoader.loadFactoryNames(this.getSpringFactoriesLoaderFactoryClass(),
                this.getBeanClassLoader());
        Assert.notEmpty(configurations, "No auto configuration classes found in META-INF/spring.factories. " +
                "If you are using a custom packaging, make sure that file is correct.");
        return configurations;
    }
    // 获取注解类
    protected Class<?> getSpringFactoriesLoaderFactoryClass() {
        return EnableAutoConfiguration.class;
    }

SpringFactoriesLoader
public static List<String> loadFactoryNames(Class<?> factoryType, @Nullable ClassLoader classLoader) {
        ClassLoader classLoaderToUse = classLoader;
        if (classLoader == null) {
            classLoaderToUse = SpringFactoriesLoader.class.getClassLoader();
        }

        String factoryTypeName = factoryType.getName();
        return (List)loadSpringFactories(classLoaderToUse).getOrDefault(factoryTypeName, Collections.emptyList());
    }

    private static Map<String, List<String>> loadSpringFactories(ClassLoader classLoader) {
        Map<String, List<String>> result = (Map)cache.get(classLoader);
        if (result != null) {
            return result;
        } else {
            HashMap result = new HashMap();

            try {
                Enumeration urls = classLoader.getResources("META-INF/spring.factories");

                while(urls.hasMoreElements()) {
                    URL url = (URL)urls.nextElement();
                    UrlResource resource = new UrlResource(url);
                    Properties properties = PropertiesLoaderUtils.loadProperties(resource);
                    Iterator var6 = properties.entrySet().iterator();

                    while(var6.hasNext()) {
                        Entry<?, ?> entry = (Entry)var6.next();
                        String factoryTypeName = ((String)entry.getKey()).trim();
                        String[] factoryImplementationNames = StringUtils.commaDelimitedListToStringArray((String)entry.getValue());
                        String[] var10 = factoryImplementationNames;
                        int var11 = factoryImplementationNames.length;

                        for(int var12 = 0; var12 < var11; ++var12) {
                            String factoryImplementationName = var10[var12];
                            ((List)result.computeIfAbsent(factoryTypeName, (key) -> {
                                return new ArrayList();
                            })).add(factoryImplementationName.trim());
                        }
                    }
                }

                result.replaceAll((factoryType, implementations) -> {
                    return (List)implementations.stream().distinct().collect(Collectors.collectingAndThen(Collectors.toList(), Collections::unmodifiableList));
                });
                cache.put(classLoader, result);
                return result;
            } catch (IOException var14) {
                throw new IllegalArgumentException("Unable to load factories from location [META-INF/spring.factories]", var14);
            }
        }
    }

META-INF/spring.factories
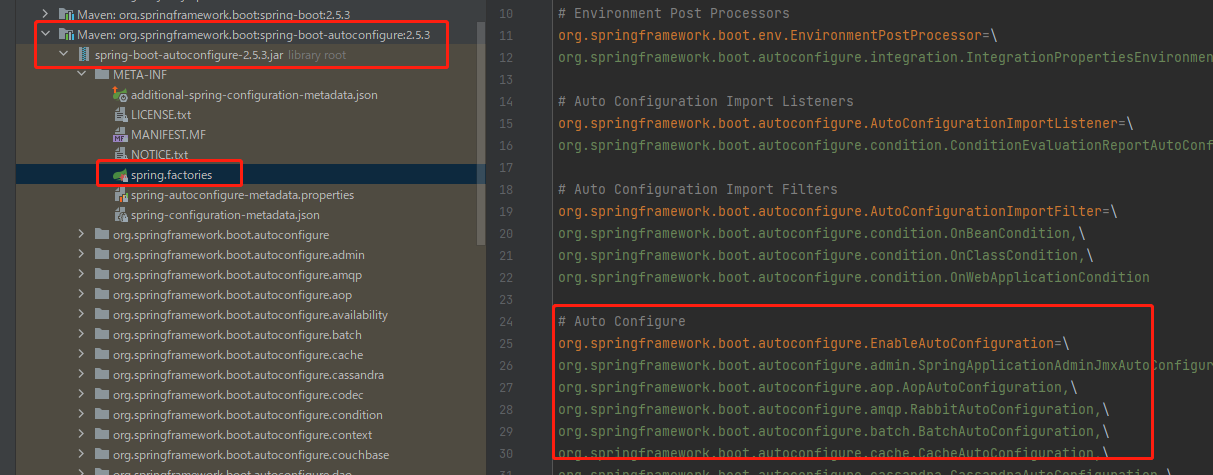
以org.springframework.boot.autoconfigure.web.servlet.WebMvcAutoConfiguration为例

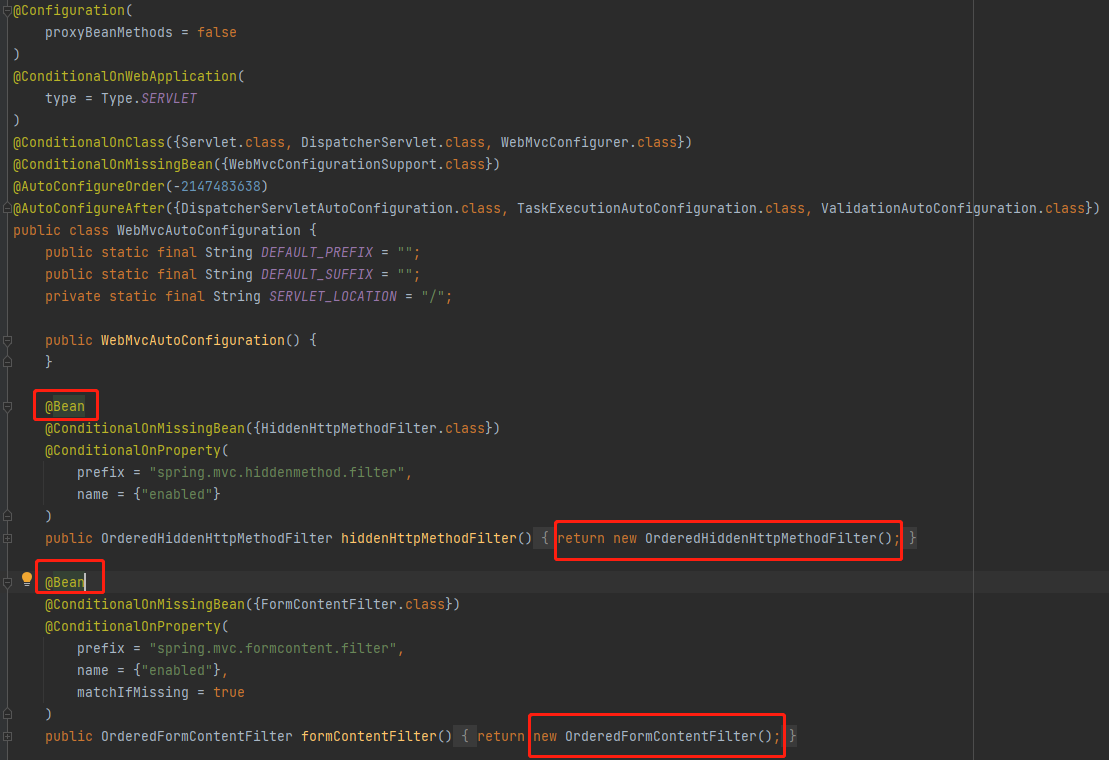
自动装配的本质:将开发所需的对象都放到spring容器中
分析:
1、loadSpringFactories方法获取META-INF/spring.factories数据保存到Map集合
2、通过与Map集合key(EnableAutoConfiguration名称)获取AutoConfiguration类的全名称集合
3、根据配置类的全名称和注解实例化配置类对象
4、实例化配置类过程中的会将组件(具体类)一并实例化并放入到spring容器中
自定义starter
自定义starter需要哪些文件
1、META-INF/spring.factories
2、spring管理的类
3、AutoConfiguration配置类文件
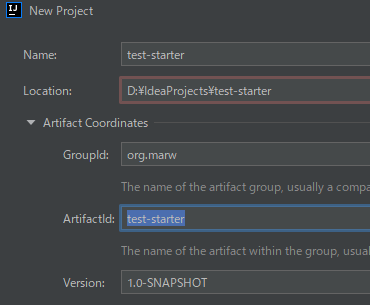
创建项目
1、创建maven工程
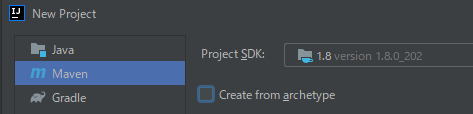
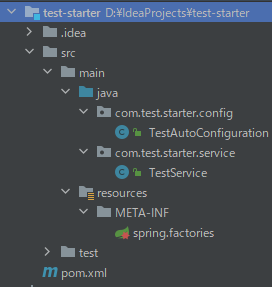
项目结构
2、添加依赖(这里使用spring-boot-maven-plugin插件会有问题)
    <parent>
        <groupId>org.springframework.boot</groupId>
        <artifactId>spring-boot-starter-parent</artifactId>
        <version>2.5.3</version>
    </parent>

    <dependencies>
        <dependency>
            <groupId>org.springframework.boot</groupId>
            <artifactId>spring-boot-autoconfigure</artifactId>
            <version>2.5.3</version>
        </dependency>
    </dependencies>
    <build>
        <plugins>
            <!-- 打包插件 -->
            <plugin>
                <groupId>org.springframework.boot</groupId>
                <artifactId>spring-boot-maven-plugin</artifactId>
                <version>2.5.3</version>
            </plugin>
        </plugins>
    </build>
3、META-INF/spring.factories,以下红字是固定的,上面分析中有原因
org.springframework.boot.autoconfigure.EnableAutoConfiguration=
  com.test.starter.config.TestAutoConfigure
4、组件(具体类)
public class TestService {

    public void sayHello(){
        System.out.println("TestService 的sayHello方法执行了。。。。。");
    }
    public TestService(){
        System.out.println("TestService 已经实例化了。。。。。");
    }
}
3、AutoConfiguration类,实例化组件
@Configuration
public class TestAutoConfiguration {
    @Bean
    TestService testService(){
        return new TestService();
    }
}
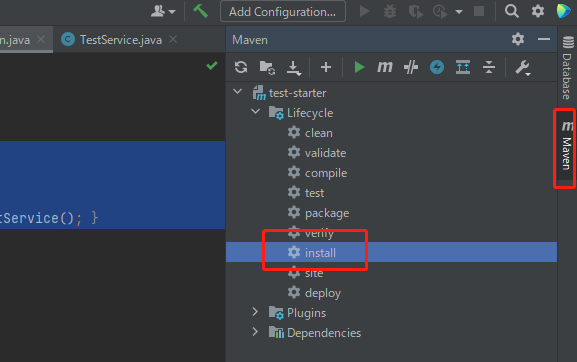
3、打成jar包
错误:Unable to find main class
猜测spring-boot-maven-plugin插件只能用于spring-boot项目,spring-boot需要main class
所以不使用spring-boot-maven-plugin插件,使用自己下载的maven
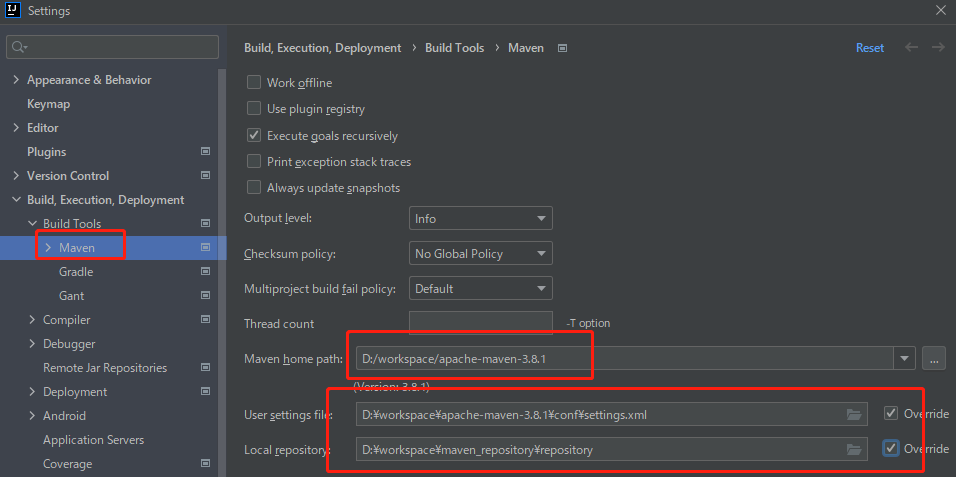
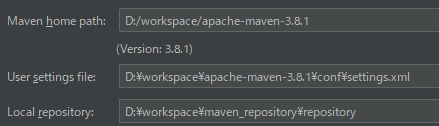
3.1、设置maven,
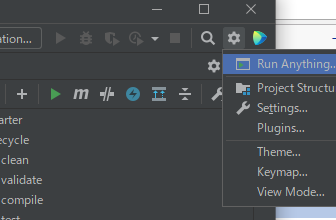
3.2、Sttings

使用自定义starter
使用自定义starter之前项目必须maven 仓库要一致
添加依赖(pom.xml)
        <dependency>
            <groupId>org.marw</groupId>
            <artifactId>test-starter</artifactId>
            <version>1.0-SNAPSHOT</version>
        </dependency>

编写Controller
@RestController
public class DemoController {

    @Autowired
    TestService testService;

    @RequestMapping("/hello")
    public String sayHello() {
        testService.sayHello();
        return "Hello World";
    }

}
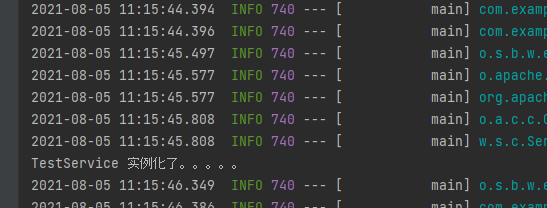
启动项目
配置文件与JavaConfig绑定
如果想使用配置那么就需要一个Properties,正常情况下Properties和AutoConfiguration一起使用的
前期解决错误
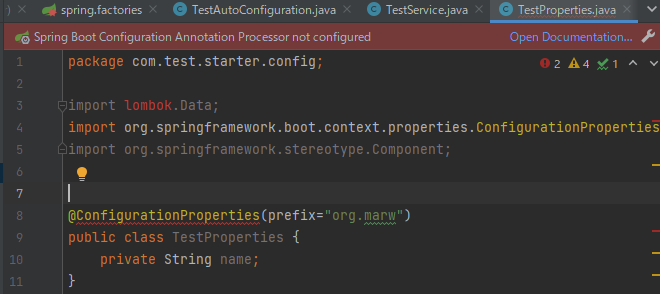
创建一个TestProperties,并使用@ConfigurationProperties(prefix="org.xxx")注解
@ConfigurationProperties(prefix="org.marw")
public class TestProperties {
    private String name;
}
出现Spring Boot Configuration Annotation Processor not configured
解决方法:添加依赖
        <dependency>
            <groupId>org.springframework.boot</groupId>
            <artifactId>spring-boot-configuration-processor</artifactId>
            <optional>true</optional>
        </dependency>
接着出现:Not registered via @EnableConfigurationProperties, marked as Spring component, or scanned via @ConfigurationPropertiesScan
在其对应的AutoConfiguration类上添加@EnableConfigurationProperties
@Configuration
@EnableConfigurationProperties({TestProperties.class})
public class TestAutoConfiguration {
编写properties
@Data // 提供类的get、set、equals、hashCode、canEqual、toString方法
@ConfigurationProperties(prefix="org.marw")
public class TestProperties {
    private String name;
}
使用properties
public class TestService {

    String name;

    public void sayHello() {
        System.out.println(this.name + " sayHello执行了。。。。。");
    }

    public TestService(TestProperties properties) {
        this.name = properties.getName();
    }
}
AutoConfiguration实例化带有properties的类
@Configuration
@EnableConfigurationProperties({TestProperties.class})
public class TestAutoConfiguration {
    @Autowired
    private TestProperties testProperties;
    @Bean
    TestService testService(){

        return new TestService(testProperties);
    }
}
打包,安装到maven仓库中。
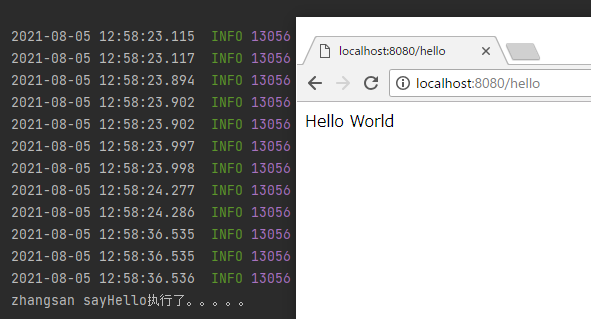
使用上面的DemoController测试,刷新maven就可以了
编写配置application.properties
org.marw.name=zhangsan