查看iTween的源码找到ColorFrom函数,看该函数的注释“/// Changes a GameObject's color values instantly then returns them to the provided properties over time with FULL customization options. If a GUIText or GUITexture component is attached, it will become the target of the animation.” 原来iTween支持“GUIText”和“GUITexture”组件,Image和RawImage要想使用iTween的相应颜色动画函数,就要在相应函数中添加支持Image和RawImage的代码。先看下效果:
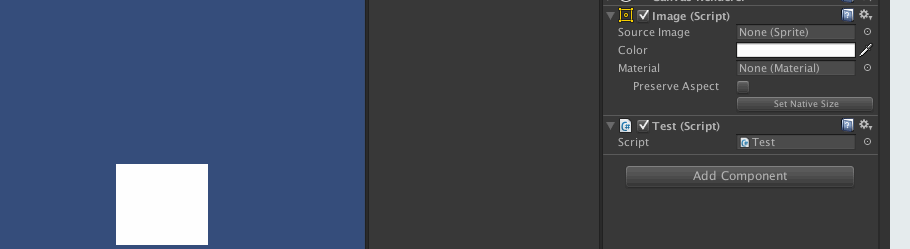
创建了一个Image,将脚本Test.cs添加到该Image上。


1 public class Test : MonoBehaviour {
2
3     // Use this for initialization
4     void Start () {
5         iTween.ColorFrom (this.gameObject, Color.red, 2f);
6     }
7 }
在iTween中找到函数,
public static void ColorFrom(GameObject target, Hashtable args)
在函数中找到
         //set tempColor and base fromColor:
        if(target.GetComponent<GUITexture>()){
            tempColor=fromColor=target.guiTexture.color;
        }else if(target.GetComponent<GUIText>()){
            tempColor=fromColor=target.guiText.material.color;
        }else if(target.renderer){
            tempColor=fromColor=target.renderer.material.color;
        }else if(target.light){
            tempColor=fromColor=target.light.color;
        }
在其后添加支持Image和RawImage即可,修改后为
 1 //set tempColor and base fromColor:
 2         if(target.GetComponent<GUITexture>()){
 3             tempColor=fromColor=target.guiTexture.color;
 4         }else if(target.GetComponent<GUIText>()){
 5             tempColor=fromColor=target.guiText.material.color;
 6         }else if(target.renderer){
 7             tempColor=fromColor=target.renderer.material.color;
 8         }else if(target.light){
 9             tempColor=fromColor=target.light.color;
10         }else if(target.GetComponent<Image>()){
11             tempColor = fromColor =  target.GetComponent<Image> ().color;
12         }else if(target.GetComponent<RawImage>()){
13             tempColor = fromColor =  target.GetComponent<RawImage> ().color;
14         }
在其他相应的函数中有类似判断的地方继续添加相应的条件判断即可。
总共要修改的函数:
1 public static void ColorFrom(GameObject target, Hashtable args)
2 public static void ColorUpdate(GameObject target, Hashtable args)
3 void GenerateColorToTargets()
4 void ApplyColorToTargets()
修改好的iTween文件:
链接: http://pan.baidu.com/s/1bn8QvmB 密码: pbpr