简述:
最近做开发的时候又遇到了Fragment,发现太久没写,都快忘了,就抓紧写个笔记(我太懒的了233)
Fragment可以简单的看成迷你的活动,它和活动一样都有布局和生命周期,它可以嵌入活动之中,
这样在活动的这个大布局中,还可以嵌入碎片的布局,那么app的功能就可以多样化,实现碎片的方式也
很简单,因为碎片是个迷你的活动,那么肯定得和活动一样,搭配一个布局文件,所以做法是先创建
对应碎片的布局文件,然后新建碎片类继承Fragment类,把碎片布局加载进来,然后再把这个碎片
加载到对应我们想要嵌入的活动中,因为碎片表现形式还是布局,所以我们是在活动的布局文件中
加入碎片,加载碎片的。
0x01:简单使用
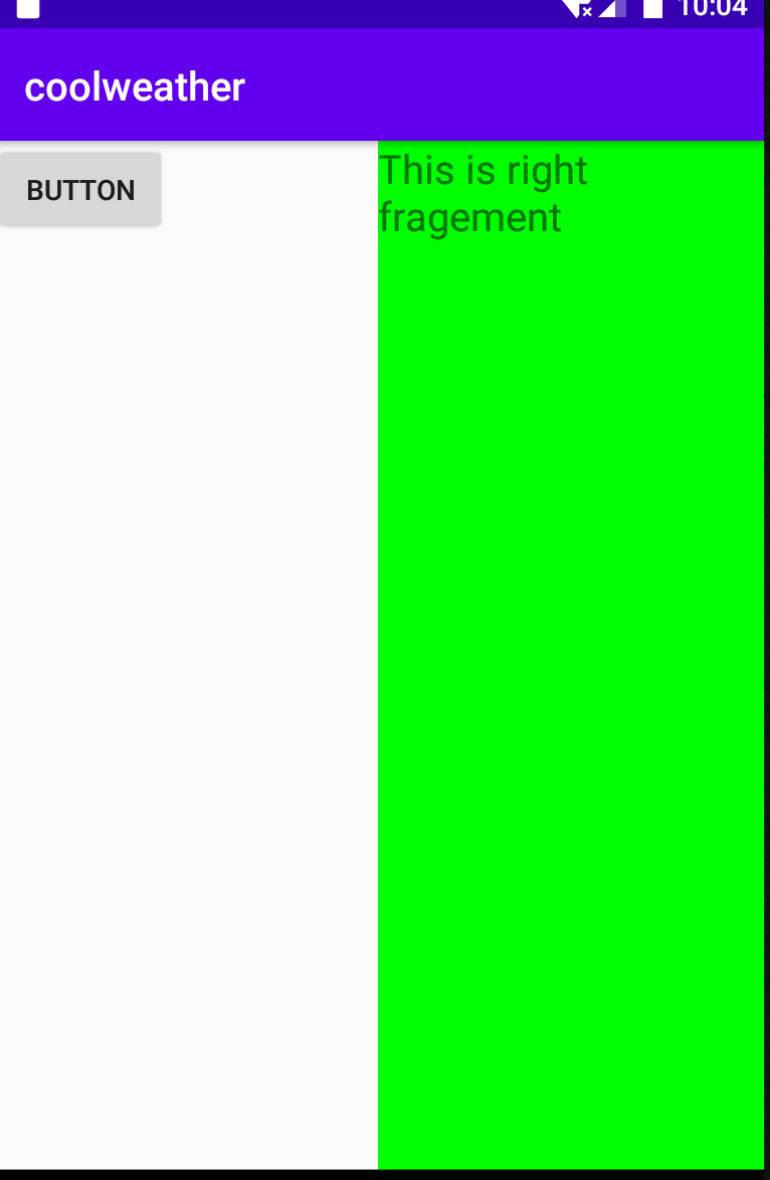
新建两个布局文件,Left_fragment和Right_fragment.xml,
<?xml version="1.0" encoding="utf-8"?>
<LinearLayout xmlns:android="http://schemas.android.com/apk/res/android"
    android:layout_width="match_parent"
    android:layout_height="match_parent">
    <Button
        android:layout_width="wrap_content"
        android:layout_height="wrap_content"
        android:id="@+id/button"
        android:layout_gravity="center_horizontal"
        android:text="Button"/>

</LinearLayout>
<?xml version="1.0" encoding="utf-8"?>
<LinearLayout xmlns:android="http://schemas.android.com/apk/res/android"
    android:orientation="vertical"
    android:background="#00ff00"
    android:layout_width="match_parent"
    android:layout_height="match_parent">
    <TextView
        android:layout_width="wrap_content"
        android:layout_height="wrap_content"
        android:layout_gravity="center_horizontal"
        android:textSize="20sp"
        android:text="This is right fragement"/>

</LinearLayout>
然后新建两个碎片类,继承Fragment,
package com.example.coolweather;

import android.os.Bundle;
import android.view.LayoutInflater;
import android.view.View;
import android.view.ViewGroup;

import androidx.fragment.app.Fragment;

public class LeftFragment extends Fragment {
    public View onCreateView(LayoutInflater inflater, ViewGroup container, Bundle saveInstanceState)
    {
        View view=inflater.inflate(R.layout.left_fragment,container,false);
        return view;
    }
}
package com.example.coolweather;

import android.os.Bundle;
import android.view.LayoutInflater;
import android.view.View;
import android.view.ViewGroup;

import androidx.fragment.app.Fragment;

public class RightFragment extends Fragment {
    public View onCreateView(LayoutInflater inflater, ViewGroup container, Bundle savedInstanceState)
    {
        View view =inflater.inflate(R.layout.right_fragment,container,false);
        return view;
    }
}
重写一个Fragment类中的onCreateView方法,通过inflater.inflate加载碎片的布局,
然后最后就是将碎片嵌入到我们想要的活动之中(以布局的形式,所以还是在xml文件中加入)
<?xml version="1.0" encoding="utf-8"?>
<LinearLayout xmlns:android="http://schemas.android.com/apk/res/android"
    android:layout_width="match_parent"
    android:layout_height="match_parent">

    <fragment
        android:id="@+id/left_fragment"
        android:name="com.example.coolweather.LeftFragment"
        android:layout_width="0dp"
        android:layout_weight="1"
        android:layout_height="match_parent" />
    <fragment
        android:layout_width="0dp"
        android:layout_height="match_parent"
        android:layout_weight="1"
        android:id="@+id/right_fragment"
        android:name="com.example.coolweather.RightFragment"
         />
</LinearLayout>
然后打开模拟器就可以看到对应的效果了。
二.动态添加碎片,
新建另一个碎片布局文件,并创建碎片类,加载碎片布局
<?xml version="1.0" encoding="utf-8"?>
<LinearLayout xmlns:android="http://schemas.android.com/apk/res/android"
    android:layout_width="match_parent"
    android:orientation="vertical"
    android:background="#ffff00"
    android:layout_height="match_parent">
    <TextView
        android:layout_width="wrap_content"
        android:layout_height="wrap_content"
        android:layout_gravity="center_horizontal"
        android:textSize="20sp"
        android:text="This is another right fragment"
        />
</LinearLayout>
package com.example.coolweather;

import androidx.appcompat.app.AppCompatActivity;
import androidx.fragment.app.Fragment;
import androidx.fragment.app.FragmentManager;
import androidx.fragment.app.FragmentTransaction;

import android.content.Intent;
import android.os.Bundle;
import android.view.View;
import android.widget.Button;

import java.nio.channels.InterruptedByTimeoutException;

public class MainActivity extends AppCompatActivity {

    @Override
    protected void onCreate(Bundle savedInstanceState) {
        super.onCreate(savedInstanceState);
        setContentView(R.layout.layout);
        Button button=(Button)findViewById(R.id.button);
        button.setOnClickListener((View.OnClickListener) this);

    }
    public void onClick(View v)
    {
        switch(v.getId()) {
            case R.id.button:
                replaceFragment(new AnotherRightFragment());
                break;
            default:
        }
    }
    private void replaceFragment(Fragment fragment)
    {
        FragmentManager fragmentManager=getSupportFragmentManager();
        FragmentTransaction transaction=fragmentManager.beginTransaction();
        transaction.replace(R.id.right_layout,fragment);
        transaction.commit();
    }
}
replacefFragment这个方法是动态加载碎片的关键,先是调用getSupportFragmentManager()这个方法
返回FragmentManager对象,再通过FragManager对象调用beginTransaction开启事务,然后调用
replace方法,第一个参数是容器的id,第二个参数是碎片的实例,就可以了,运行代码就有效果出现了。
另外如果需要点击back按钮返回到上一个碎片的,话要额外再加一句代码,在replaceFragment中多加
一句就好了。
  private void replaceFragment(Fragment fragment)
    {
        FragmentManager fragmentManager=getSupportFragmentManager();
        FragmentTransaction transaction=fragmentManager.beginTransaction();
        transaction.replace(R.id.right_layout,fragment);
        transaction.addToBackStack(null)
        transaction.commit();
    }