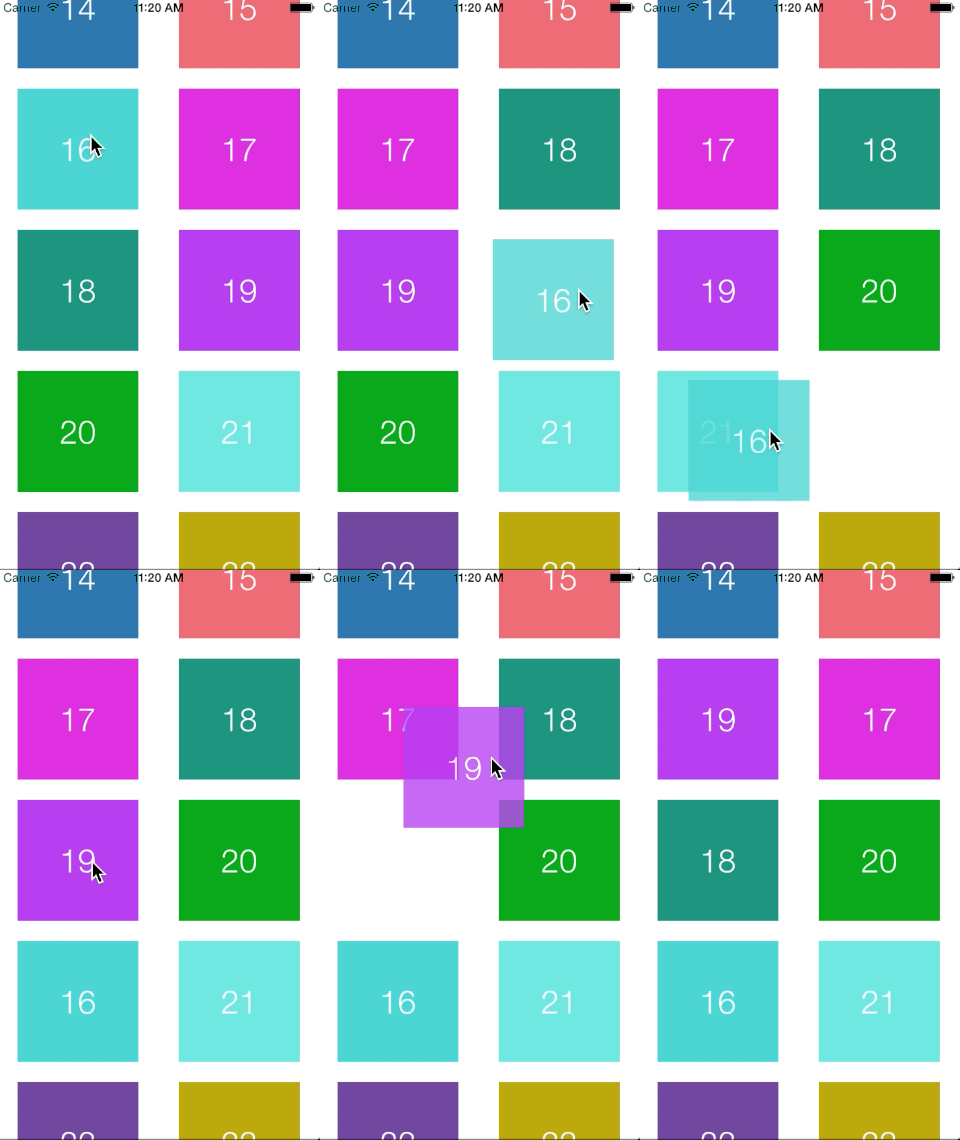
HTKDragAndDropCollectionViewLayout

Custom UICollectionViewLayout that works together with a custom UICollectionViewCell to provide drag and drop for a UICollectionView. Works just like UITableView drag and drop. What's unique about this approach is that it does not need to create a "ghost" or "dummy" cell to provide the drag and drop functionality. I believe this method is simpler and less complex for the majority of use cases.
自定义UICollectionViewLayout,与UICollectionViewCell一起使用,提供拖拽功能。就像UITableView的拖拽功能一样。有点特别的地方就是你不需要创建出替代的cell来满足供你拖拽的动能。我相信,这个方法会简化你所写的代码。

Adding to your project: 添加到你的工程当中
CocoaPods is the recommended way to add HTKDragAndDropCollectionViewLayout to your project.
建议你用CocoaPods来导入到你的工程当中。
- Add a pod entry for HTKDragAndDropCollectionViewLayout to your Podfile
pod 'HTKDragAndDropCollectionViewLayout', '~> 0.0.1' 添加'HTKDragAndDropCollectionViewLayout', '~> 0.0.1'到pod中 - Install the pod(s) by running
pod install. 执行安装 - Subclass
HTKDragAndDropCollectionViewController. 创建出HTKDragAndDropCollectionViewController子类 - Setup
HTKDragAndDropCollectionViewLayoutproperties (itemSize, lineSpacing, etc). 设置HTKDragAndDropCollectionViewLayout属性 - Subclass and use
HTKDraggableCollectionViewCellwhich implements the gestures for dragging. 创建出HTKDraggableCollectionViewCell子类然后实现手势与拖拽 - Implement
- (void)userDidEndDraggingCell:(UICollectionViewCell *)celland if theHTKDragAndDropCollectionViewLayoutfinalIndexPath is not nil, insert the draggedIndexPath into the finalIndexPath's position. See example in project. 实现方法- (void)userDidEndDraggingCell:(UICollectionViewCell *)cell,如果theHTKDragAndDropCollectionViewLayout最后的indexPath为nil,将draggedIndexPath插入到最后的位置上。请看demo工程。