1、创建两台虚拟机,分别为主机和从机,区别两台虚拟机的IP地址
2、将Nginx素材内容上传到/usr/local目录(pcre,zlib,openssl,nginx)

3、安装pcre库
3.1 cd到/usr/local目录
3.2 tar -zxvf pcre-8.36.tar.gz 解压

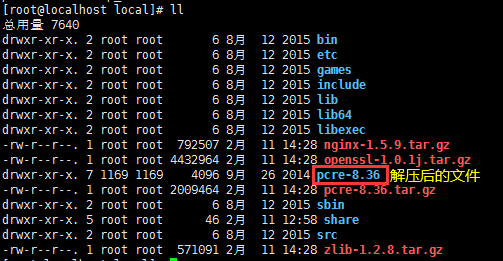
3.3 cd pcre-8.36目录
3.4 执行./configure 编译(如果编译没有报错直接省略3.5与3.6步骤)
如果报错configure: error: no acceptable C compiler found in $PATH
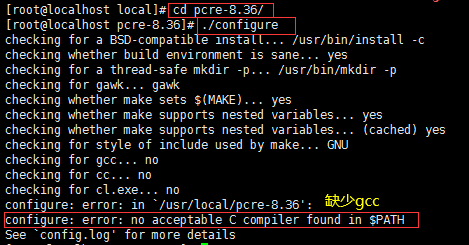
3.5 安装gcc 库:yum install -y gcc gcc-c++
如果发现进程被占用:kiil -9 PID 然后再次执行yum安装gcc即可
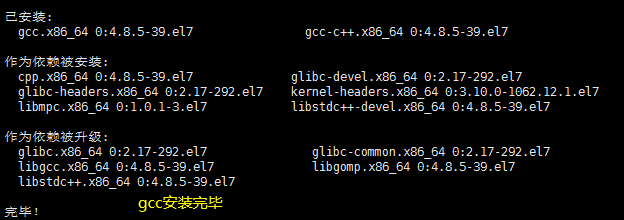
3.6 安装完gcc再次 ./configure编译

3.7 make编译
3.8 make install安装

3.9 pcre库安装完毕
4、安装zlib库
4.1 cd到/usr/local目录
4.2 tar -zxvf zlib-1.2.8.tar.gz 解压

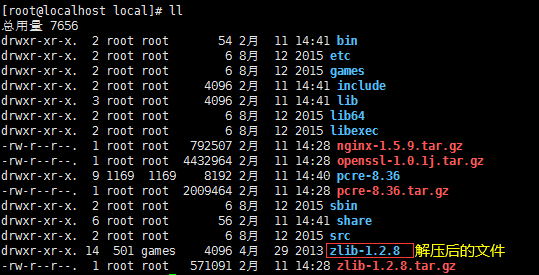
4.3 cd zlib-1.2.8目录
4.4 执行./configure 编译

4.5 make编译
4.6 make install安装

4.7 zlib库安装完毕
5、安装openssl库
5.1 cd到/usr/local目录
5.2 tar -zxvf openssl-1.0.1j.tar.gz 解压

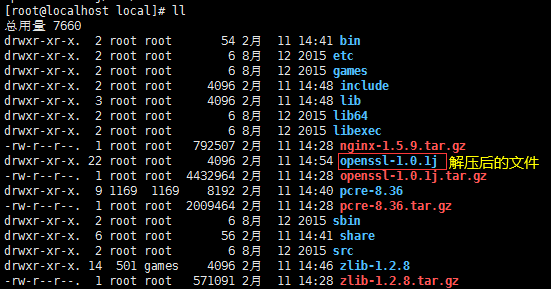
5.3 cd openssl-1.0.1j目录
5.4 执行./config 编译
5.5 make编译
5.6 make install安装

5.7 openssl库安装完毕
6、安装openssl库
6.1 cd到/usr/local目录
6.2 tar -zxvf nginx-1.5.9.tar.gz 解压


6.3 cd nginx-1.5.9目录
6.4执行 ./configure --prefix=/usr/local/nginx 注意编译之后的文件都放在/usr/local/nginx
6.5 make编译
6.6 make install安装

6.7 openssl库安装完毕
7、启动测试
7.1 启动命令:/usr/local/nginx/sbin/nginx

7.2 本机浏览器测试:虚拟机IP地址即可

7.3 如果访问不了关闭防火墙 centos7
关闭防火墙命令:systemctl stop firewalld.service
禁用防火墙命令:systemctl disable firewalld.service

7.4 访问效果 访问虚拟机IP地址

8、Nginx备机安装步骤同上2、3、4、5、6、7步
9、虚拟机备机访问效果
10、注意区分主机nginx和备机nginx
11、Nginx常用命令
重启:
$ /usr/local/nginx/sbin/nginx 启动命令
重启:
$ /usr/local/nginx/sbin/nginx –s reload
停止:
$ /usr/local/nginx/sbin/nginx –s stop
测试配置文件是否正常:
$ /usr/local/nginx/sbin/nginx –t
强制关闭:
$ pkill nginx


