linux 查看版本
查看版本: cat /proc/version
查看位数:getconf LONG_BIT
linux添加DNS配置,出现不能上网的时候需要提前设置
修改文件 /etc/resolvconf/resolv.conf.d/base

nameserver 8.8.8.8
nameserver 218.2.135.1

保存退出后 重启服务
systemctl restart systemd-resolved.service
linux系统实现远程登录,SSH,SFTP
ftp 服务 root 用户无法登陆:
sudo vi /etc/ssh/sshd_config
找到PermitRootLogin 一行,改为PermitRootLogin yes ,即允许root用户以任何认证方式登录
$ sudo service ssh restart
关闭防火墙
部署前小白提前关闭防火墙
1 关闭
sudo ufw disable

2 查看防火墙状态
sudo ufw status
将Ubuntu的源改为国内的源(以阿里源为例)
#首先进行配置文件的备份
cp /etc/apt/sources.list /etc/apt/sources.list.bak
#编辑配置文件
vim /etc/apt/sources.list
在配置文件中开头添加以下内容(阿里源):


# deb cdrom:[Ubuntu 16.04 LTS _Xenial Xerus_ - Release amd64 (20160420.1)]/ xenial main restricted
deb-src http://archive.ubuntu.com/ubuntu xenial main restricted
#Added by software-properties
deb http://mirrors.aliyun.com/ubuntu/ xenial main restricted
deb-src http://mirrors.aliyun.com/ubuntu/ xenial main restricted multiverse universe
#Added by software-properties
deb http://mirrors.aliyun.com/ubuntu/ xenial-updates main restricted
deb-src http://mirrors.aliyun.com/ubuntu/ xenial-updates main restricted multiverse universe
#Added by software-properties
deb http://mirrors.aliyun.com/ubuntu/ xenial universe
deb http://mirrors.aliyun.com/ubuntu/ xenial-updates universe
deb http://mirrors.aliyun.com/ubuntu/ xenial multiverse
deb http://mirrors.aliyun.com/ubuntu/ xenial-updates multiverse
deb http://mirrors.aliyun.com/ubuntu/ xenial-backports main restricted universe multiverse
deb-src http://mirrors.aliyun.com/ubuntu/ xenial-backports main restricted universe multiverse
#Added by software-properties
deb http://archive.canonical.com/ubuntu xenial partner
deb-src http://archive.canonical.com/ubuntu xenial partner
deb http://mirrors.aliyun.com/ubuntu/ xenial-security main restricted
deb-src http://mirrors.aliyun.com/ubuntu/ xenial-security main restricted multiverse universe
#Added by software-properties
deb http://mirrors.aliyun.com/ubuntu/ xenial-security universe
deb http://mirrors.aliyun.com/ubuntu/ xenial-security multiverse

执行命令更新:
sudo apt-get update
sudo apt-get upgrade
安装C环境
apt-get install bison ed gawk gcc libc6-dev make
安装pip
ubuntu系统自带了python2.7 和python3.5,我们直接使用python3
检查是否安装:
pip3 -V
安装pip3:
apt-get install python-pip #可忽略
apt-get install python3-pip
升级到最新pip
pip install --upgrade pip #可忽略
pip3 install --upgrade pip
安装python工具包
pip3 install --upgrade setuptools #可忽略
apt install python3 python-dev python3-dev
build-essential libssl-dev libffi-dev
libxml2-dev libxslt1-dev zlib1g-dev
python-pip
pip3 install pep517 # 可忽略
Docker安装
#1: 安装必要的一些系统工具
sudo apt-get update
sudo apt-get -y install apt-transport-https ca-certificates curl software-properties-common
#2:安装GPG证书:
curl -fsSL http://mirrors.aliyun.com/docker-ce/linux/ubuntu/gpg | sudo apt-key add -

#3:也可以直接这样安装:
sudo apt install docker.io

#4安装完成后需要修改当前用户(root)权限:
sudo usermod -aG docker root

#注销并重新登录,然后添加阿里云的Docker Hub镜像:
#5 配置镜像加速器

#sudo tee /etc/docker/daemon.json <<-'EOF'
{
"registry-mirrors": ["https://9pvya26y.mirror.aliyuncs.com"]
}
EOF
sudo systemctl daemon-reload
sudo systemctl restart docker
docker-compose升级安装
#先卸载旧版本
pip uninstall docker-compose

#再安装指定版本:
pip install docker-compose==1.12.0
or
pip3 install docker-comose==1.12.0

#安装完成之后如果  docker-comose -v
#如果没显示 则重启服务器重新查看即可
卸载失败:
 1.提示不存在

python -m pip uninstall docker-compose
2.提示没有gcc环境
error: command 'i686-linux-gnu-gcc' failed with exit status 1
解决:
apt install python3 python-dev python3-dev
      build-essential libssl-dev libffi-dev
      libxml2-dev libxslt1-dev zlib1g-dev
      python-pip

python -m pip install --upgrade pip
python -m pip uninstall docker-compose
源码安装go1.11
下载地址:https://studygolang.com/dl
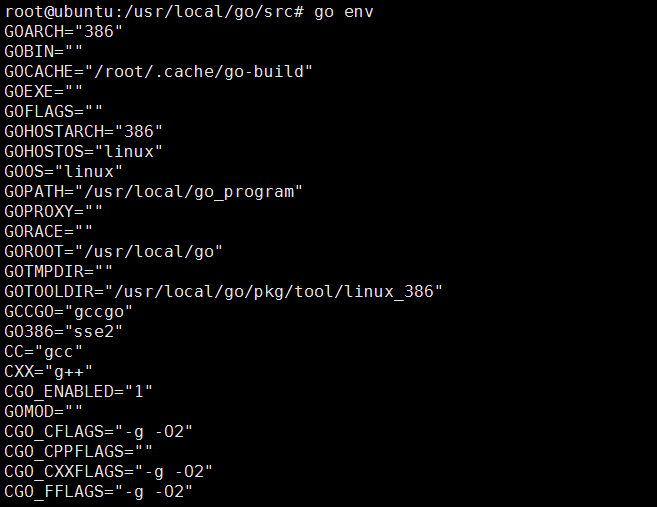
1.设置环境变量
vim /etc/profile
增加如下内容:
export GOROOT=/usr/local/go
export PATH=$PATH:$GOROOT/bin
export GOPATH=/usr/local/go_program
环境变量生效:
source /etc/profile

2.安装C环境
apt-get install bison ed gawk gcc libc6-dev make

3.解压文件go1.4
tar -zxvf go1.4.src.tar.gz
mv go  /root/go1.4
cd /root/go1.4/src
安装1.4编译器
CGO_ENABLED=0 ./make.bash

4.安装1.11
tar -zxvf go1.11.linux-386.tar.gz -C /usr/local/
cd /usr/local/go/src
./all.bash

安装完毕如下:
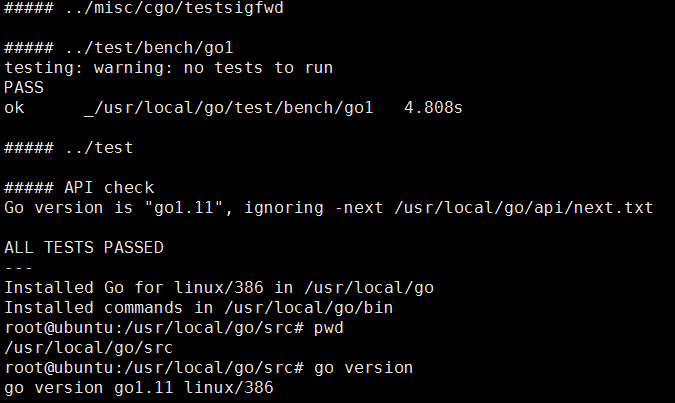
Go Tools安装(非必需步骤)
Fabric使用GO开发,其中用到了一些官方或者第三方的工具
mkdir -p $GOPATH/src/golang.org/x
cd $GOPATH/src/golang.org/x

git clone https://github.com/golang/tour.git
git clone https://github.com/golang/net.git
git clone https://github.com/golang/blog.git
git clone https://github.com/golang/sync.git
git clone https://github.com/golang/tools.git
git clone https://github.com/golang/lint.git
# 其他工具
git clone https://github.com/golang/benchmarks.git
git clone https://github.com/golang/build.git
git clone https://github.com/golang/crypto.git
git clone https://github.com/golang/debug.git
git clone https://github.com/golang/image.git
git clone https://github.com/golang/mobile.git
git clone https://github.com/golang/perf.git
git clone https://github.com/golang/review.git
git clone https://github.com/golang/text.git
git clone https://github.com/golang/time.git
git clone https://github.com/golang/tour.git
git clone https://github.com/golang/exp.git

运行过程提示  **** i/o timeout) 先如下操作,FQ
$git clone https://github.com/golang/net.git net
$go install net

命令来安装Fabric可能用到的Go工具:
go get github.com/kardianos/govendor
go get github.com/golang/lint/golint
go get golang.org/x/tools/cmd/goimports
go get github.com/onsi/ginkgo/ginkgo
go get github.com/axw/gocov/...
go get github.com/client9/misspell/cmd/misspell
go get github.com/AlekSi/gocov-xml
go get github.com/golang/protobuf/protoc-gen-go

benchmarks — benchmarks to measure Go as it is developed.
blog — blog.golang.org's implementation.
build — build.golang.org's implementation.
crypto — additional cryptography packages.
debug — an experimental debugger for Go.
image — additional imaging packages.
mobile — experimental support for Go on mobile platforms.
net — additional networking packages.
perf — packages and tools for performance measurement, storage, and analysis.
review — a tool for working with Gerrit code reviews.
sync — additional concurrency primitives.
sys — packages for making system calls.
text — packages for working with text.
time — additional time packages.
tools — godoc, goimports, gorename, and other tools.
tour — tour.golang.org's implementation.
exp — experimental and deprecated packages (may change without warning).
第三方库安装
Fabric依赖的第三方库里面,有些库又依赖了其他库

sudo apt-get install libltdl-dev
Fabric源码下载
修改postBuffer的默认值
git config --global http.postBuffer 524288000
进行修改后确认
git config --list

修改配置 vim /etc/profile
export GIT_TRACE_PACKET=1
export GIT_TRACE=1
export GIT_CURL_VERBOSE=1
生效命令:
source /etc/profile

建立对应的目录 Git命令下载源码:
mkdir -p ~/go/src/github.com/hyperledger
cd ~/go/src/github.com/hyperledger
注意:下载过程可能由于网络原因会失败,没有关系,重新下载即可,可能要多执行几次才会成功
git clone https://github.com/hyperledger/fabric.git

或者指定版本下载源码fabric:
git clone -b release-1.0 git://github.com/hyperledger/fabric.git

cd ~/go/src/github.com/hyperledger/fabric
#版本为1.0的分支
git branch -a
git checkout release-1.0

下载源码fabric-samples
git clone https://github.com/hyperledger/fabric-samples.git
cd ./fabric-samples
#版本为1.0的分支
git branch -a
git checkout release-1.0
源码下载失败处理办法:
下载过程异常报错:
error: RPC failed; curl 18 transfer closed with outstanding read data remaining
修正方法:
修改postBuffer的默认值
git config --global http.postBuffer 524288000
进行修改后确认
git config --list

修改配置 vim /etc/profile
export GIT_TRACE_PACKET=1
export GIT_TRACE=1
export GIT_CURL_VERBOSE=1
生效命令:
source /etc/profile
修改后重新下载。

以上仍然下载失败的话,尝试浅下载:

git clone --depth=1 http://xxx.git
git fetch --unshallow
源码编译并启动第一个fabric网络
#首先进入fabric文件夹
cd ~/go/src/github.com/hyperledger/fabric/
#编译源码
make release
#查看生成的文件
cd release/linux-amd64/bin
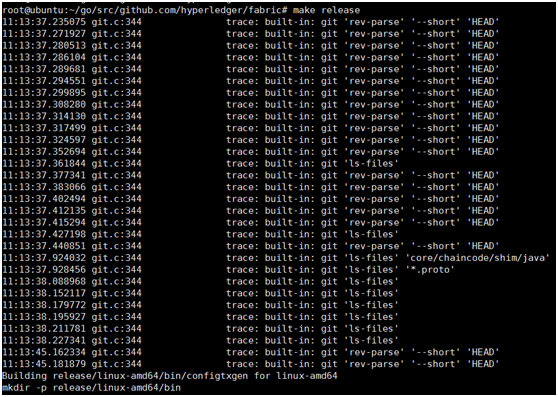

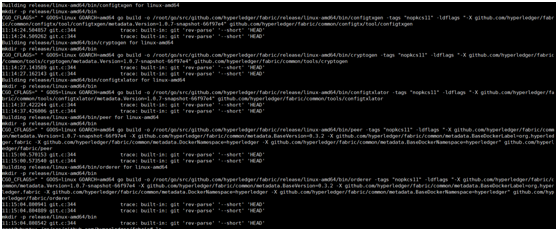
#如果文件夹内有如下文件的话说明编译成功
#configtxgen  configtxlator  cryptogen  discover  idemixgen  orderer  peer

#将生成的文件添加进环境变量
vim ~/.profile
#文件中最后添加以下内容
export PATH=$PATH:$GOPATH/src/github.com/hyperledger/fabric/release/linux-amd64/bin
#更新一下
source ~/.profile
下载所依赖的镜像
source download-dockerimages.sh -c x86_64-1.0.0 -f x86_64-1.0.0
完成上面的操作,就可以启动第一个fabric网络了。
启动网络
#进入first-network文件夹
cd ~/go/src/github.com/hyperledger/fabric/scripts/fabric-samples/first-network/
#执行命令
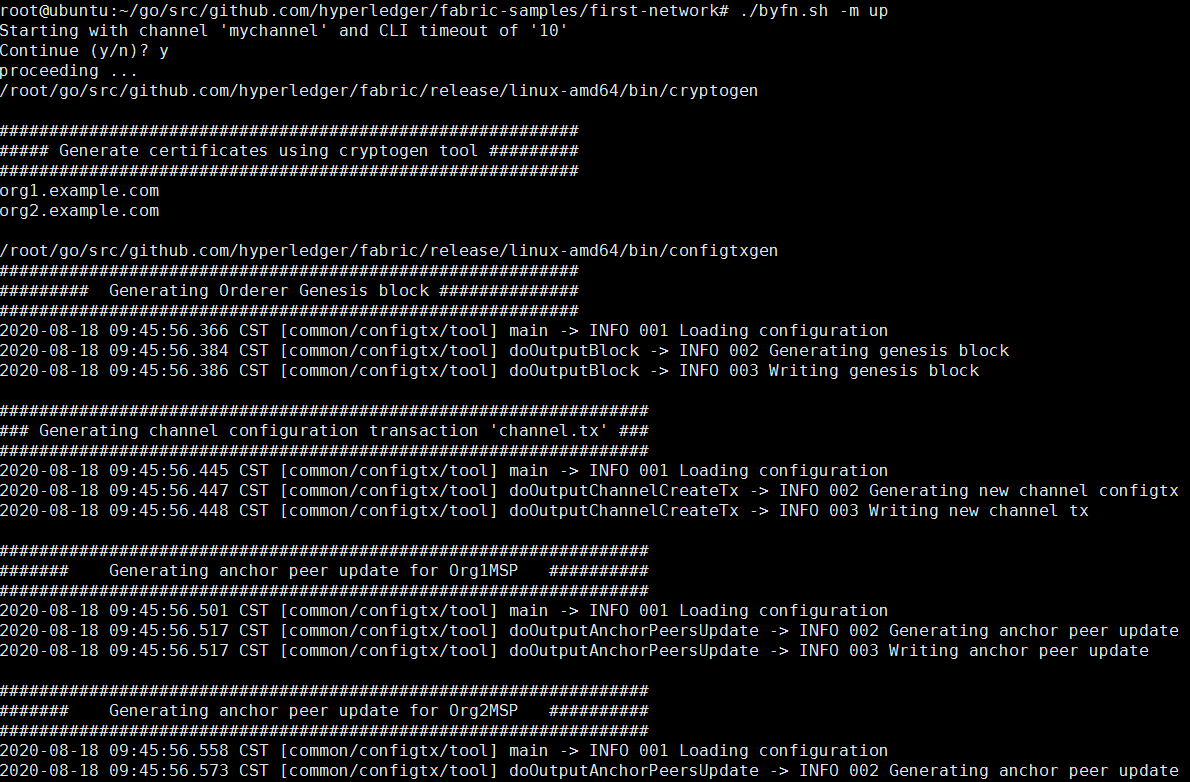
./byfn.sh -m up
开启成功入下图
#关闭网络
./byfn.sh -m dwon
执行过程:
第一次启动失败了
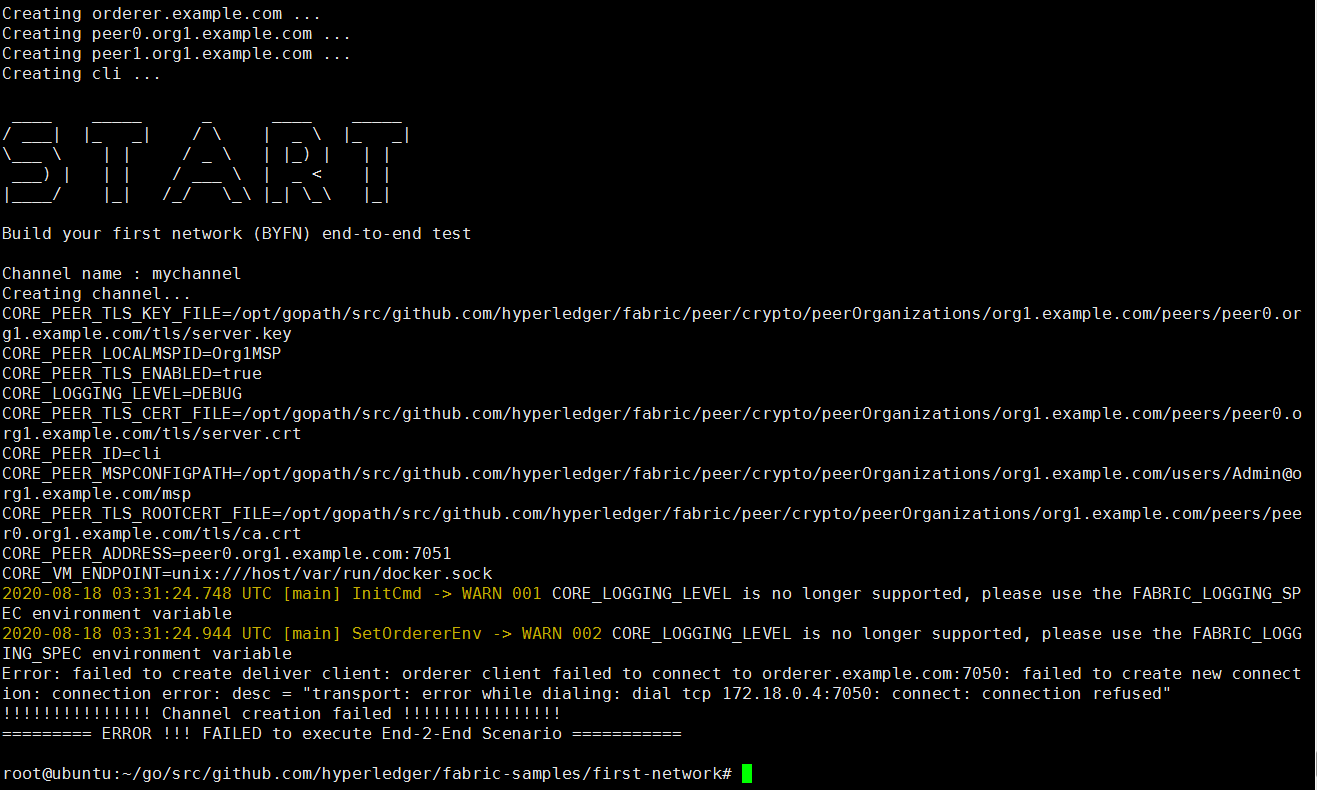
上图问题出现后,上网找了一堆都没啥用,最后关闭防火墙后,过去了
1 关闭
sudo ufw disable
报错:Chaincode instantiation on PEER2 on channel 'mychannel' failed !
解决:
pip uninstall docker-compose
再安装指定版本:
pip install docker-compose==1.12.0
错误:2017-09-12 14:17:49.952 UTC [grpc] Printf -> DEBU 003 grpc: addrConn.resetTransport failed to create client transport: connection error: desc = "transport: Error while dialing dial tcp 211.139.178.49:7050: i/o timeout"; Reconnecting to {orderer.example.com:7050 <nil>}
!!!!!!!!!!!!!!! Channel creation failed !!!!!!!!!!!!!!!!
================== ERROR !!! FAILED to execute End-2-End Scenario ==================
解决办法:
修改宿主机hosts /etc/hosts ,在实际环境中,建议通过配置 DNS 而不是修改 /etc/hosts 文件
127.0.0.1 orderer.example.com
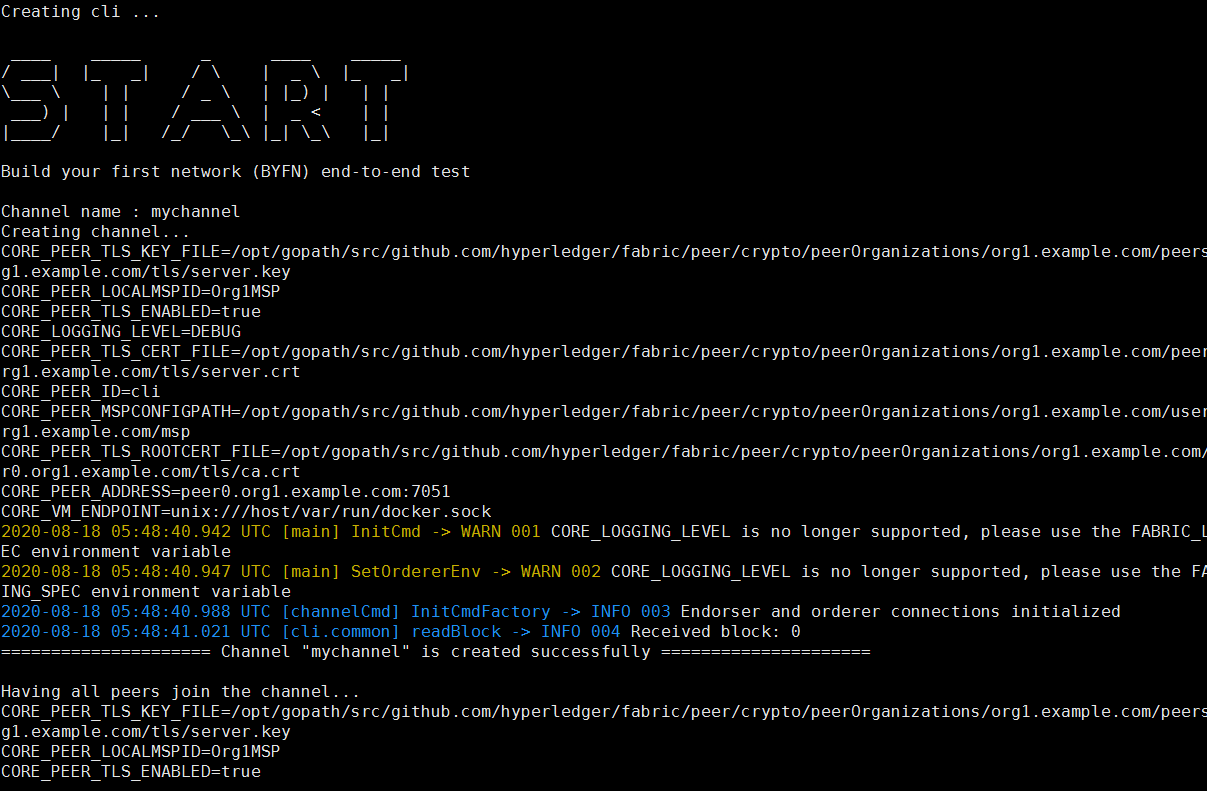
前面错没有了,但是又有新的错误:
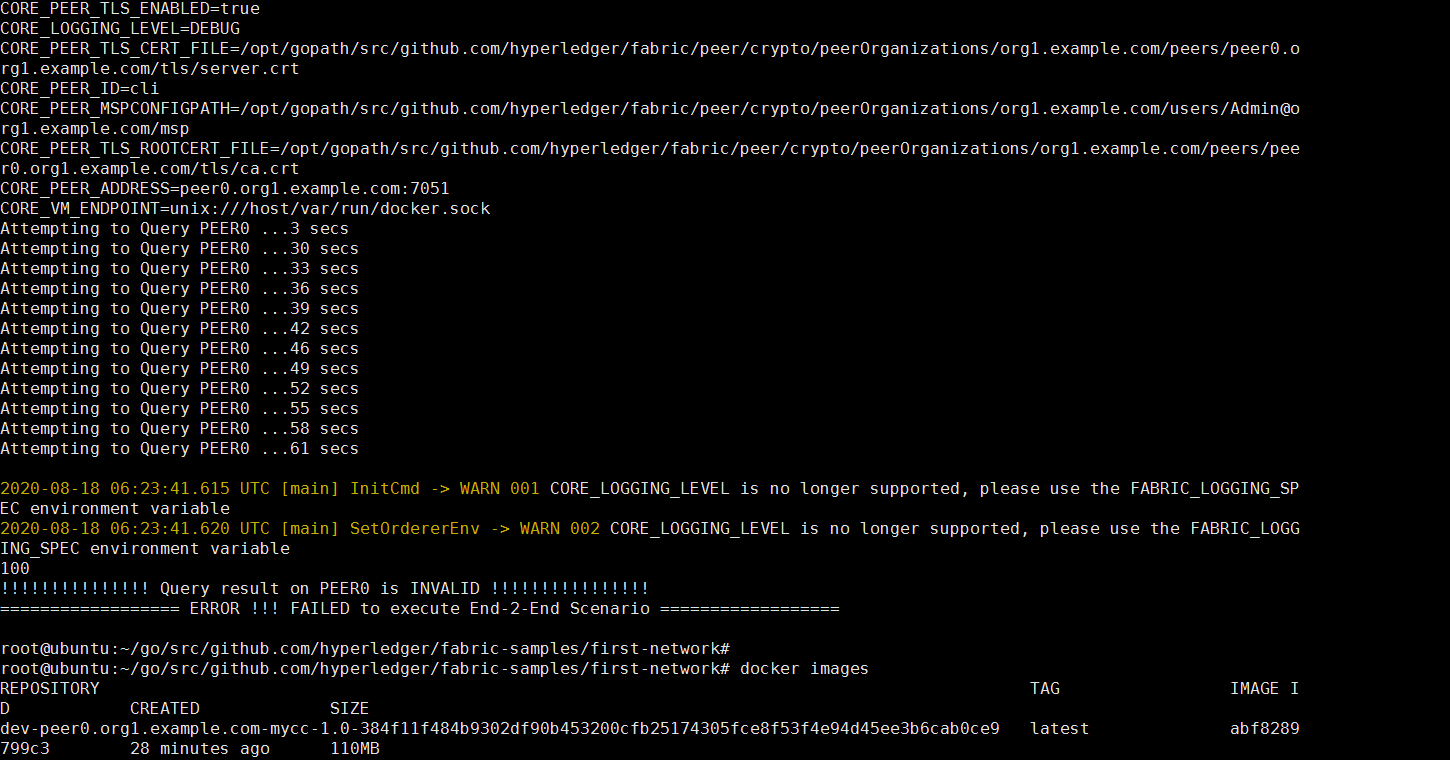
在网上找两个解决办法:说是镜像版本不一致导致
先看看docker镜像
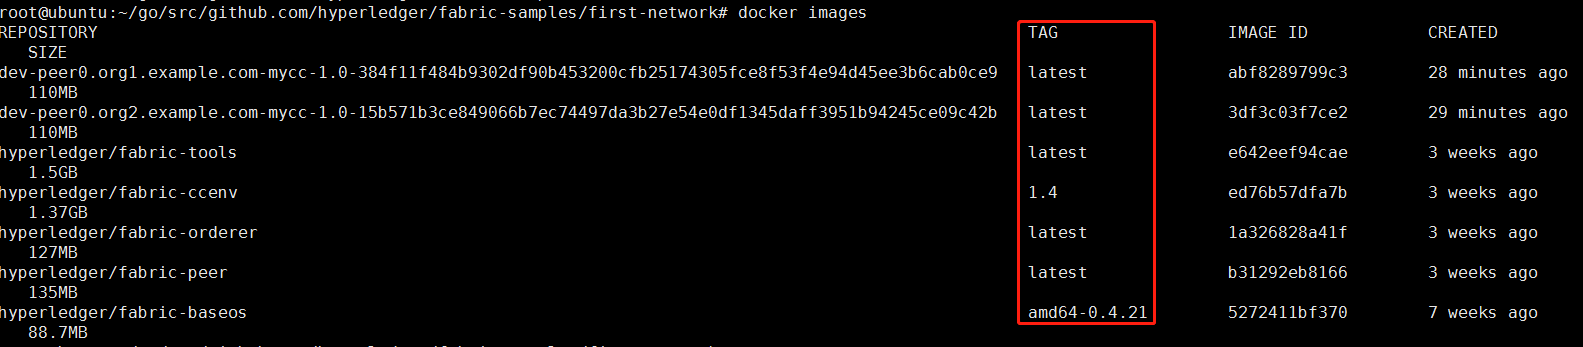
参考:https://blog.csdn.net/qq_24889075/article/details/103363201
解决:
 #1关闭服务
 ./byfn.sh -m down
 #2.先记录不一致的id信息后,然后关闭 再删除latest镜像景象
 docker rmi abf8289799c3 3df3c03f7ce2 e642eef94cae 1a326828a41f b31292eb8166
 #3.将现有的1.4或者amd64-0.4.21的镜像,改tag为latest
 docker tag  hyperledger/fabric-ccenv:1.4 hyperledger/fabric-ccenv:latest
 docker tag  hyperledger/fabric-baseos:amd64-0.4.21 hyperledger/fabric-baseos:latest
 #4.有必要的话就重启docker
 systemctl daemon-reload
 systemctl restart docker
 #5../byfn.sh -m up
问题处理问题查找路径:
https://blog.csdn.net/iflow/article/details/77951610
执行一直报错,后来直接手动下载并制定版本并执行后成功了,yeah
所有问题处理完之后启动
./byfn.sh -m up
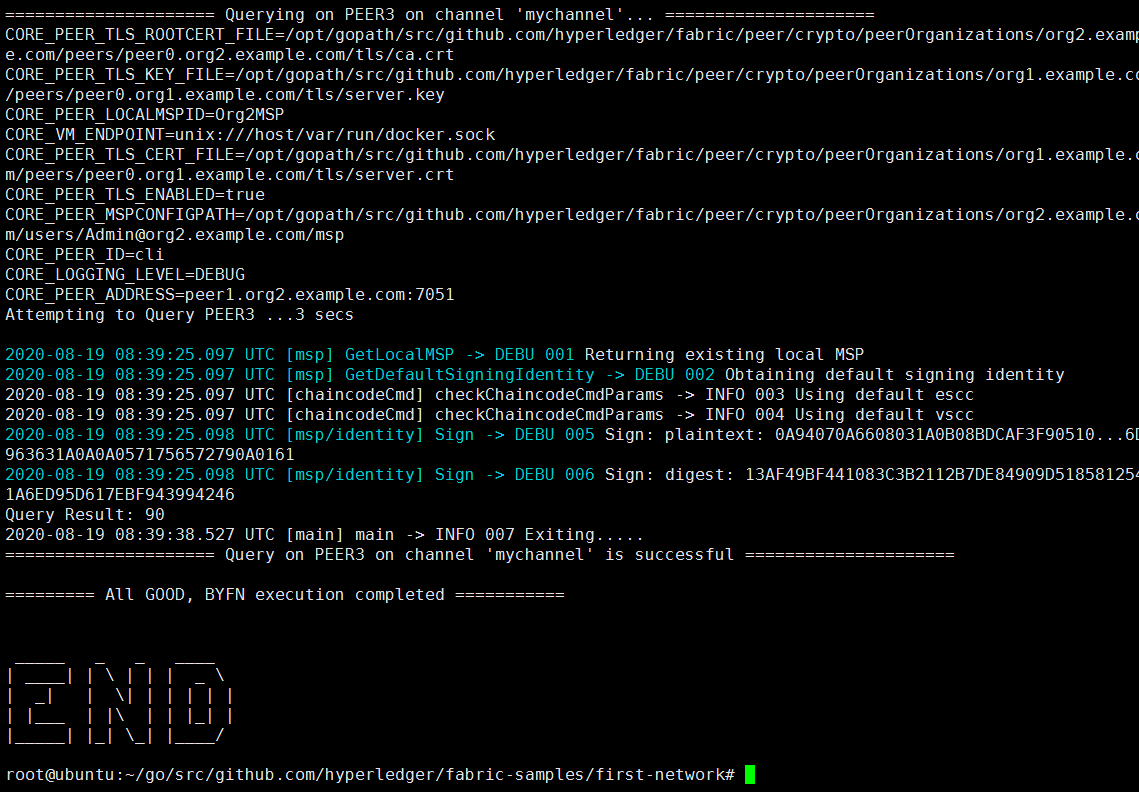
YEAH.