大家都知道,传统的手机状态栏非黑即白,经常让整个app显得不是那么的好看,如何让状态栏的颜色跟你整个界面的颜色能够融为一体,这是我们一直想要的,现在给大家展示一下:
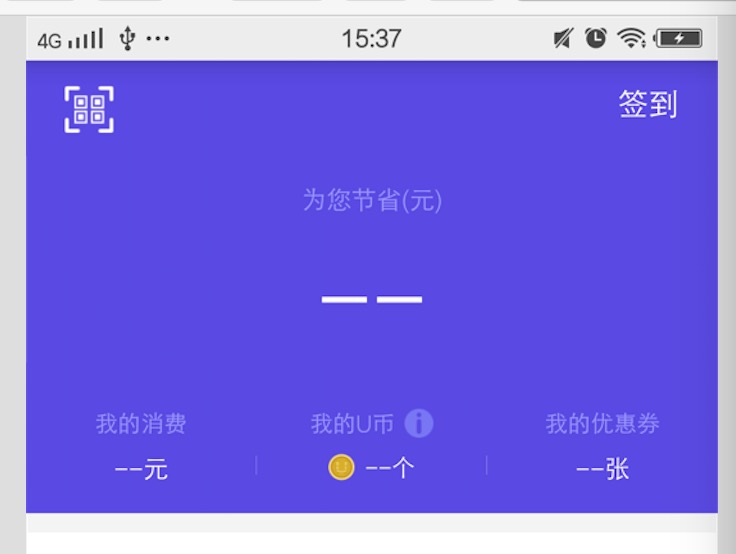

由图可见,第一张是没有使用沉浸式状态栏,显示的颜色为白色,由的手机显示的是黑色,第二张图,是实用了沉浸式状态栏,整体的视觉效果比第一张要好。
那么如何使用沉浸式状态栏呢?首先我们要明白,沉浸式状态栏呢是在android 4.4,也就是api在19以上才使用的。
我们先简单的说一个,如果我们整体的app颜色色调是一样的,我们可以直接在style里面直接设置:
1.在color里面定义几个颜色
<?xml version="1.0" encoding="utf-8"?>
<resources>
    <color name="colorPrimary">#3F51B5</color>
    <color name="colorPrimaryDark">#303F9F</color>
    <color name="colorAccent">#FF4081</color>
</resources>
2.在style里面引用
<resources>
    <!-- Base application theme. -->
    <style name="AppTheme" parent="Theme.AppCompat.Light.DarkActionBar">
        <!-- Customize your theme here. -->
       <!--导航栏的颜色-->
        <item name="colorPrimary">@color/colorPrimary</item>
        <!--状态栏的颜色-->
        <item name="colorPrimaryDark">@color/colorPrimaryDark</item>
    </style>
</resources>
3.在Androidmanifest里面直接定义主题  android:theme="@style/AppTheme"
这个时候出来的效果时这样的:(想必大家已经看出效果了)

那么我们又该在代码中如何去实现呢?上一篇,我简单给大家说一下toolbar的使用,下面我所写的在toolbar的基础上来添加的。(考虑到可能每个页面的颜色不一样,我们没法在使用主题的方式,我们则需要另换思路)
我们可以在baseActivity写一下几个方法:
abstract public class BaseActivity extends AppCompatActivity implements IBaseView {

    private static final int ERROR_LAYOUT_ID = 0;
    protected Toolbar mToolBar;

    protected Drawable mStatusBarDrawable = UIUtil.getDrawable(R.drawable.drawable_login);

    protected int mToolBarTextColorResId = UIUtil.getColor(R.color.title_text_color_darker);

    @Override
    protected void onCreate(Bundle savedInstanceState) {
        setRequestedOrientation(ActivityInfo.SCREEN_ORIENTATION_PORTRAIT);
        super.onCreate(savedInstanceState);
        DialogUtils.dismissProcessDialog();
        if (isRegisterEventBus()) {
            EventBus.getDefault().register(this);
        }

        if (ERROR_LAYOUT_ID != getLayoutId()) {
            setContentView(getLayoutId());
//是否改变状态栏的颜色
            if (isChangeStatusBarColor()) {
                setStatusBarColor();
                setSystemBarTintDrawable(mStatusBarDrawable);
//                StatusBarCompat.compat(this, mStatusBarColorResId);
            }
        }

        mToolBar = (Toolbar) findViewById(R.id.tool_bar);
        if (null != mToolBar) {
            configToolBar(mToolBar);
            if (hasParentActivity()) {
                getSupportActionBar().setDisplayHomeAsUpEnabled(true);
            }
        }

        mProgressBarIndeterminate = (ProgressBarIndeterminate) findViewById(R.id.progress_bar_indeterminate);

        if (null != getLoadingTargetView()) {
            mChangeViewController = new ChangeViewController(getLoadingTargetView());
        }
        initView();
        initData();
    }

    /**
     * 设置状态栏背景色
     */
    protected abstract void setStatusBarColor();

    /**
     * 是否修改状态栏的背景色
     *
     * @return
     */
    protected abstract boolean isChangeStatusBarColor();

    /**
     * 配置ToolBar 包括背景色字体颜色等
     * 每个页面的属性可能不同 子类复写该方法
     *
     * @param toolBar
     */
    protected void configToolBar(Toolbar toolBar){
        setSupportActionBar(toolBar);
        mToolBar.setBackgroundDrawable(mStatusBarDrawable);
        mToolBar.setTitleTextColor(mToolBarTextColorResId);
    }

    /**
     * 初始化相关数据
     */
    public abstract void initData();

    /**
     * 初始化布局内的控件
     */
    public abstract void initView();

    /**
     * 获取当前界面的布局ID
     *
     * @return 当前界面的布局ID
     */
    abstract public int getLayoutId();

    /**
     * use SystemBarTintManager
     *
     * @param tintDrawable
     */
    protected void setSystemBarTintDrawable(Drawable tintDrawable) {
        if (Build.VERSION.SDK_INT >= Build.VERSION_CODES.KITKAT) {
            SystemBarTintManager mTintManager = new SystemBarTintManager(this);
            if (tintDrawable != null) {
                mTintManager.setStatusBarTintEnabled(true);
                mTintManager.setTintDrawable(tintDrawable);
            } else {
                mTintManager.setStatusBarTintEnabled(false);
                mTintManager.setTintDrawable(null);
            }
        }
    }

    @Override
    public boolean onOptionsItemSelected(MenuItem item) {
        switch (item.getItemId()) {
            //重写ToolBar返回按钮的行为,防止重新打开父Activity重走生命周期方法
            case android.R.id.home:
                finish();
                return true;
        }
        return super.onOptionsItemSelected(item);
    }
}
然后我们在需要的activity里面继承baseactivity 实现他的方法,
@Override
    protected void setStatusBarColor() {
//这里时你状态栏所要改变的颜色,这里用的是deawable
        mStatusBarDrawable = UIUtil.getDrawable(R.drawable.drawable_home);//这是在value下自建一个xml文件,专门用来每个页面状态栏所需要的颜色
    }

    @Override
    protected boolean isChangeStatusBarColor() {
//这个是是否改变状态栏的一个状态
        return true;
    }
这里,基本上怎么使用沉浸式状态栏几本上说完了,但是我们要注意,4.4和5.0以上还是有一定的区别的,
因为4.4原生态android上是没有的,而5.0以后android 原生态上是有的,4.4之后加入windowTranslucentStatus的属性之后,也就是我们可以用到状态栏的区域了,而5.0提供了setStatusBarColor去设置状态栏颜色,但是这个方法不能在主题中设置windowTranslucentStatus属性。我们在style里面就不再设置windowTranslucentStatus属性。
详细的介绍可以看http://blog.csdn.net/lmj623565791/article/details/48649563