https://www.pythonanywhere.com
Deploying an existing Django project on PythonAnywhere
Deploying a Django project on PythonAnywhere is a lot like running a Django project on your own PC. You'll use a virtualenv, just like you probably do on your own PC, you'll have a copy of your code on PythonAnywhere which you can edit and browse and commit to version control.
The main thing that's different is that, instead of using the Django dev server with manage.py runserver and viewing your site on localhost, you'll create what we call a Web app via the Web tab in our UI, and then configure it with a WSGI file whose job is simply to import your Django project.
And then your site will be live on the real, public Internet. woo!
Here's an overview of the steps involved.
- Upload your code to PythonAnywhere
- Set up a virtualenv and install Django and any other requirements
- Set up your web app using manual config and your WSGI file.
- Add any other setup (static files, environment variables etc)
Uploading your code to PythonAnywhere
Assuming your code is already on a code sharing site like GitHub or Bitbucket, you can just clone it from a Bash Console:
# for example
$ git clone https://github.com/myusername/myproject.git
That's the solution we recommend, but there are a few different methods documented on the Uploading code page,
Create a virtualenv and install Django and any other requirements
In your Bash console, create a virtualenv, naming it after your project, and choosing the version of Python you want to use:
$ mkvirtualenv --python=/usr/bin/python3.4 mysite-virtualenv
(mysite-virtualenv)$ pip install django
# or, if you have a requirements.txt:
(mysite-virtualenv)$ pip install -r requirements.txt
Warning: Django may take a long time to install. PythonAnywhere has very fast internet, but the filesystem access can be slow, and Django creates a lot of small files during its installation. Thankfully you only have to do it once!
TIP: if you see an error saying mkvirtualenv: command not found, check out InstallingVirtualenvWrapper.
Setting up your Web app and WSGI file
At this point, you need to be armed with 3 pieces of information:
- The path to your Django project's top folder -- the folder that contains "manage.py", eg /home/myusername/mysite
- The name of your project (that's the name of the folder that contains your settings.py), eg mysite
- The name of your virtualenv, eg mysite-virtualenv
Create a Web app with Manual Config
Head over to the Web tab and create a new web app, choosing the "Manual Configuration" option and the right version of Python (the same one you used to create your virtualenv).
Enter your virtualenv name
Once that's done, enter the name of your virtualenv in the Virtualenv section on the web tab and click OK. You can just use its short name "mysite-virtualenv", and it will automatically complete to its full path in /home/username/.virtualenvs.
Edit your WSGI file
One thing that's important here: your Django project (if you're using a recent version of Django) will have a file inside it called wsgi.py. This is not the one you need to change to set things up on PythonAnywhere -- the system here ignores that file.
Instead, the WSGI file to change is the one that has a link inside the "Code" section of the Web tab -- it will have a name something like/var/www/yourusername_pythonanywhere_com_wsgi.py or /var/www/www_yourdomain_com_wsgi.py.
Click on the WSGI file link, and it will take you to an editor where you can change it.
Delete everything except the Django section and then uncomment that section. Your WSGI file should look something like this:
# +++++++++++ DJANGO +++++++++++
# To use your own Django app use code like this:
import os
import sys

# assuming your Django settings file is at '/home/myusername/mysite/mysite/settings.py'
path = '/home/myusername/mysite'
if path not in sys.path:
    sys.path.append(path)

os.environ['DJANGO_SETTINGS_MODULE'] = 'mysite.settings'

## Uncomment the lines below depending on your Django version
###### then, for Django >=1.5:
from django.core.wsgi import get_wsgi_application
application = get_wsgi_application()
###### or, for older Django <=1.4
#import django.core.handlers.wsgi
#application = django.core.handlers.wsgi.WSGIHandler()
- Be sure to substitute the correct path to your project, the folder that contains manage.py, which you noted above.
- Don't forget to substitute in your own username too!
- Also make sure you put the correct value for
DJANGO_SETTINGS_MODULE. - This guide assumes you're using a recent version of Django, so leave the old
wsgi.WSGIHandler()code commented out, or better still, delete it.
Save the file, then go and hit the Reload button for your domain. (You'll find one at the top right of the wsgi file editor, or you can go back to the main web tab)
Database setup
Using MySQL
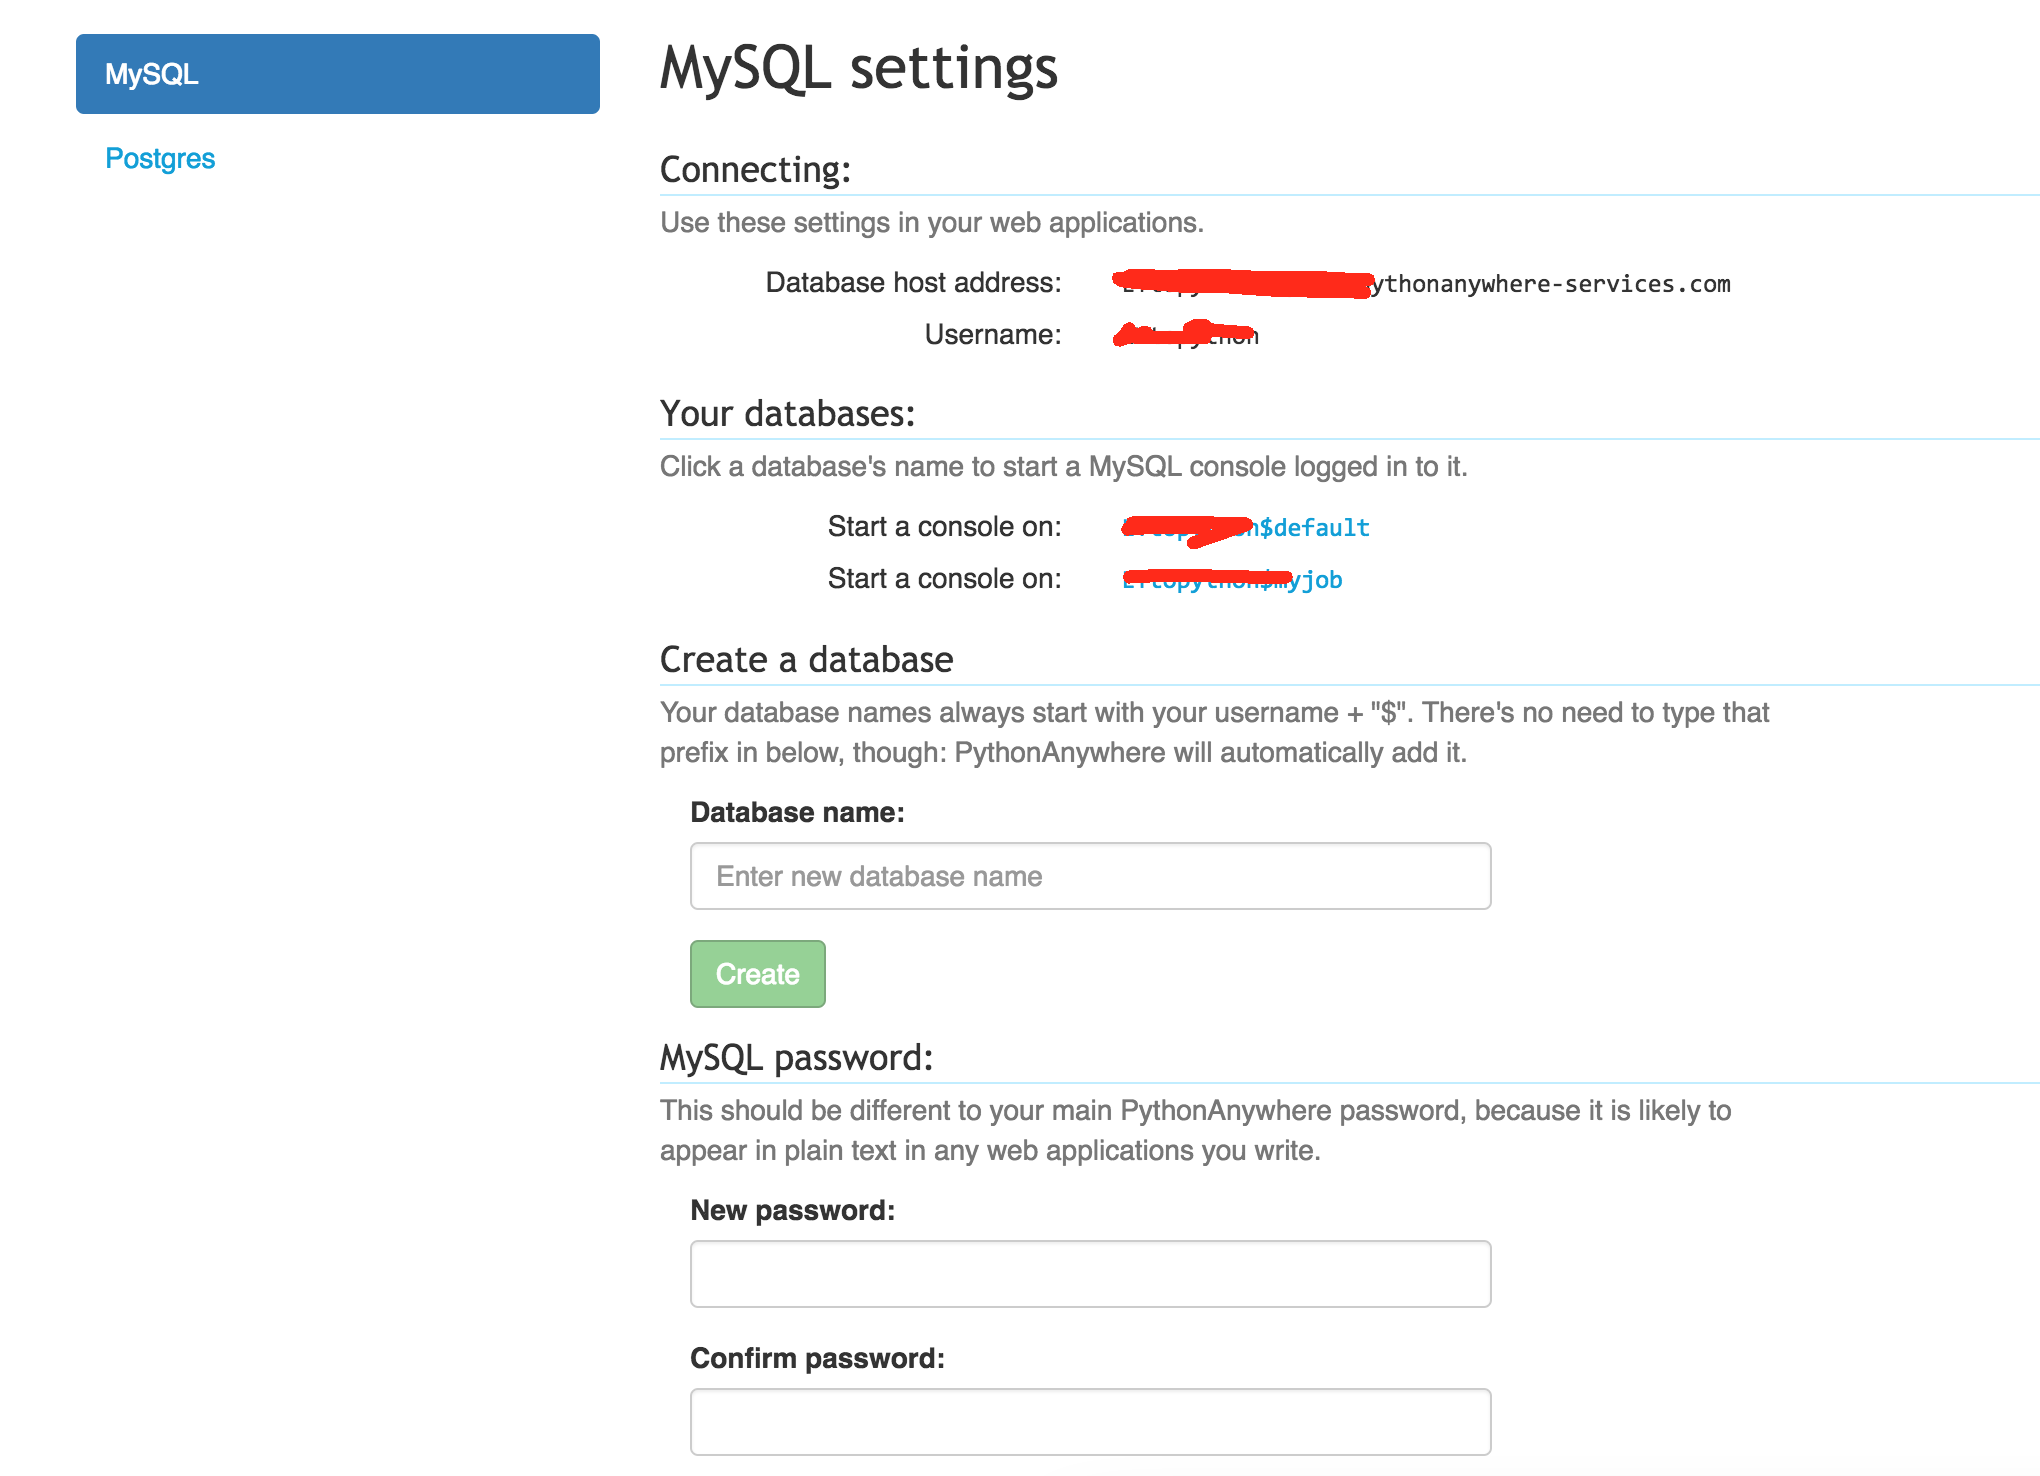
To start using MySQL, you'll need to go to the MySQL tab on your dashboard, and set up a password. You'll also find the connection settings (host name, username) on that tab, as well as the ability to create new databases.
You can start a new MySQL console to access your databases from this tab too, or alternatively you can open a MySQL shell with the following command from a bash console or ssh session:
mysql -u USERNAME -h HOSTNAME -p
The USERNAME is the username you use to log in to PythonAnywhere and the HOSTNAME is on your Databases tab. It will prompt you for a password -- use the one you entered on the Databases tab.
Accessing MySQL from Python
The appropriate libraries are installed for all versions of Python that we support, so if you're not using a virtualenv, to access a MySQL database just import MySQLdb.
If you are using a virtualenv, you'll need to install the correct package yourself. Start a bash console inside the virtualenv, then:
For Python 2.7
pip install mysql-python
For Python 3.x
pip install mysqlclient
MySQL with Django
To configure Django to access a MySQL database on PythonAnywhere, you need to do this in your settings file:
DATABASES = {
    'default': {
        'ENGINE': 'django.db.backends.mysql',
        'NAME': '<your_username>$<your_database_name>',
        'USER': '<your_username>',
        'PASSWORD': '<your_mysql_password>',
        'HOST': '<your_mysql_hostname>',
    }
}
Again, you can get the username and hostname details from the "Databases" tab.