Flask博客开启CKeditor的图片上传功能
1.开启CKeditor的本地浏览按钮
先在Flask项目的static文件夹里创建browser文件夹,再在browser文件夹里创建browse.html
接着在CKeditor的文件夹里找到config.js,在里面配置
config.filebrowserBrowseUrl = '/static/browser/browse.html';
2.在browse.html里编写CKeditor的API接口
<!DOCTYPE html>
<html lang="en">
<head>
    <meta charset="UTF-8">
    <title>浏览本地文件</title>

    <script>
        // Helper function to get parameters from the query string.
        function getUrlParam( paramName ) {
            var reParam = new RegExp( '(?:[?&]|&)' + paramName + '=([^&]+)', 'i' );
            var match = window.location.search.match( reParam );

            return ( match && match.length > 1 ) ? match[1] : null;
        }
        // Simulate user action of selecting a file to be returned to CKEditor.
        function returnFileUrl(){
            str = new Array();
            filename = form1.file.value;
            str = filename.split("\");
            extname = str[str.length - 1];
            fileUrl = '/static/upload/' + extname;
            var funcNum = getUrlParam( 'CKEditorFuncNum' );
            window.opener.CKEDITOR.tools.callFunction( funcNum, fileUrl, function() {
                // Get the reference to a dialog window.
                var dialog = this.getDialog();
                // Check if this is the Image Properties dialog window.
                if ( dialog.getName() == 'image' ) {
                    // Get the reference to a text field that stores the "alt" attribute.
                    var element = dialog.getContentElement( 'info', 'txtAlt' );
                    // Assign the new value.
                    if ( element )
                        element.setValue( 'alt text' );
                }
                // Return "false" to stop further execution. In such case CKEditor will ignore the second argument ("fileUrl")
                // and the "onSelect" function assigned to the button that called the file manager (if defined).
                // return false;
            } );
            window.close();
}
    </script>
</head>
<body>
<form enctype="multipart/form-data" name="form1">
 <input type="file" name="file" value="选择文件">
 <input type="button" value="确定" onClick="returnFileUrl()">
</form>
</body>
</html>
3.打开localhost:5000,找到你的CKeditor打开图片上传,会发现多了一个浏览器服务按钮
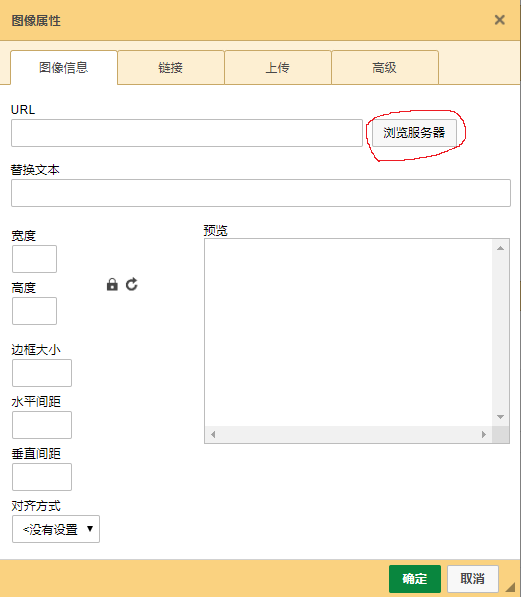
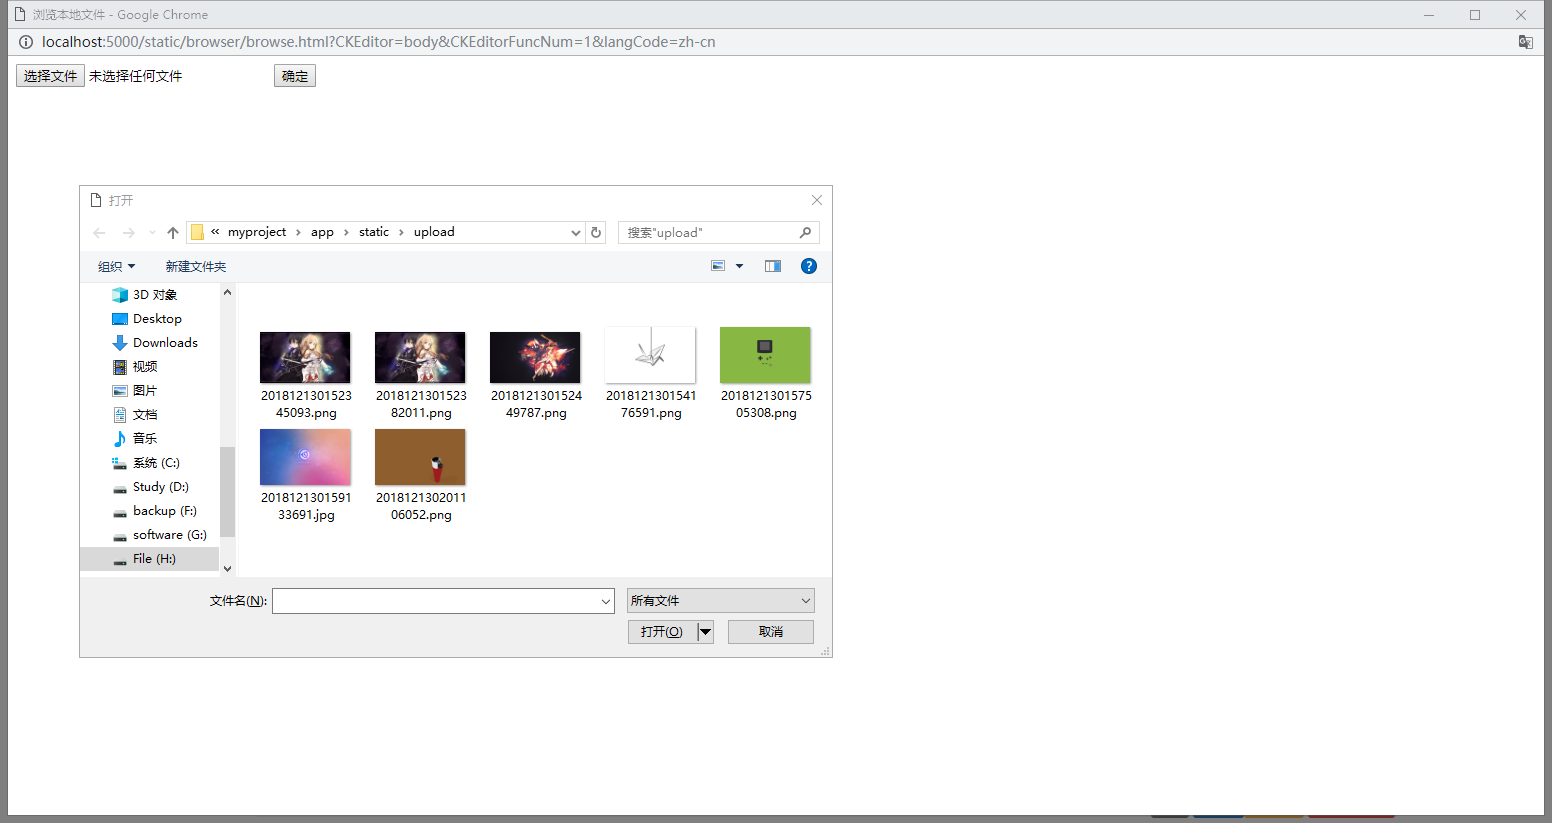
4.点击确定按钮就可以上传了

经过3天的摸索,终于摸透了ckeditor上传图片。原创文章,码字不易,转载请标明出处。