环境基于docker,三台物理主机192.168.0.27、192.168.0.28、192.168.0.29,每台主机部署一个zookeeper节点,一个kafka节点,共三个zookeeper节点,三个kafka节点,容器之间的网络采用host模式
1.拉取镜像

2.启动容器
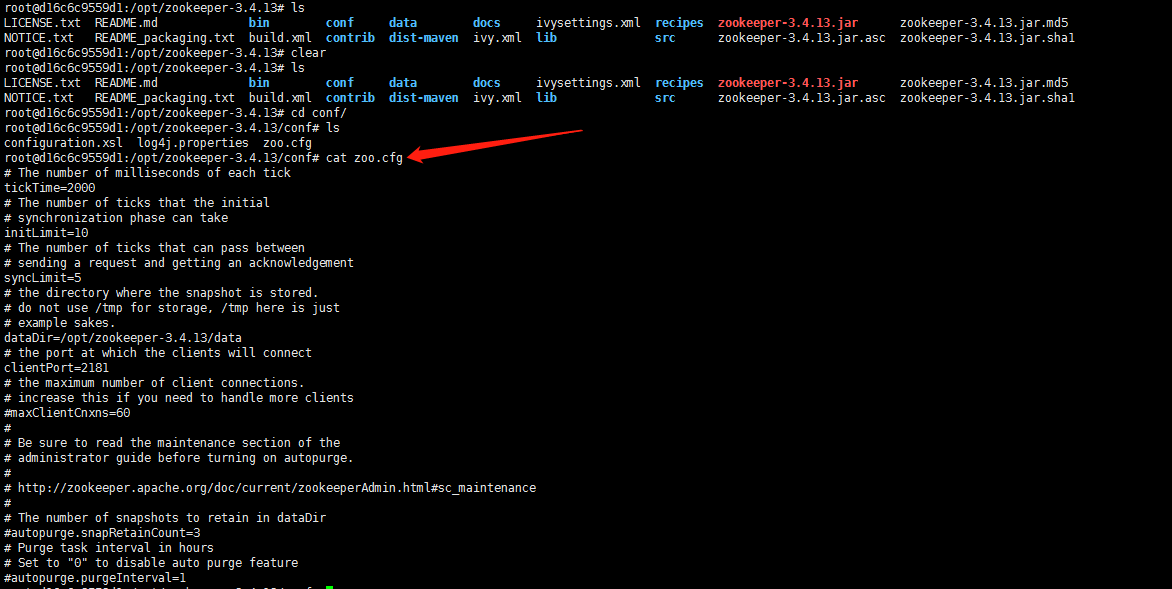
step1. 创建配置文件zoo.cfg并替换容器内的该文件,不同的镜像有可能zoo.cfg位置不同
# The number of milliseconds of each tick
tickTime=2000
# The number of ticks that the initial
# synchronization phase can take
initLimit=10
# The number of ticks that can pass between
# sending a request and getting an acknowledgement
syncLimit=5
# the directory where the snapshot is stored.
# do not use /tmp for storage, /tmp here is just
# example sakes.
dataDir=/opt/zookeeper-3.4.13/data
# the port at which the clients will connect
clientPort=2181
# the maximum number of client connections.
# increase this if you need to handle more clients
#maxClientCnxns=60
#
# Be sure to read the maintenance section of the
# administrator guide before turning on autopurge.
#
# http://zookeeper.apache.org/doc/current/zookeeperAdmin.html#sc_maintenance
#
# The number of snapshots to retain in dataDir
#autopurge.snapRetainCount=3
# Purge task interval in hours
# Set to "0" to disable auto purge feature
#autopurge.purgeInterval=1
server.27=192.168.0.27:2888:3888
server.28=192.168.0.28:2888:3888
server.29=192.168.0.29:2888:3888
myid=27
3.每台机器都要替换,注意myid需要不同,该镜像中/opt/zookeeper-3.4.13/data下没有myid,所以需要通过挂载的方式添加或者进容器创建

4.启动zookeeper(每台机器执行)
docker run -p 2181:2181 -p 2888:2888 -p 3888:3888 --name zookeeper27 --network host -v /images/zoo.cfg:/opt/zookeeper-3.4.13/conf/zoo.cfg -v /images/myid:/opt/zookeeper-3.4.13/data/myid -it wurstmeister/kafka:latest
5.查看zookeeper运行情况
#进入容器
docker exec -it zookeeper27
#查看zookeeper运行情况
echo stat | nc 192.168.0.27

可以看到zookeeper集群启动成功,并自动选举了lader
6.启动kafka
kafka集群同样采用host模式
zks="192.168.0.27:2181,192.168.0.28:2181,192.168.0.29:2181"; docker run -p 9092:9092 --name kafka27 --network host -d -e KAFKA_BROKER_ID=27 -e KAFKA_ZOOKEEPER_CONNECT=${zks} -e KAFKA_ADVERTISED_LISTENERS=PLAINTEXT://宿主机IP:9092 -e KAFKA_LISTENERS=PLAINTEXT://0.0.0.0:9092 wurstmeister/kafka:latest
7.分别进入容器kafka27、kafka28、kafka29创建主题test27、test28、test29。下面以kafka27为例。
#创建topic
./kafka-topics.sh --create --zookeeper 192.168.0.27:2181,192.168.0.28:2181,192.168.0.29:2181 --replication-factor 3 --partitions 3 --topic test27
#replication-factor 表示该topic需要在不同的broker中保存几份, partitions为几个分区

#查看已经创建的topic
./kafka-topics.sh --list --zookeeper 192.168.0.27:2181,192.168.0.28:2181,192.168.0.29:2181

#查看指定topic详情
./kafka-topics.sh --zookeeper 192.168.0.27:2181,192.168.0.28:2181,192.168.0.29:2181 --topic test27 --describe

#创建生产者
./kafka-console-producer.sh --broker-list 192.168.0.27:9092,192.168.0.28:9092,192.168.0.29:9092 --topic test、

#创建消费者
./kafka-console-consumer.sh --bootstrap-server 192.168.0.27:9092,192.168.0.28:9092,192.168.0.29:9092 --topic test --from-beginning