前言
apollo 翻译过来是阿波罗的意思,准确的说是:apache apollo,看了apache基本可以放心,因为它不像微软。
安装
下面我以windows 为例。
https://activemq.apache.org/index.html
下载最新版,下载后:

进去查看文档,然后呢,打开后看几个地方就可以了。
From the binary distribution you can run the Apache ActiveMQ server via the bin/activemq command. If you're using Windows, just type

    cd bin
    activemq.bat start
这个告诉你在bin下面可以执行脚本启动,启动即可。
但是呢,这东西比较不稳定,为什么这么说呢?任何带start,99%关闭后,将会停止。
那么我们这个时候就需要加入到服务中去。

在64位下,有一个叫做:InstallService.bat
运行后查看,果然:

这样就比较安心了。
然后点击启动,如果报1067,那么请检查端口号和java环境是否配置成功。
然后我们看下面一段:
In a web browser you can access the url http://0.0.0.0:8161/admin to access the ActiveMQ web console.
The broker may ask for credentials to login the web console the first time. The default username and password is admin/admin. You can configure this in the conf/jetty-real.properties file.
告诉我们服务端访问http://0.0.0.0:8161/admin即可,在这里提示一下,没有人真的去访问0.0.0.0,这个含义特殊,可自行百度。
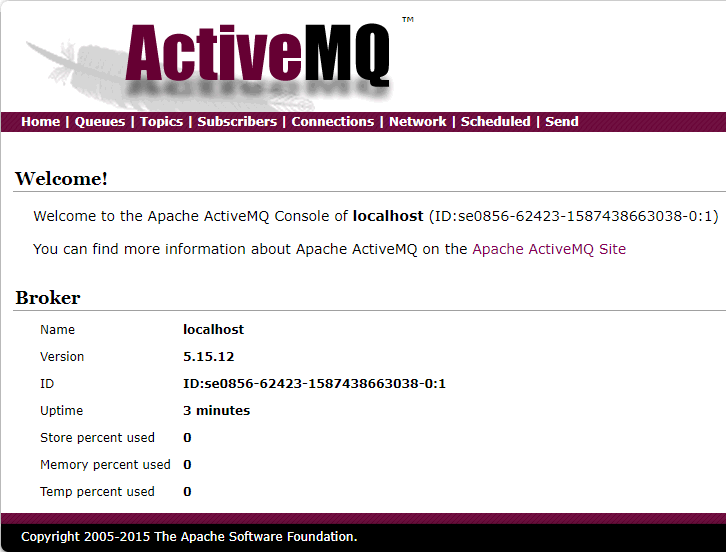
我们访问的是127.0.0.1/admin,这样就出现了访问页面,会让你输入账号和密码:The default username and password is admin/admin
进去后:

只是他的管理服务端。
有两种订阅方式: 一种是Queues 另外一种是 Topic。
两者的区别如下:Queues 是类型的,比如说有一条消息,如果这条消息被一个客户消费了,那么久没了,所以我们知道这个一般是私人订制的。
另一种是topic,这个是主题的意思,表示我们订阅了哪个栏目就会推送哪个消息。
然后是我创建一个主题。

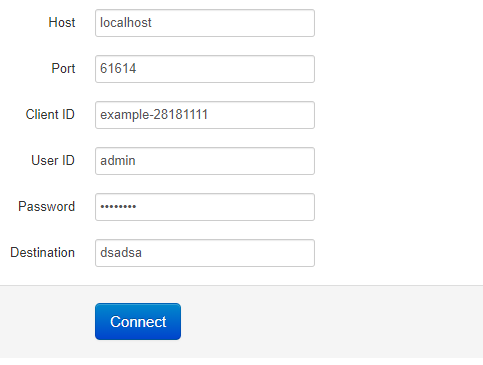
打开index,这个是客户端,然后:

进行连接。
destination 是目的地的意思,也就是我们的主题名称。
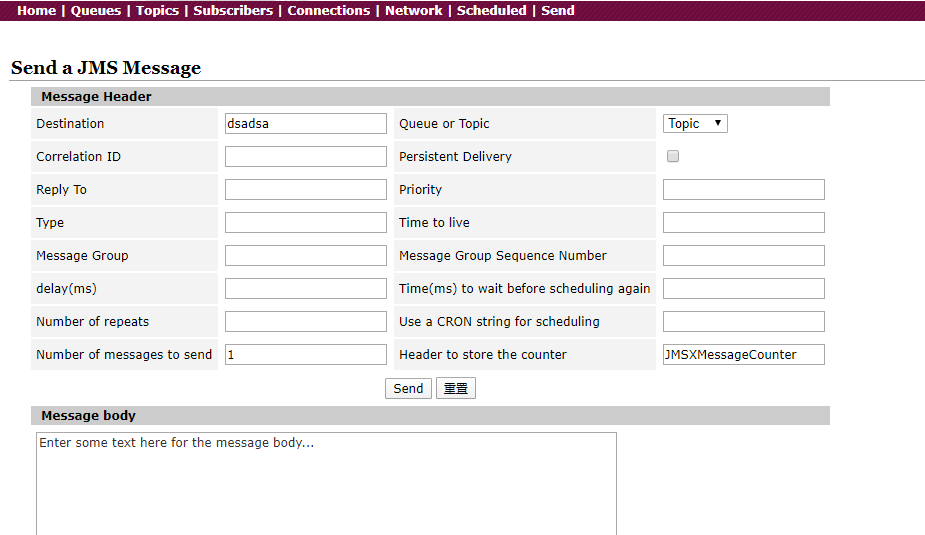
我们可以在服务端,发送消息:

那么客户端就会收到。

以下就是一个基础的认识。