在学习Elasticsearch的过程中,必不可少需要通过一些工具查看es的运行状态以及数据。如果都是通过rest请求,未免太过麻烦,而且也不够人性化。此时,head可以完美的帮助你快速学习和使用Elasticsearch。
基础环境
Elasticsearch集群搭建请参考前一篇文章
http://www.cnblogs.com/aubin/p/8012840.html
| 系统 | 节点名 | IP | 软件版本 |
|---|---|---|---|
| CentOS7.3 | els1 | 172.18.68.11 | Elasticsearch6.0 |
| CentOS7.3 | els2 | 172.18.68.12 | Elasticsearch6.0 |
| CentOS7.3 | els3 | 172.18.68.13 | Elasticsearch6.0 |
一、安装
- 插件官网地址https://github.com/mobz/elasticsearch-head
- 由于插件时托管在github中,要从github中直接下载所以需要先安装git
- 安装插件时又使用到了npm,所以npm同时都安装上(注意:npm在epel源中)
yum install git npm										        # npm在epel源中
git clone https://github.com/mobz/elasticsearch-head.git		# 安装过程需要连接互联网
cd elasticsearch-head										    # git clone后会自动生成的一个目录
npm install
npm run start
二、测试
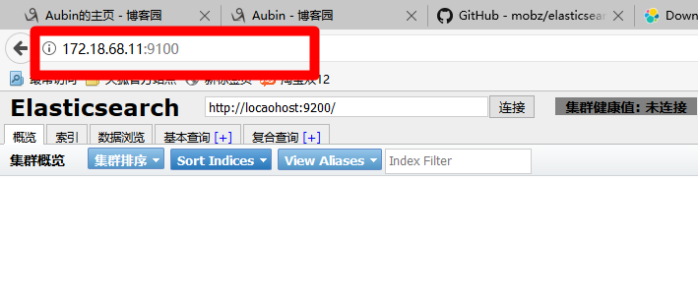
使用浏览器打开http://172.18.68.11:9200。如果能正常打开说明head插件安装正确
现在集群健康状态哪里显示未连接,这是因为head插件没有权限获取集群节点的信息,接下来设置权限
三、权限设定
如果想查询集群健康信息,那么需要在elasticsearch配置文件中授权
vim /etc/elasticsearch/elasticsearch.yml
http.cors.enabled: true										# elasticsearch中启用CORS
http.cors.allow-origin: "*"									# 允许访问的IP地址段,* 为所有IP都可以访问
四、测试
- 填入测试索引
curl -XPUT '172.18.68.11:9100/book'
- 打开浏览器
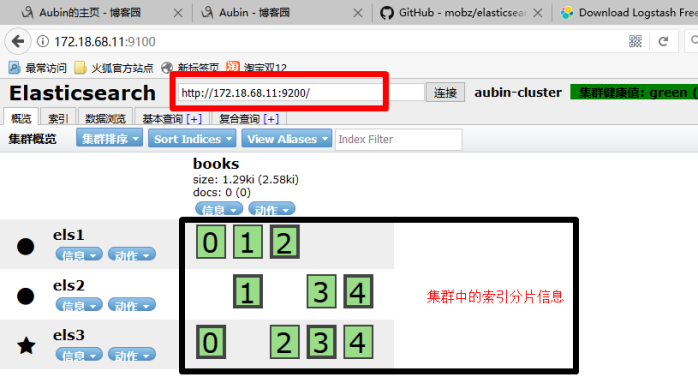
再次通过浏览器打开,填入已经授权节(上面的两行配置)点IP地址,点击链接,就可以看到集群健康信息与测试索引的分片信息。
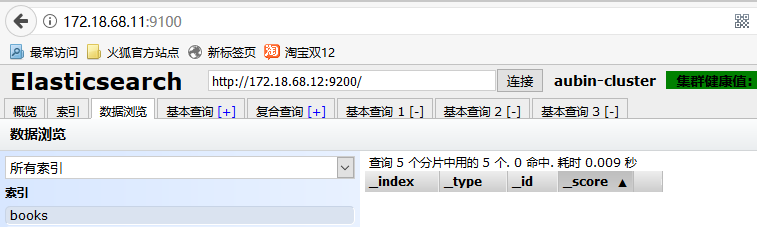
- 点数据浏览就可以查看到所有的信息,不过这里没有插入数据也就看不到。接下来的文章会记录如何输入、输出、过滤数据