python使用redis
安装第三方库
>: pip3 install redis
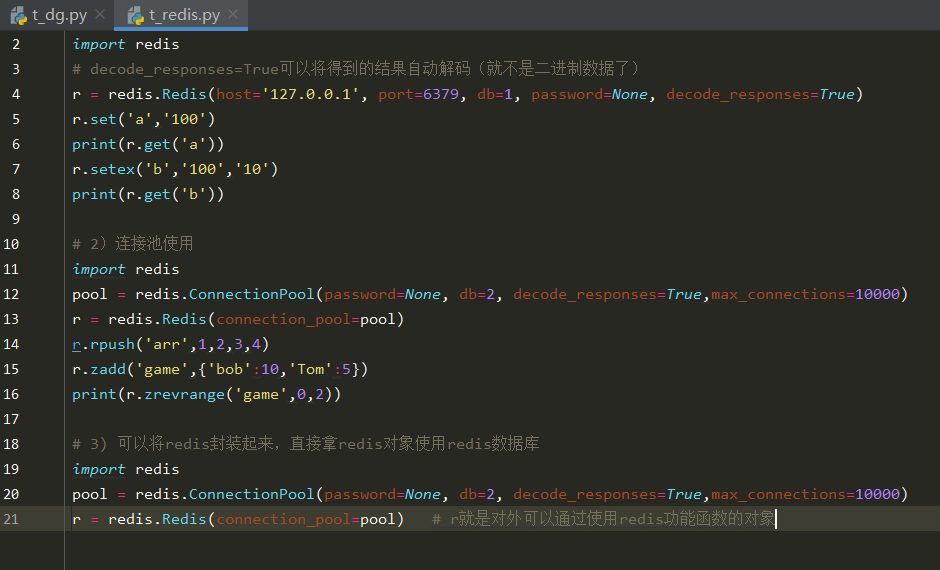
import redis
# decode_responses=True得到的结果会自动解码(就不是二进制数据了)
r = redis.Redis(host='127.0.0.1', port=6379, db=1, password=None, decode_responses=True)
import redis
pool = redis.ConnectionPool(host='127.0.0.1', port=6379, db=1, max_connections=100, password=None, decode_responses=True)
r = redis.Redis(connection_pool=pool)
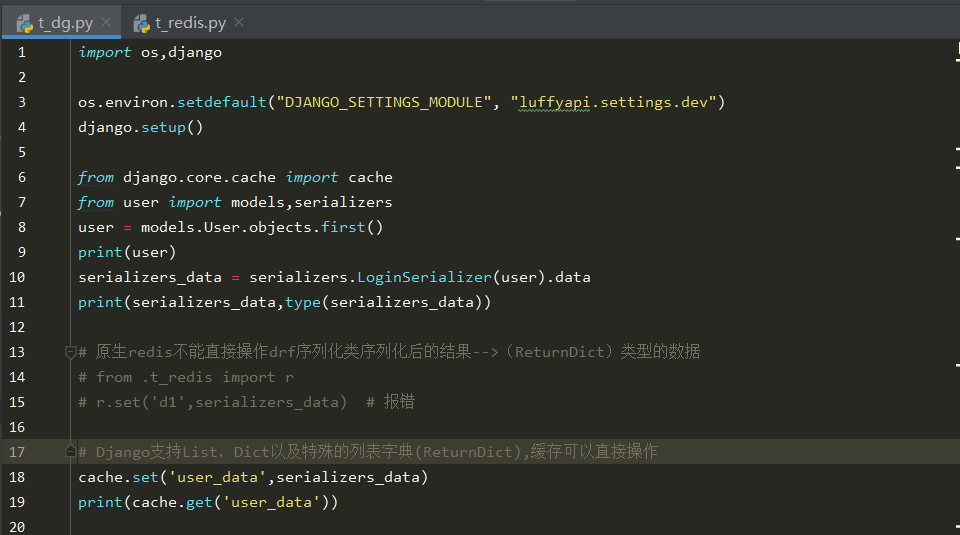
# 1.将缓存存储位置配置到redis中:settings.py
CACHES = {
    "default": {
        "BACKEND": "django_redis.cache.RedisCache",
        "LOCATION": "redis://127.0.0.1:6379/0",    # 0表示数据库编号
        "OPTIONS": {
            "CLIENT_CLASS": "django_redis.client.DefaultClient",
            "CONNECTION_POOL_KWARGS": {"max_connections": 100},
            "DECODE_RESPONSES": True,
            "PASSWORD": "123",
        }
    }
}

# 2.操作cache模块直接操作缓存:views.py
from django.core.cache import cache  # 结合配置文件实现插拔式
# 存放token,可以直接设置过期时间
cache.set('token', 'header.payload.signature', 300)
# 取出token
token = cache.get('token')