第一步: 新建Java工程 FirstSpringJAVA
第二步:导入相关的spring jar包
 <dependency>
        <groupId>org.springframework</groupId>
        <artifactId>spring-context</artifactId>
        <version>4.3.1.RELEASE</version>
    </dependency>

     <dependency>
            <groupId>org.springframework</groupId>
            <artifactId>spring-beans</artifactId>
            <version>4.3.1.RELEASE</version>
            <type>jar</type>
        </dependency>

        <dependency>
            <groupId>org.springframework</groupId>
            <artifactId>spring-webmvc</artifactId>
            <version>4.3.1.RELEASE</version>
            <type>jar</type>
        </dependency>

        <dependency>
            <groupId>org.springframework</groupId>
            <artifactId>spring-orm</artifactId>
            <version>4.3.1.RELEASE</version>
            <type>jar</type>
        </dependency>
第三步: 新建接口
Father.java
package com.xuzhiwen.spring5;

public interface Father {
    public abstract void sing();
}
第四步:新建两个接口实现类
Son1.java
package com.xuzhiwen.spring5;

public class Son1 implements Father{
    @Override
    public void sing() {
        System.out.println("son1 sing()...");
    }
}
Son2.java
package com.xuzhiwen.spring5;

public class Son2 implements Father{
    @Override
    public void sing() {
        System.out.println("son2 sing()...");
    }
}
第五步:编写针对上面两个类的配置文件
Son1Config.java
package com.xuzhiwen.spring5;

import org.springframework.context.annotation.Bean;
import org.springframework.context.annotation.Configuration;

@Configuration
public class Son1Config {

    @Bean(name="son1")
    public Father getFather(){
        return new Son1();
    }
}
Son2Config.java
package com.xuzhiwen.spring5;

import org.springframework.context.annotation.Bean;
import org.springframework.context.annotation.Configuration;

@Configuration
public class Son2Config {

    @Bean(name="son2")
    public Father getFather(){
        return new Son2();
    }
}
第六步: 将两个配置文件的内容合并到一起
AppConfigTogether.java
package com.xuzhiwen.spring5;

import org.springframework.context.annotation.Configuration;
import org.springframework.context.annotation.Import;

@Configuration
@Import({Son1Config.class,Son2Config.class})
public class AppConfigTogether {

}
第七步:编写测试类
Test.java
package com.xuzhiwen.spring5;

import org.springframework.context.ApplicationContext;
import org.springframework.context.annotation.AnnotationConfigApplicationContext;

public class Test {
    public static void main(String[] args) {
        ApplicationContext app = new AnnotationConfigApplicationContext(AppConfigTogether.class);
        Father father1 = (Father) app.getBean("son1");
        Father father2 = (Father) app.getBean("son2");
        father1.sing();
        father2.sing();
    }
}
第八步:运行结果如下

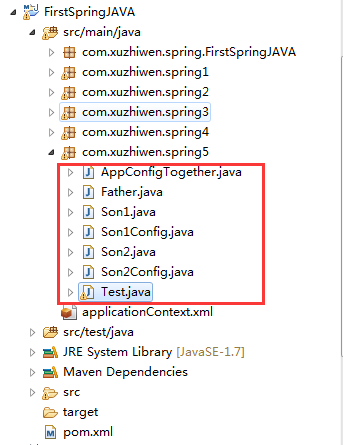
第九步: Java文件目录结构如下