swagger背景
首先指定schema[计划的提纲],实时更新最新API,降低集成风险;
早些年:制定word计划文档;
前后端分离:
   前端测试后端接口:postman
   后端提供接口,需要实时更新最新的消息改动
swagger简介
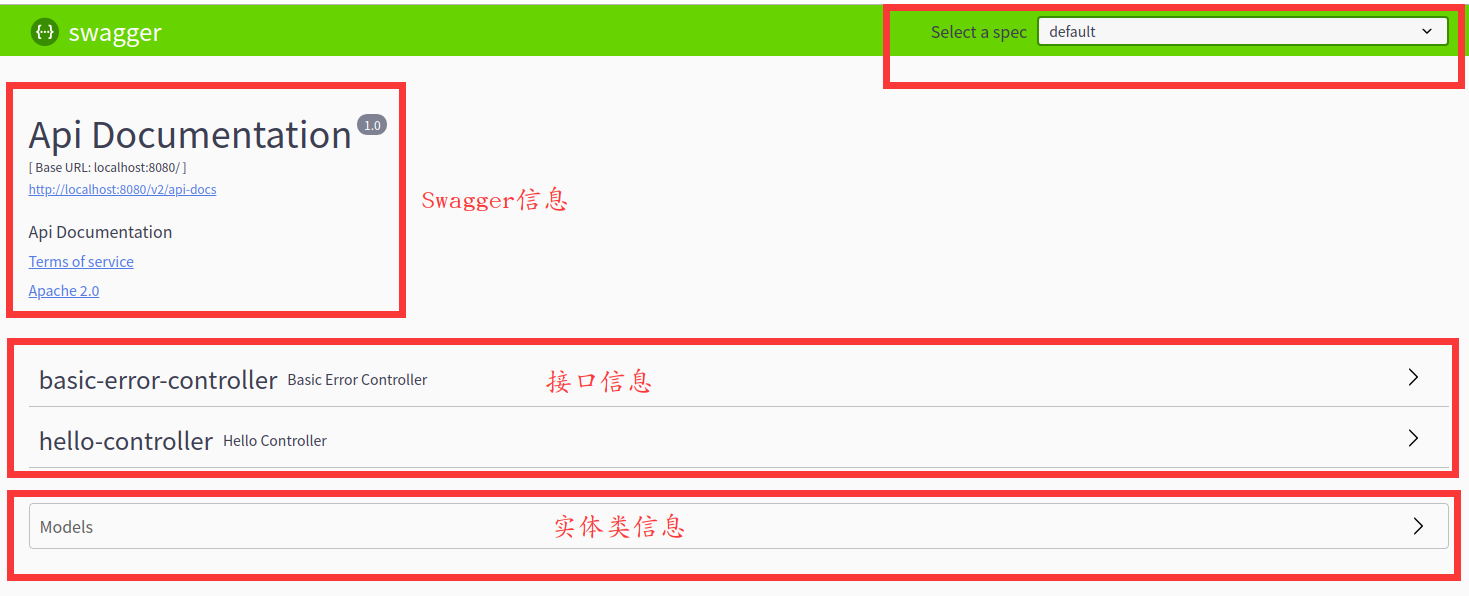
swagger2可以将项目的所有接口在一个UI界面上展示出来,同时表明了这个接口的用途,接口需要的参数是什么类型参数是否必须,输入了参数可以直接测试接口类似postman的功能,会显示接口请求的状态码和返回的数据结构。
号称世界上最流行的Api框架;
Restful   Api  文档在线自动生成工具 => Api 文档与Api 定义同步更新
直接运行,可以在线测试API接口
支持多种语言
swagger2+ui
swagger应用
springboot集成swagger
1.新建一个springboot web 项目
2.导入相关依赖
<!-- https://mvnrepository.com/artifact/io.springfox/springfox-swagger-ui -->
        <dependency>
            <groupId>io.springfox</groupId>
            <artifactId>springfox-swagger-ui</artifactId>
            <version>2.9.2</version>
        </dependency>
        <!-- https://mvnrepository.com/artifact/io.springfox/springfox-swagger2 -->
        <dependency>
            <groupId>io.springfox</groupId>
            <artifactId>springfox-swagger2</artifactId>
            <version>2.9.2</version>
        </dependency>
3.编写一个Hello工程


package com.mikey.swagger_demo.controller;

import org.springframework.stereotype.Controller;
import org.springframework.web.bind.annotation.RequestMapping;
import org.springframework.web.bind.annotation.RestController;

/**
 * @ProjectName swagger_demo
 * @Author 麦奇
 * @Email biaogejiushibiao@outlook.com
 * @Date 9/5/19 9:21 AM
 * @Version 1.0
 * @Description:
 **/
@RestController
public class HelloController {

    @RequestMapping("/hello")
    public String hello(){

        return "hello";
    }

}
4.配置Swagger
package com.mikey.swagger_demo.config;

import org.springframework.context.annotation.Configuration;
import springfox.documentation.swagger2.annotations.EnableSwagger2;

/**
 * @ProjectName swagger_demo
 * @Author 麦奇
 * @Email biaogejiushibiao@outlook.com
 * @Date 9/5/19 9:25 AM
 * @Version 1.0
 * @Description:
 **/
@Configuration
@EnableSwagger2 //开启swagger
public class SwaggerConfig {

}
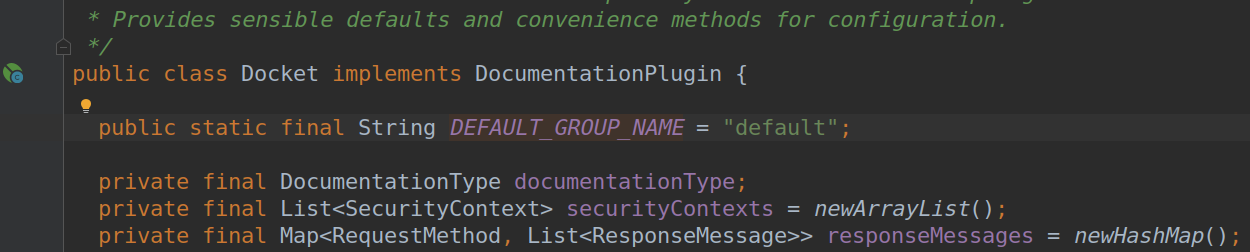
5.测试页面
http://localhost:8080/swagger-ui.html
Swagger配置
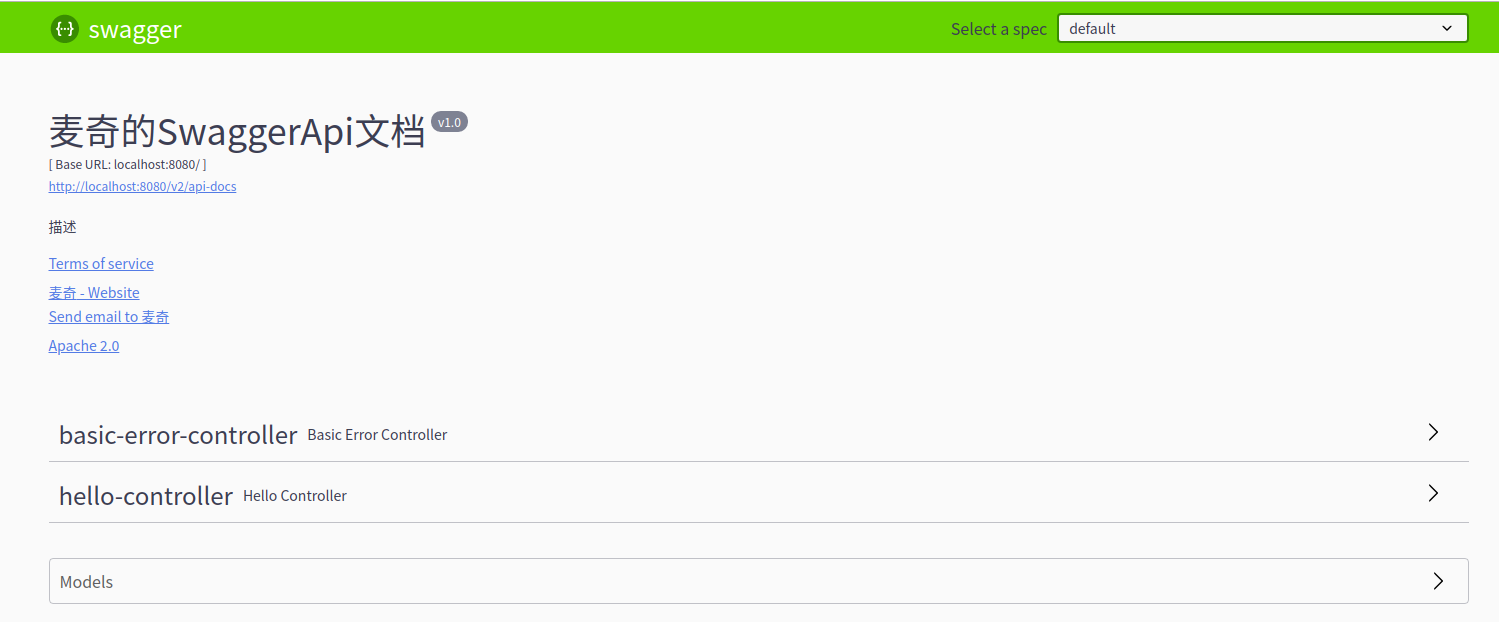
package com.mikey.swagger_demo.config;

import org.springframework.context.annotation.Bean;
import org.springframework.context.annotation.Configuration;
import springfox.documentation.service.ApiInfo;
import springfox.documentation.service.Contact;
import springfox.documentation.spi.DocumentationType;
import springfox.documentation.spring.web.plugins.Docket;
import springfox.documentation.swagger2.annotations.EnableSwagger2;

import java.util.ArrayList;

/**
 * @ProjectName swagger_demo
 * @Author 麦奇
 * @Email biaogejiushibiao@outlook.com
 * @Date 9/5/19 9:25 AM
 * @Version 1.0
 * @Description:
 **/
@Configuration
@EnableSwagger2 //开启swagger
public class SwaggerConfig {

    //配置了swagger的docket的bean实例
    @Bean
    public Docket docket(){
        return new Docket(DocumentationType.SWAGGER_2).apiInfo(apiInfo());
    }

    //配置swagger信息 apiInfo

    private ApiInfo apiInfo(){

        //作者信息
        Contact DEFAULT_CONTACT = new Contact("麦奇", "www.mikey.com", "biaogejiushibiao@outlook.com");

        return new ApiInfo("麦奇的SwaggerApi文档",
                "描述",
                "v1.0",
                "https://www.cnblogs.com/biaogejiushibiao/",
                DEFAULT_CONTACT,
                "Apache 2.0",
                "http://www.apache.org/licenses/LICENSE-2.0",
                new ArrayList());
    }
}
Swagger扫描
Docket.select()
package com.mikey.swagger_demo.config;

import org.springframework.context.annotation.Bean;
import org.springframework.context.annotation.Configuration;
import org.springframework.core.env.Environment;
import org.springframework.core.env.Profiles;
import springfox.documentation.builders.PathSelectors;
import springfox.documentation.builders.RequestHandlerSelectors;
import springfox.documentation.service.ApiInfo;
import springfox.documentation.service.Contact;
import springfox.documentation.spi.DocumentationType;
import springfox.documentation.spring.web.plugins.Docket;
import springfox.documentation.swagger2.annotations.EnableSwagger2;

import java.util.ArrayList;

/**
 * @ProjectName swagger_demo
 * @Author 麦奇
 * @Email biaogejiushibiao@outlook.com
 * @Date 9/5/19 9:25 AM
 * @Version 1.0
 * @Description:
 **/
@Configuration
@EnableSwagger2 //开启swagger
public class SwaggerConfig {

    //配置了swagger的docket的bean实例
    @Bean
    public Docket docket(Environment environment){

        //设置要显示的swagger环境
        Profiles profiles = Profiles.of("dev","test");
        //获取项目的环境
        //通过environment.acceptsProfiles判断是否处在自己设定的环境当中
        boolean openSwagger = environment.acceptsProfiles(profiles);


        return new Docket(DocumentationType.SWAGGER_2)
                .apiInfo(apiInfo())
                //是否启用swagger
                .enable(openSwagger)
                .select()
                //requestHandler 配置要扫描接口方式
                //basePackage 指定扫描包
                //any 扫描全部
                //none 不扫描
                //withClassAnnotation  扫描类上的注解 参数是注解的反射对象
                //withMethodAnnotation  扫描方法上的注解
                .apis(RequestHandlerSelectors.basePackage("com.mikey.swagger_demo.controller"))
                //过滤什么路径
                //.paths(PathSelectors.ant("/"))
                .build();
    }

    //配置swagger信息 apiInfo

    private ApiInfo apiInfo(){

        //作者信息
        Contact DEFAULT_CONTACT = new Contact("麦奇", "www.mikey.com", "biaogejiushibiao@outlook.com");

        return new ApiInfo("麦奇的SwaggerApi文档",
                "描述",
                "v1.0",
                "https://www.cnblogs.com/biaogejiushibiao/",
                DEFAULT_CONTACT,
                "Apache 2.0",
                "http://www.apache.org/licenses/LICENSE-2.0",
                new ArrayList());
    }
}
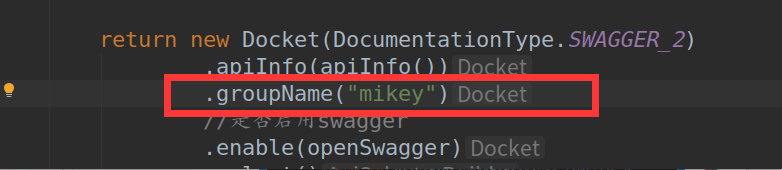
Api文档分组

常用注解说明
- @Api()用于类;表示标识这个类是swagger的资源
- @ApiOperation()用于方法;表示一个http请求的操作
- @ApiParam()用于方法,参数,字段说明;表示对参数的添加元数据(说明或是否必填等)
- @ApiModel()用于类表示对类进行说明,用于参数用实体类接收
- @ApiModelProperty()用于方法,字段表示对model属性的说明或者数据操作更改
- @ApiIgnore()用于类,方法,方法参数表示这个方法或者类被忽略
- @ApiImplicitParam() 用于方法表示单独的请求参数
- @ApiImplicitParams() 用于方法,包含多个 @ApiImplicitParam
- @ApiKeyAuthDefinition()用于构造ApiKey身份验证安全定义
- @ApiResponse()描述操作的可能响应
- @ApiResponses()描述操作的可能响应
- @Authorization()定义要在资源或操作上使用的授权方案
- @AuthorizationScope()描述OAuth2授权作用域
- @BasicAuthDefinition()构造基本的身份验证安全定义
- @Contact()在Swagger定义的info部分中提供的联系人元数据
- @Example() 示例属性的可选命名列表。
- @ExampleProperty() Swagger示例中的mediaType/value属性
- @Extension() 扩展属性的可选命名列表。
- @ExtensionProperty()扩展名内的名称/值属性
- @ExternalDocs()表示外部文档说明。
- @Info()用于定义的高级元数据
- @License()在Swagger定义的info部分中提供许可证元数据
- @OAuth2Definition()用于构造OAuth安全定义的注释。
- @ResponseHeader()表示可作为响应的一部分提供的头。
- @Scope() OAuth2安全方案的可用作用域
- @SecurityDefinition() 所有安全定义的集合。
- @SwaggerDefinition()配置定义级元数据
- @Tag()定义级别标记对象
参考相关资料
官网:
github:
https://github.com/OAI/OpenAPI-Specification/blob/master/versions/2.0.md#tag-object
博文:
https://blog.csdn.net/u014231523/article/details/76522486