golang安装
yum install golang
查看版本
go version
安装以太坊源代码
Building Geth (command line client)
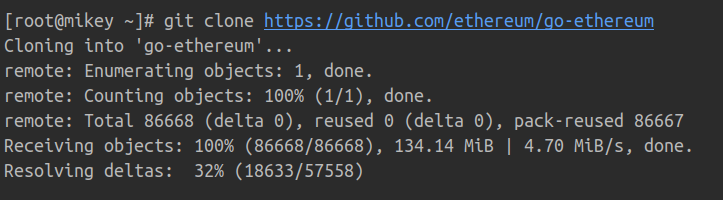
Clone the repository to a directory of your choosing:
git clone https://github.com/ethereum/go-ethereum
Install latest distribution of Go if you don't have it already.
Building geth requires Go and C compilers to be installed:
sudo apt-get install -y build-essential
Finally, build the geth program using the following command.
cd go-ethereum
make geth
由于firewall原因无法下载go相关库请使用代理
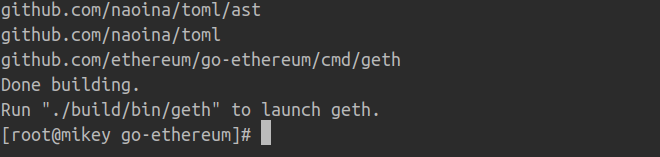
You can now run build/bin/geth to start your node.
创世区块文件的准备
创建账号:
./geth --datadir /eth/data account new

在go-ethereum/build/bin目录下创建init.json的文本文件,内容如下:
{
  "config": {
    "chainId": 666,
    "homesteadBlock": 0,
    "eip150Block": 0,
    "eip150Hash": "0x0000000000000000000000000000000000000000000000000000000000000000",
    "eip155Block": 0,
    "eip158Block": 0,
    "byzantiumBlock": 0,
    "constantinopleBlock": 0,
    "petersburgBlock": 0,
    "istanbulBlock": 0,
    "ethash": {}
  },
  "nonce": "0x0",
  "timestamp": "0x5ddf8f3e",
  "extraData": "0x0000000000000000000000000000000000000000000000000000000000000000",
  "gasLimit": "0x47b760",
  "difficulty": "0x00002",
  "mixHash": "0x0000000000000000000000000000000000000000000000000000000000000000",
  "coinbase": "0x0000000000000000000000000000000000000000",
  "alloc": { }
  },
  "number": "0x0",
  "gasUsed": "0x0",
  "parentHash": "0x0000000000000000000000000000000000000000000000000000000000000000"
}
创世区块初始化
在go-ethereum/build/bin目录下执行以下命令以完成创世区块的创建:
./geth --datadir "/app/chain" init init.json
注意:上面命令中--datadir后面的 /app/chain可以任意指定,无需提前创建,但是一定要保证有足够的磁盘空间。init.json是我们在上一步创建的文件,注意文件名要一致。执行完成后,将会出现类似以下信息:

启动以太坊
仍然在go-ethereum/build/bin目录下执行,执行的命令是:
./geth --rpc --rpccorsdomain "*" --datadir "/eth/data" --port "30303" --rpcapi "db,eth,net,web3" --networkid 100000 console

到目前为止,我们的私有链就搭建成功了。下一次,我们会介绍账户创建,挖矿,转账等操作。